


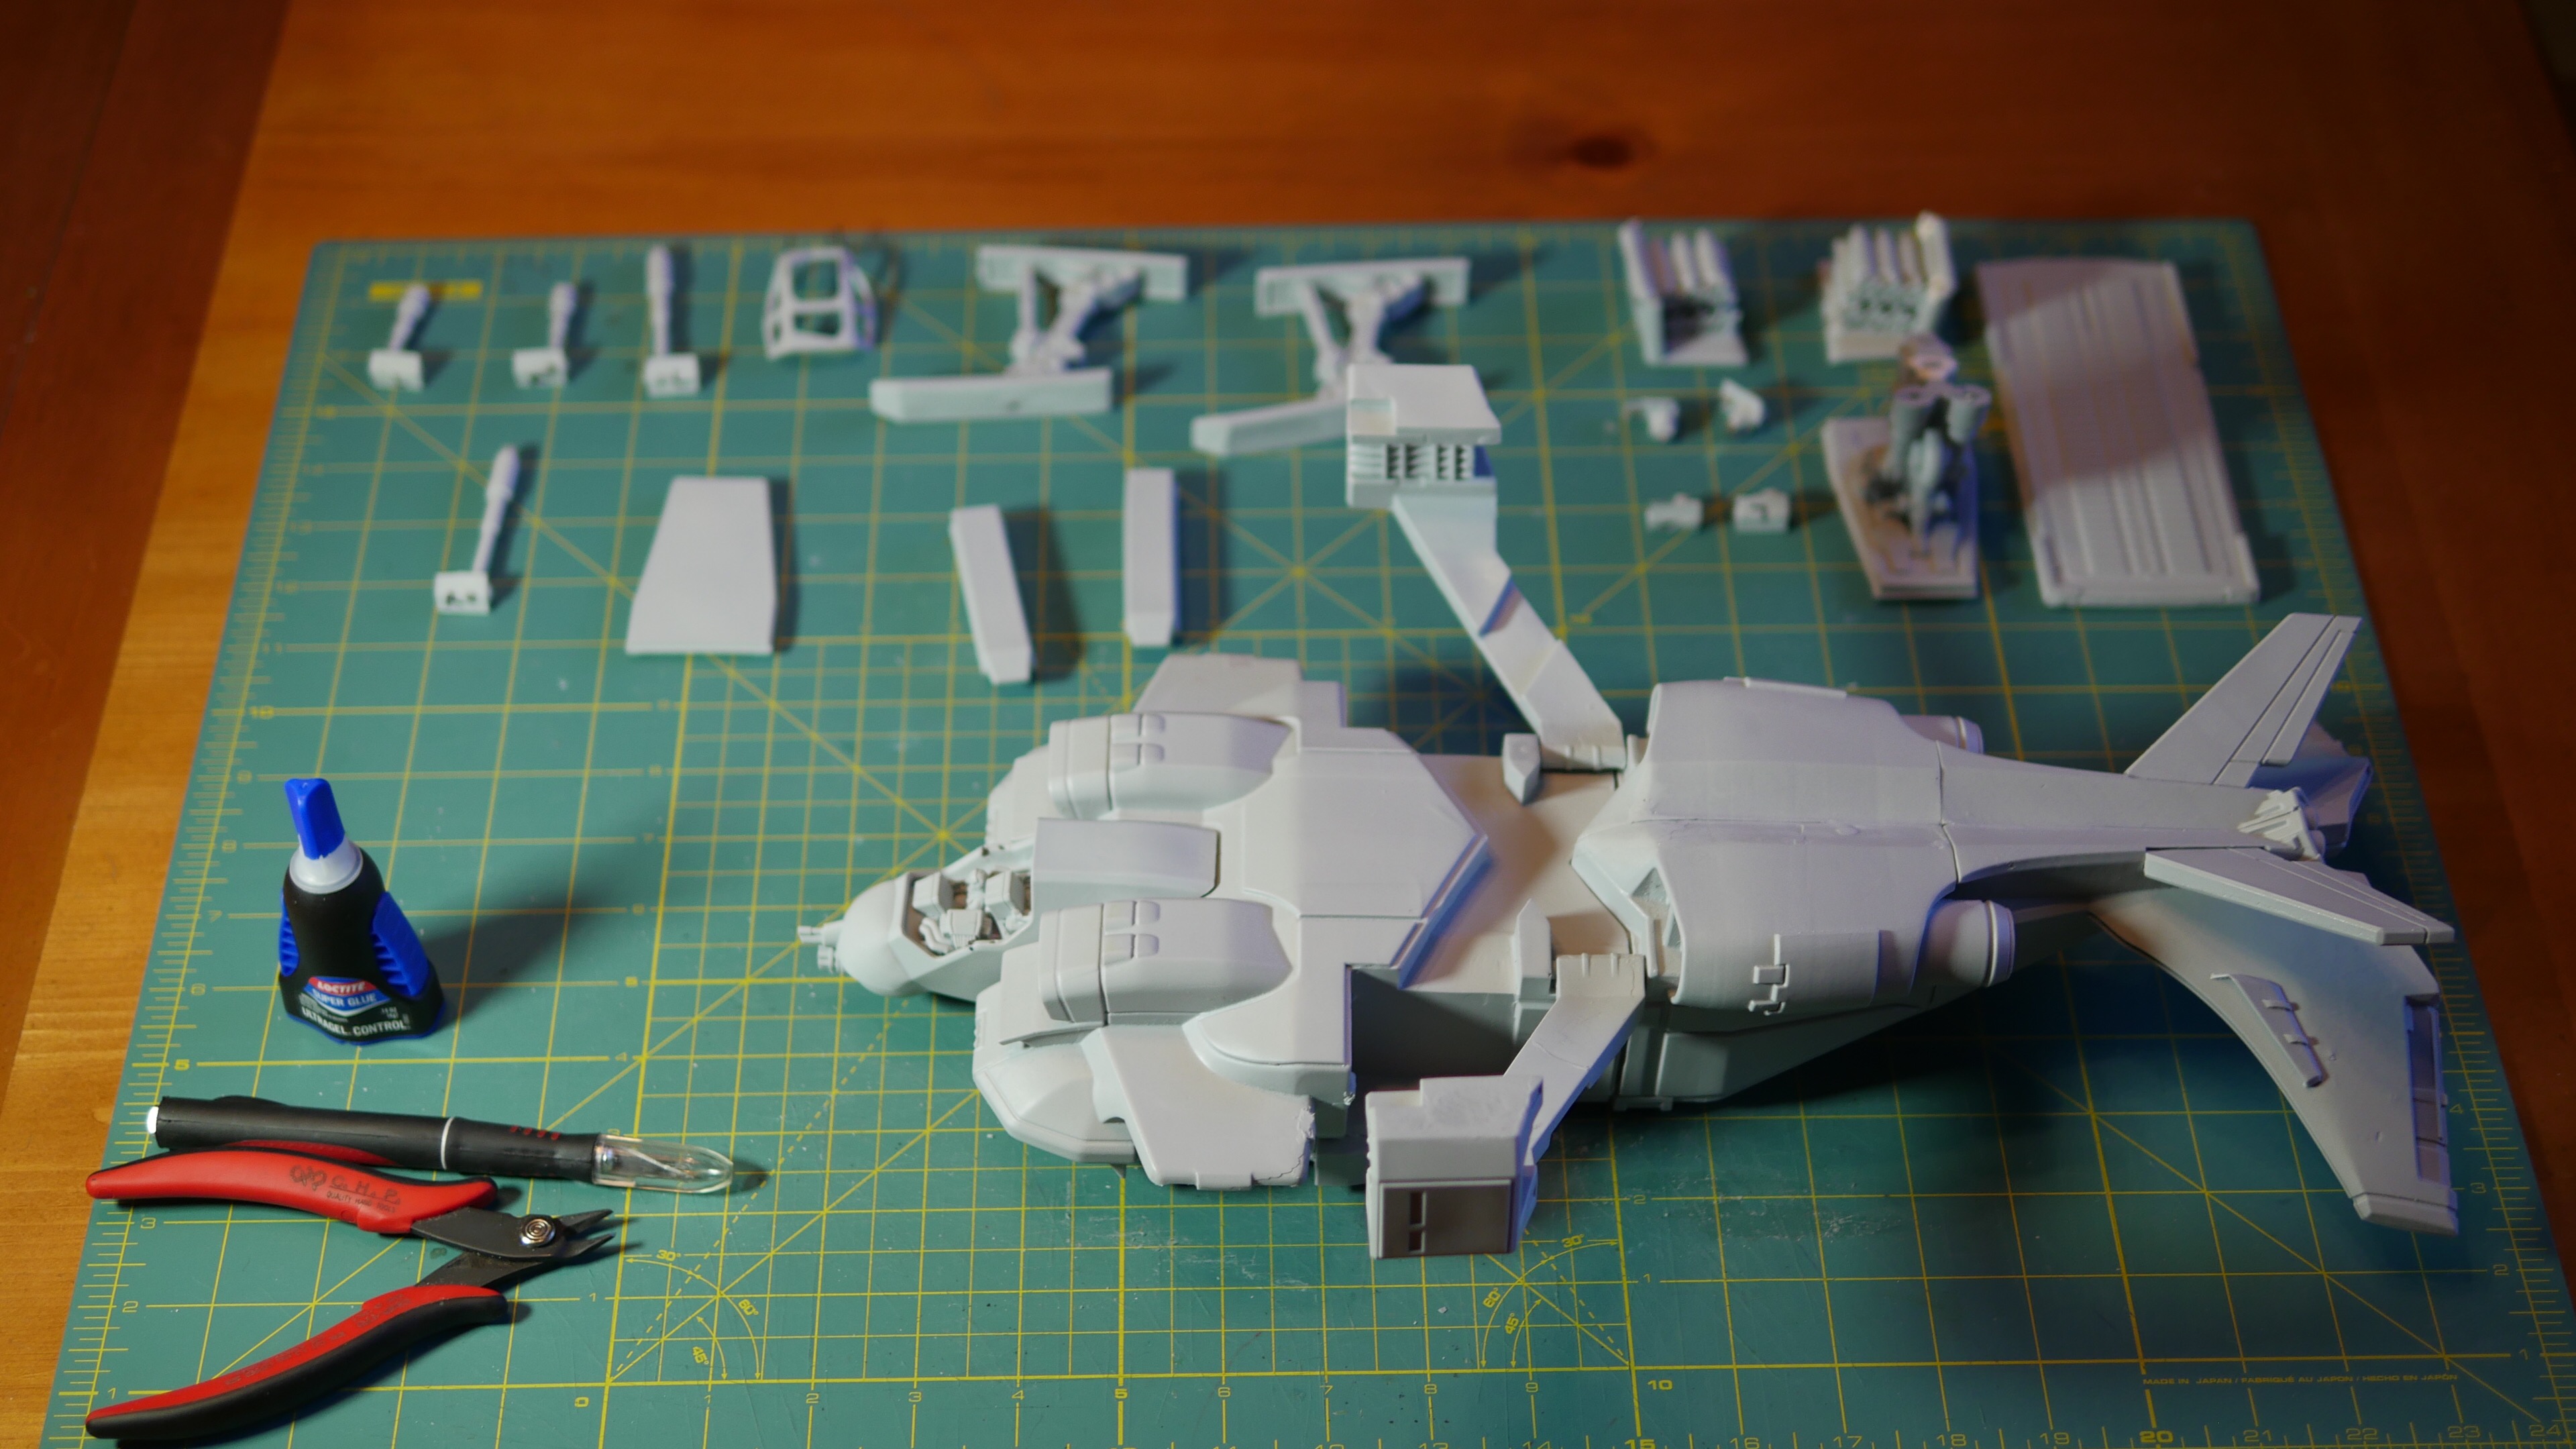
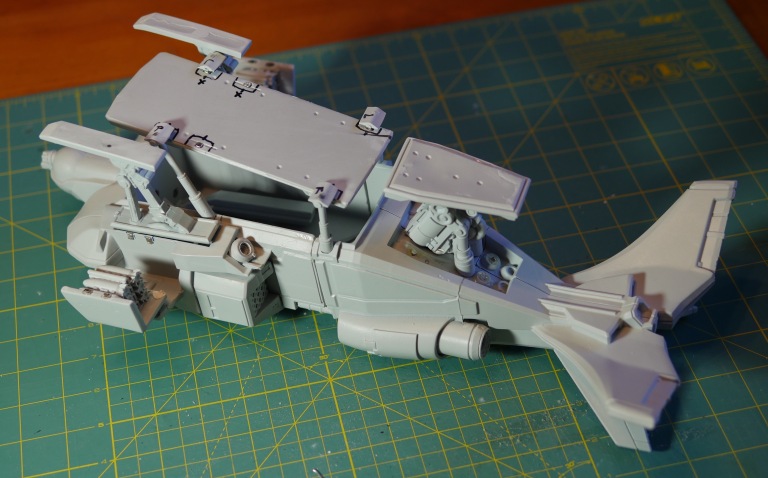
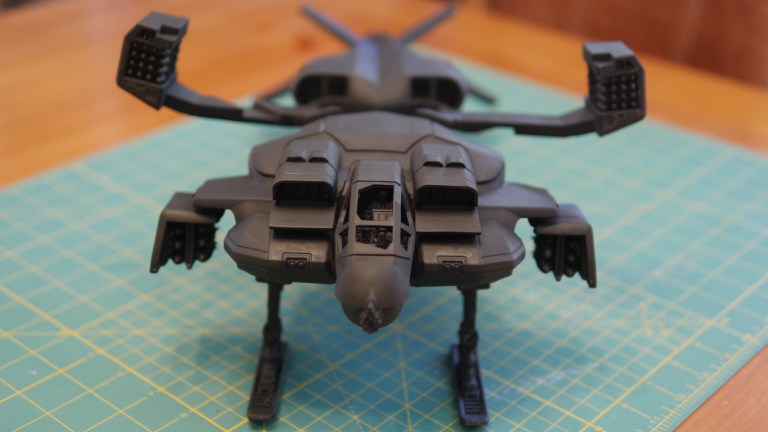
When I received the AVP Cheyenne-Dropship from Prodos Games, I quickly realized I had to make a few decisions before assembling this beast. 1) Do I want the landing gear retracted or extended? 2) Do I want the cargo bay opened or closed? 3) Do I want the front bomb bay doors opened or closed? 4) Do I want the cockpit hatch opened or closed? Opened or closed – opened or closed!!!!! I couldn’t decide. Why couldn’t I have both? Having a modular dropship would be an ideal option for my style of film-making. I mean, since the larger missile arms could open and close, why not the rest of the ship? So I thought about setting up a series of pins to allow for different setup options but I didn’t want to deal with tiny needles sticking out all over the model. So after talking with a friend of mine, he suggested magnets! What a great idea. After a couple of months, taking my time, while working on other models, I finally finished arranging and installing the magnets. Now the Prodos Games AVP Cheyenne – Dropship is modular and perfect for filming and war-gaming.
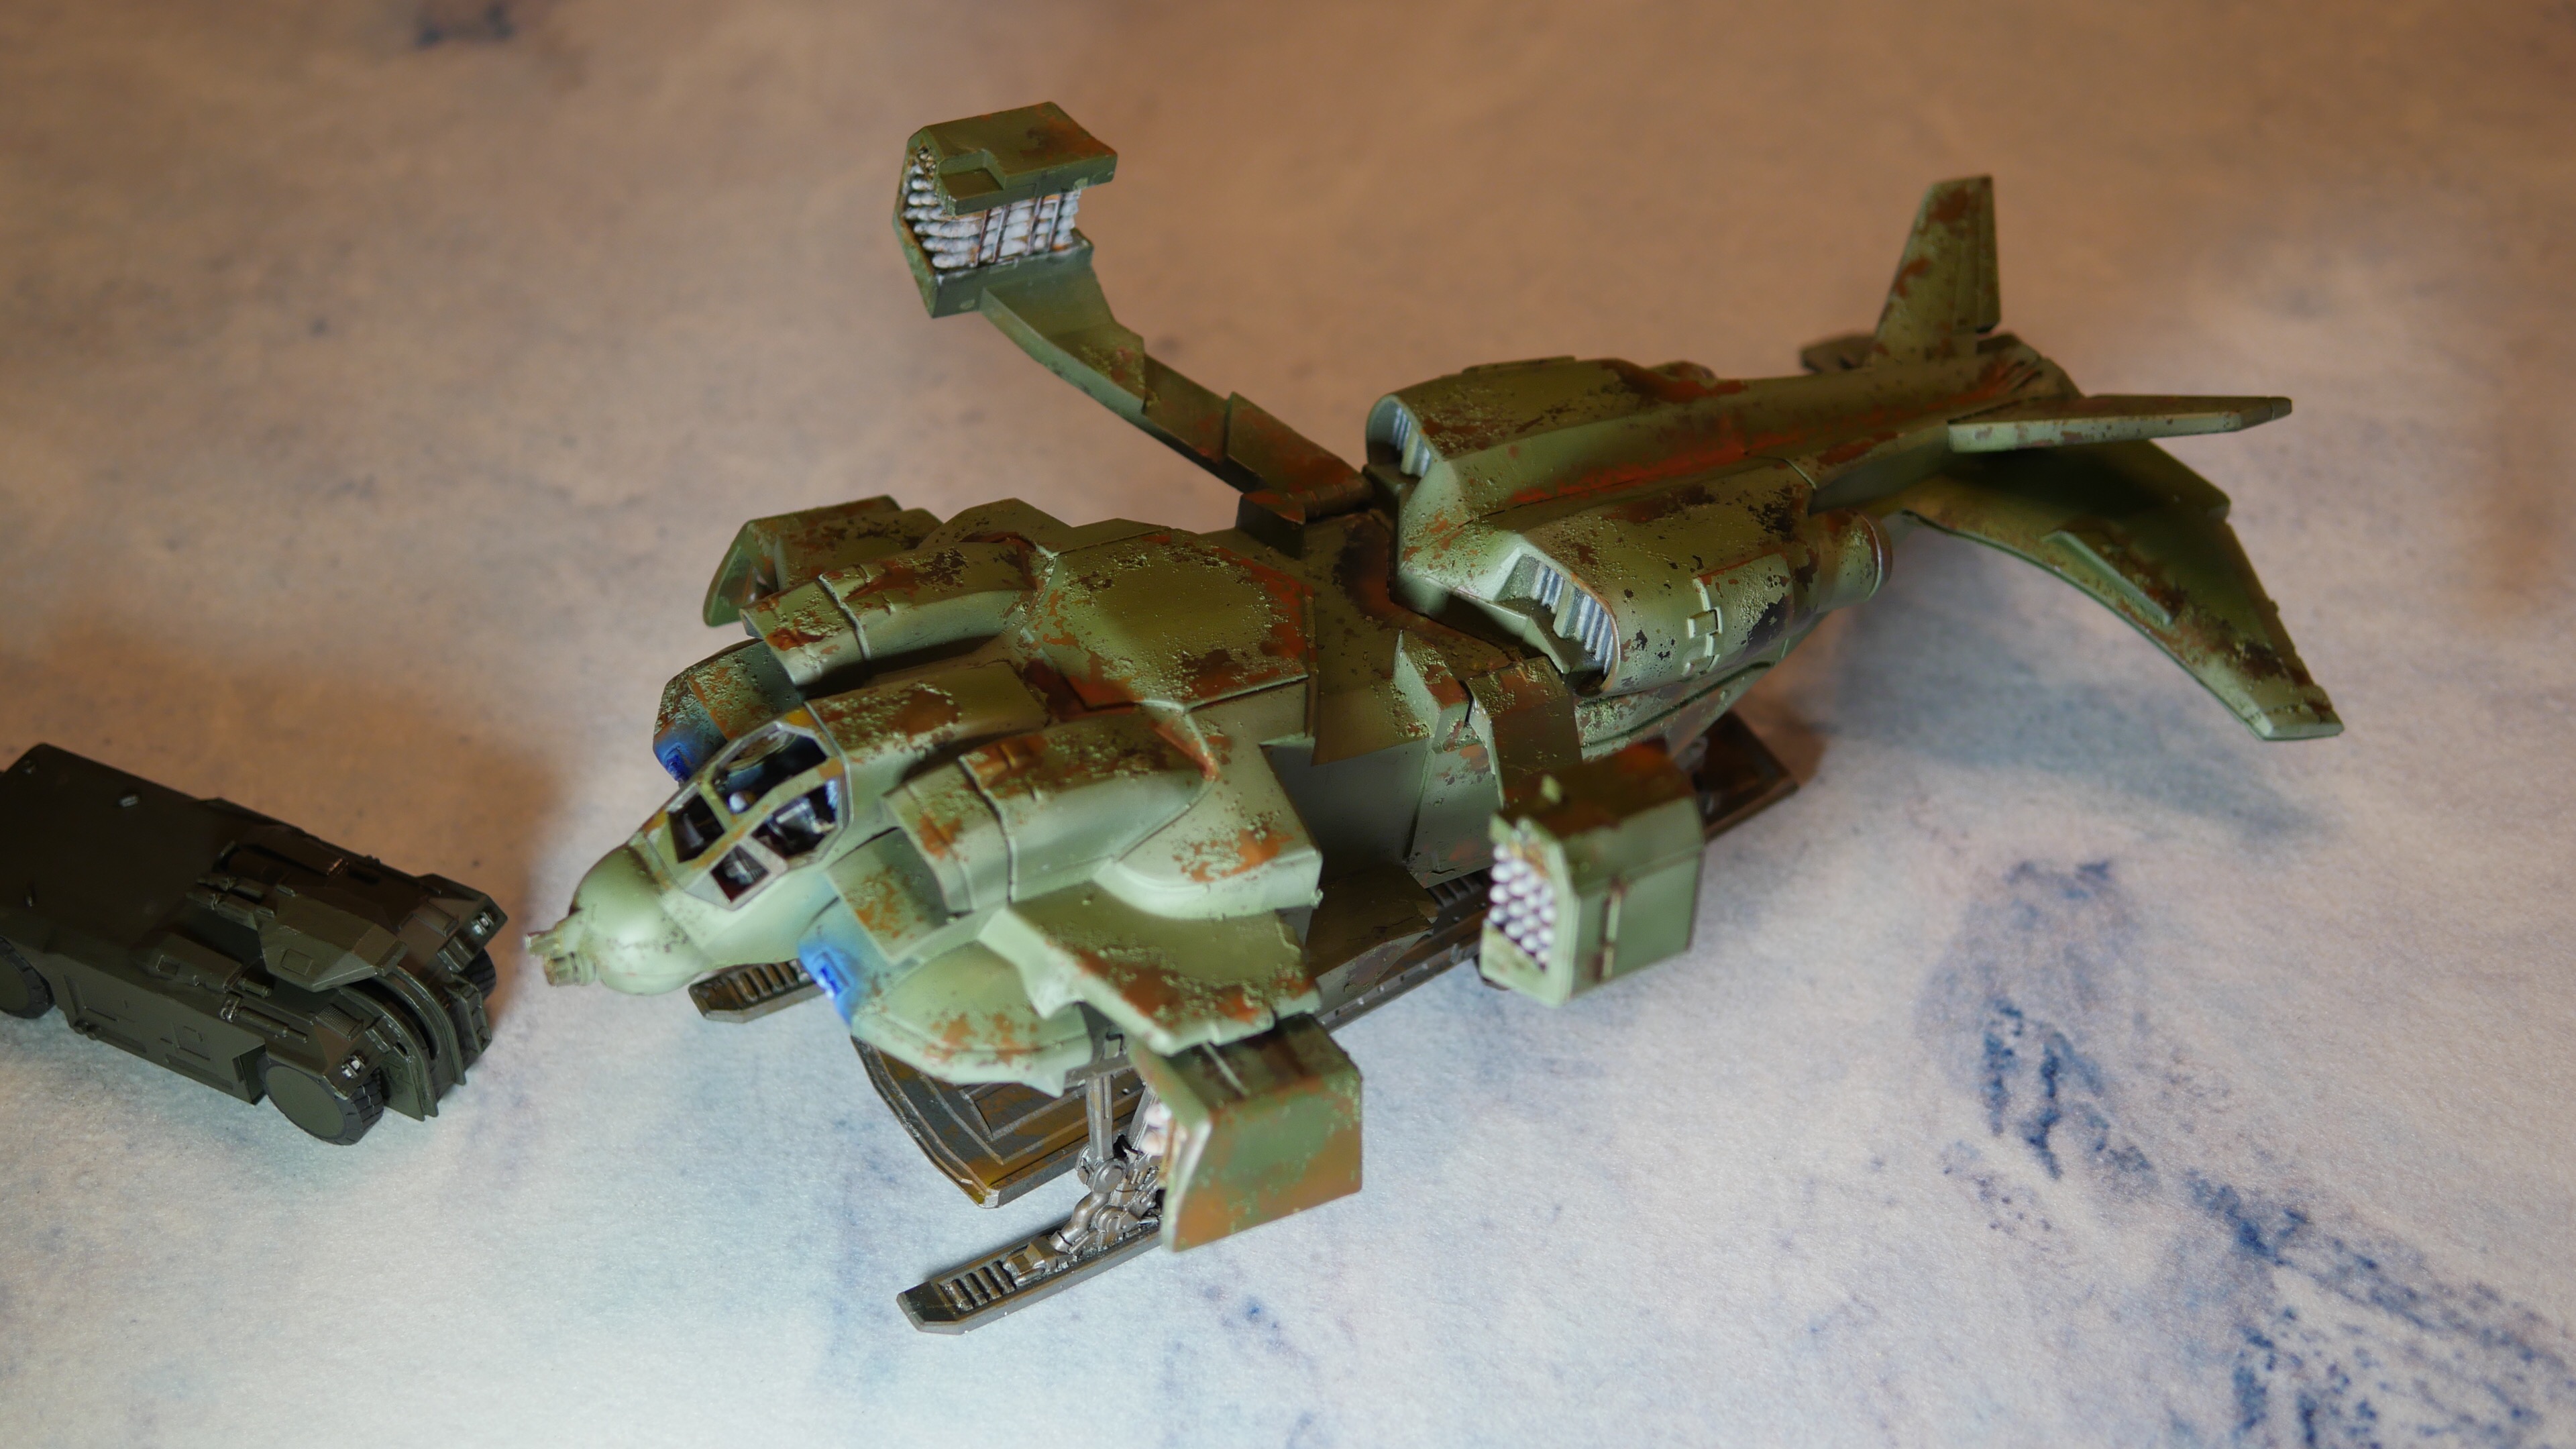
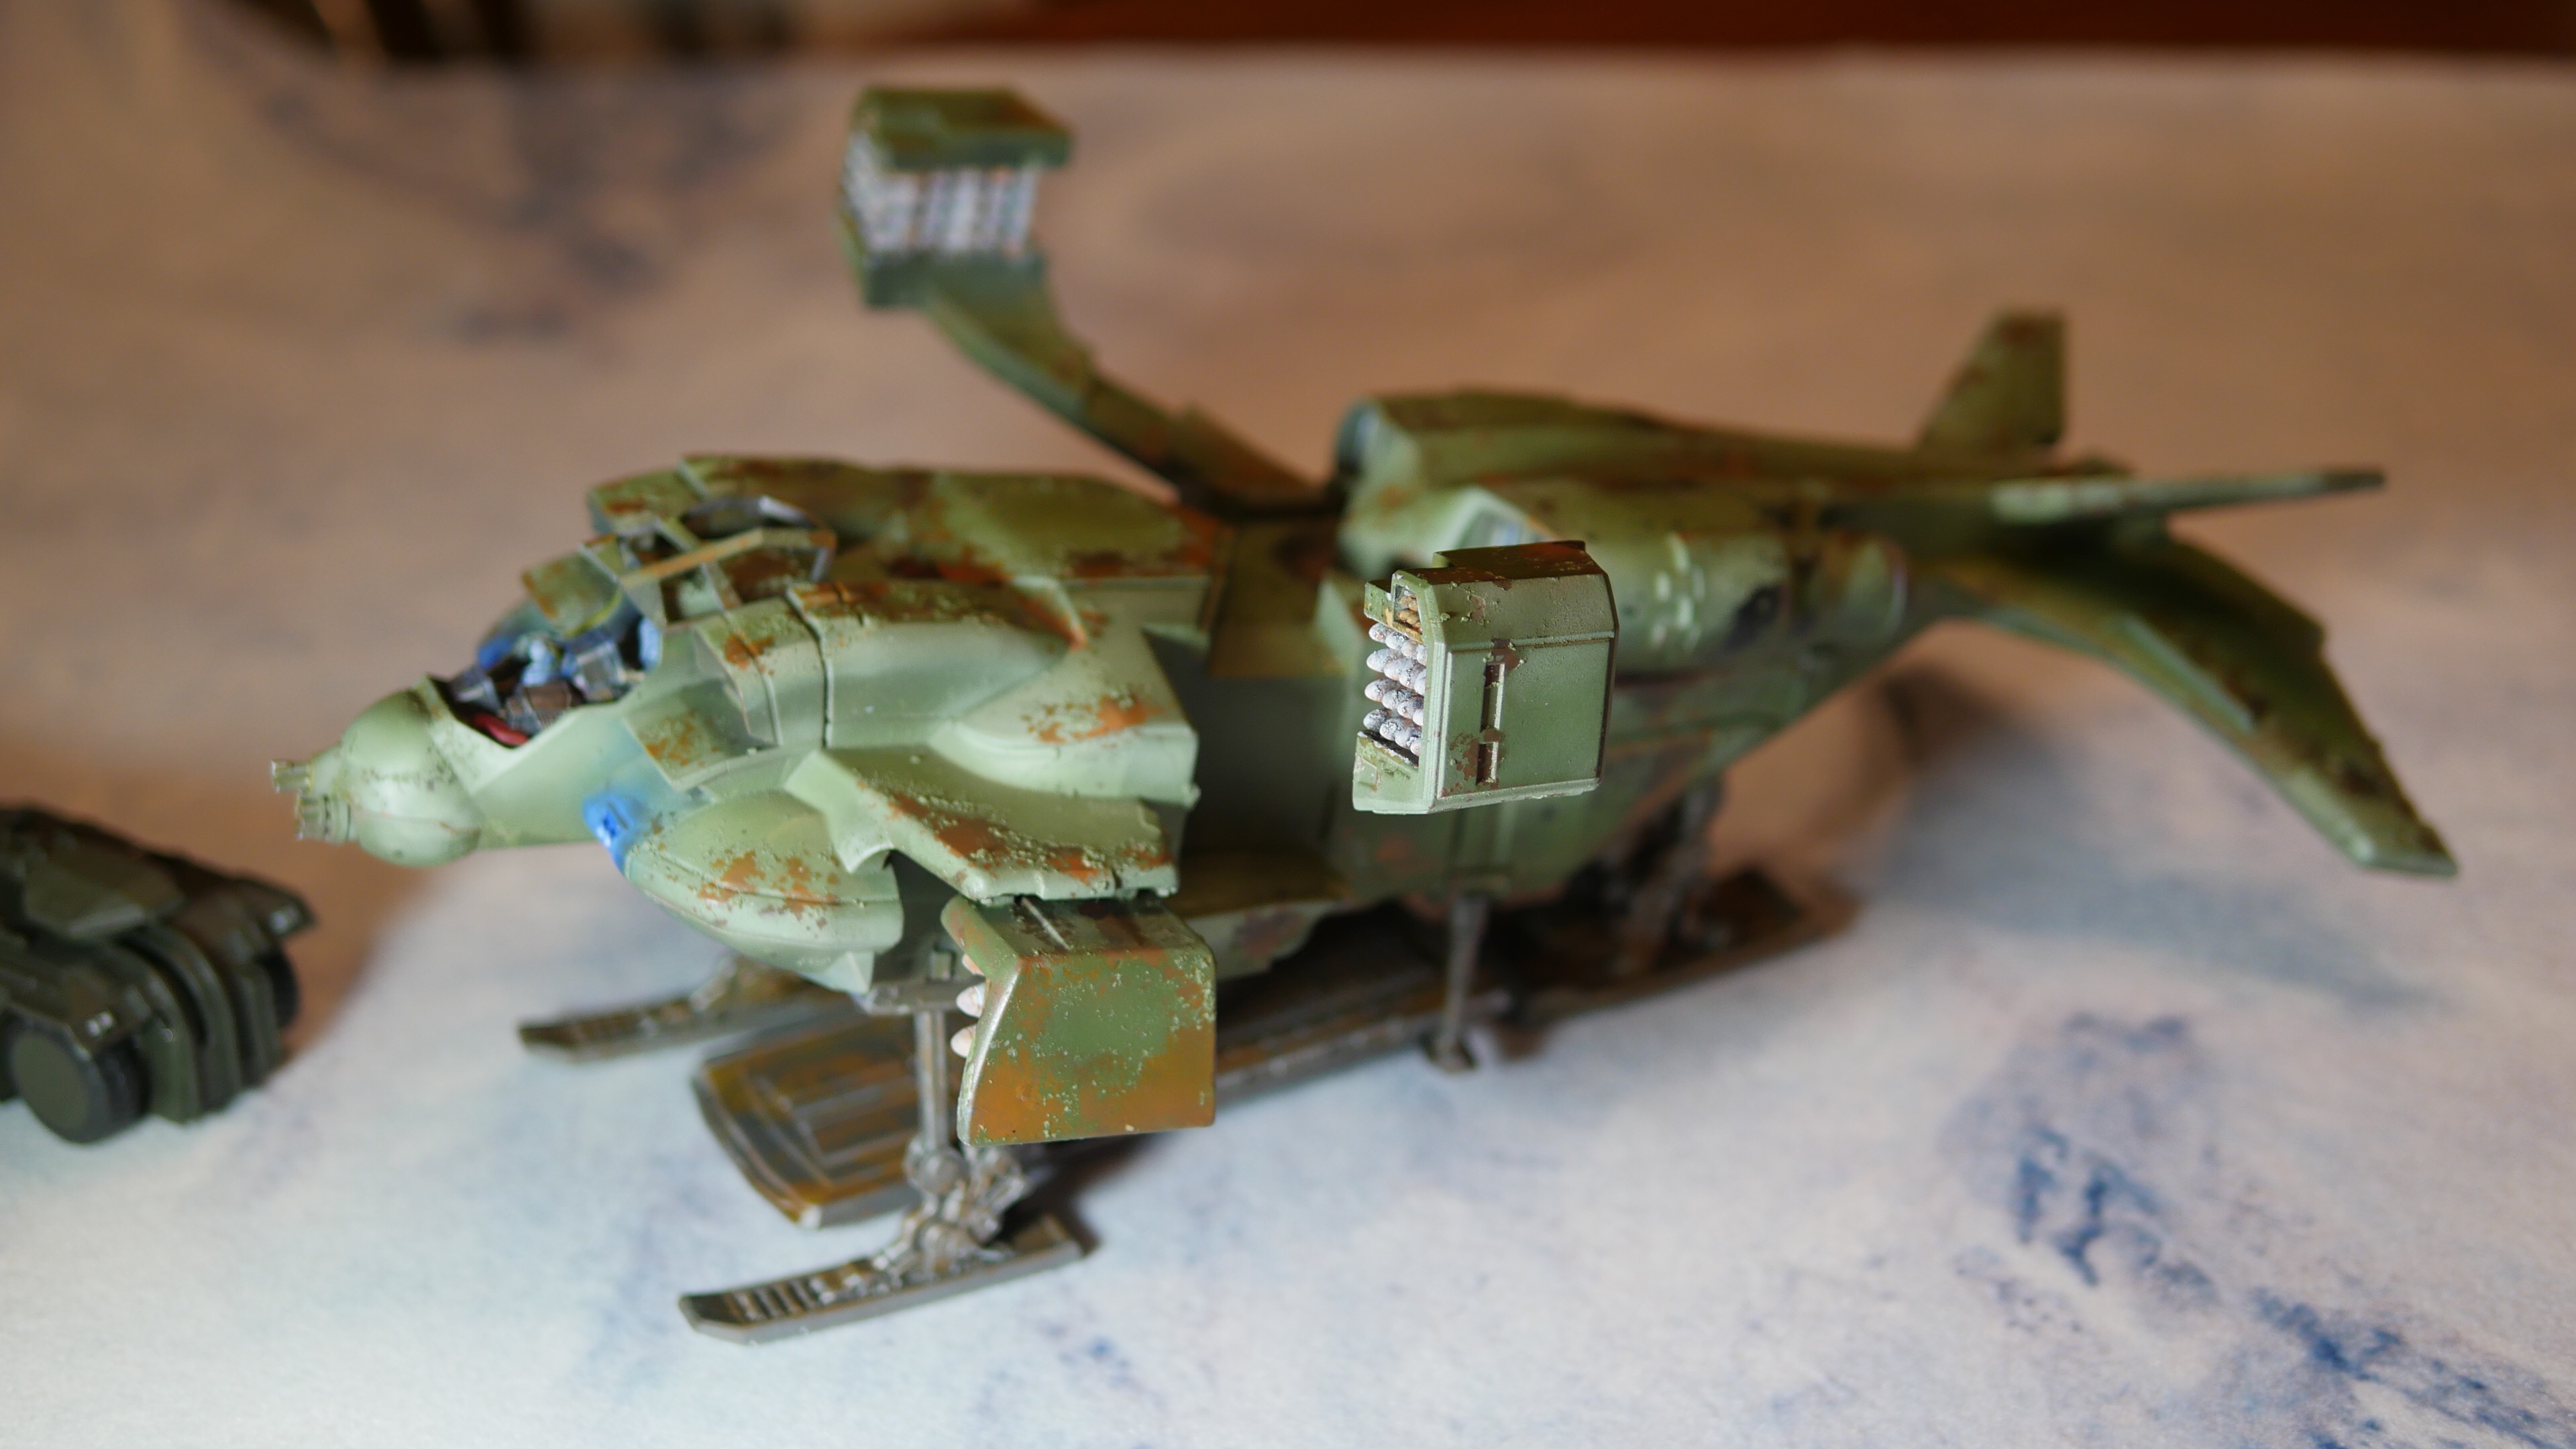
Choosing the paint scheme was the easy part. Since the show iNFiNiTY vs. Zombies takes place many years after the events in the movie Aliens, I wanted to demonstrate all of the stress that had been inflicted on the Cheyenne. It has been in many alien battles and has flown numerous missions. I decided to go with a rough, rusty, war-torn exterior.
If you’re a fellow proud owner of this model and you’re interested in customizing the Cheyenne, here is how I did it.
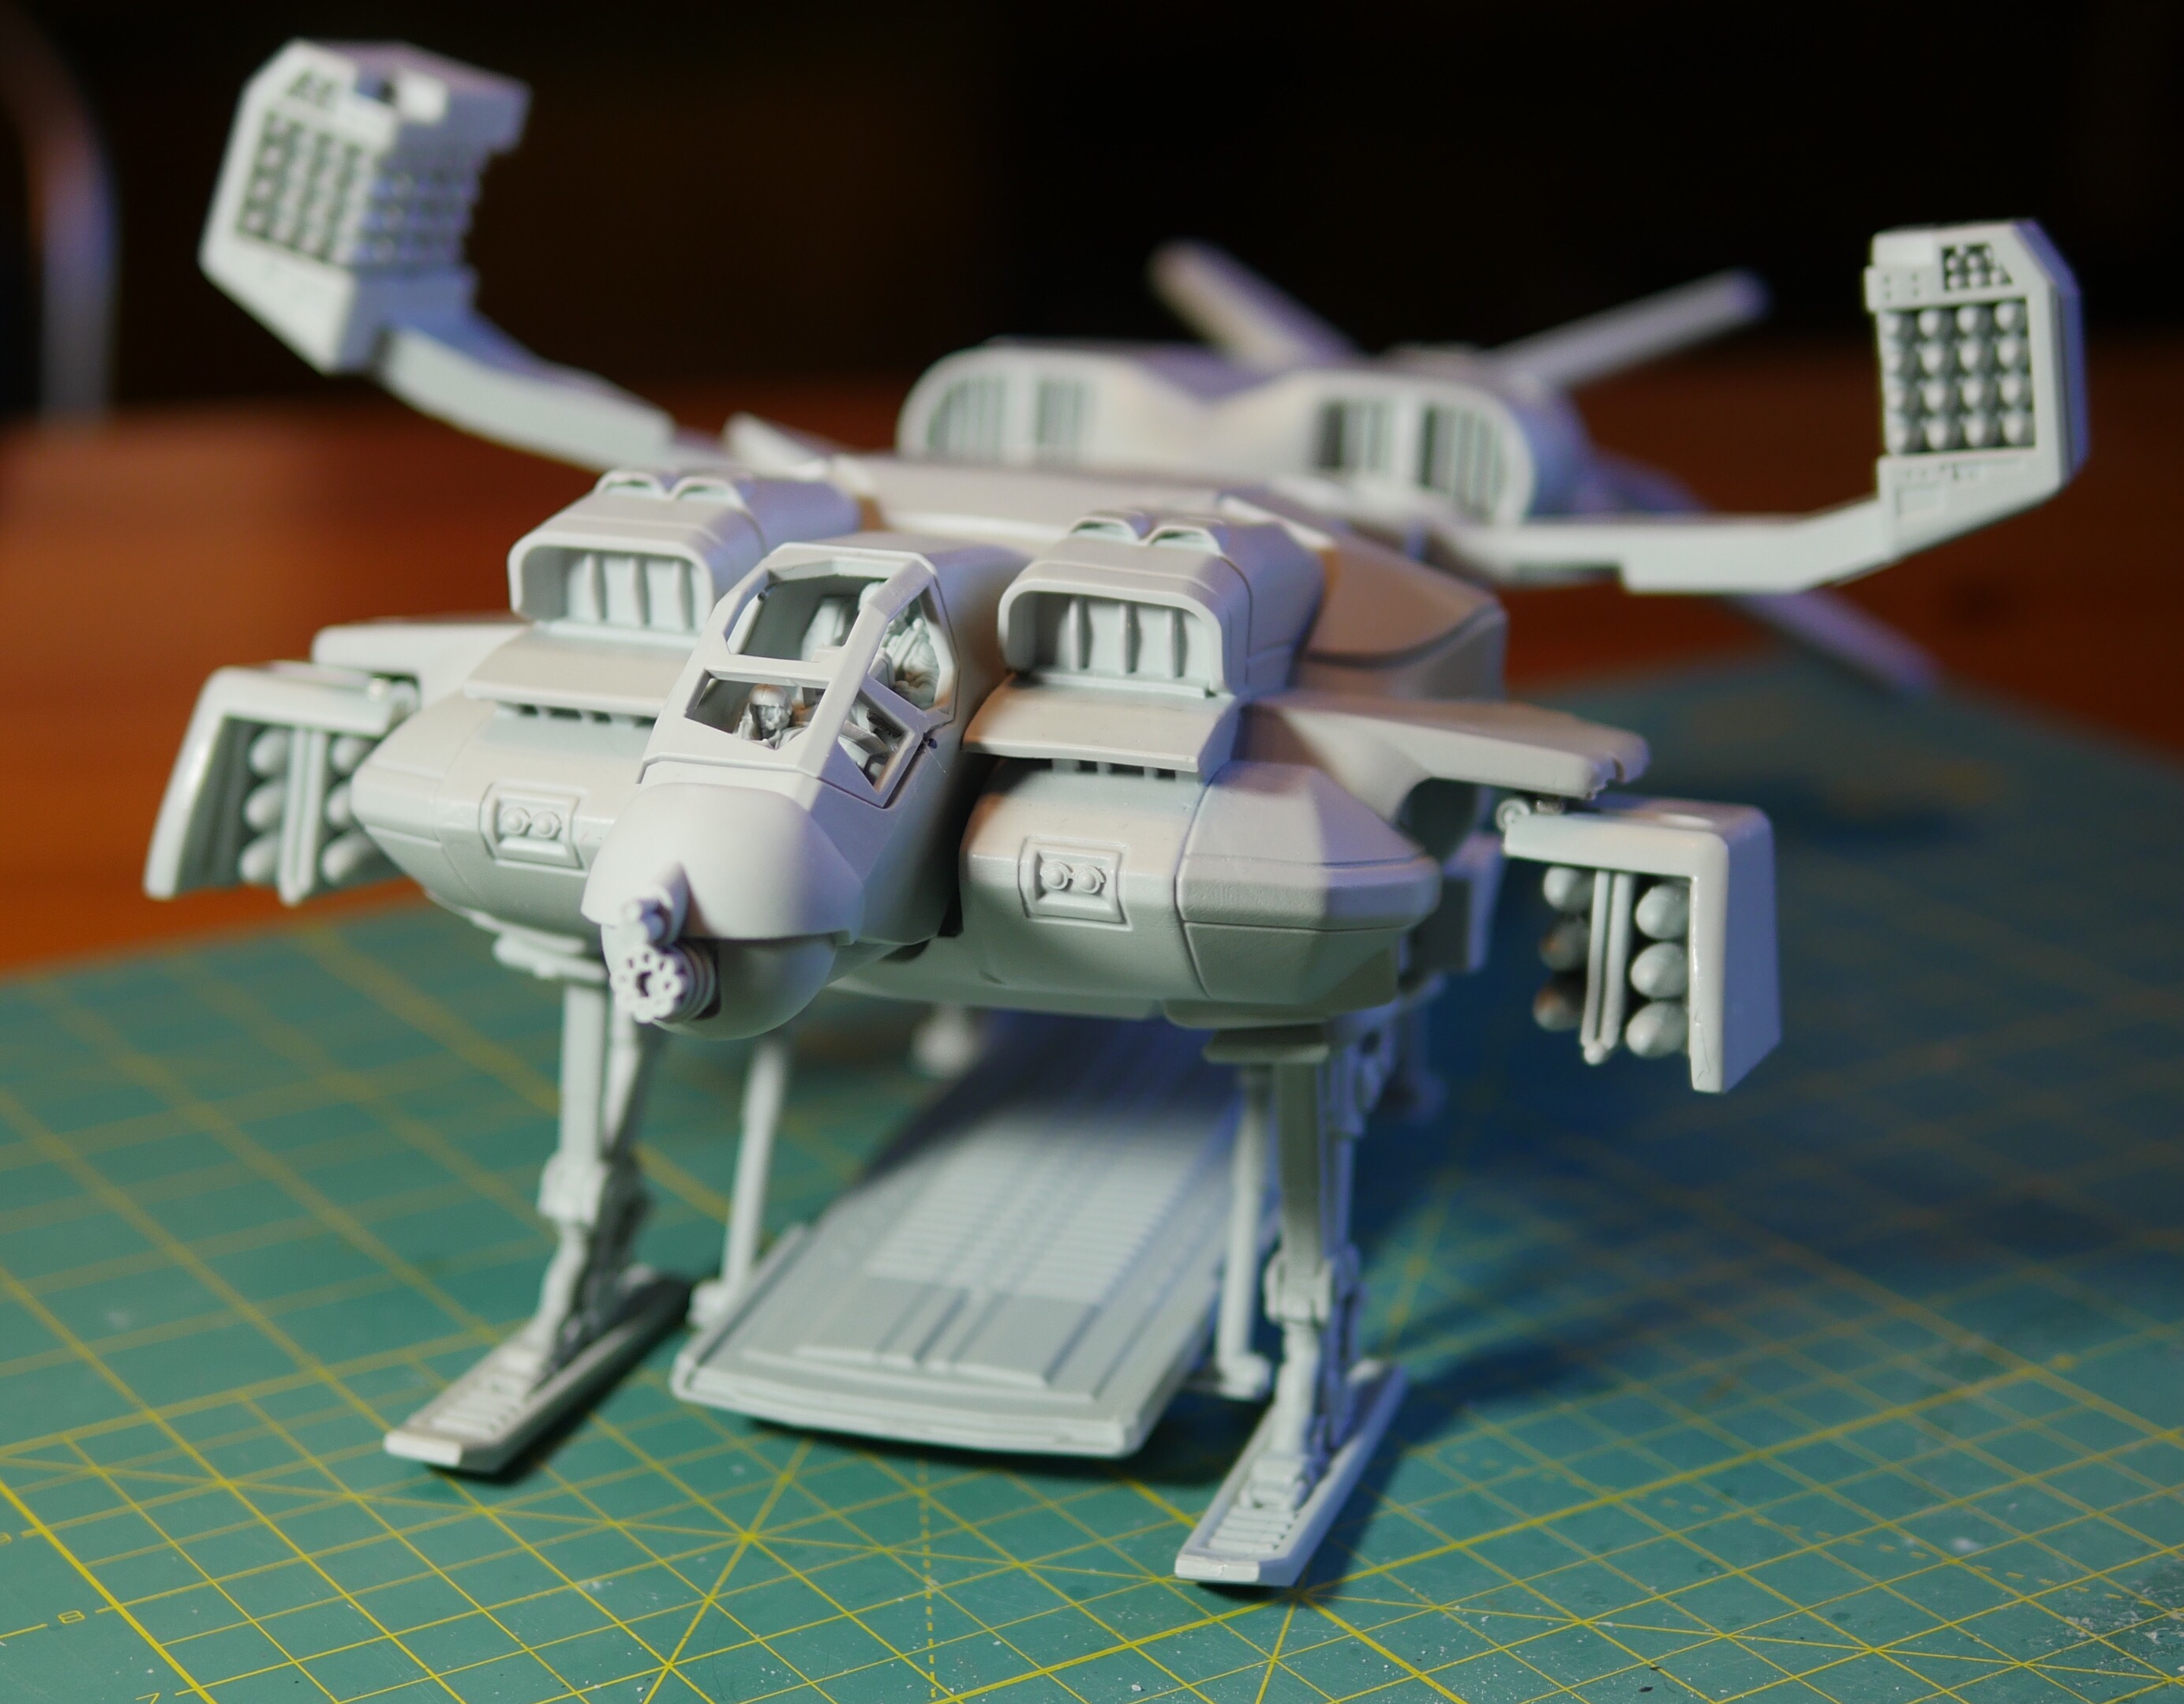
You need to determine which aspects of the dropship you would like to make modular. I went with all of the landing gear, cockpit hatch, bomb doors and the cargo door/struts. It took some time determining the most optimal locations for the magnets.


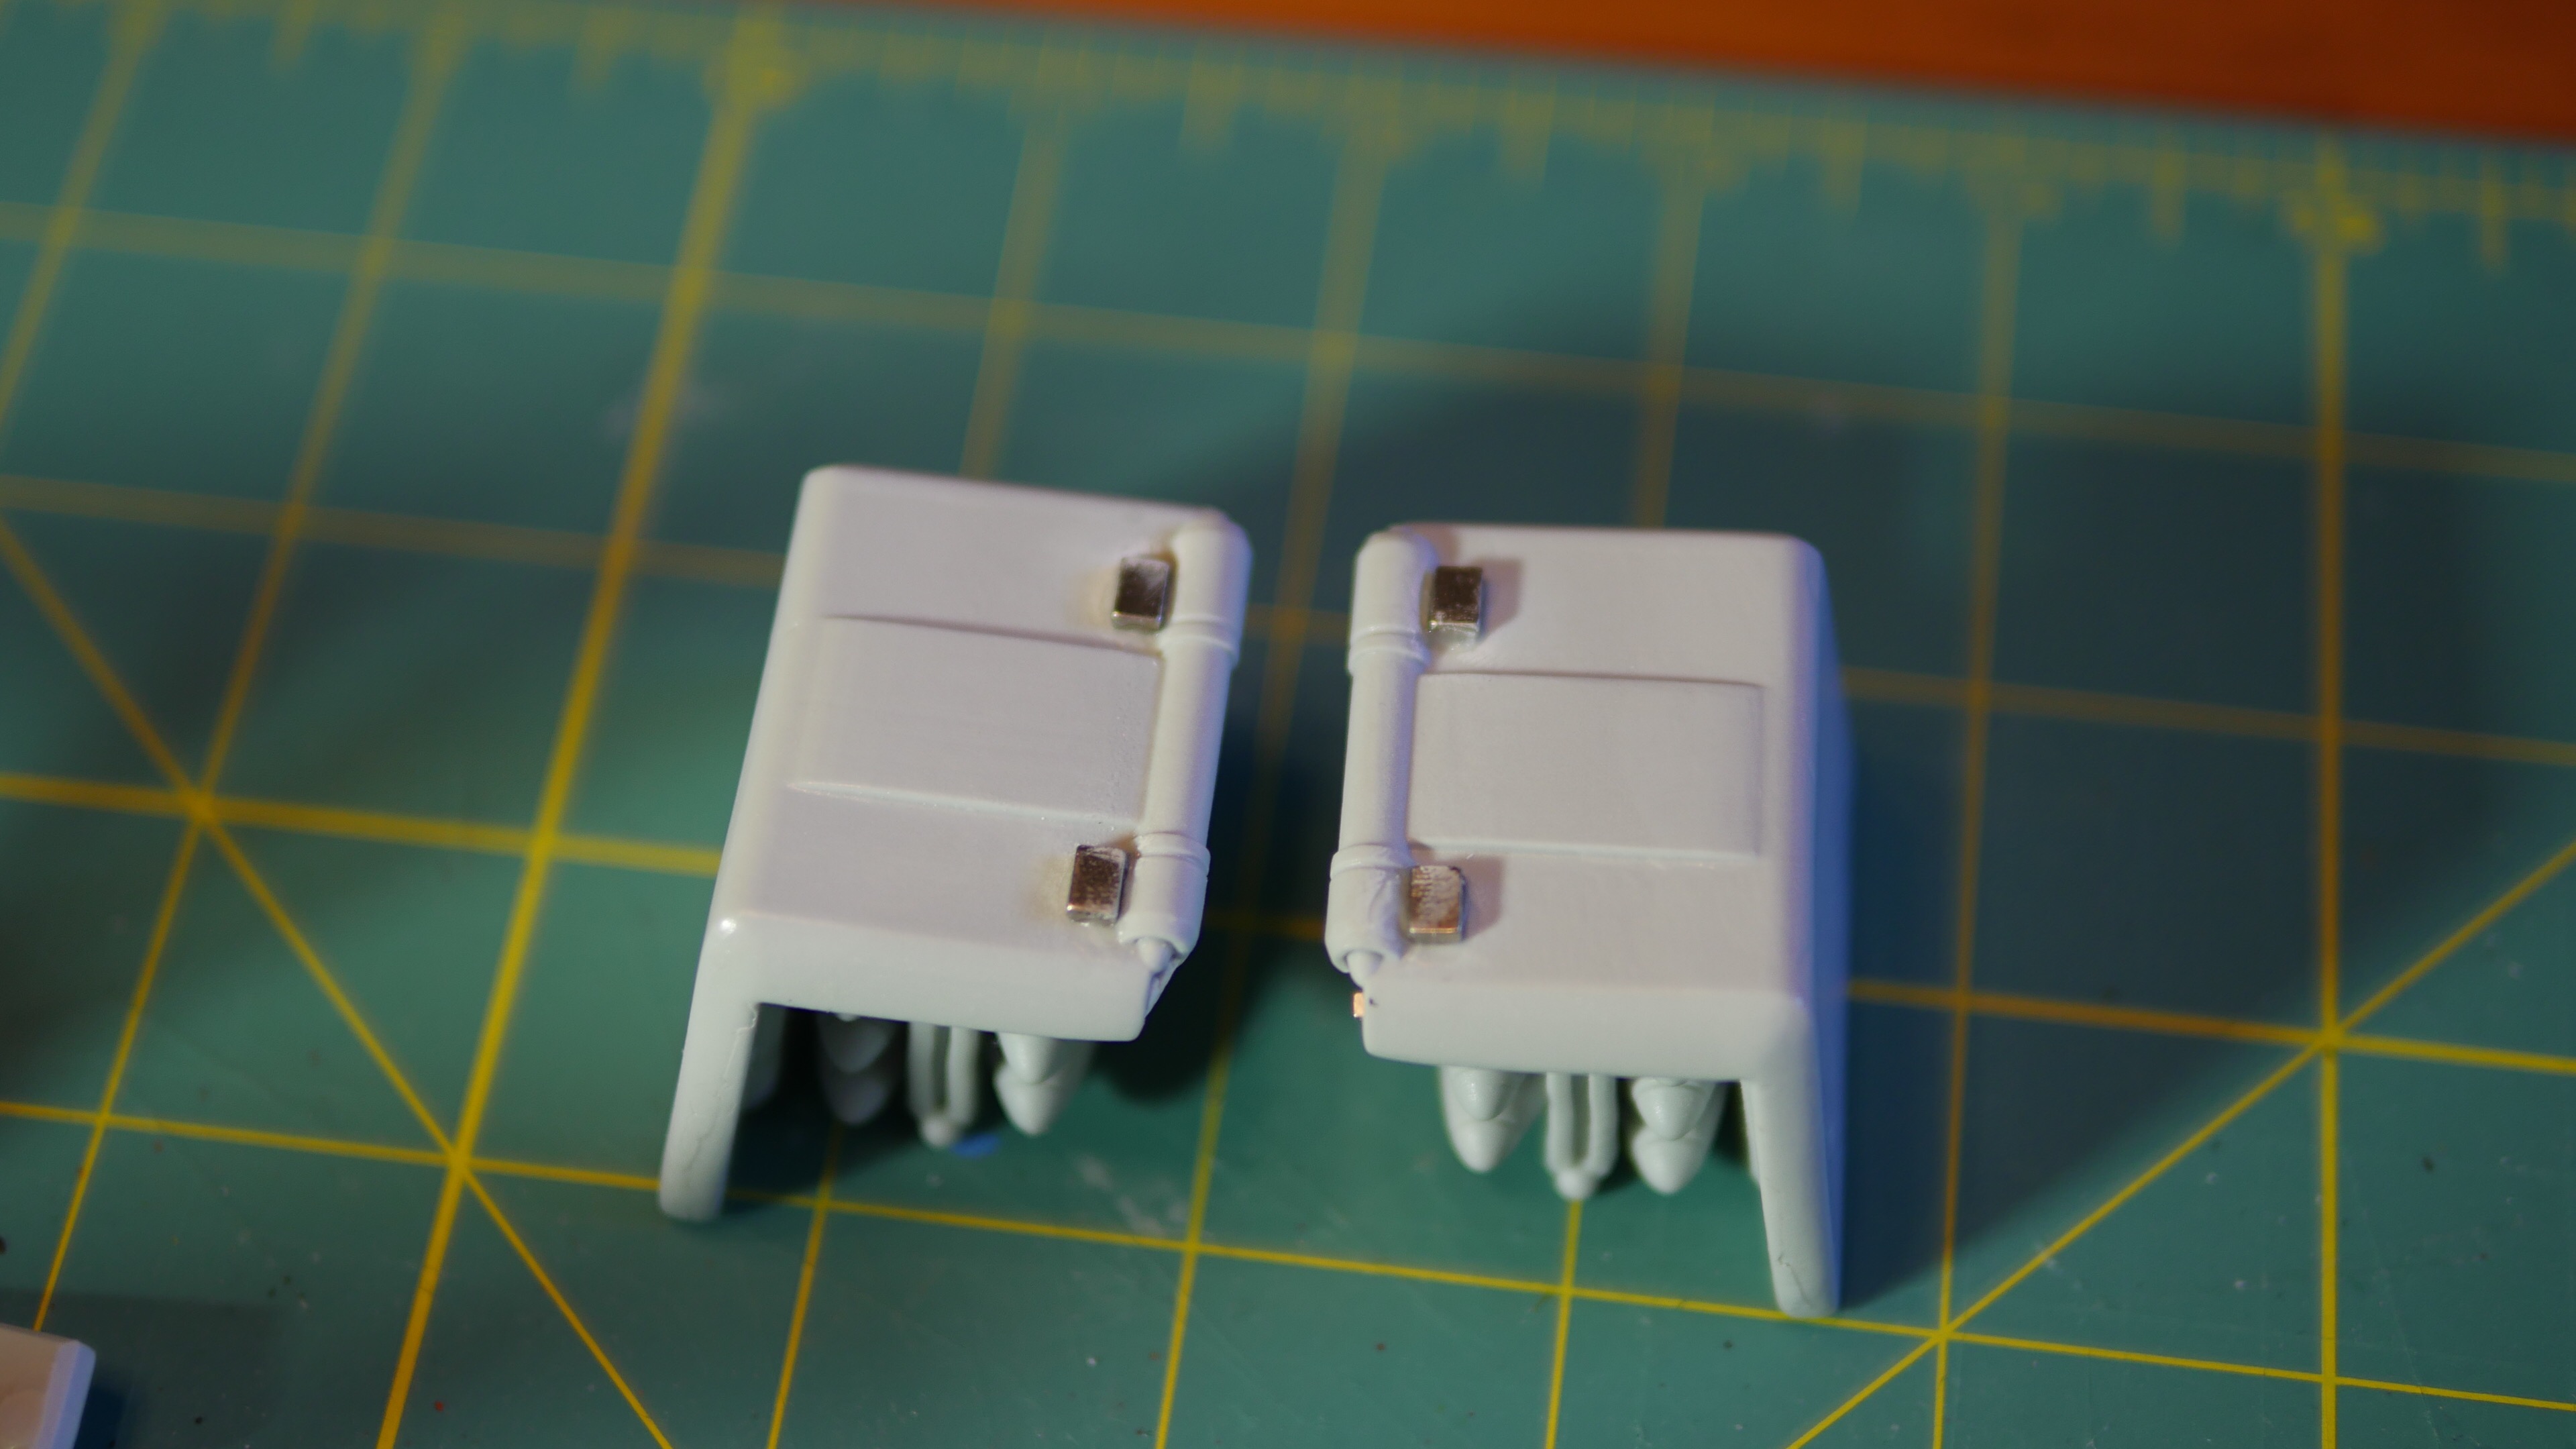
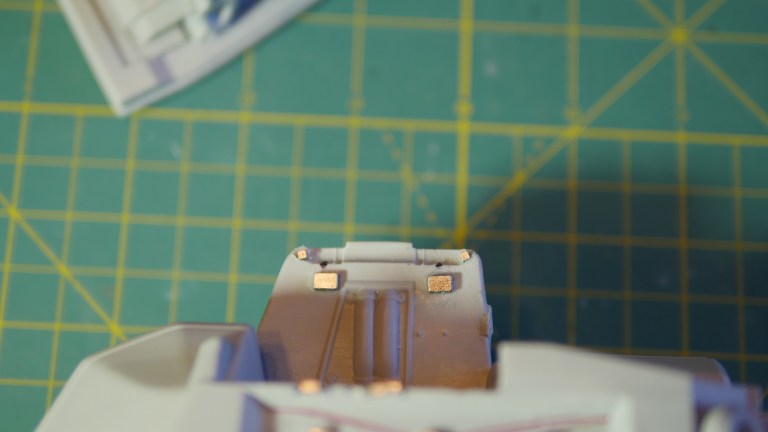
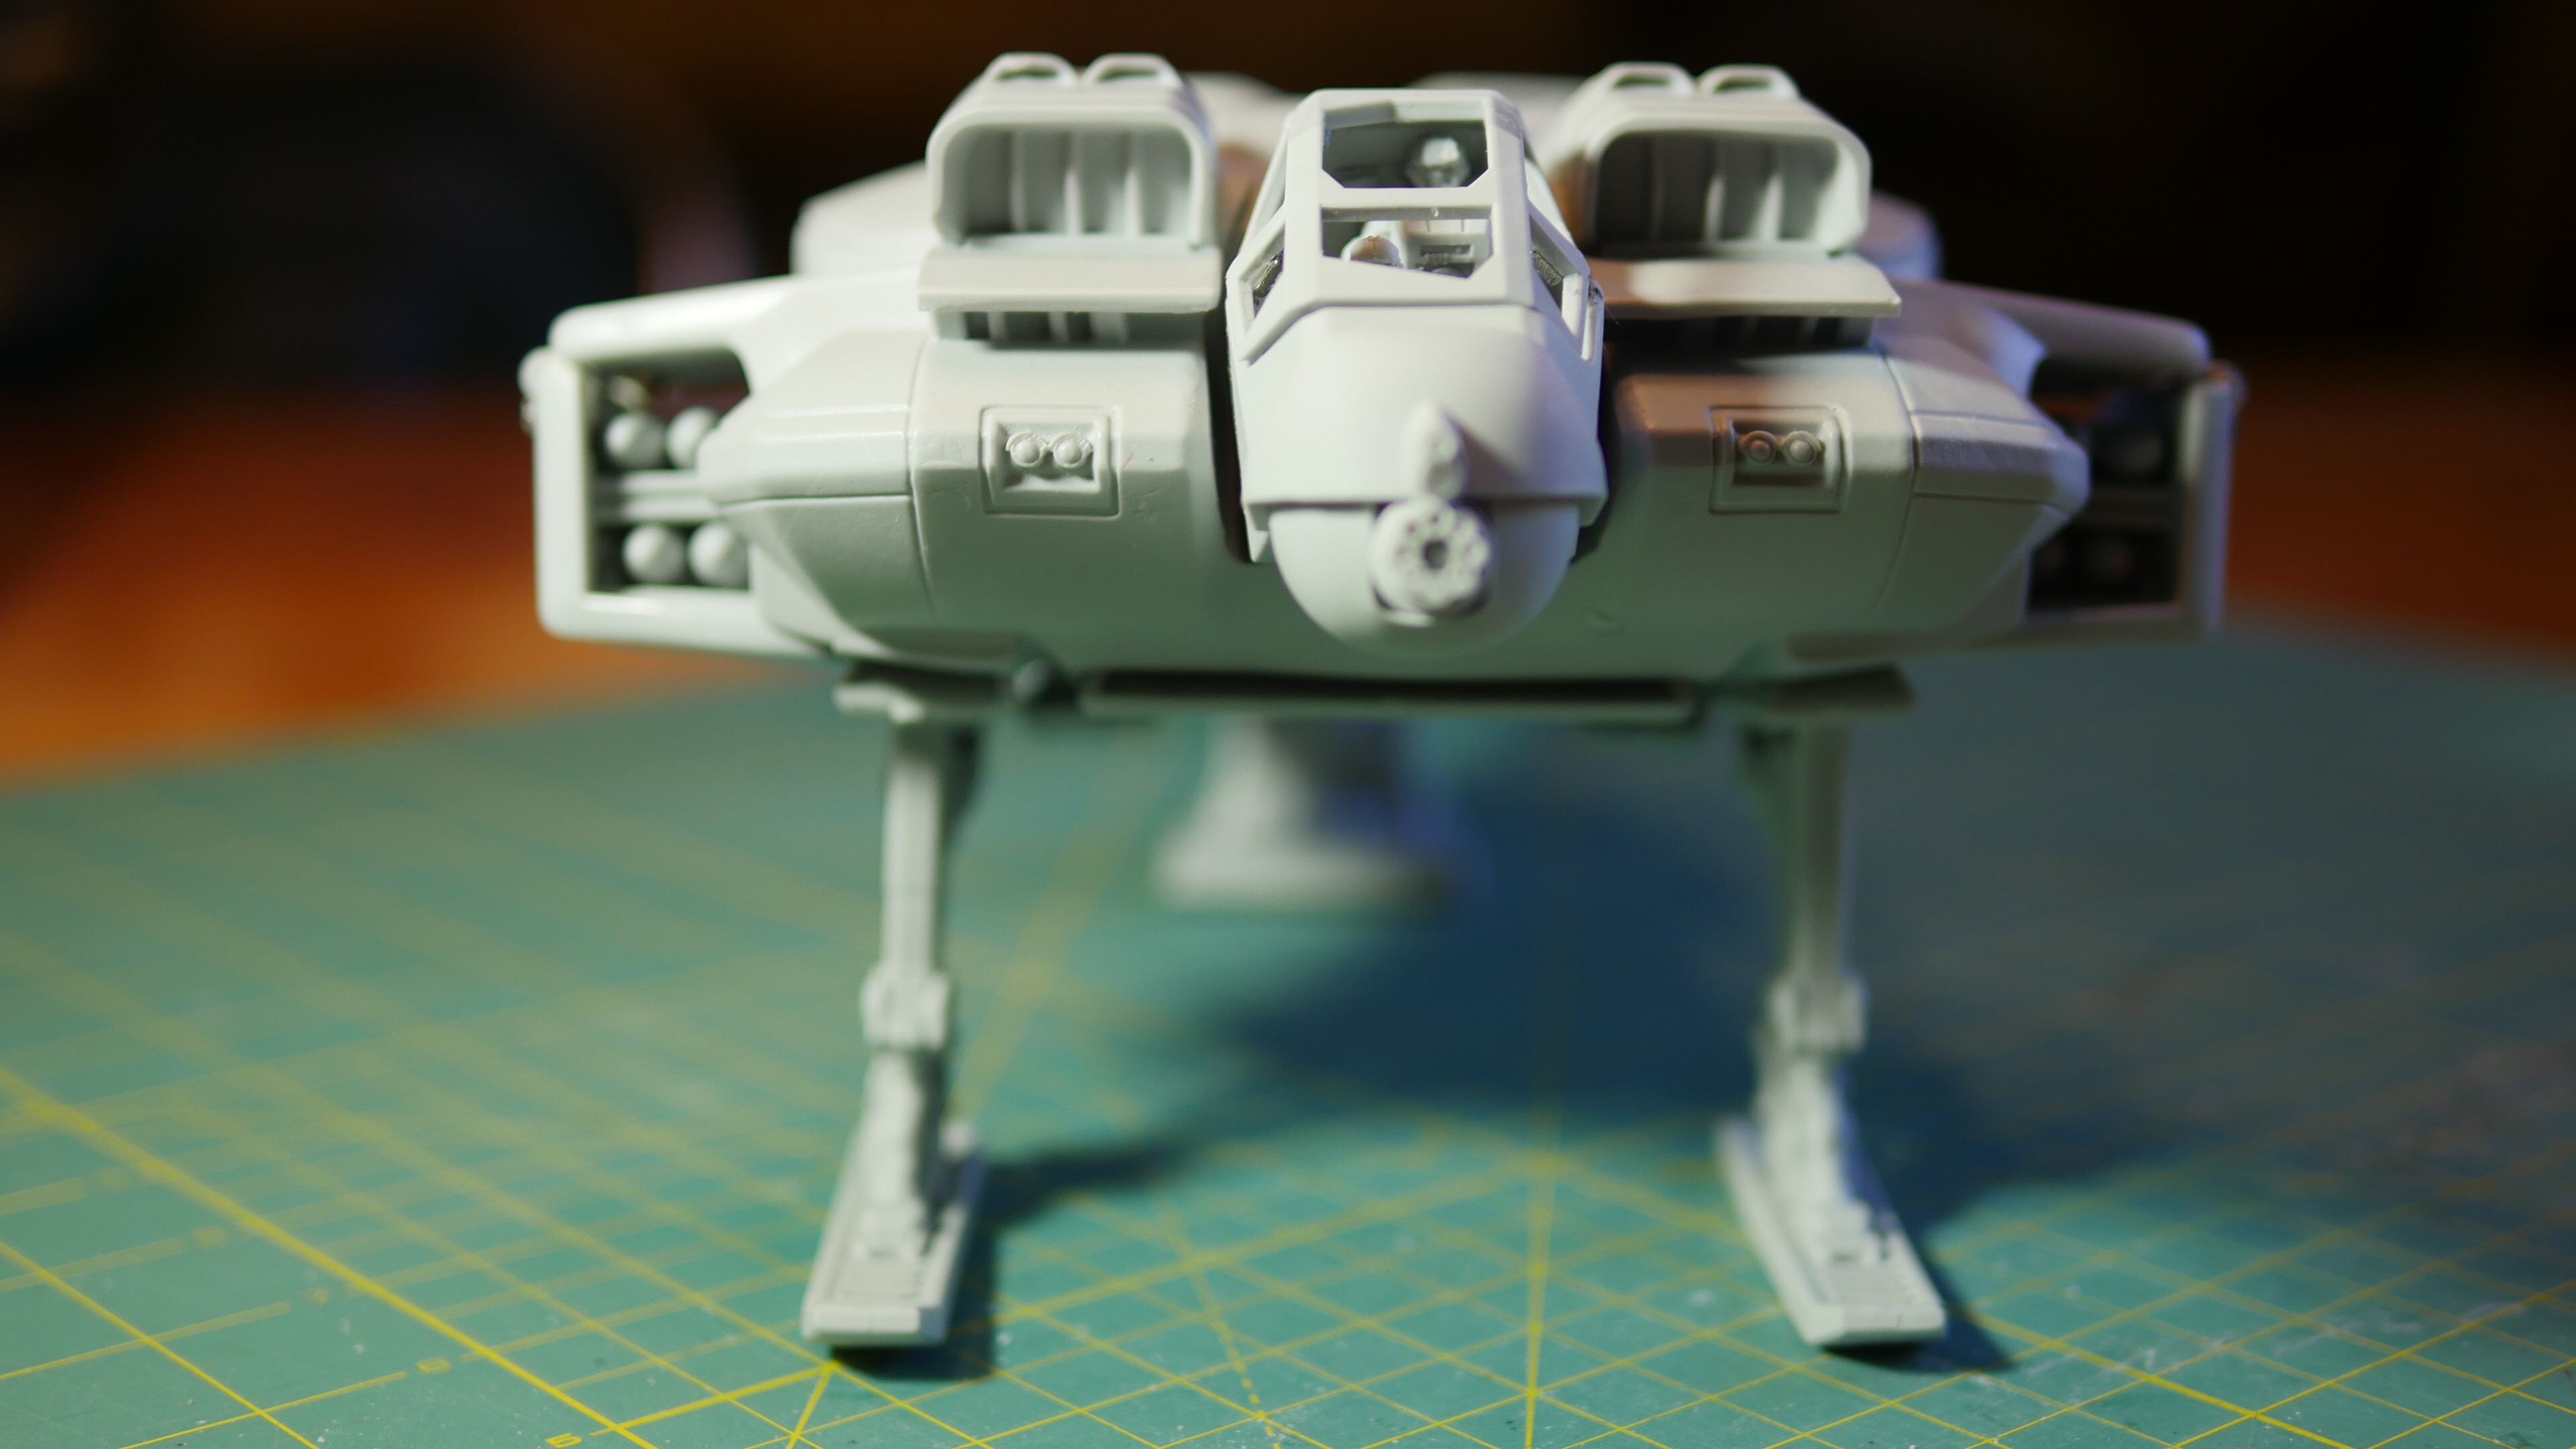
The landing gear was the best place to start. It was straight forward and required very little drilling for the magnet placement. Working with the tiny magnets wasn’t easy. You must check the polarity of each magnet so you can install the connecting magnet in the correct polar direction. The magnets were attached using super glue, so once they were secured they had to be carved off if a polarity mistake was made.
Tip: let the glued magnet dry for a few hours before testing the polarity. See the warning statement as to why.
Warning: super glue and magnets can make a terrible combination. If the glued magnet gets within range of a second magnet, it may jump off the model (or your hand) and attach itself to the other magnet. If there is any glue on the magnet, then the two will form a bond you can not break. Those two magnets are now out of the game.

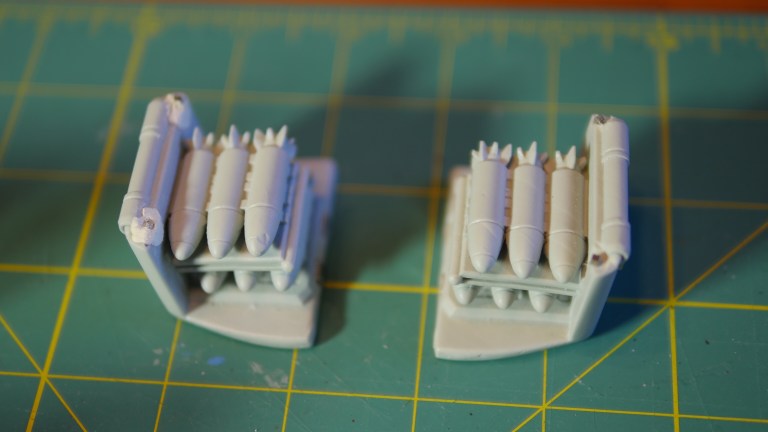
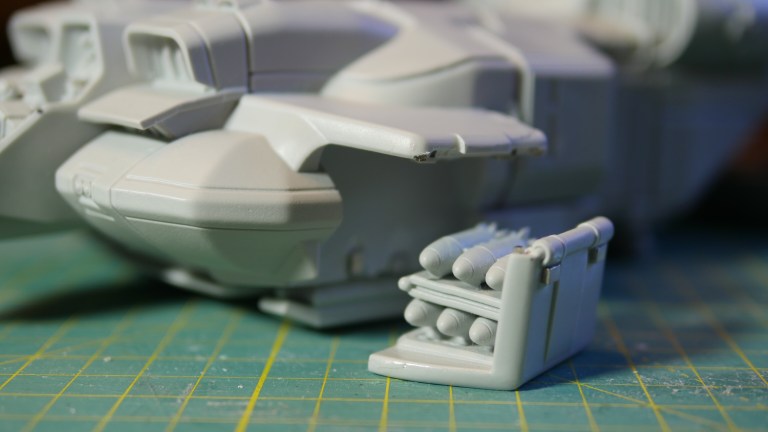
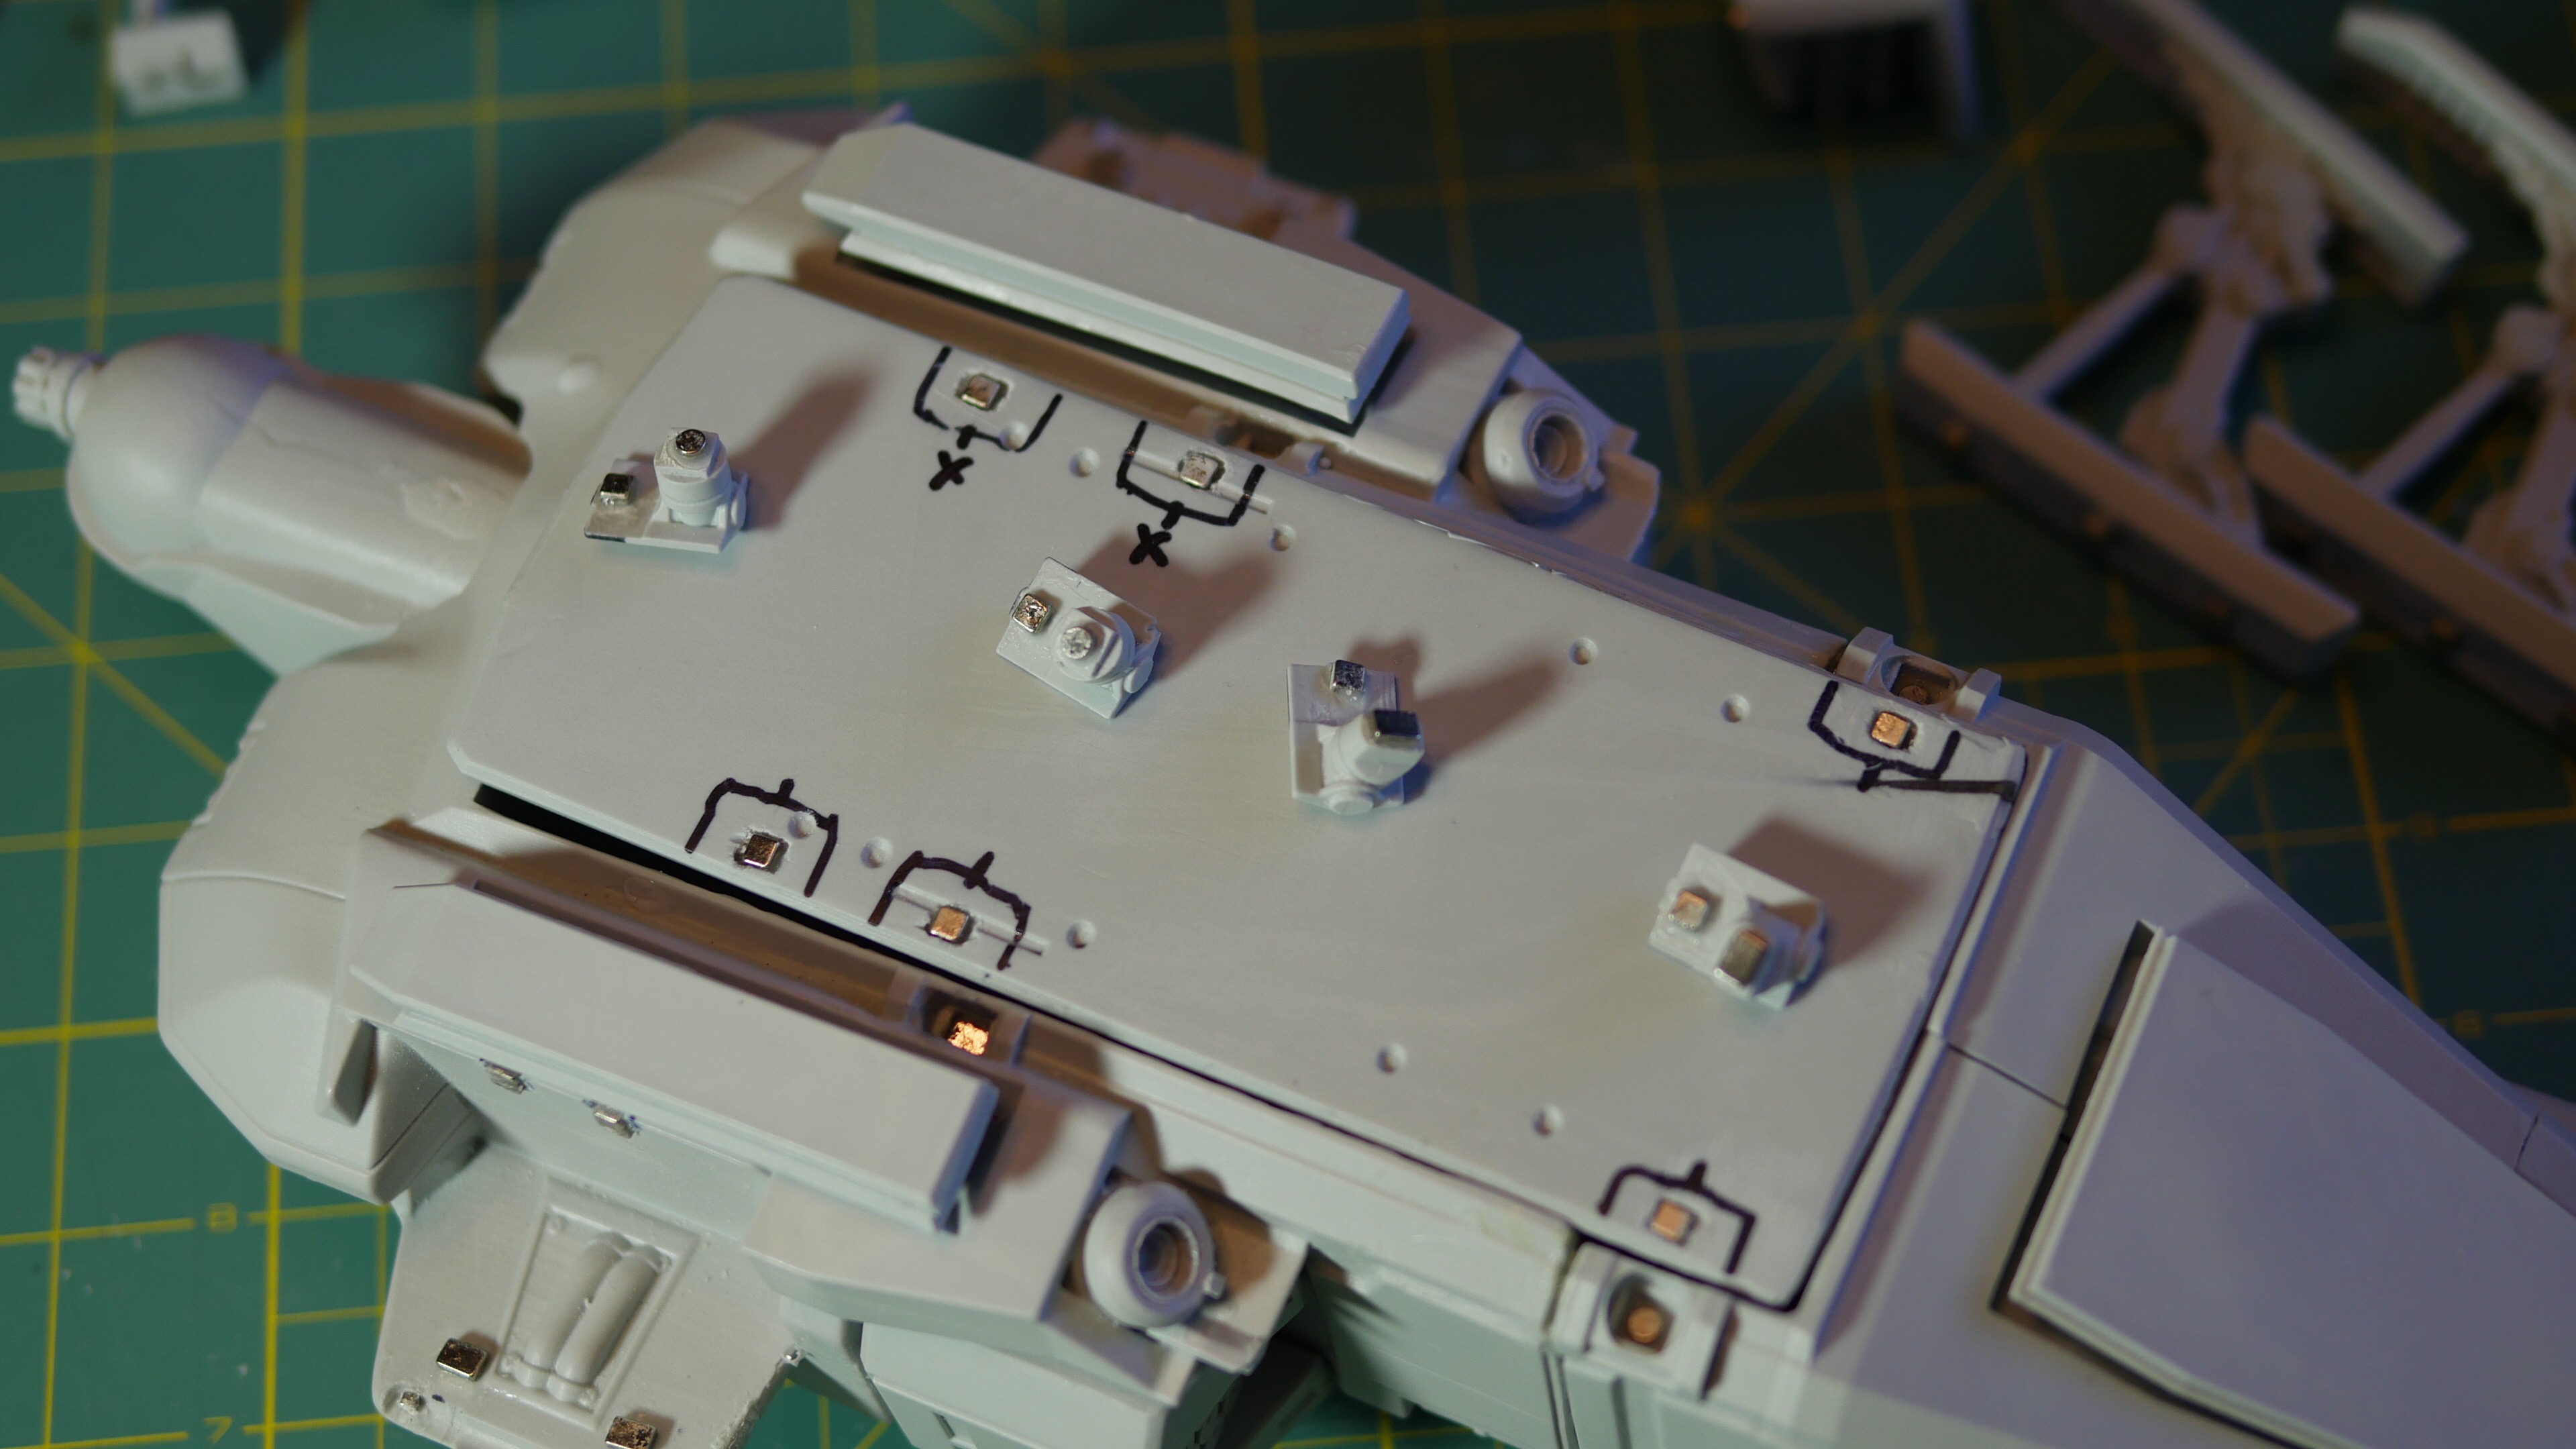
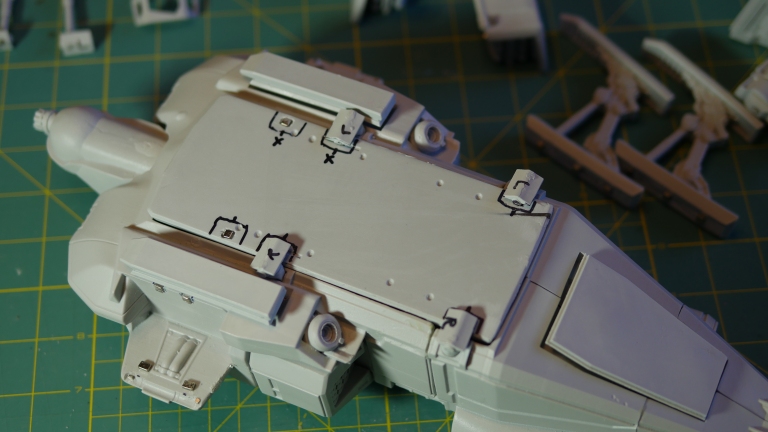
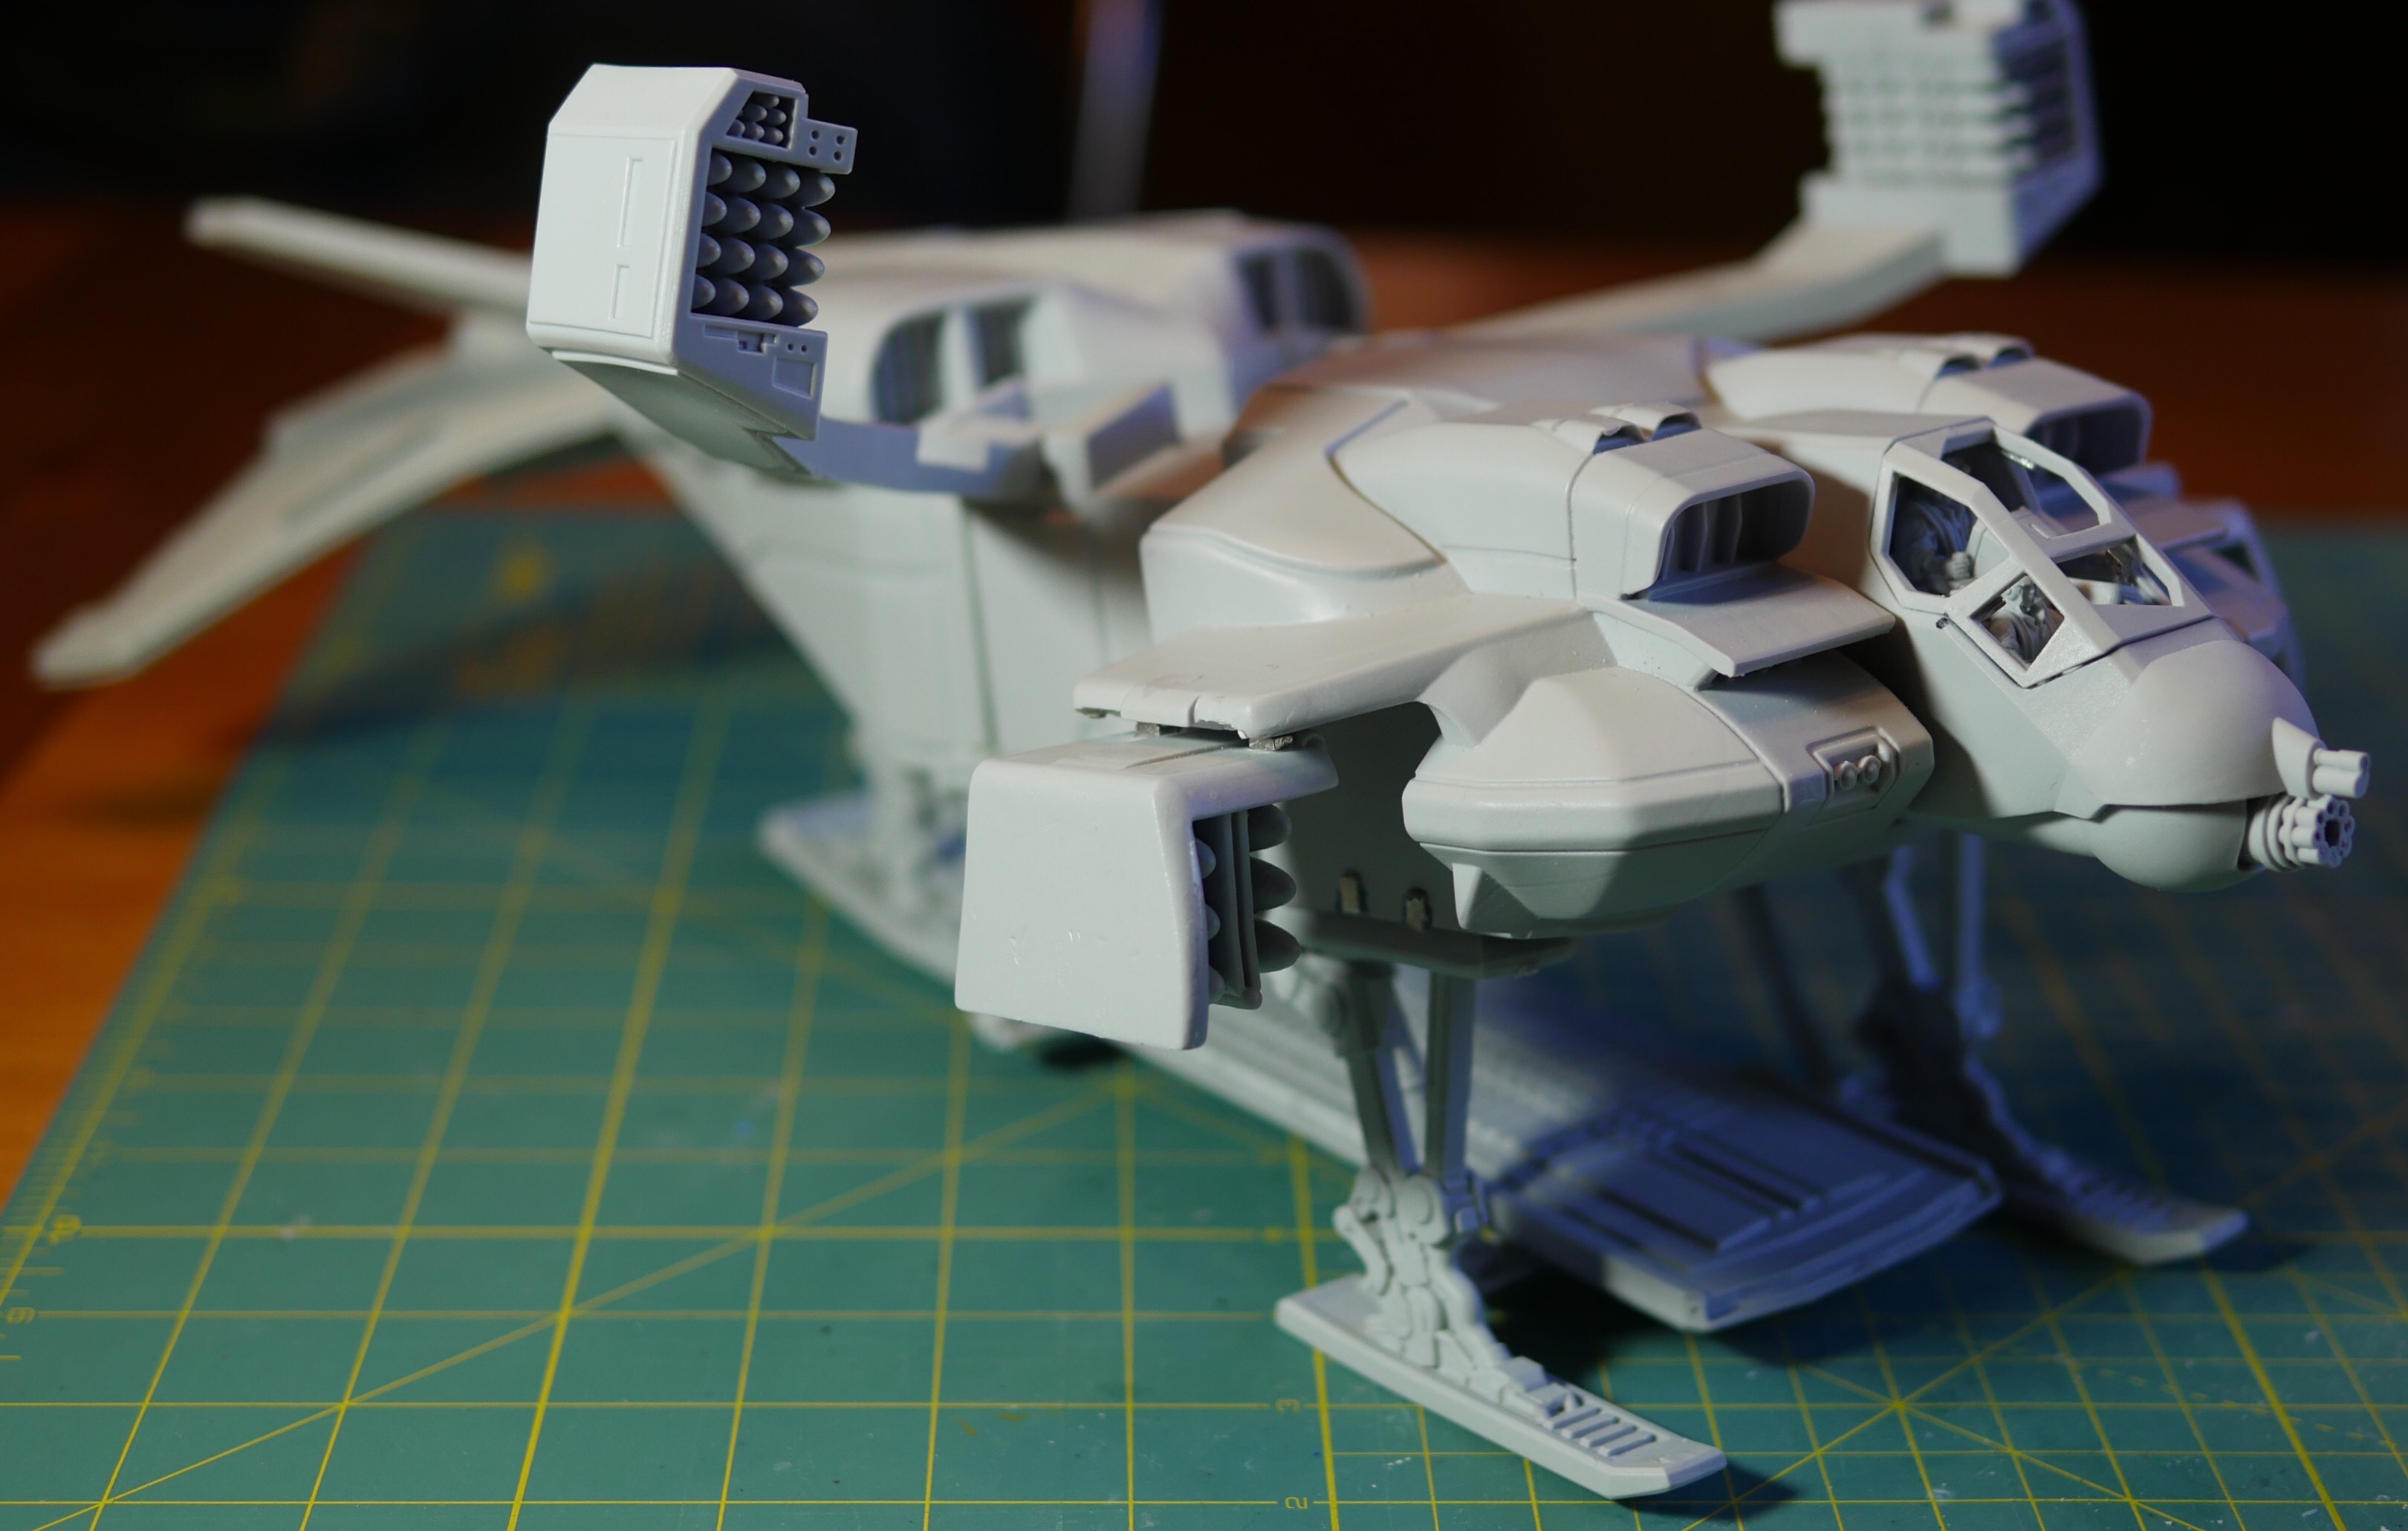
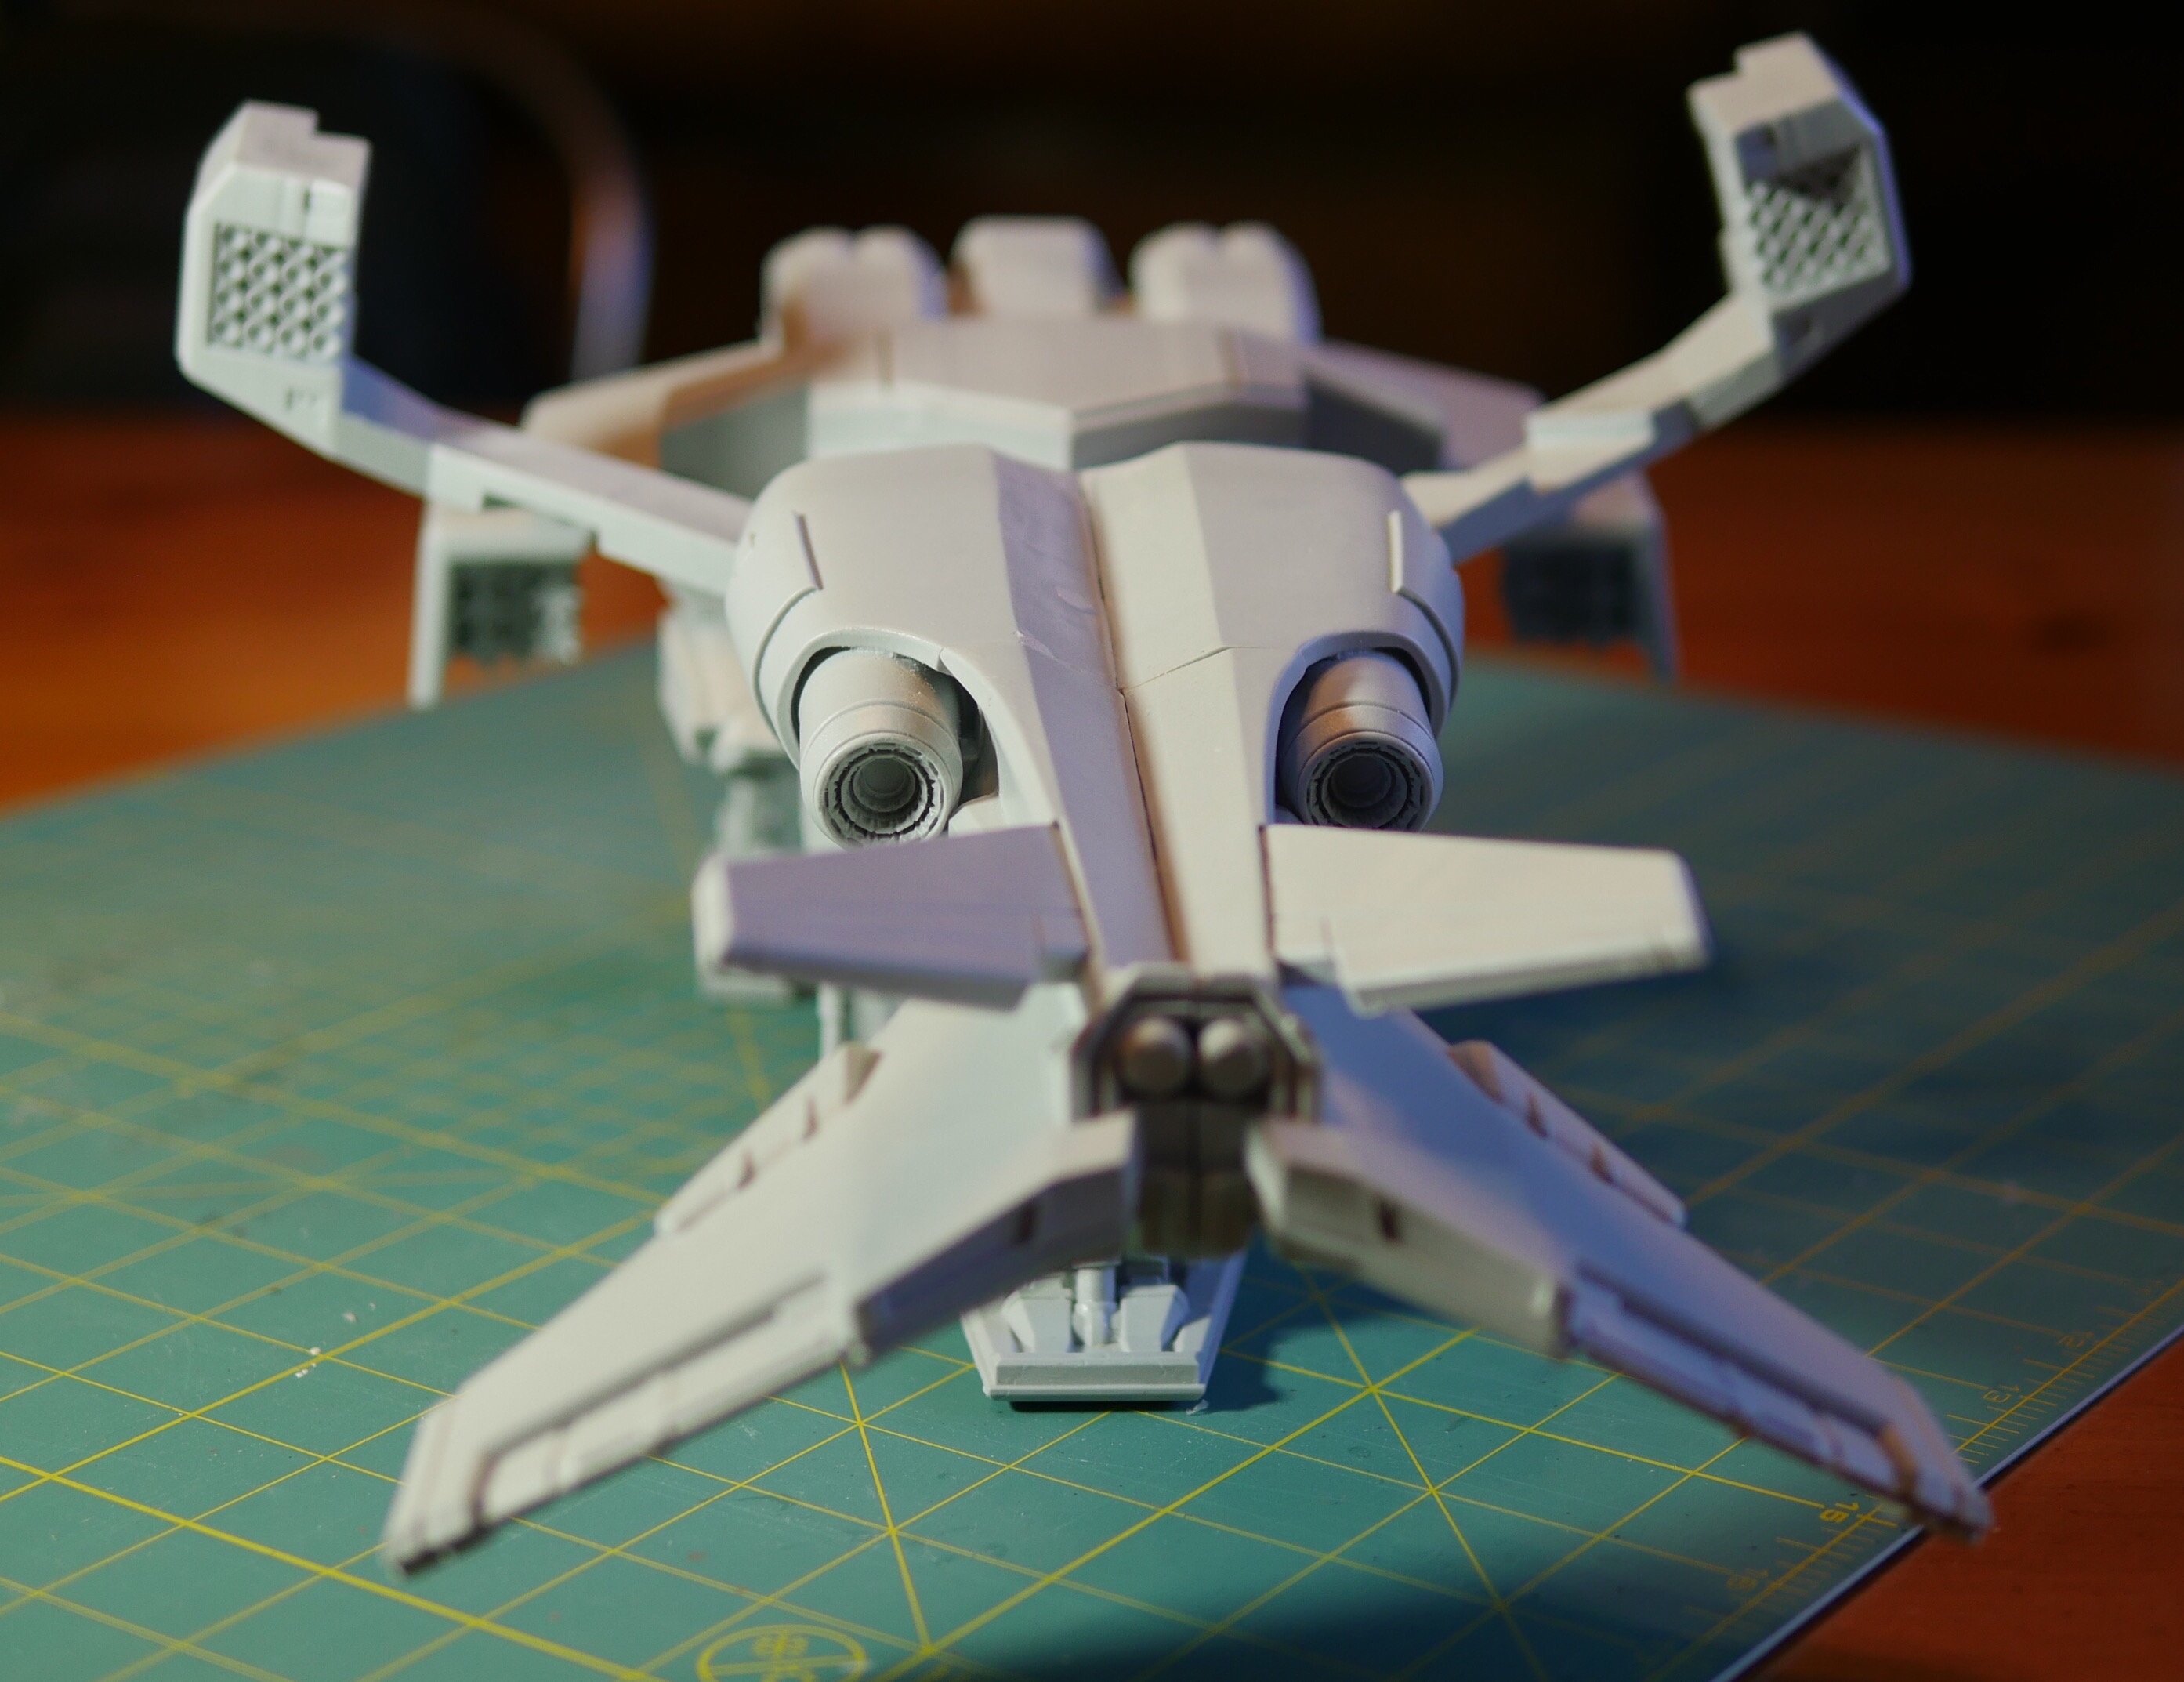
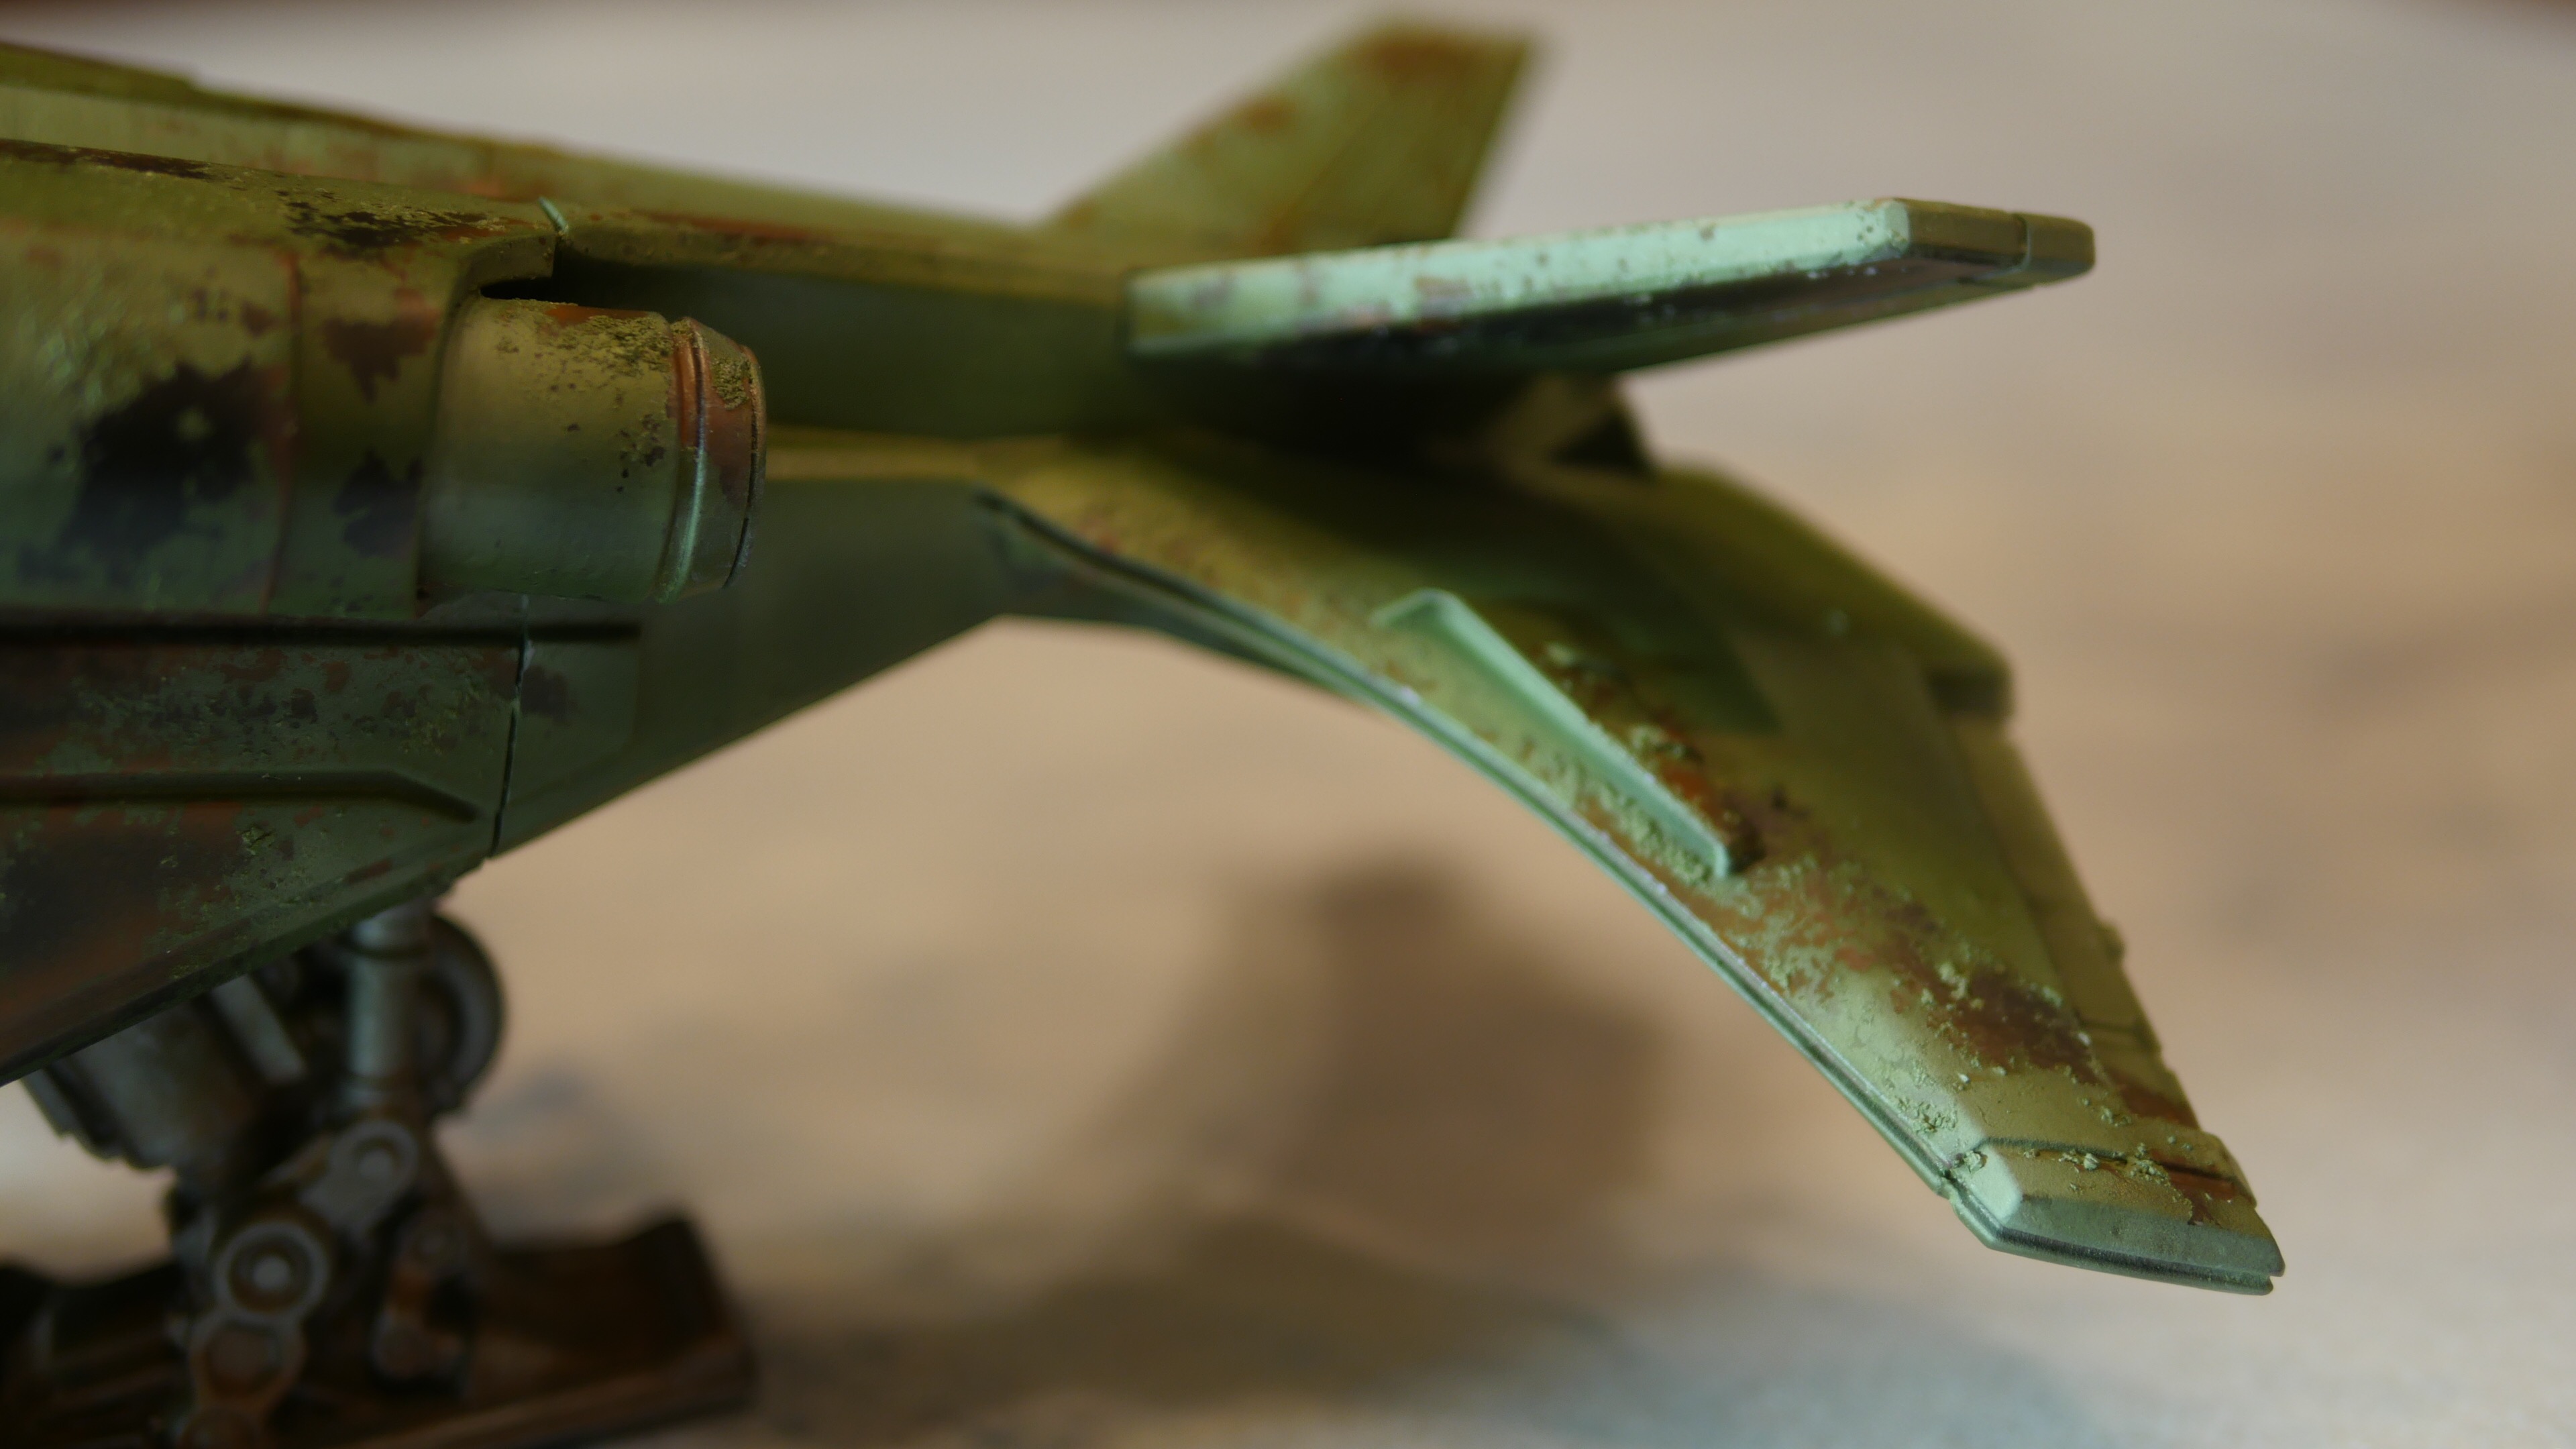
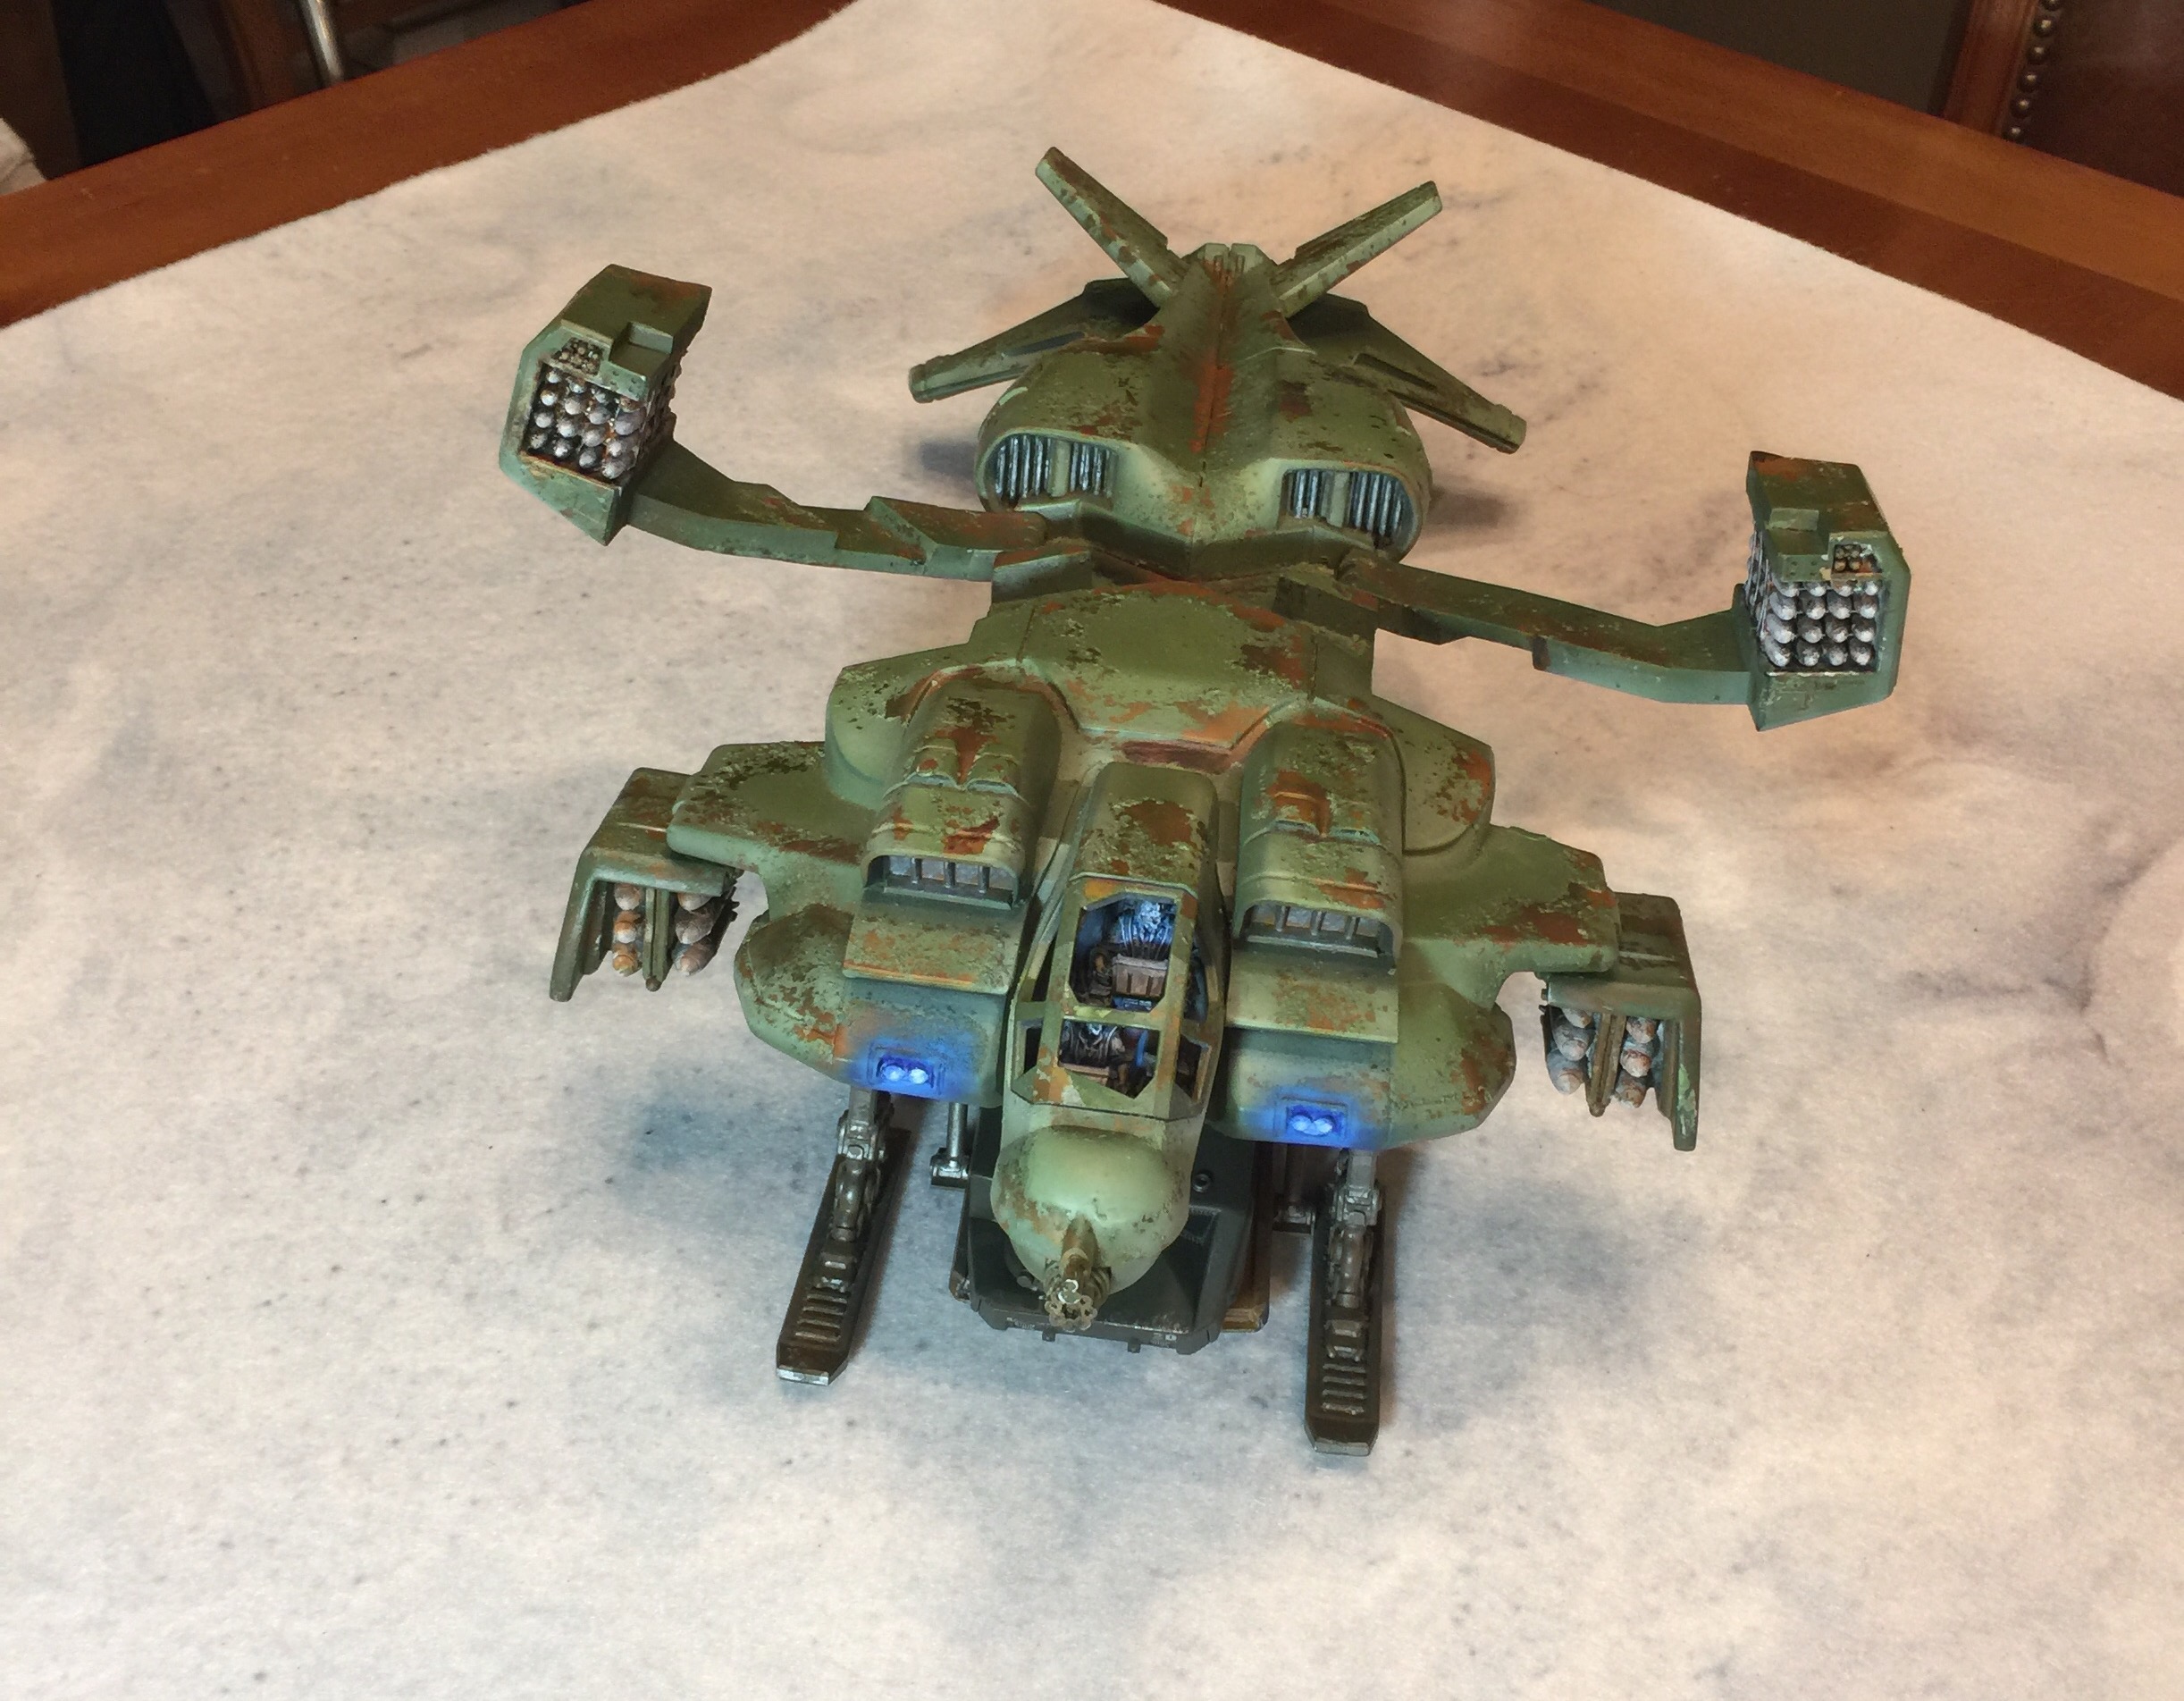
Next was the side bomb compartments. This posed a few challenges for magnet placement. If I were to install the bomb doors properly, the magnets would have interfered with each other. So I went with a little bit of an unconventional install, but I think it functions and looks great. You will need 3 sets of magnets on each missile door to make this work.


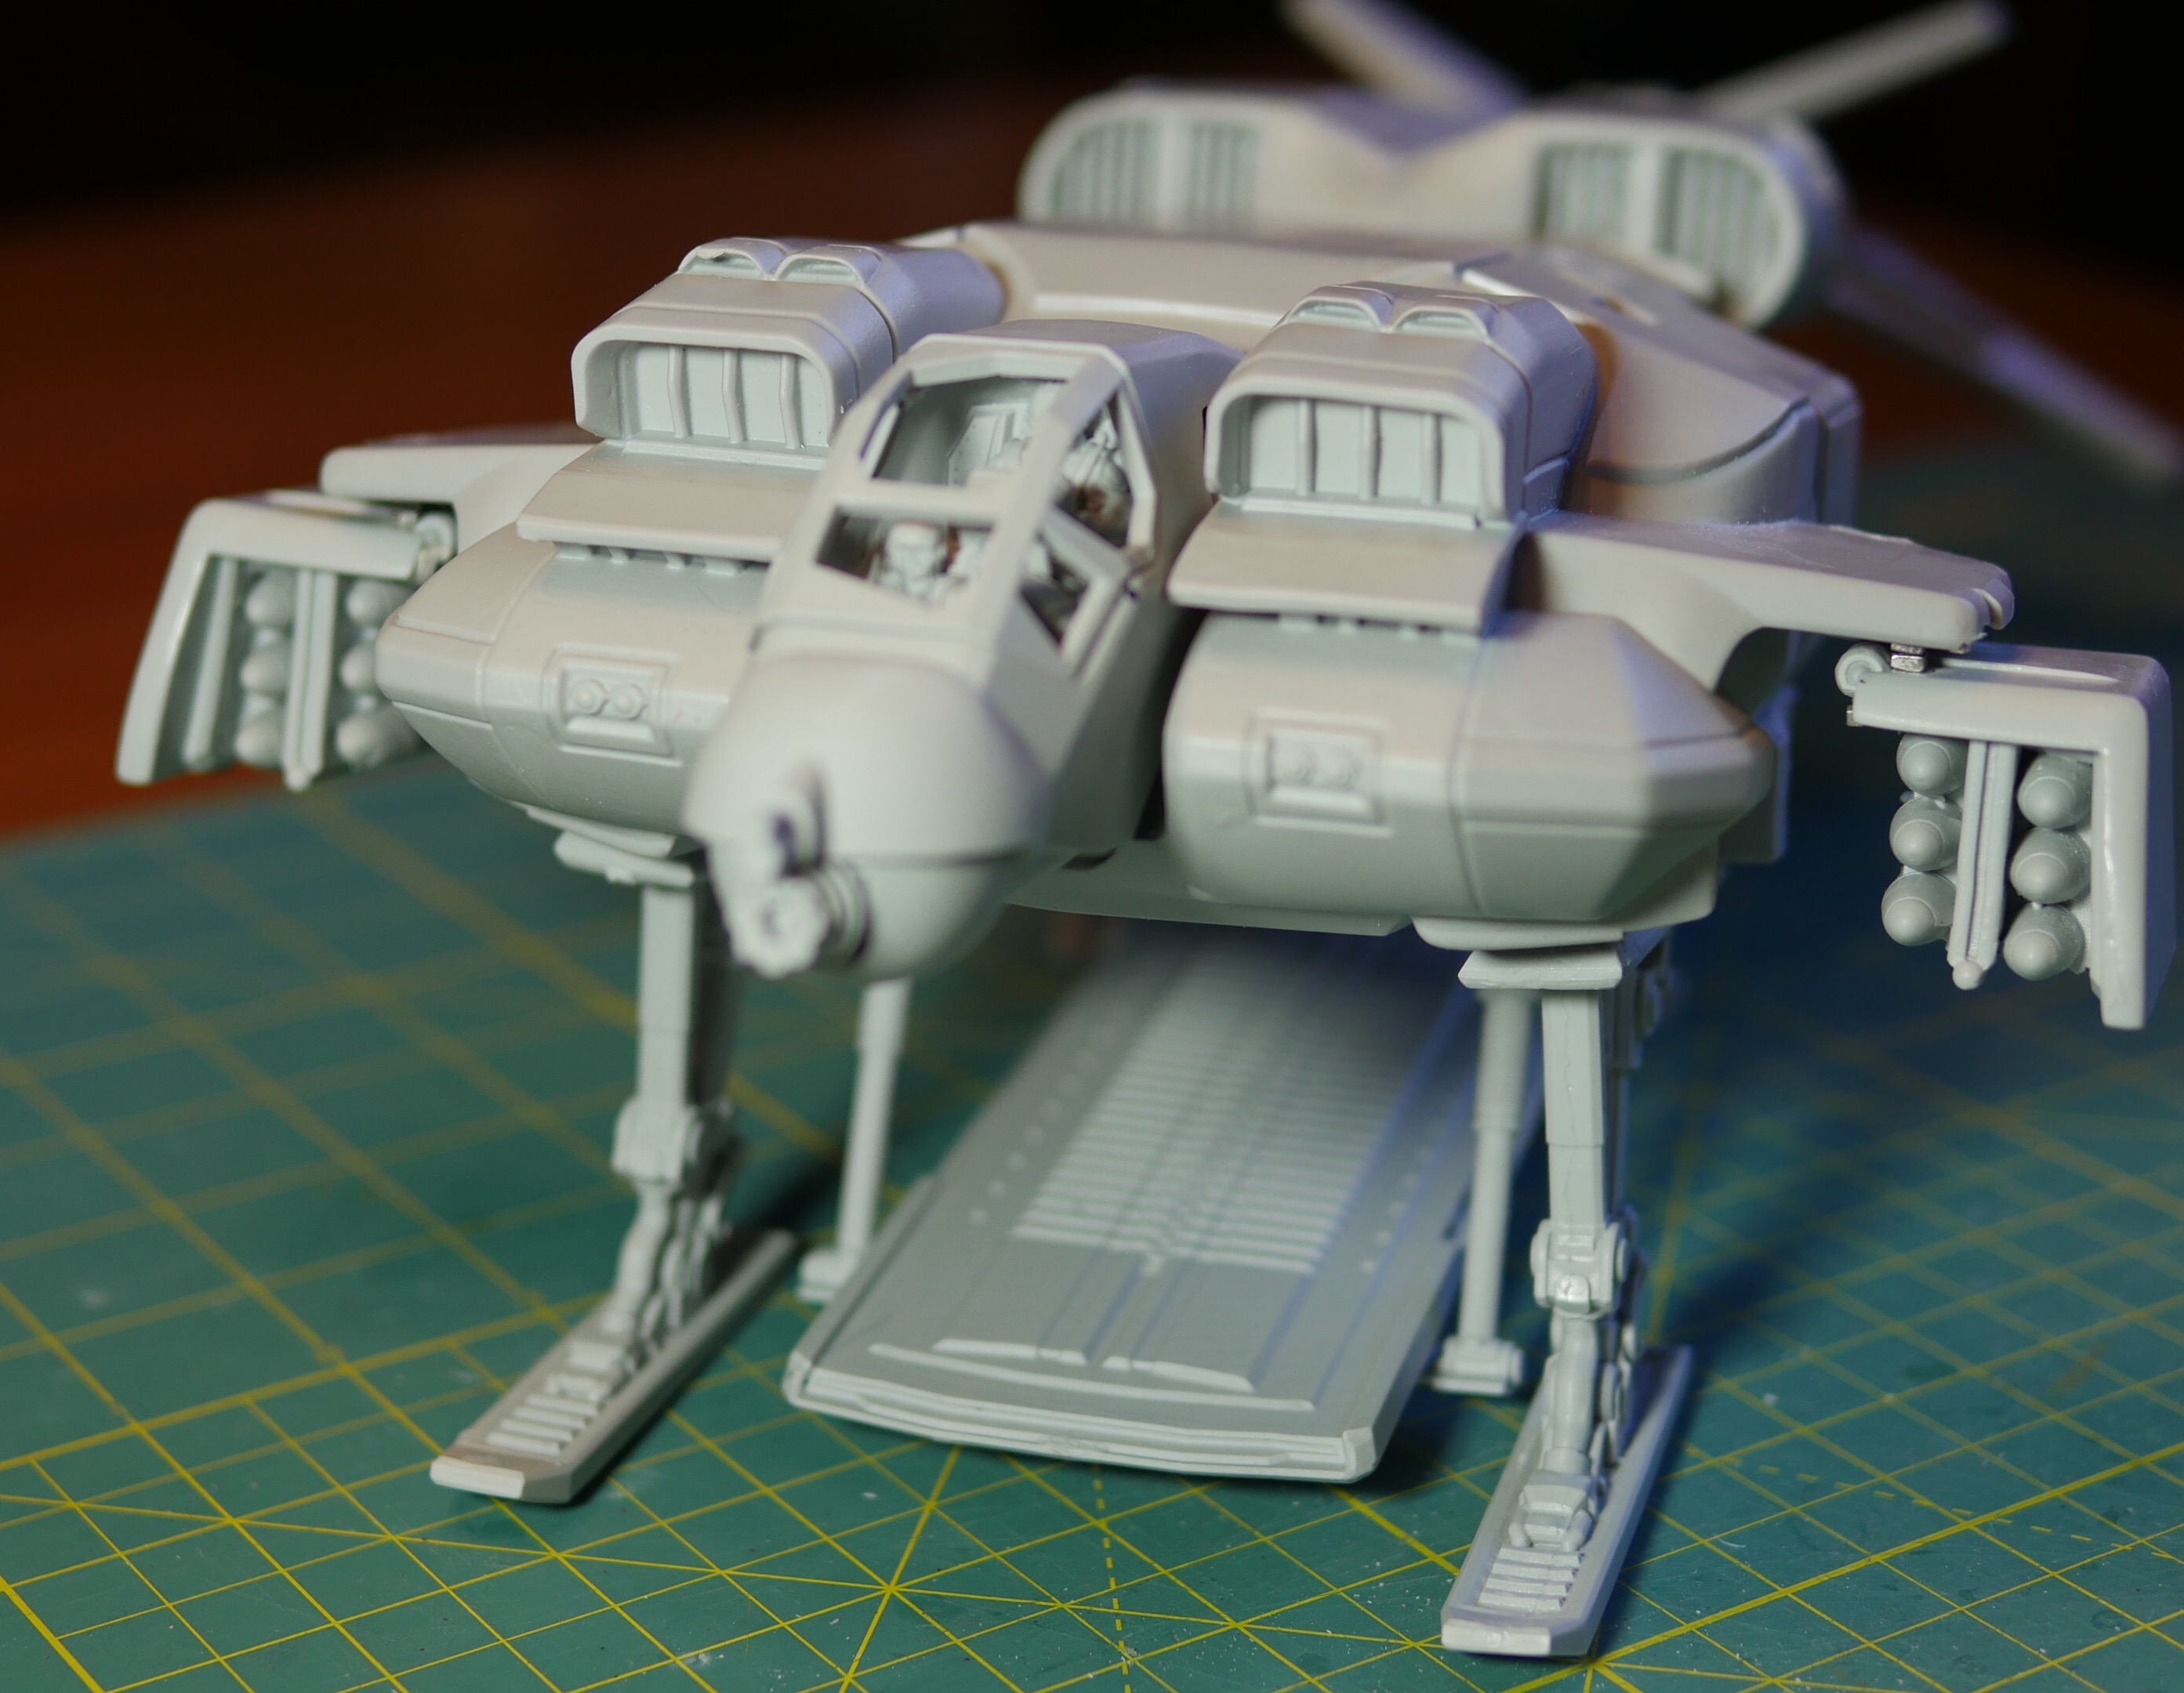
THE CARGO BAY- the best feature of this model, in my opinion. It can store your landing gear, optional bits and a few minis.
I saved this part for the end because I wanted to take my time and give the magnet placement a lot of thought. I had many ideas on where I could place the magnets. The choice I made ended up working out perfectly. There is such a strong magnet connection now, the cargo door can fully support the weight of a die-cast APC model.
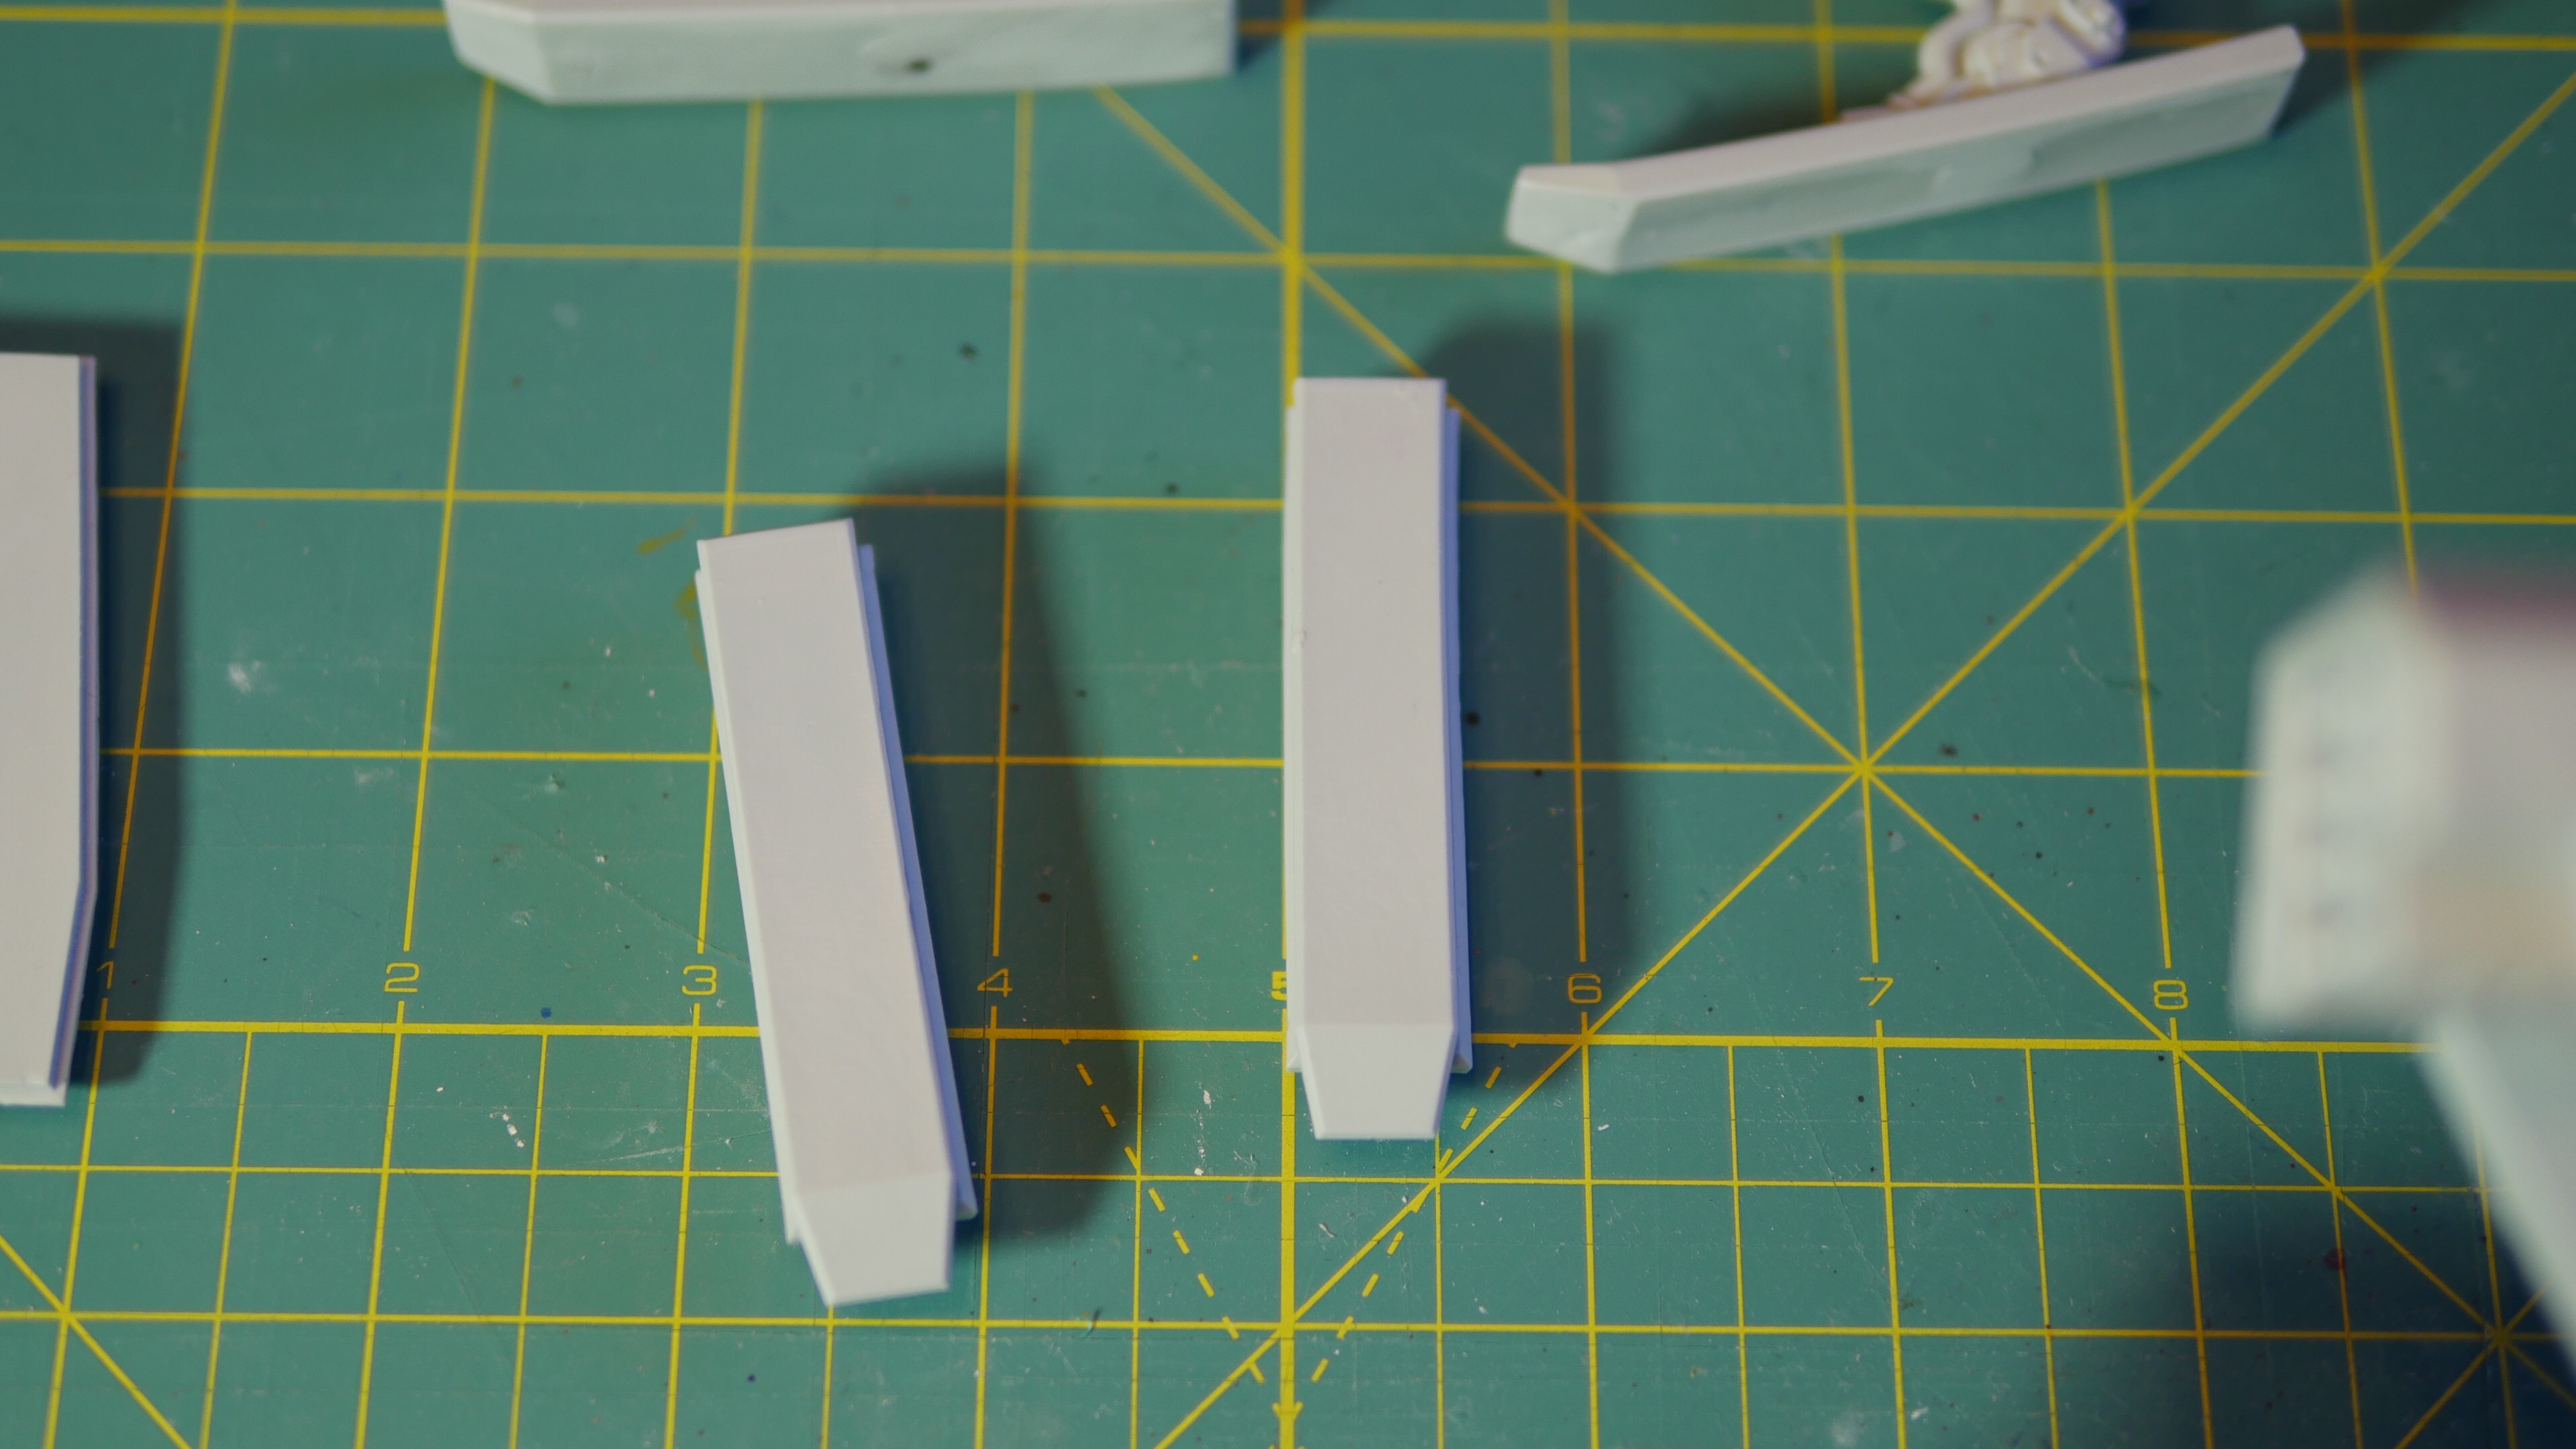
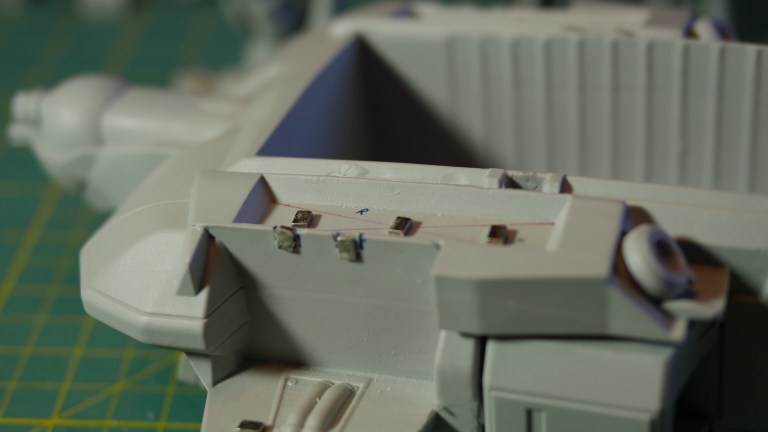
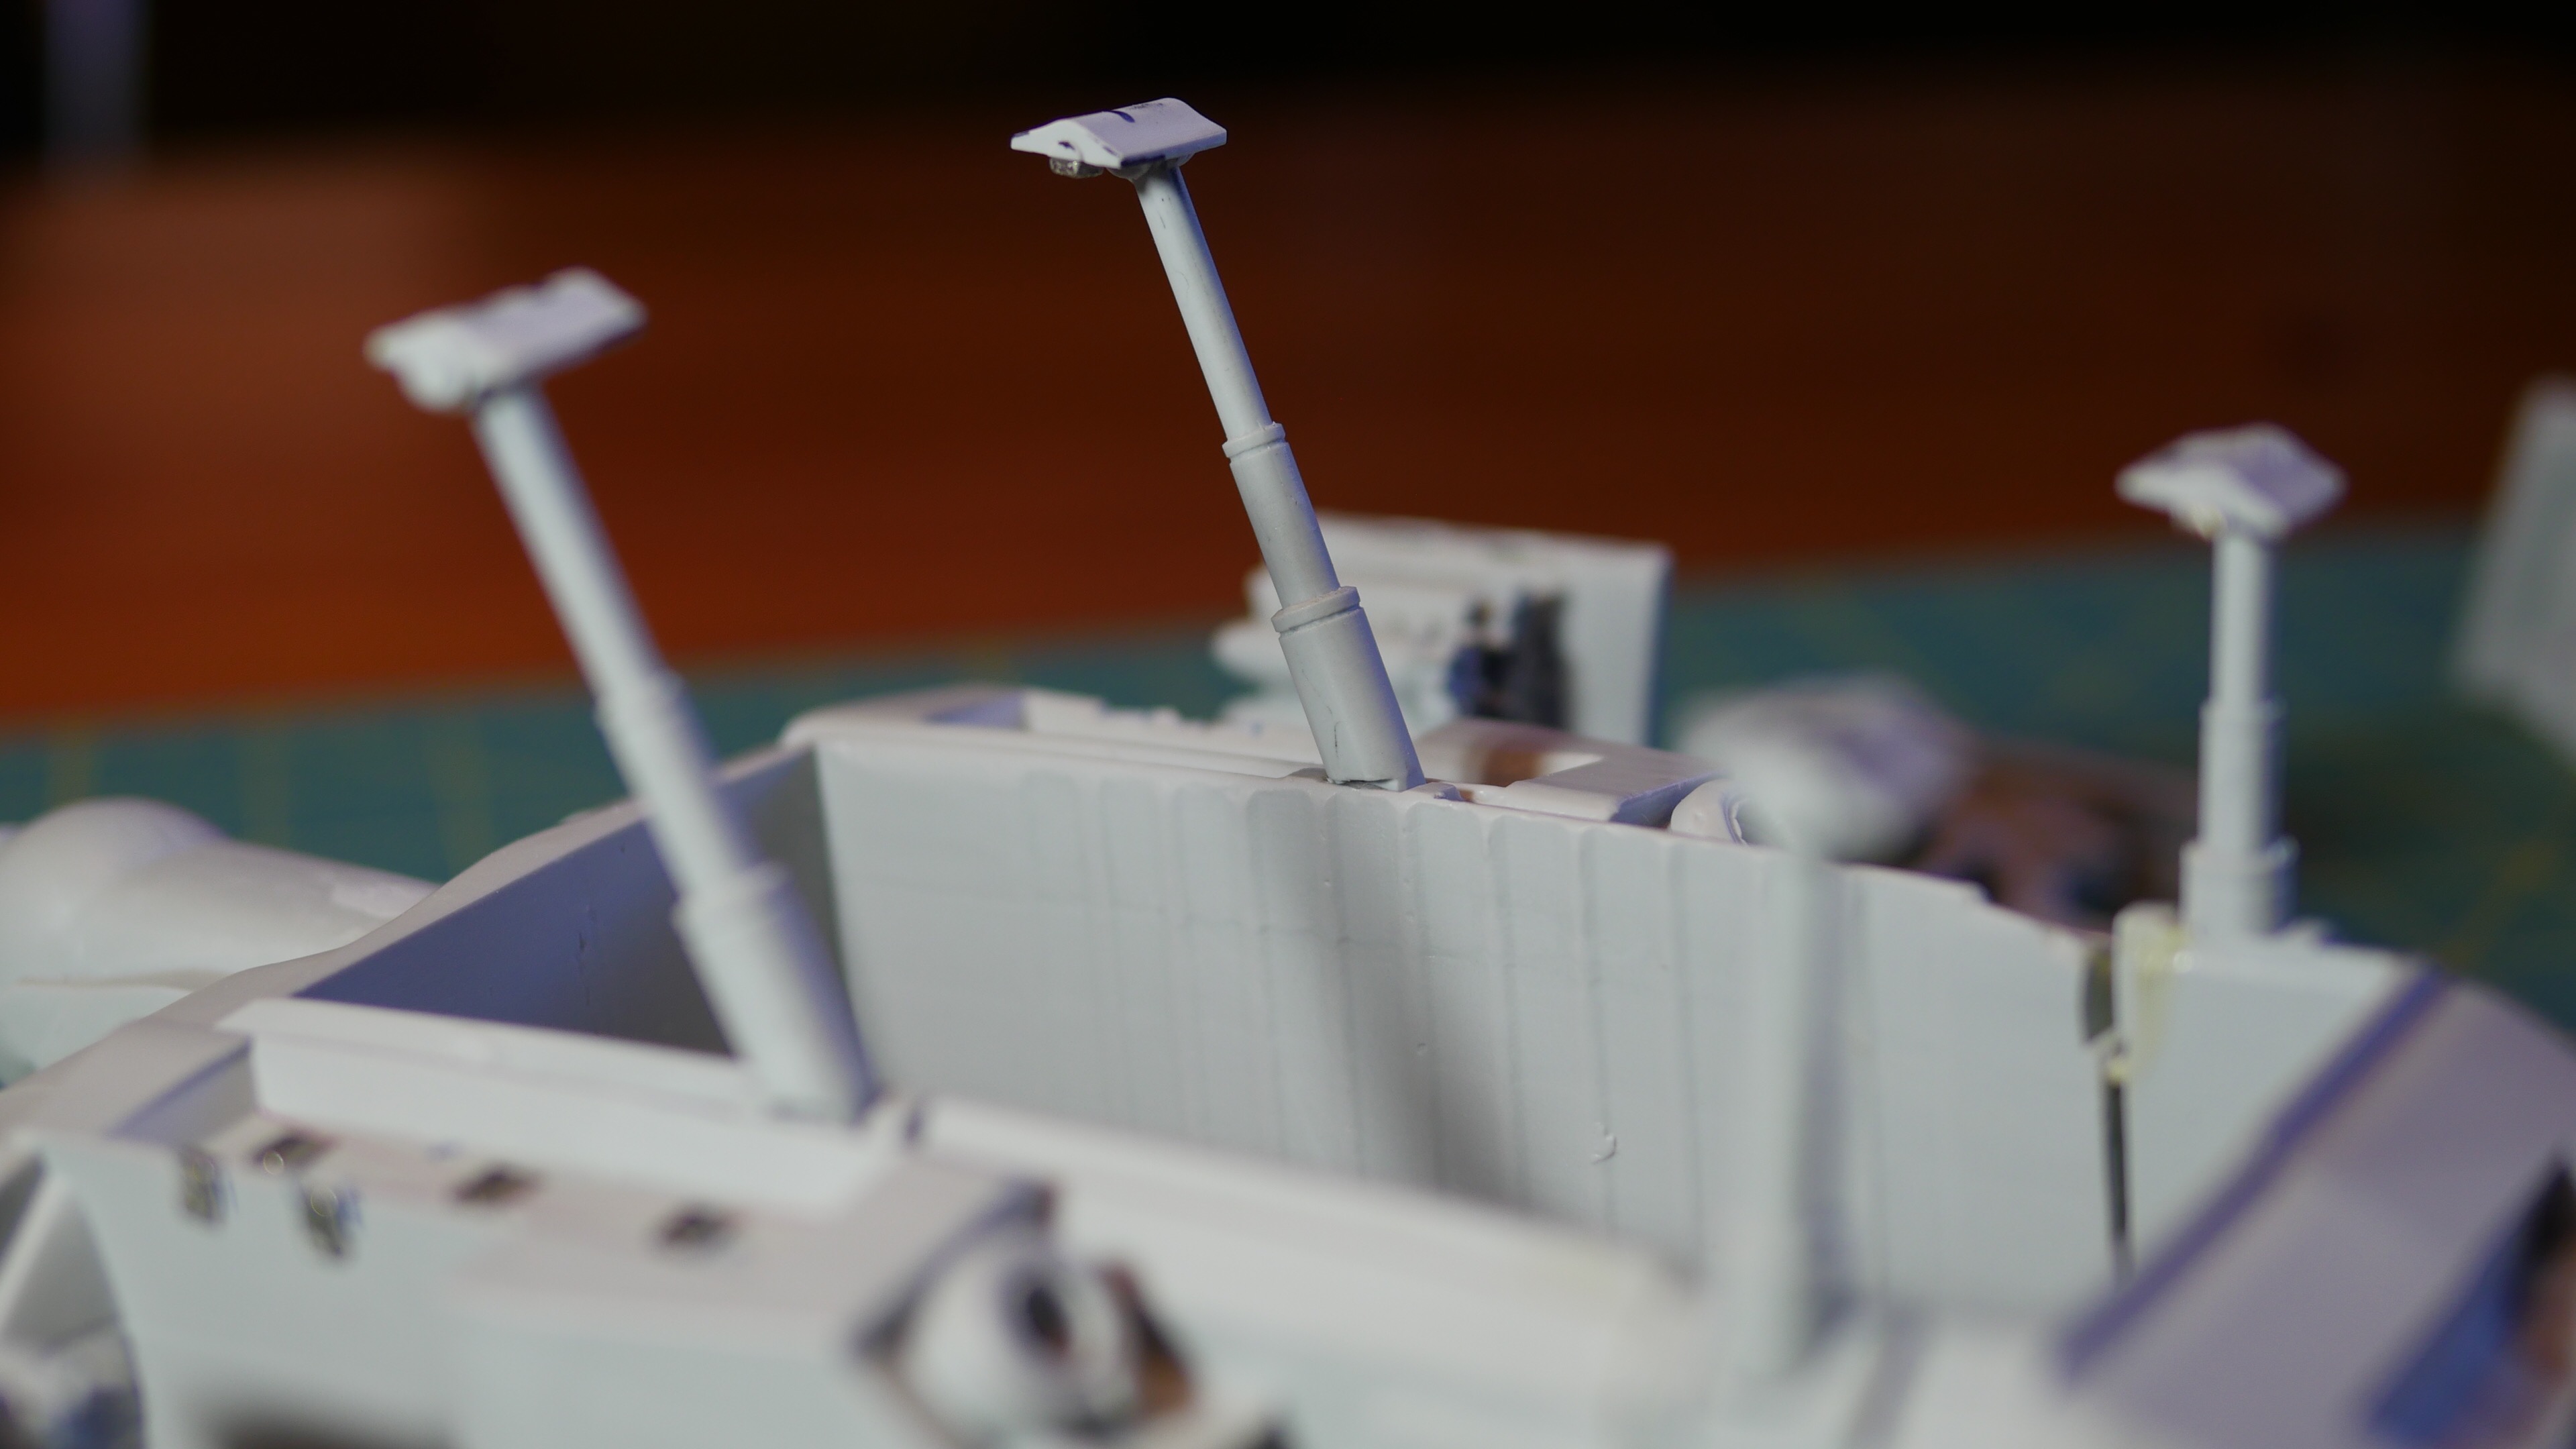
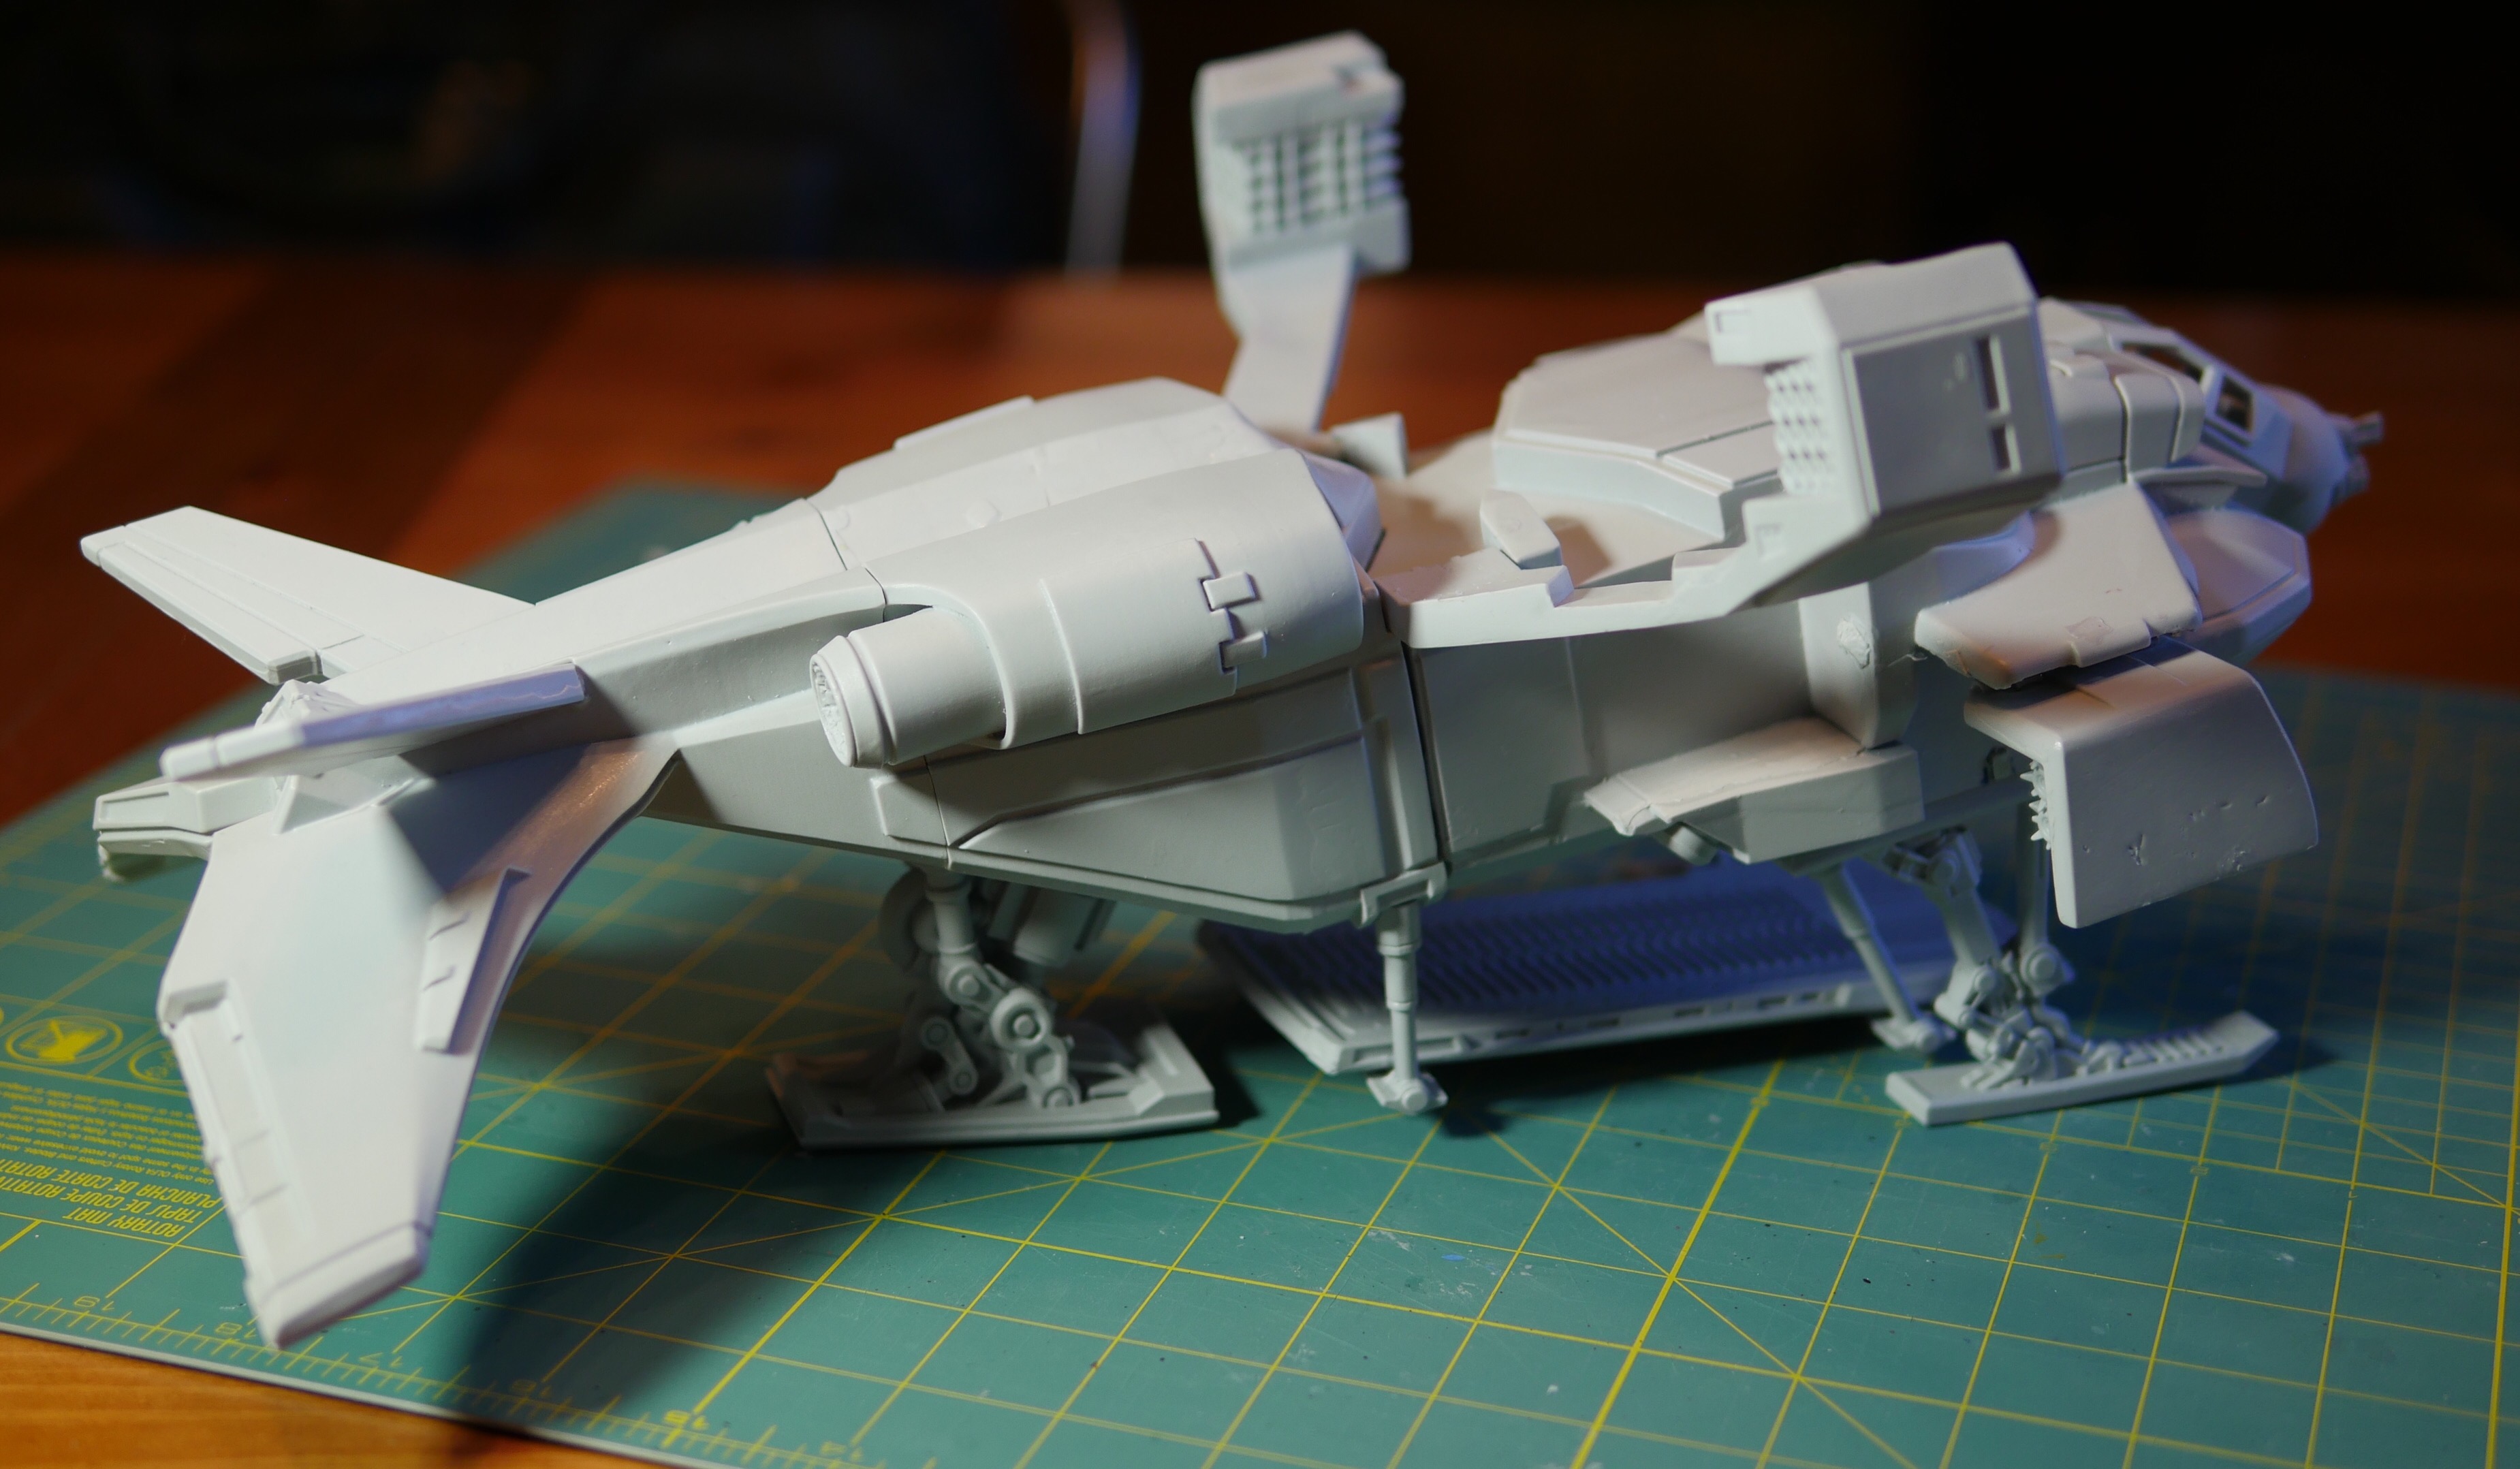
The belly of the ship comes with pre-drilled spaces for the cargo struts. These drilled spaces allow for easy gluing when performing the traditional assembly of the dropship. However, this is not a traditional assembly. The magnets fit perfectly without needing extra drilling. This option requires you to trim the length of the struts because the magnets will take up space inside the gap. Trim too much and the magnets will not connect.
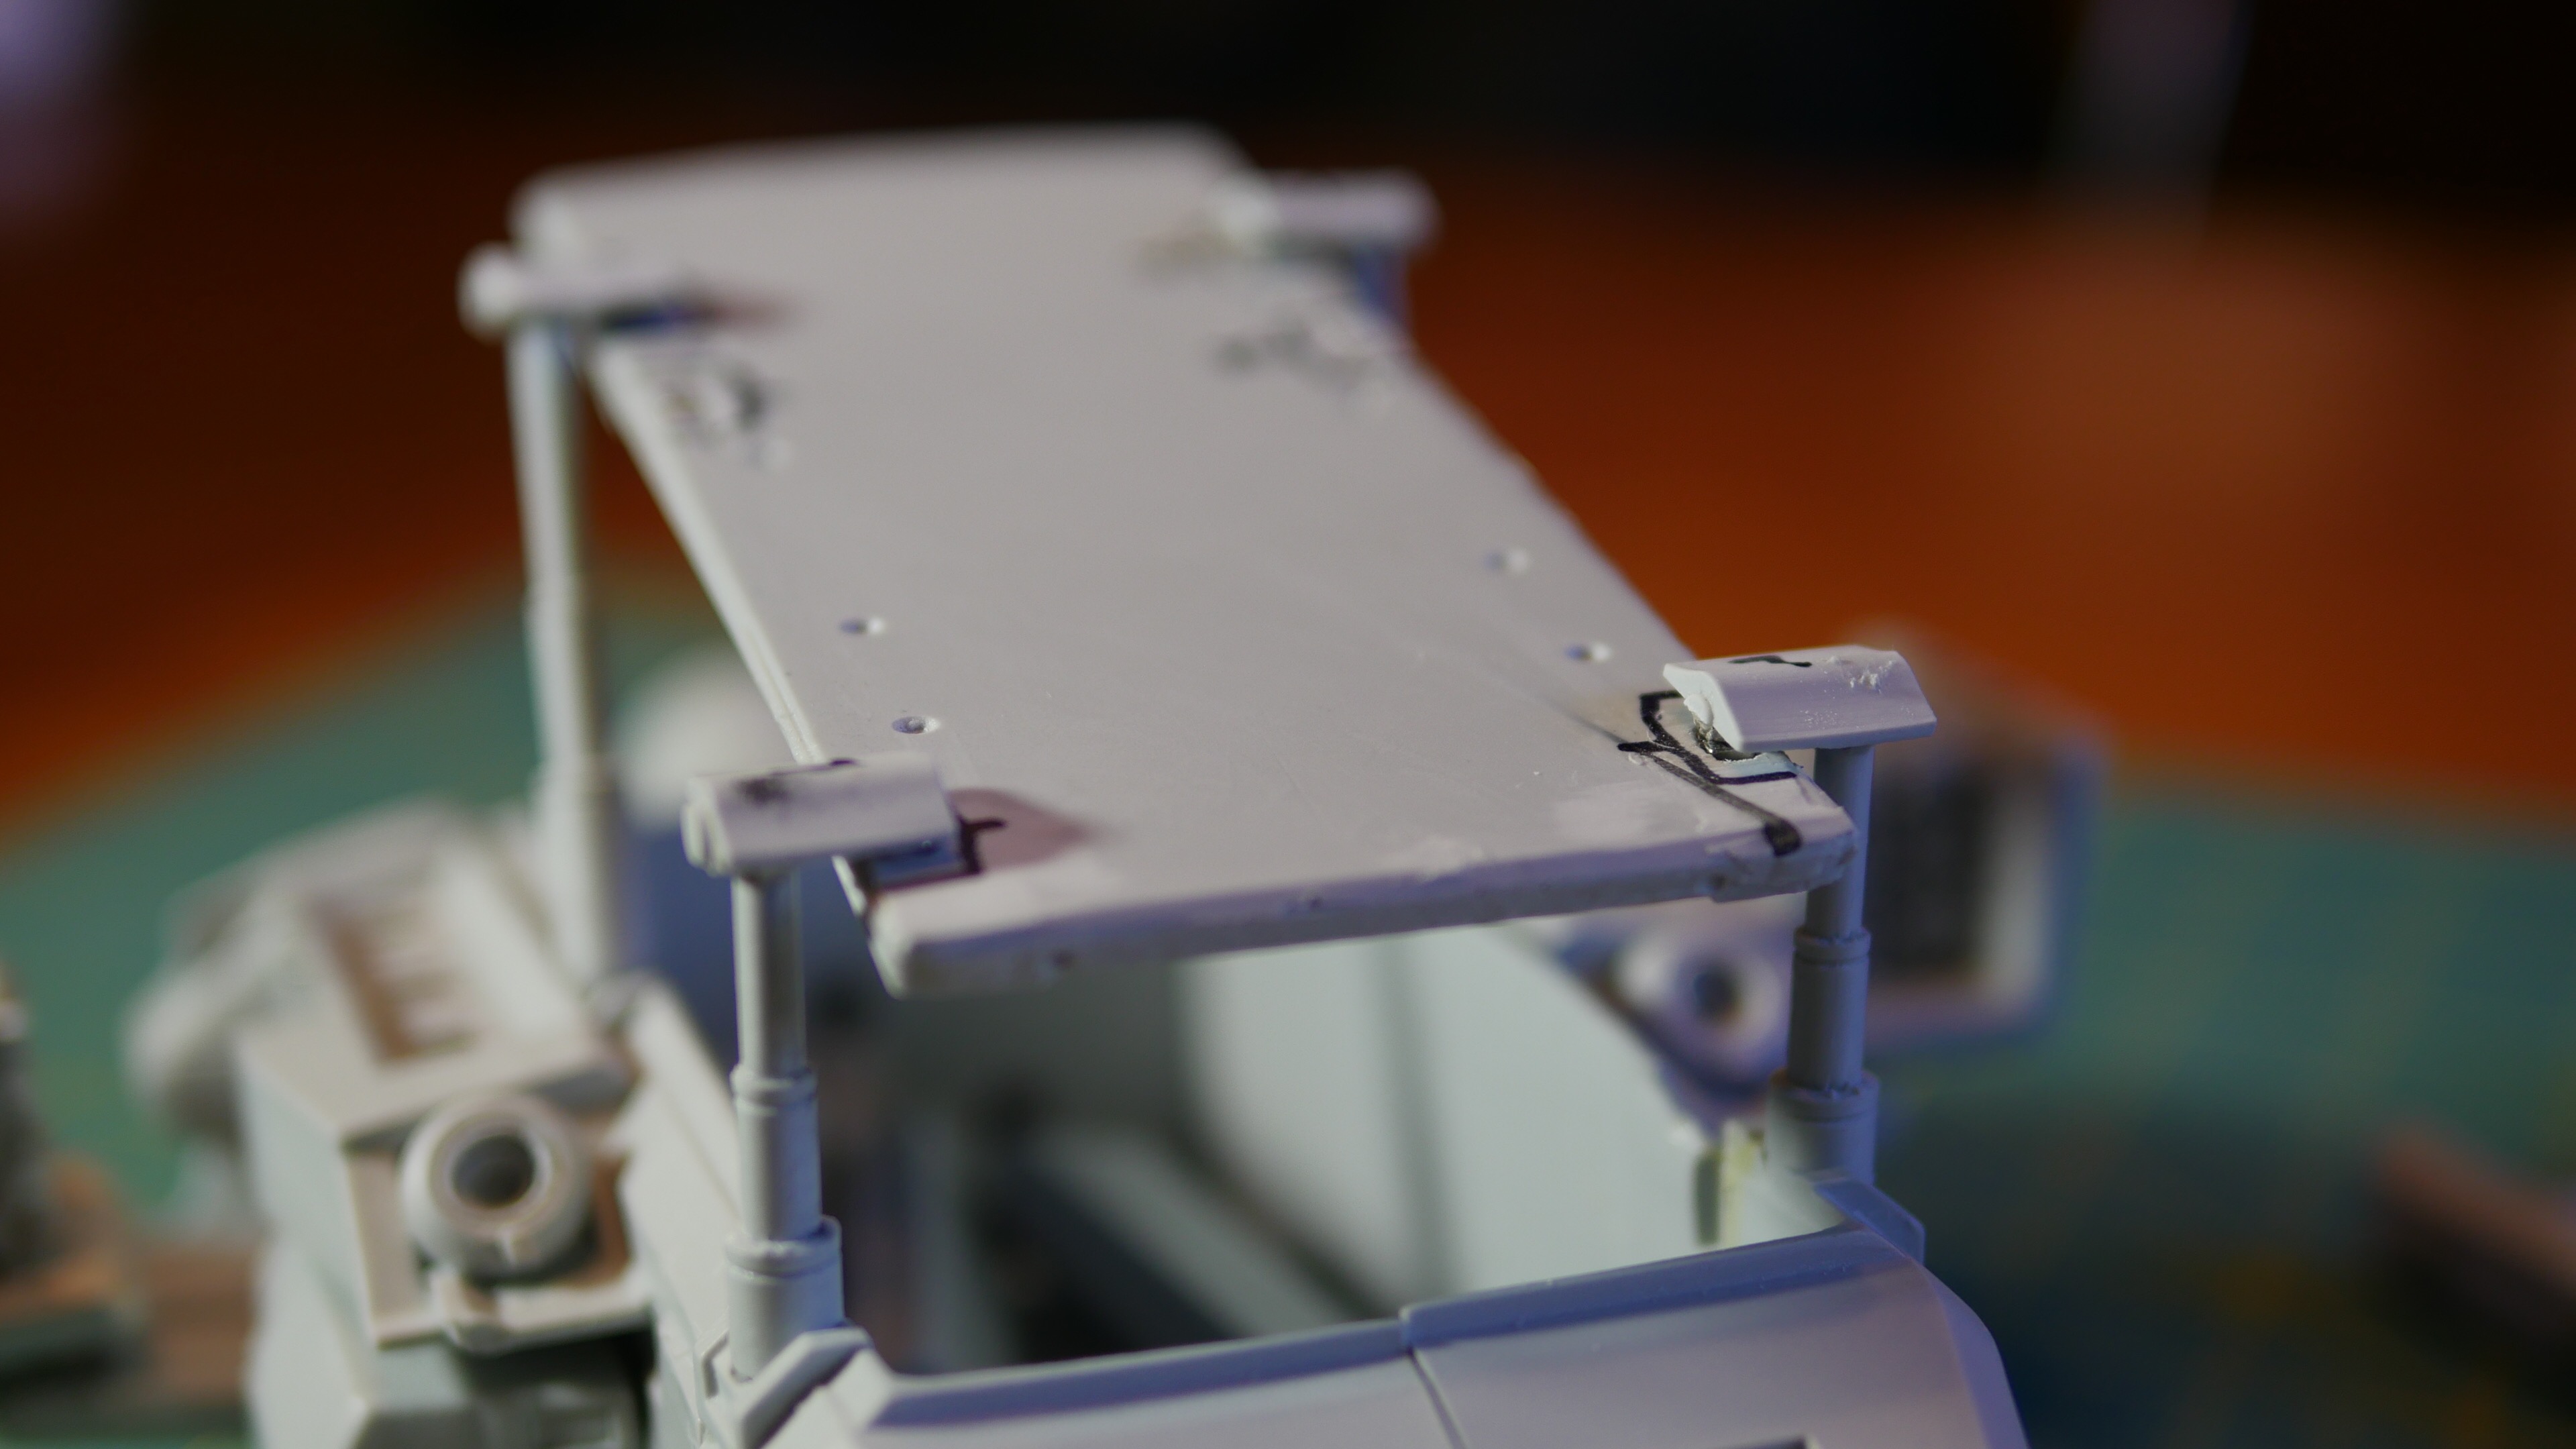

The feet of the struts are designed with a good size ledge which you would normally use to mount the cargo door. I took the opportunity to glue the magnets to the bottom of the door and to the top ledge of the strut feet. Now that I think about it, I put the magnets where they expect you to put the glue when assembling this model. The struts are held to the ship’s body by magnets and then the door snaps into place on top of the feet.

The cargo bay door needs to have 3 sets of magnets since there is a position change when the door is either opened or closed. I thought I would be able to get away with using the same front set for either setting but I wasn’t so lucky. I decided to drill and install the magnets into the bottom of the door. This makes for a cleaner connection to the struts.

Setting up the closed position for the cargo bay was a bit of a challenge. The closed struts are about 1/2 inch tall and they require two magnets just like the longer struts. Here’s the challenge: the magnets are extremely close to one another because the struts are so small. You must hold the second magnet in place and allow the glue to cure a bit. Otherwise the first magnet will pull the second magnet right out of the glue and the superglue will make an instant seal. I lost a few sets of magnets along the way, but it was all worth it. Be prepared to have superglue on your fingers for days afterwards.
Tip: use a wooden pencil tip to hold the magnet in place and let the glue set before letting go. If you use your fingers, the magnet might stick to you rather than the strut.
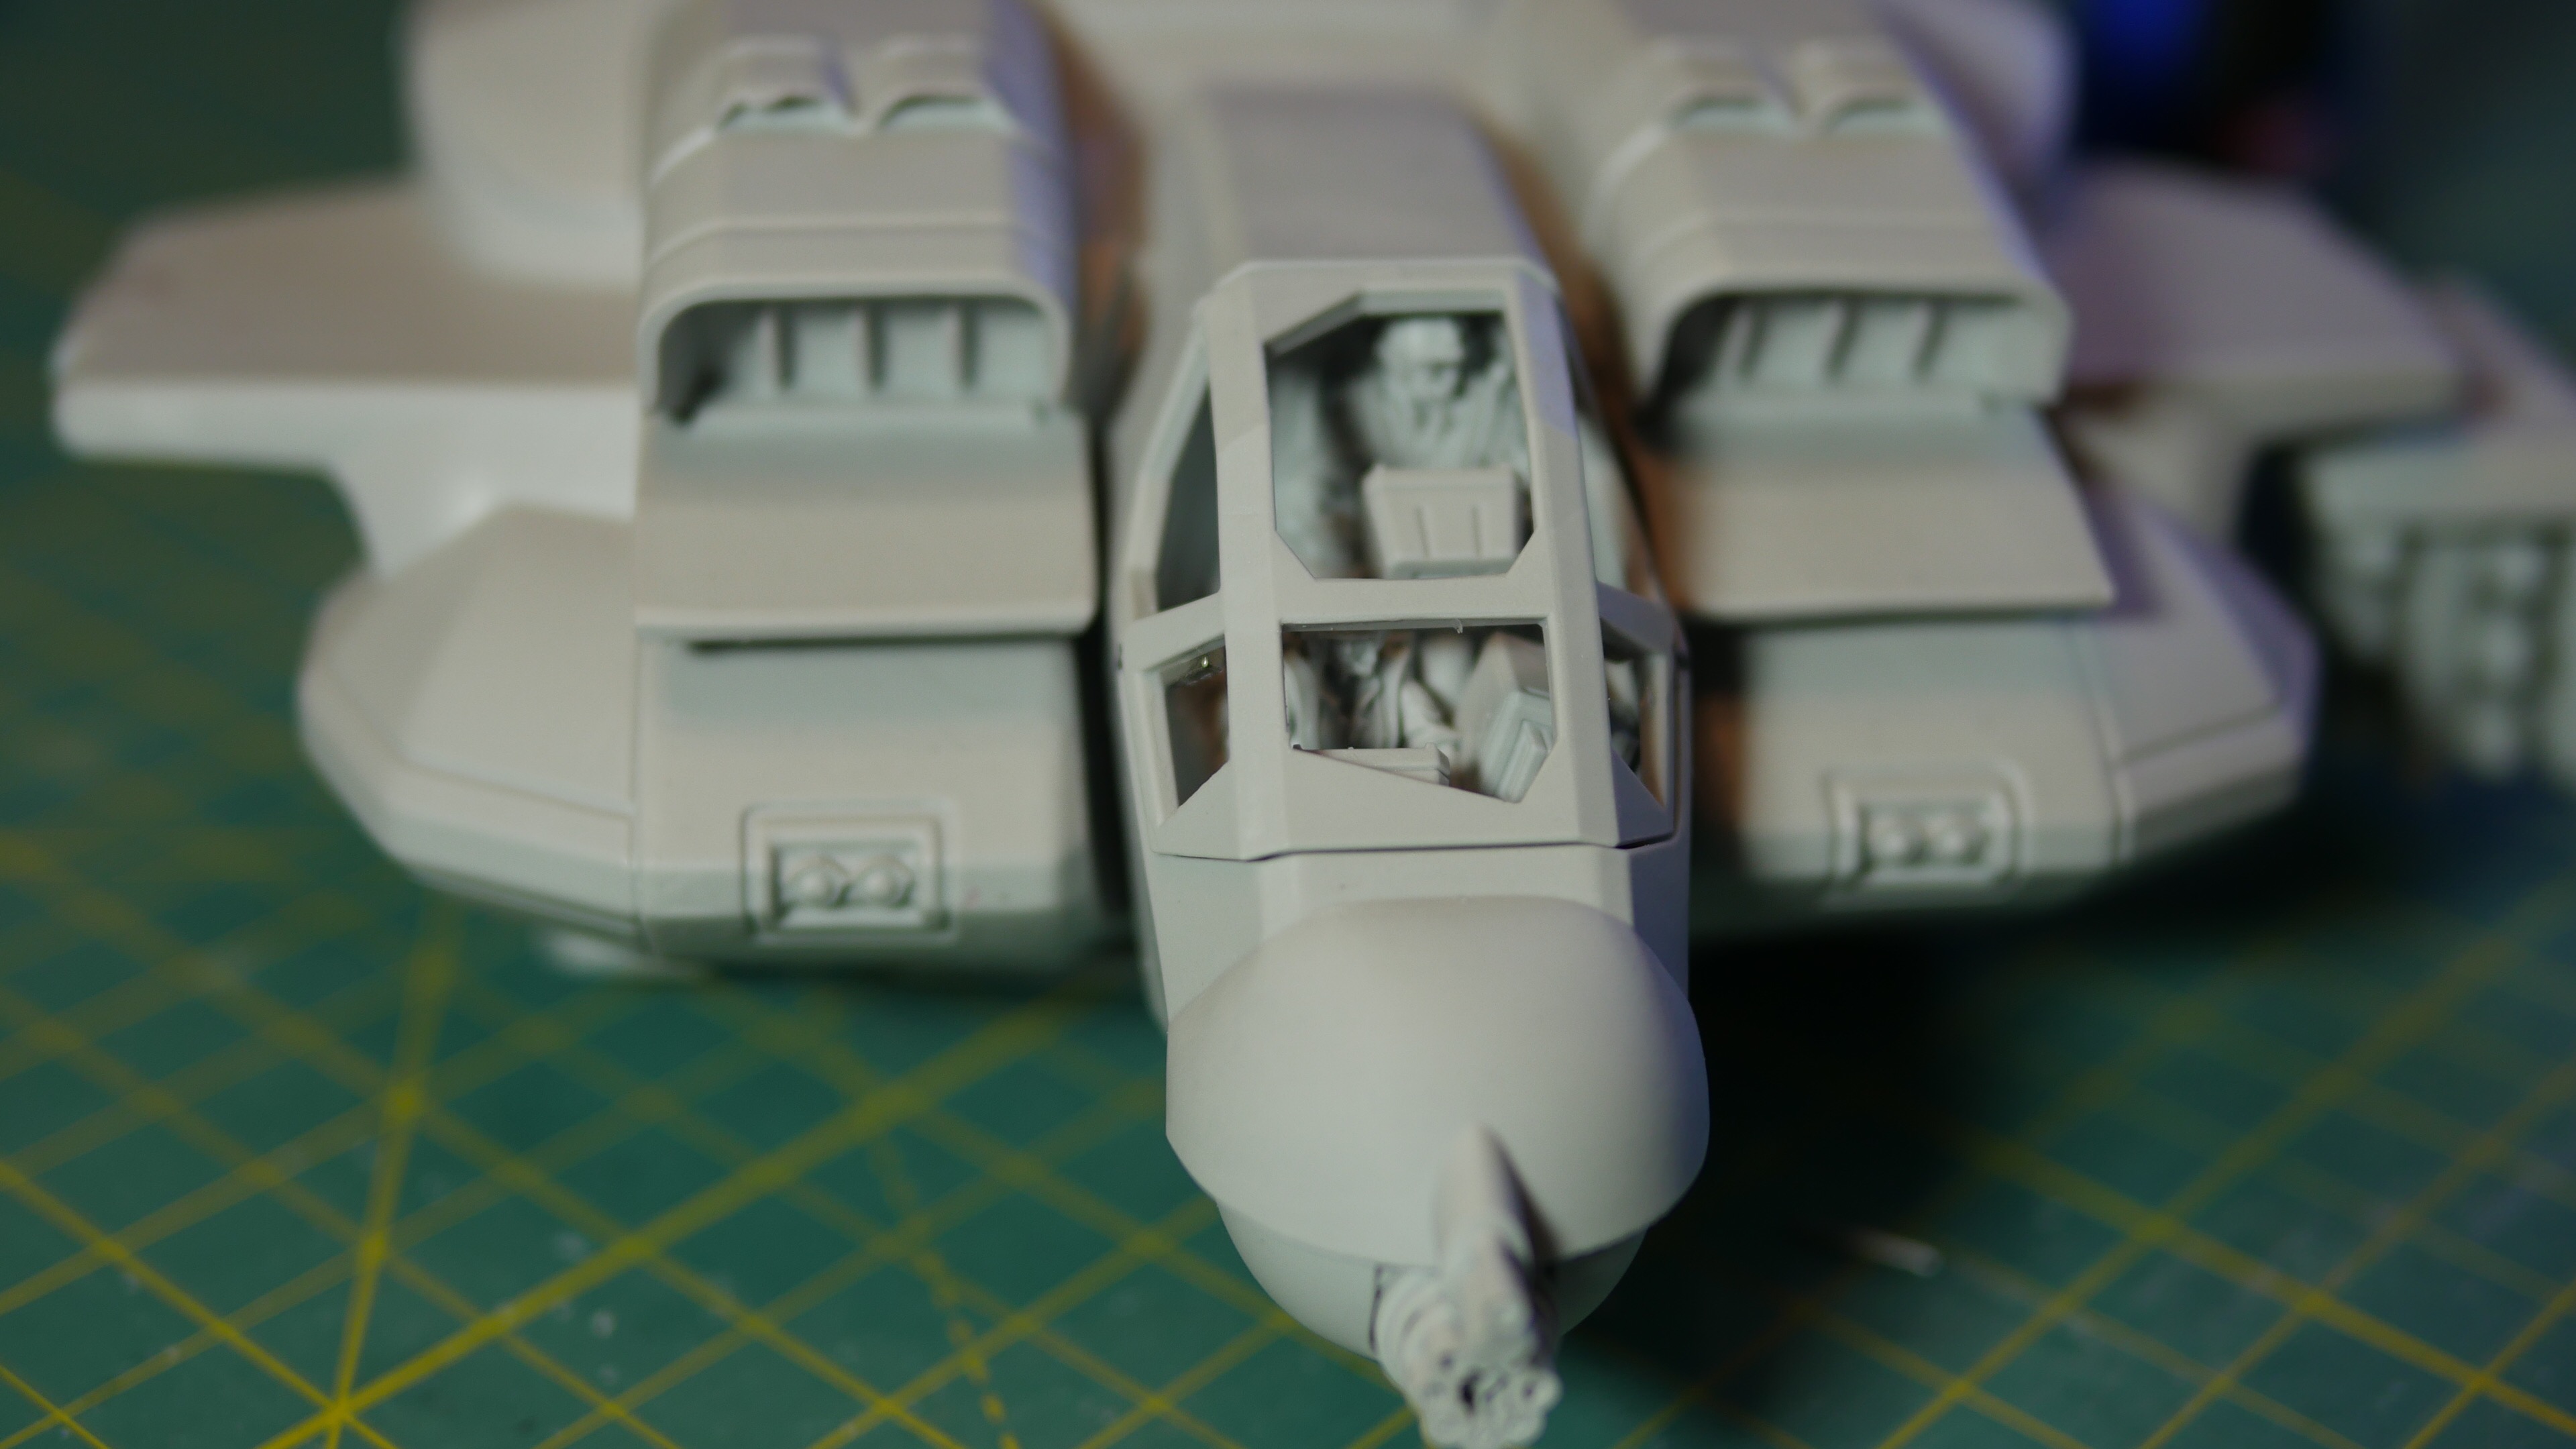
The cockpit hatch was a nice way to end this project. I did have a polarity issue with this part because the magnets had to be installed on their sides. I used a few pins to keep the hatch in place when it is closed.


The dropship assembly is complete. Time to paint!
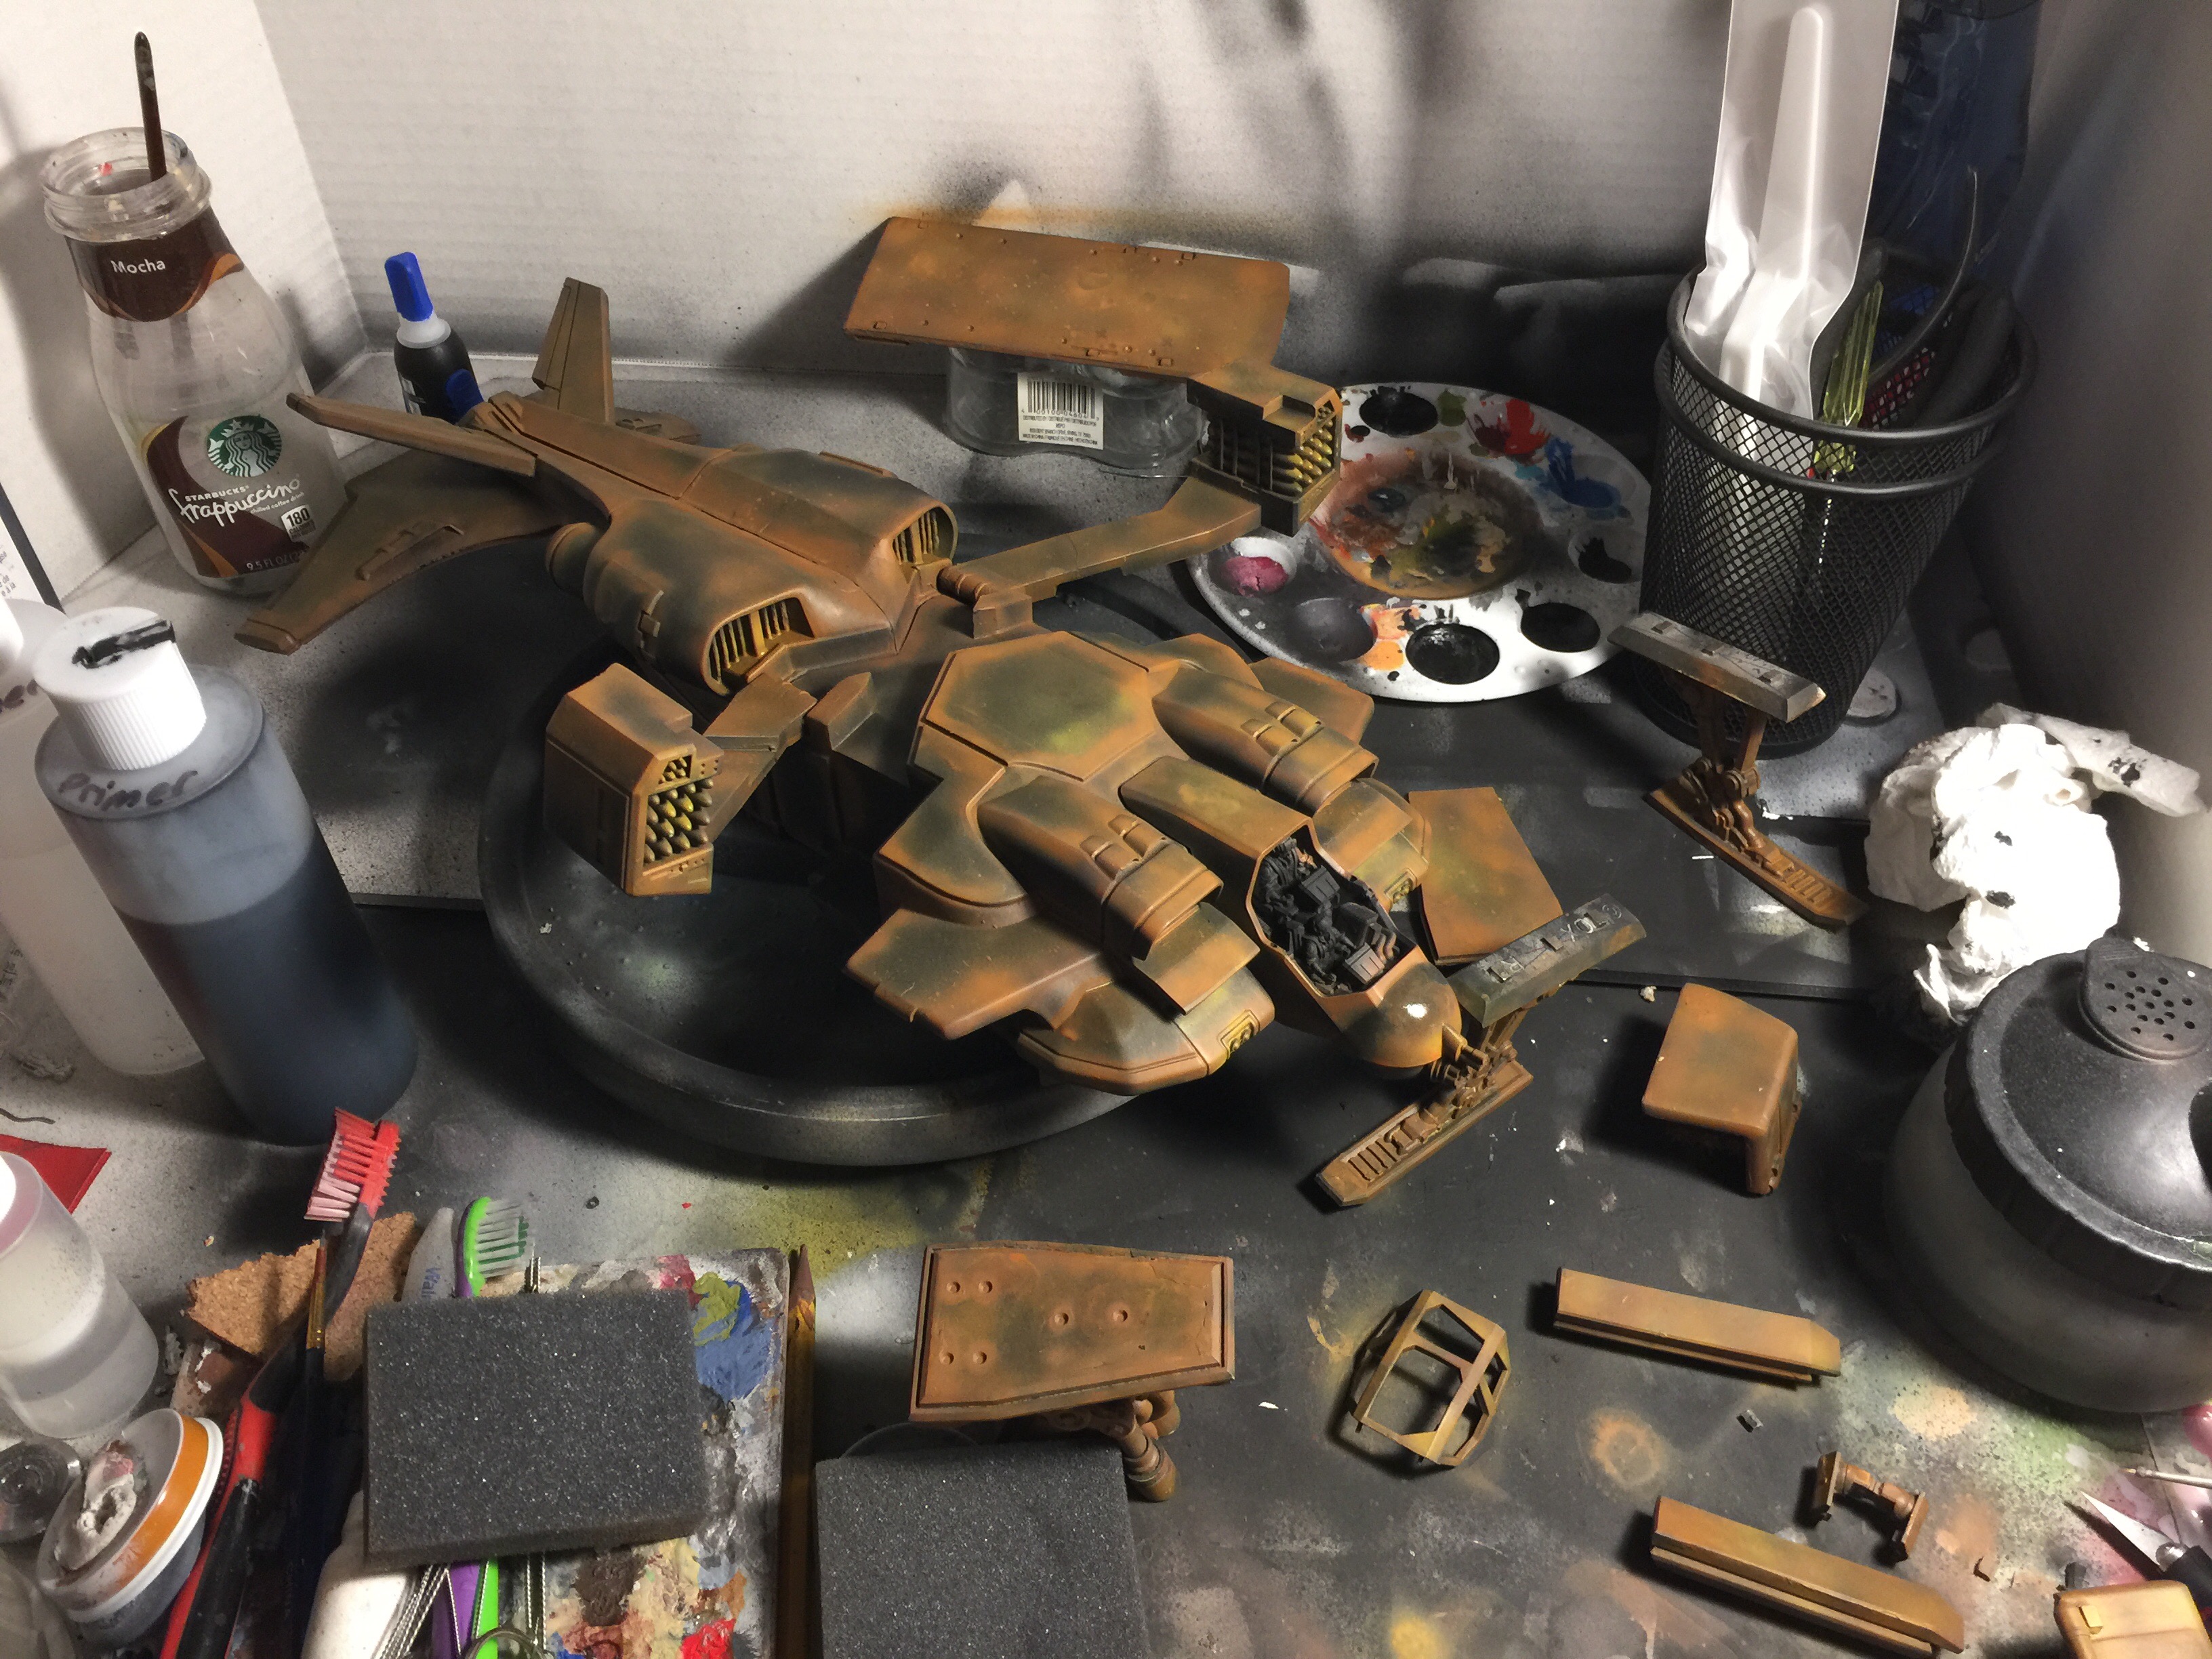
Black Primer:
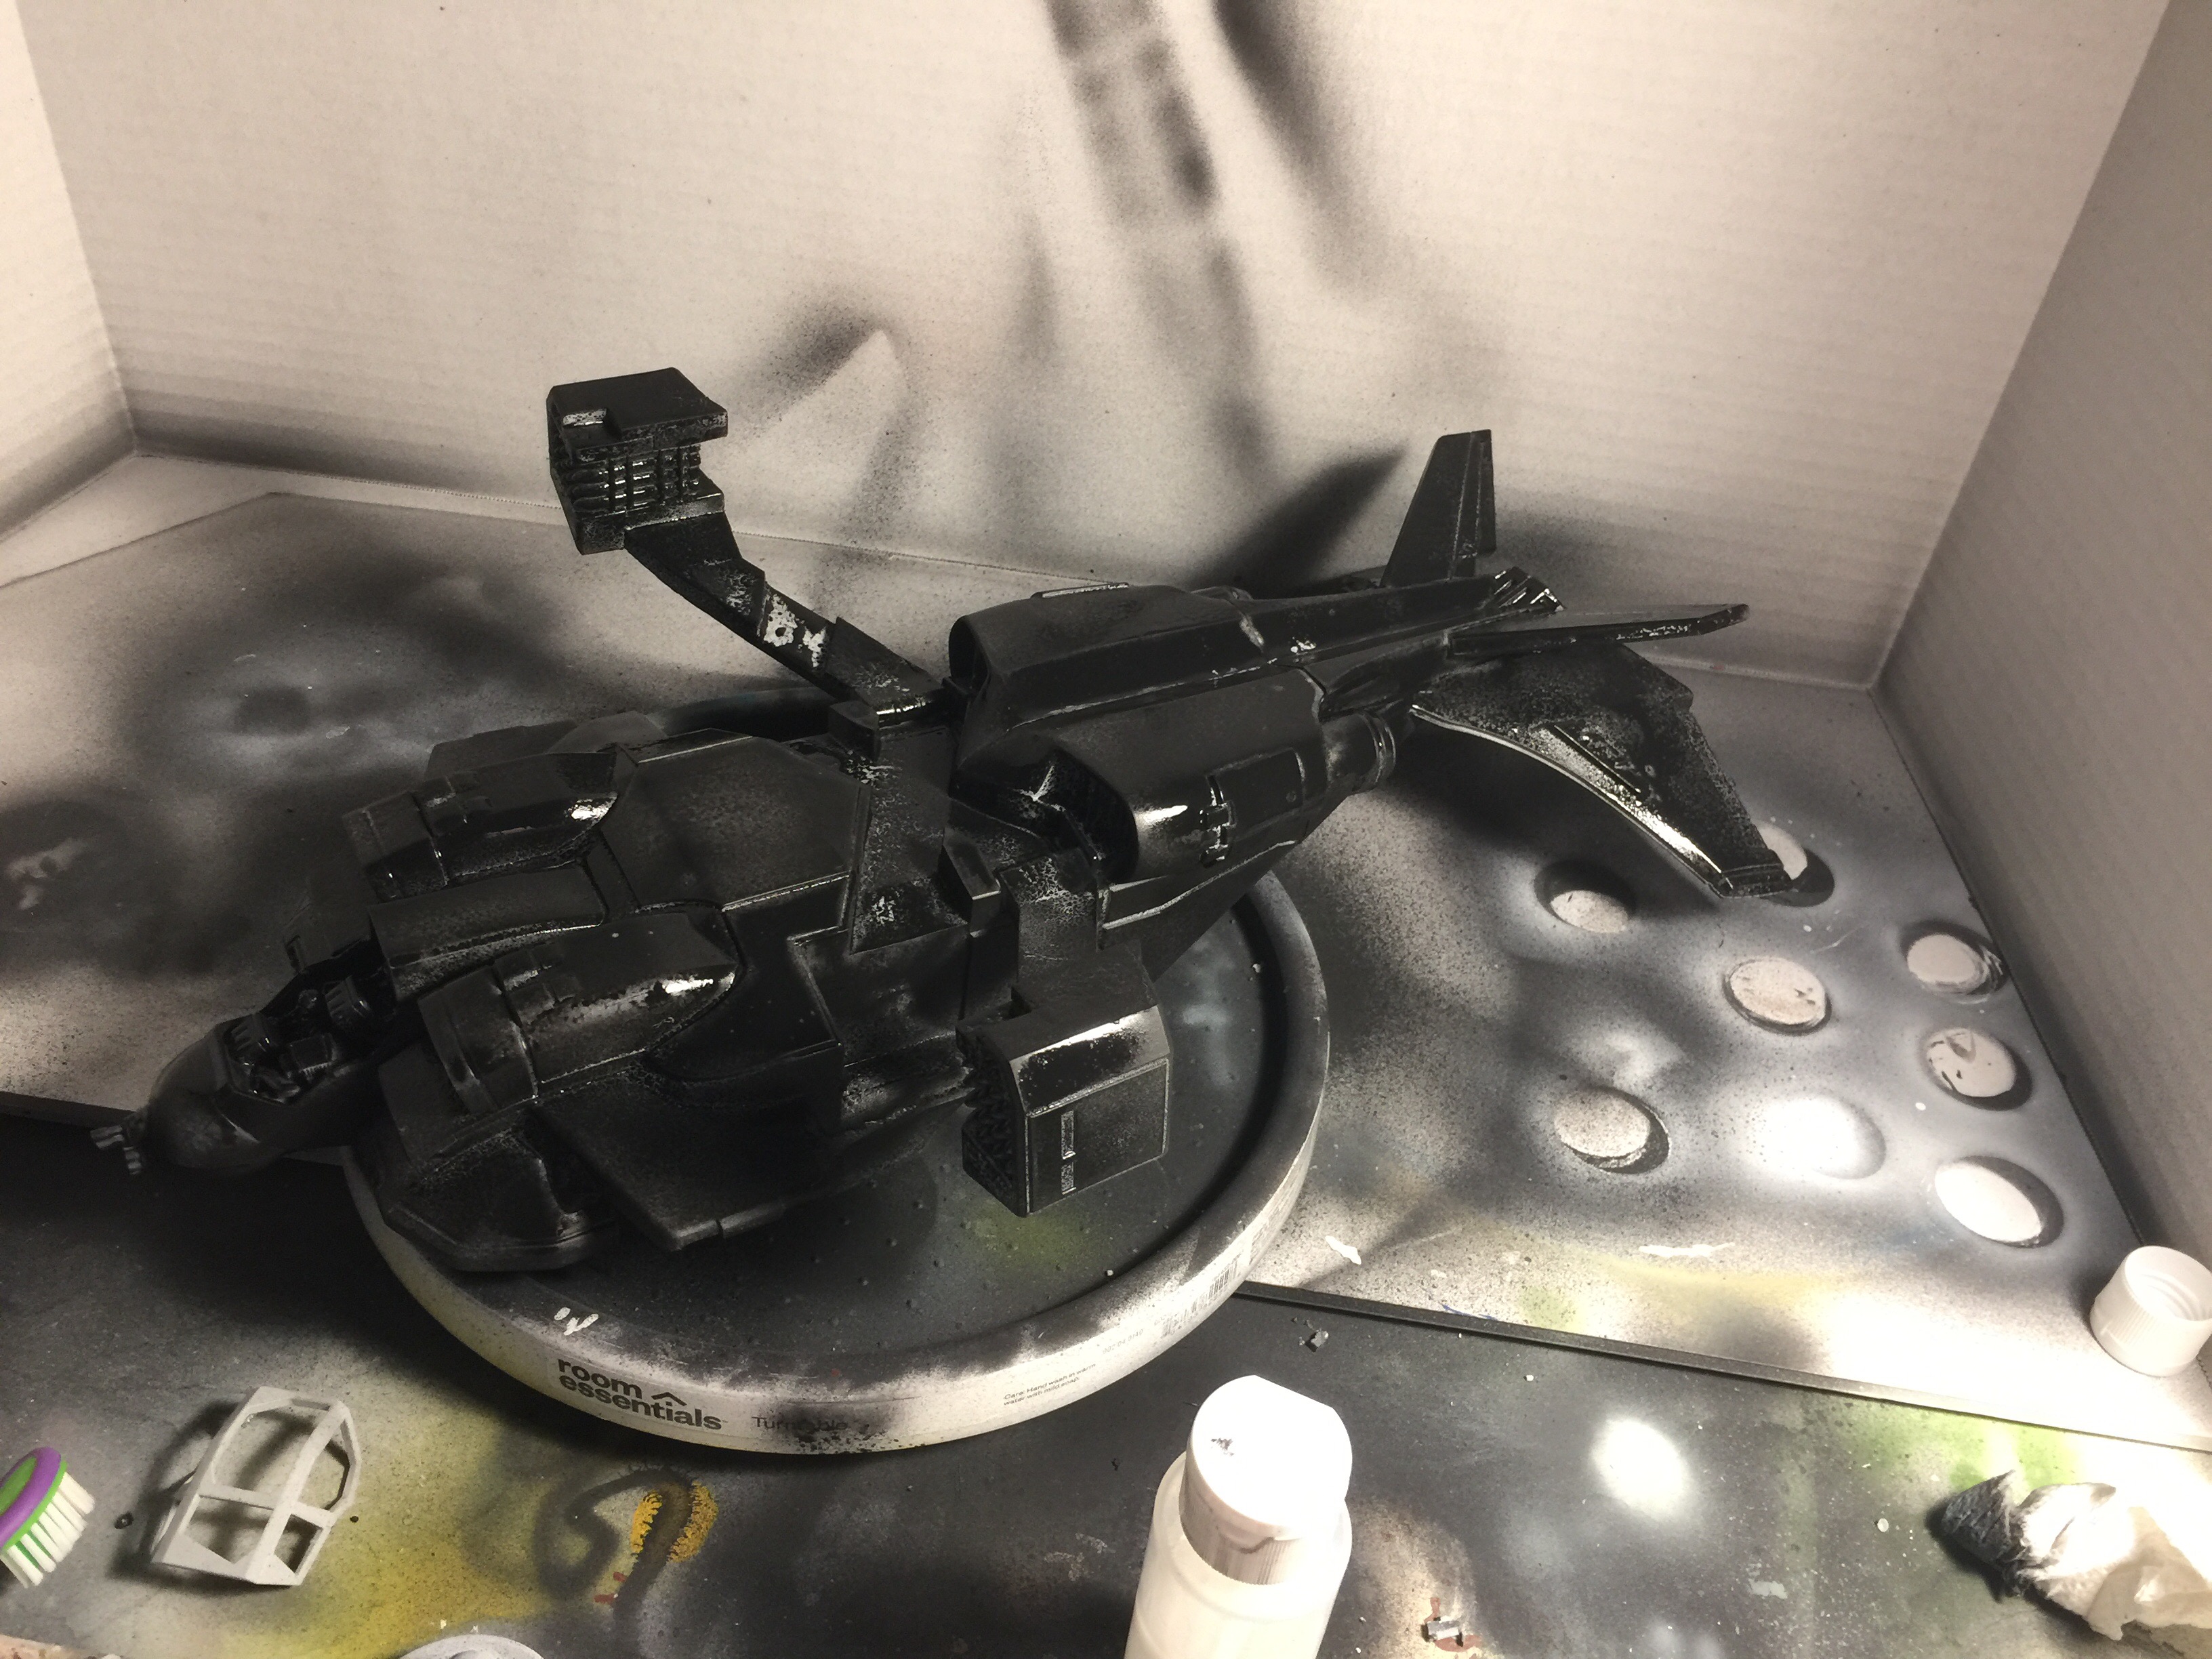

Undercoat rusting effects:


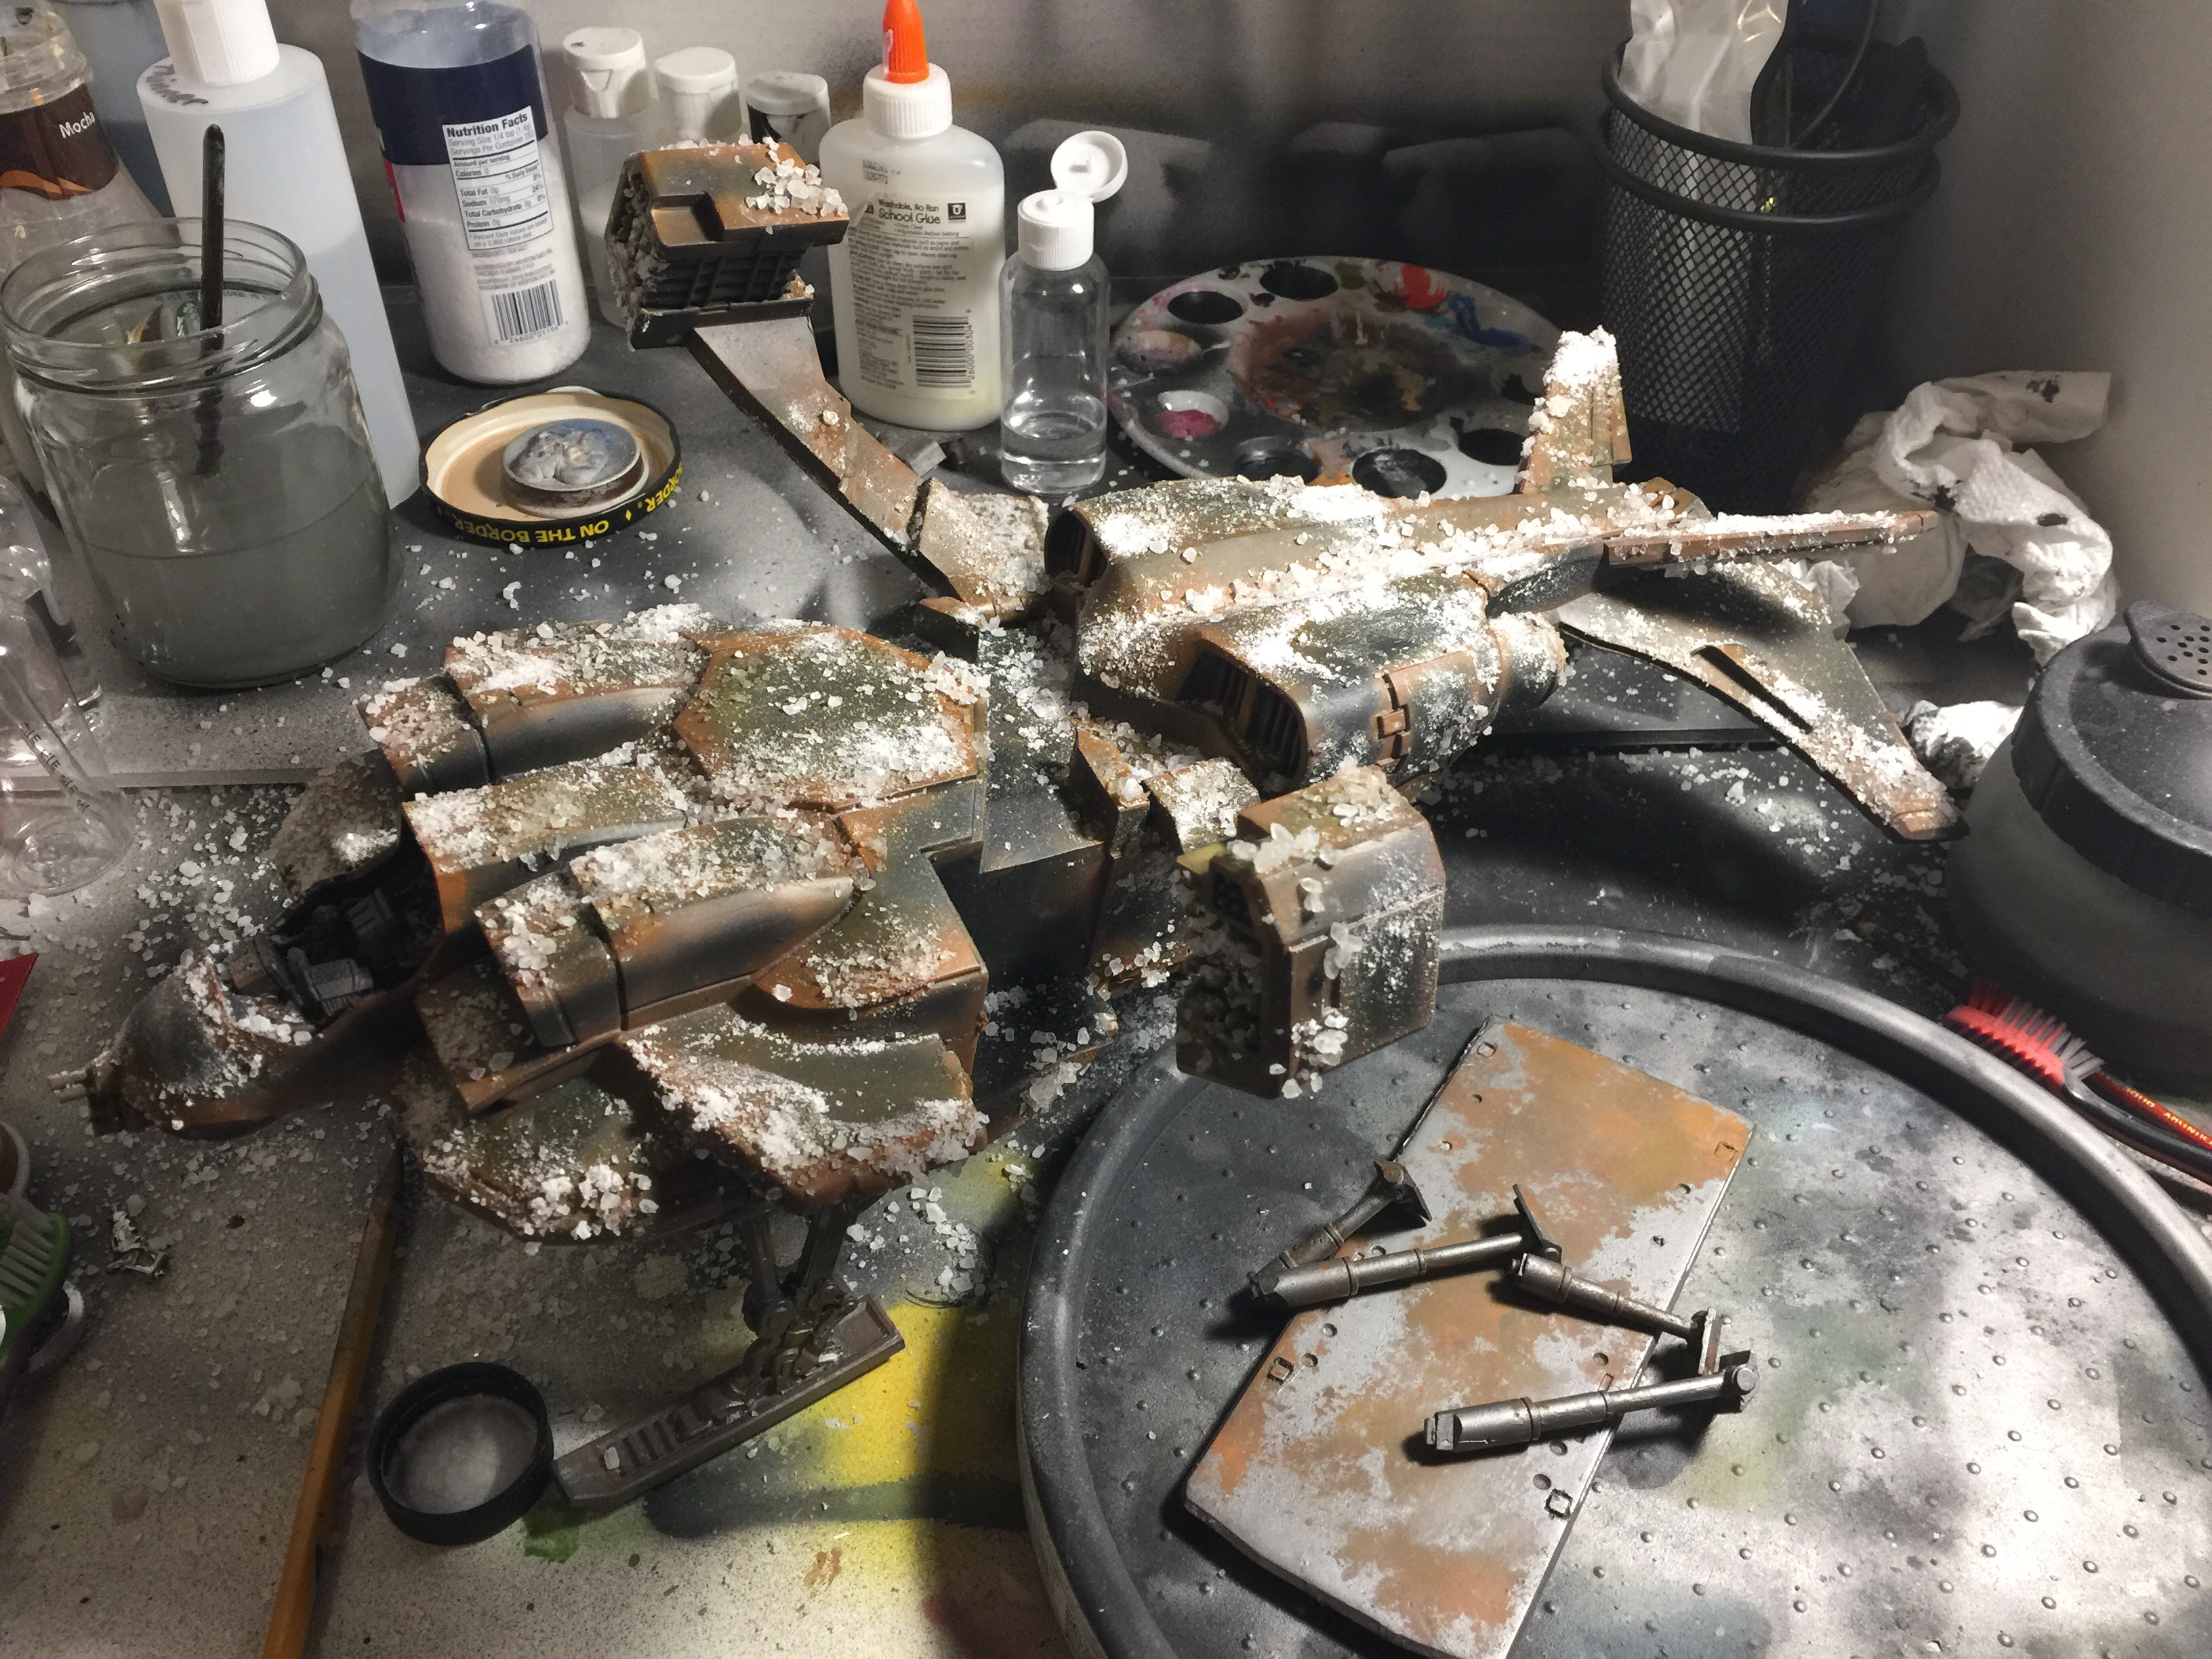
I used crushed rock salt to begin the salt chipping process. I started on the smaller items first to make sure the process had the desired results. I brushed on a solution of water with just a bit of glue. Sprinkle the salt over the desired areas of each piece. After the salt dries you can begin spraying the top coat. I used a silver metallic for the landing gear, cargo door and struts.

After the top coat is dry, gently use a toothbrush to brush away the salt. This chips away the top coat and allows the rust layer to show through.


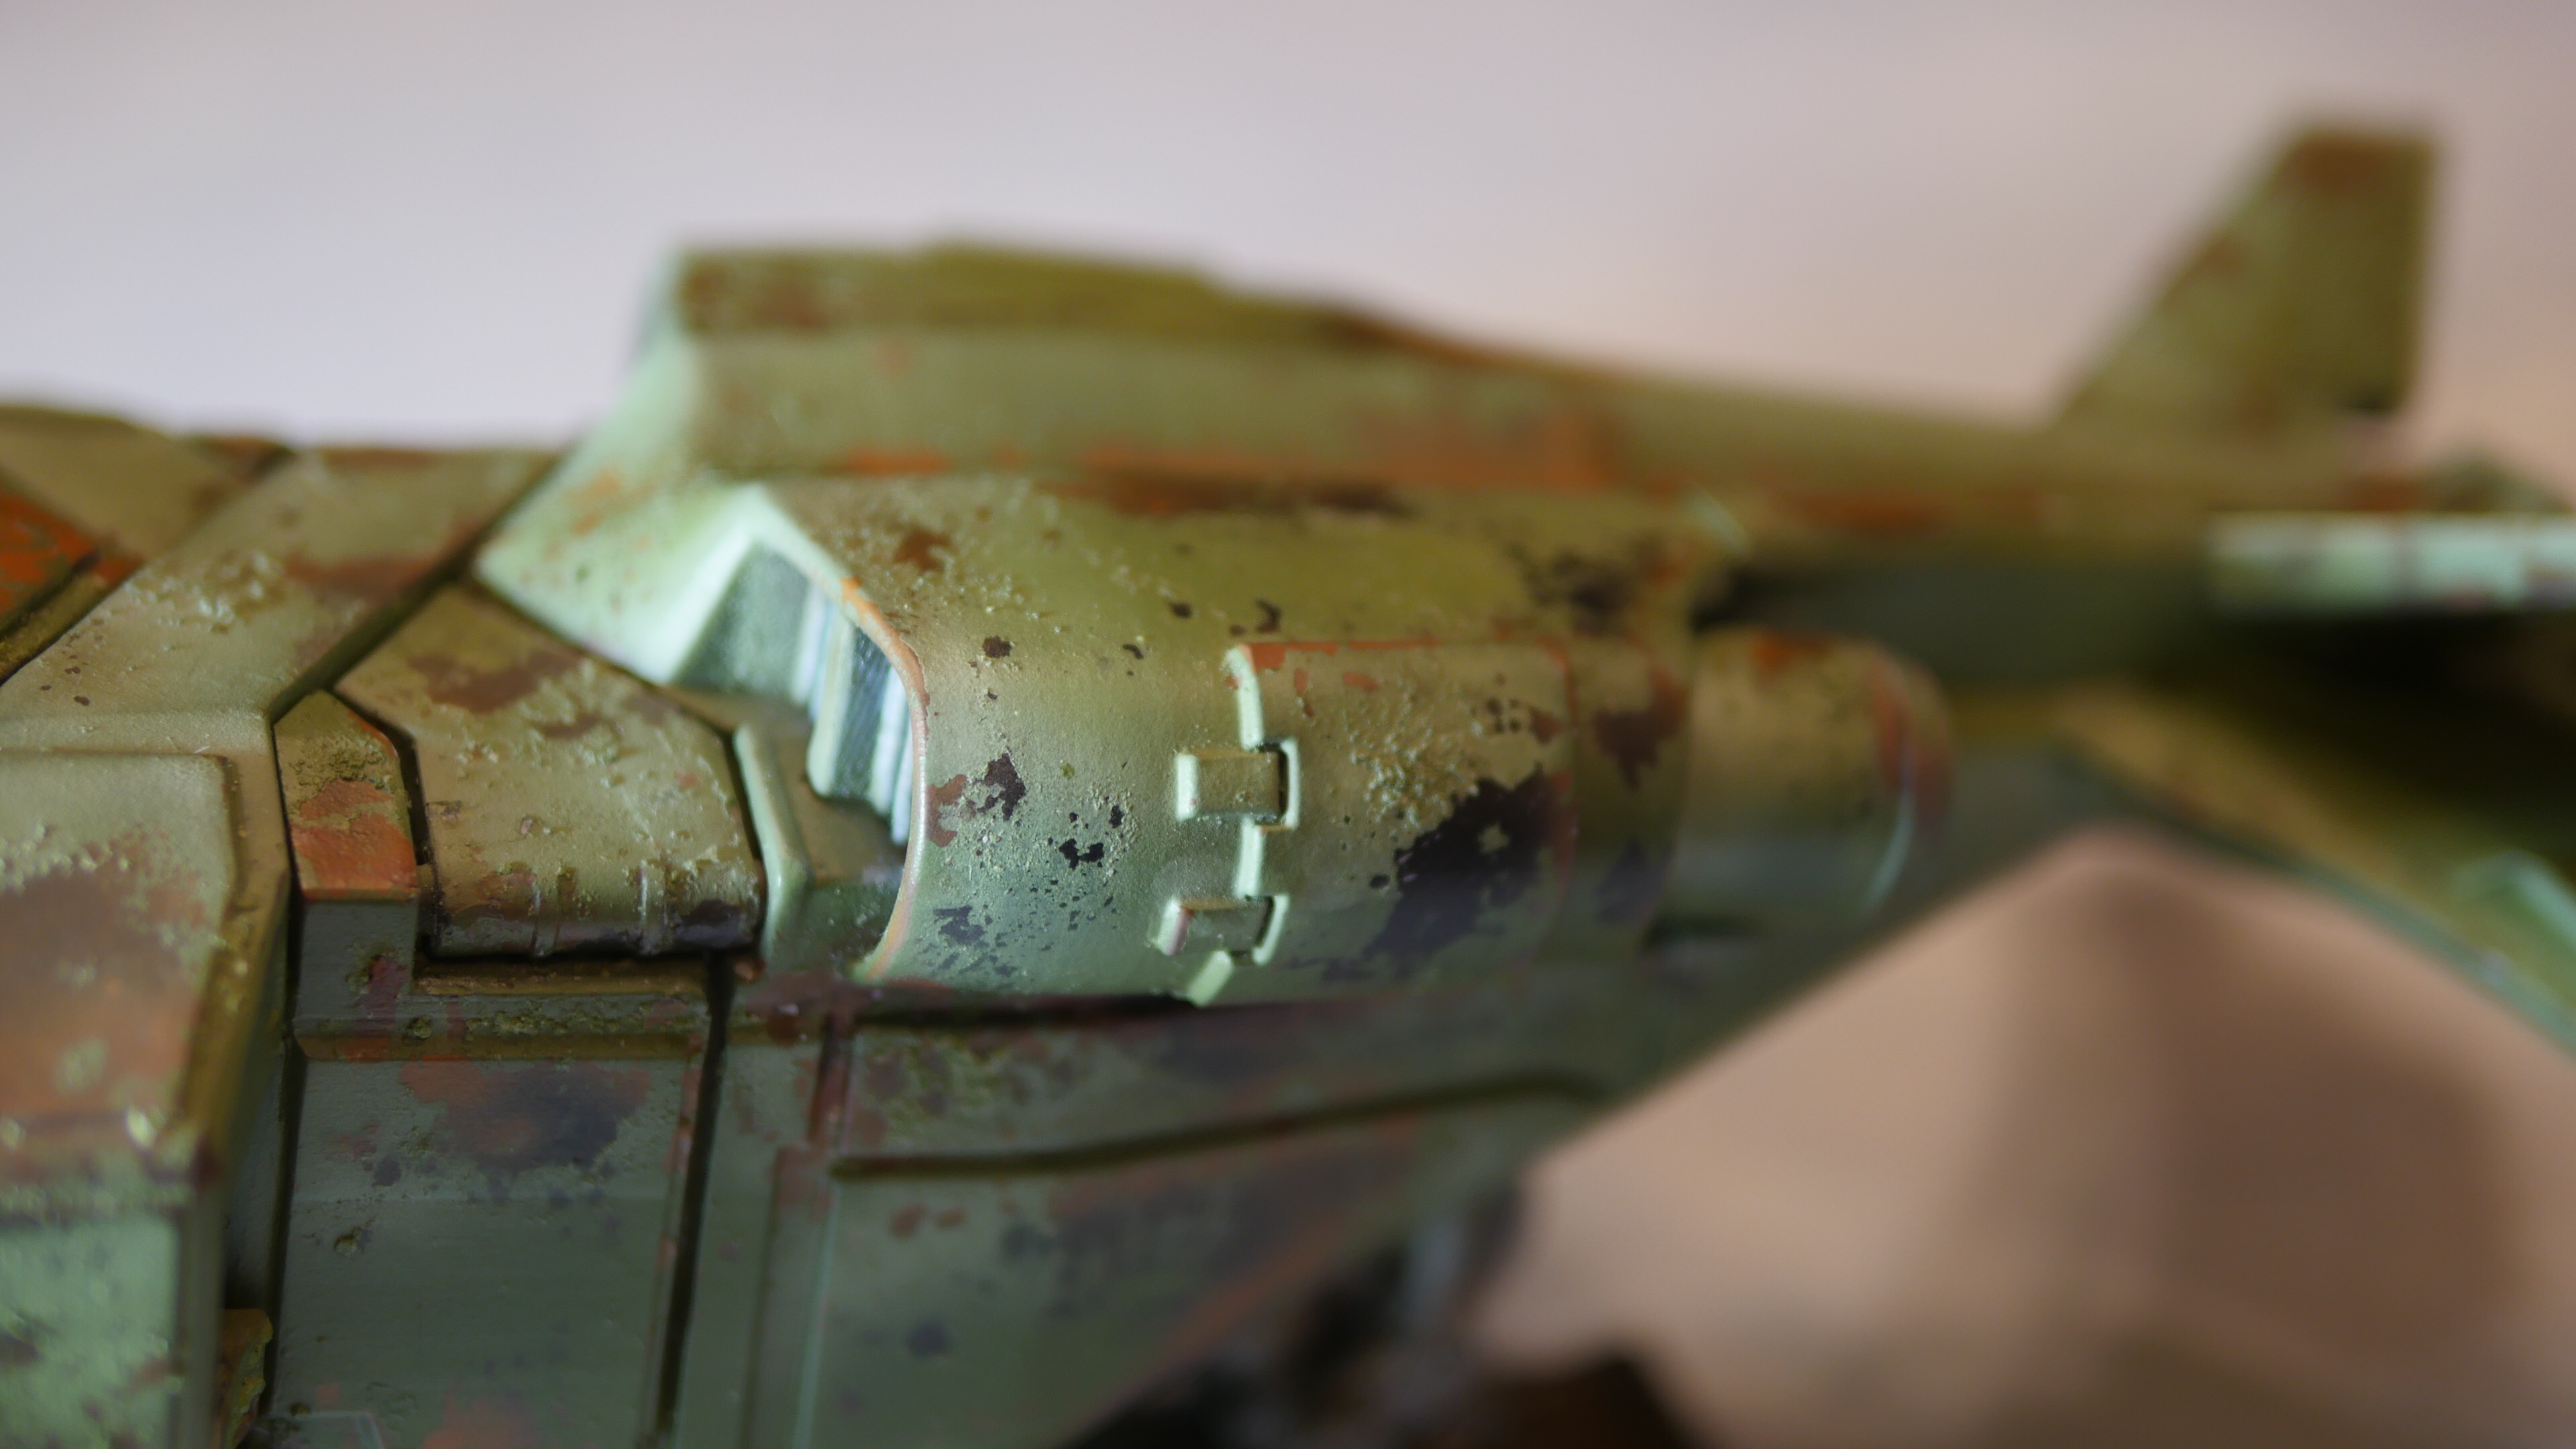
After being pleased with the initial rust results I went ahead and salted the main ship.
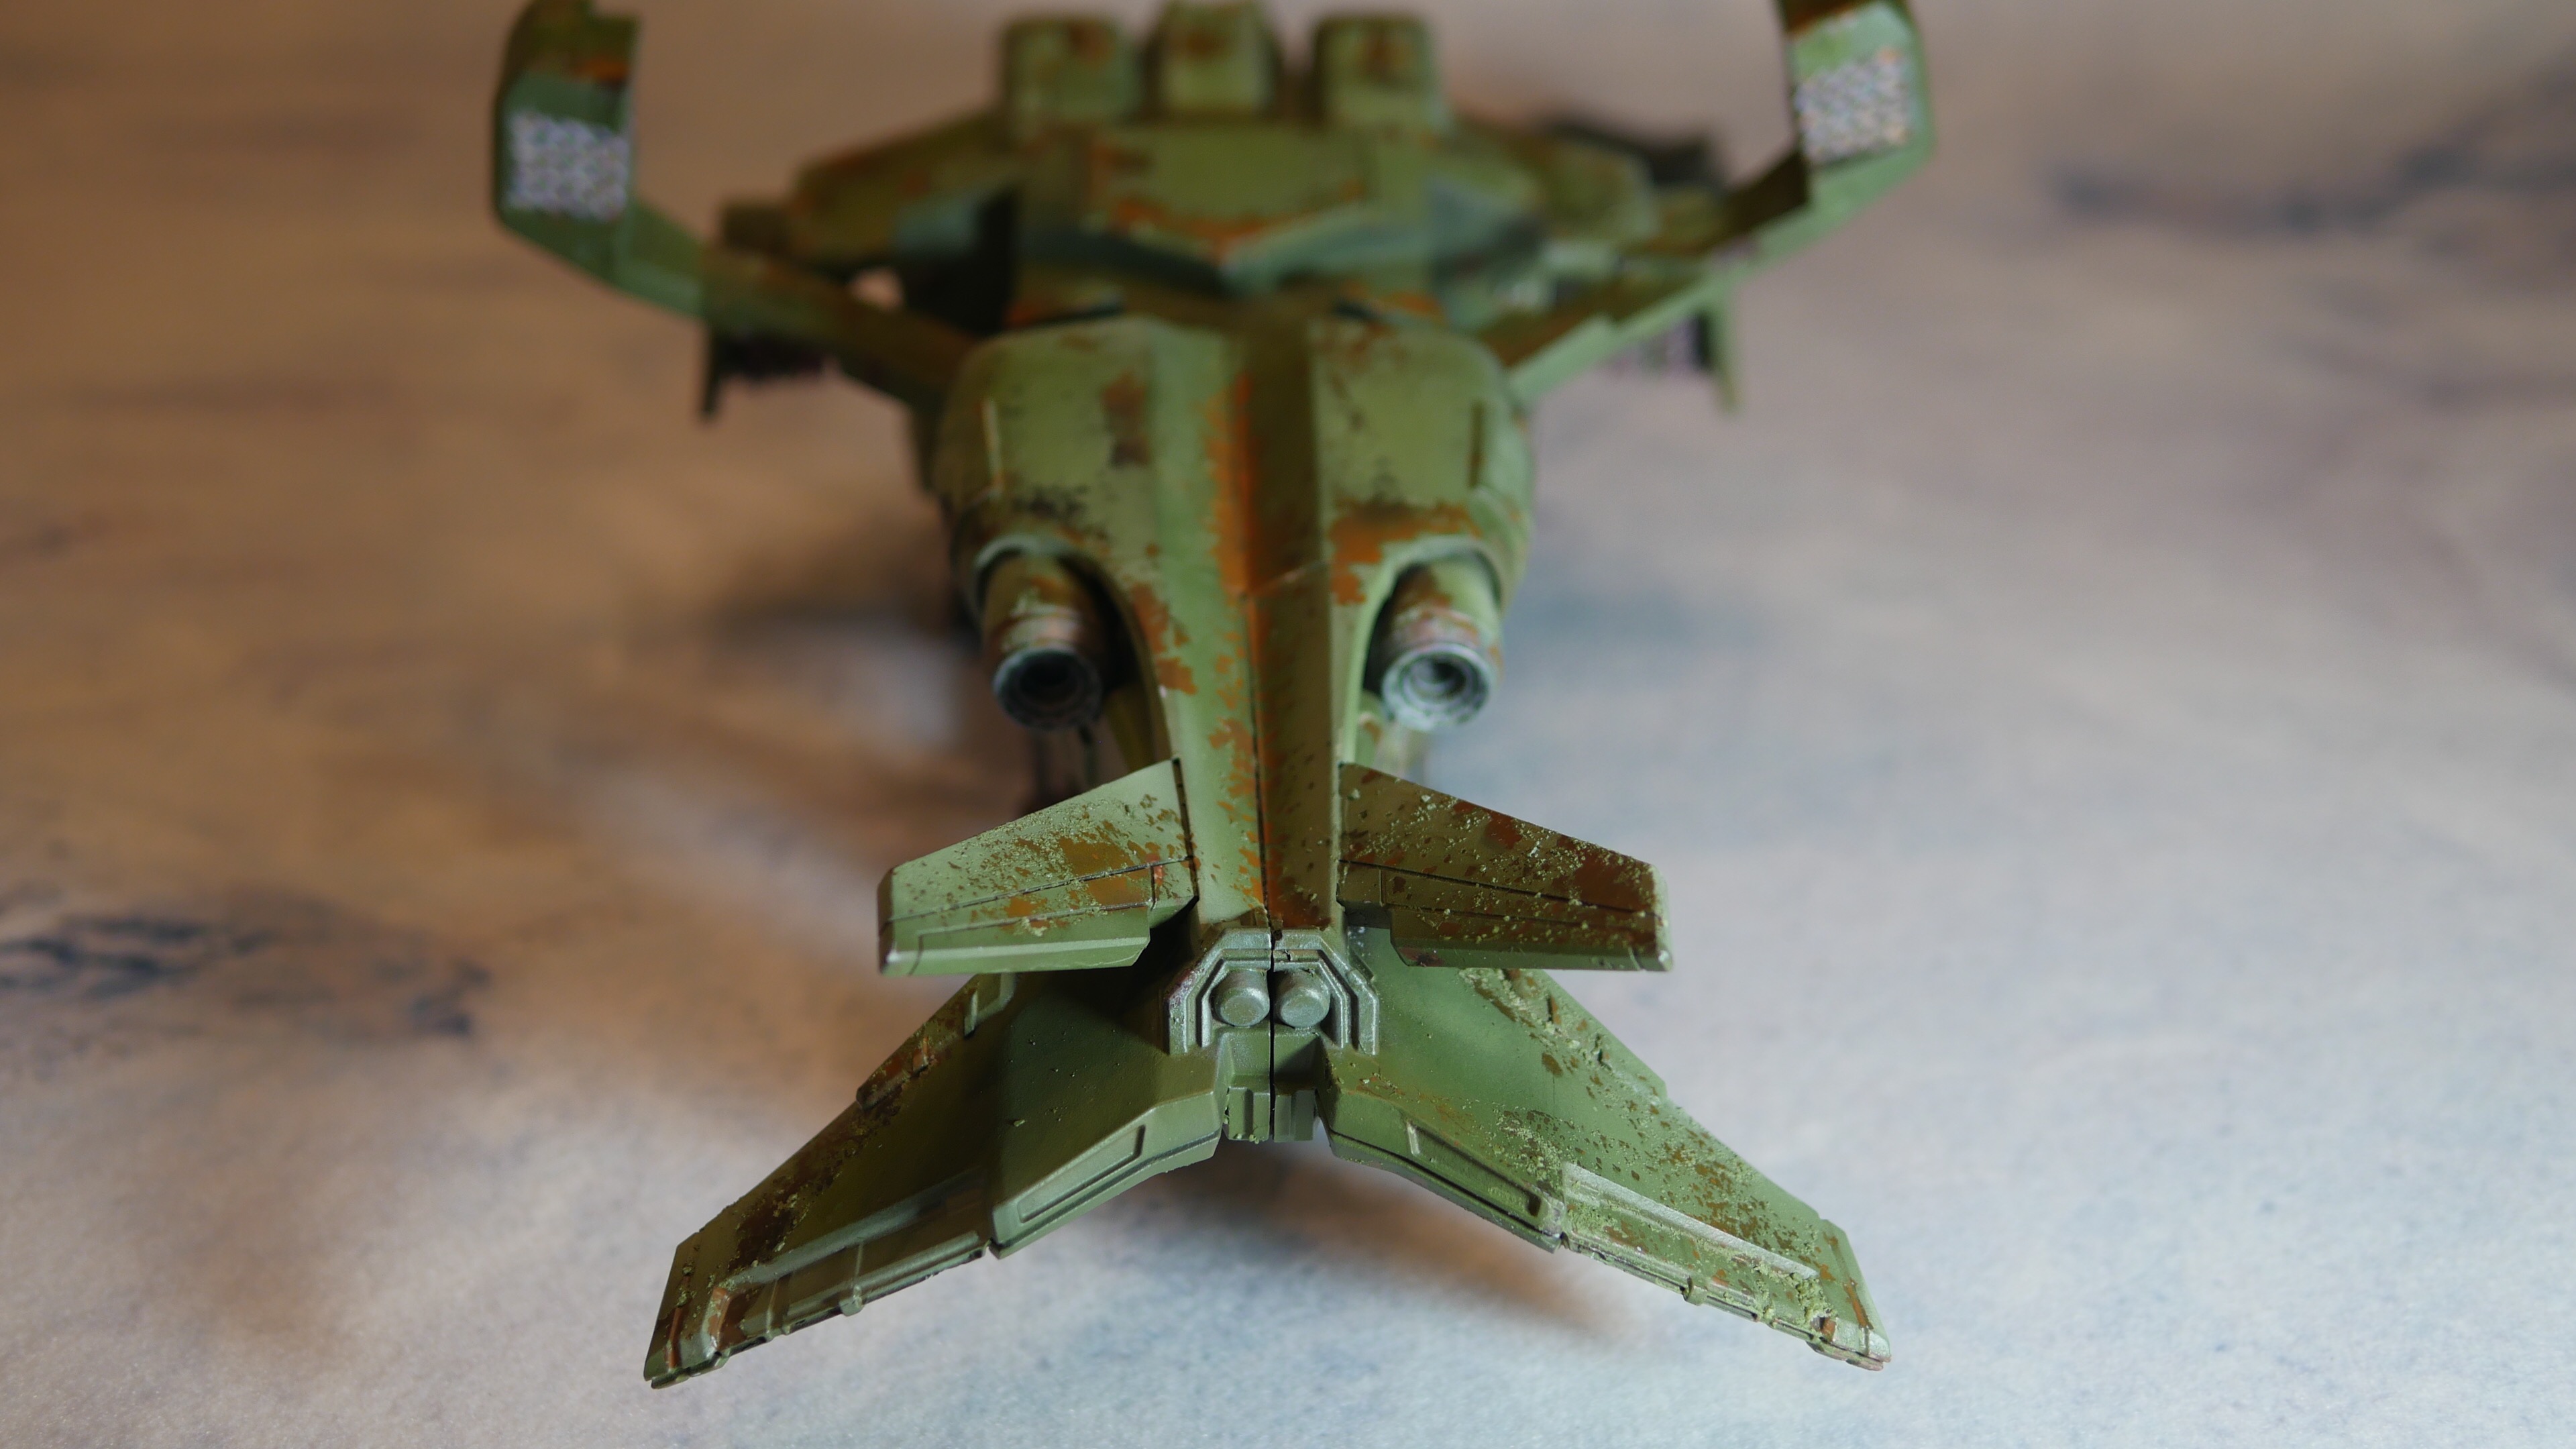
I chose an olive green top coat.

Then added two layers of olive green highlights.


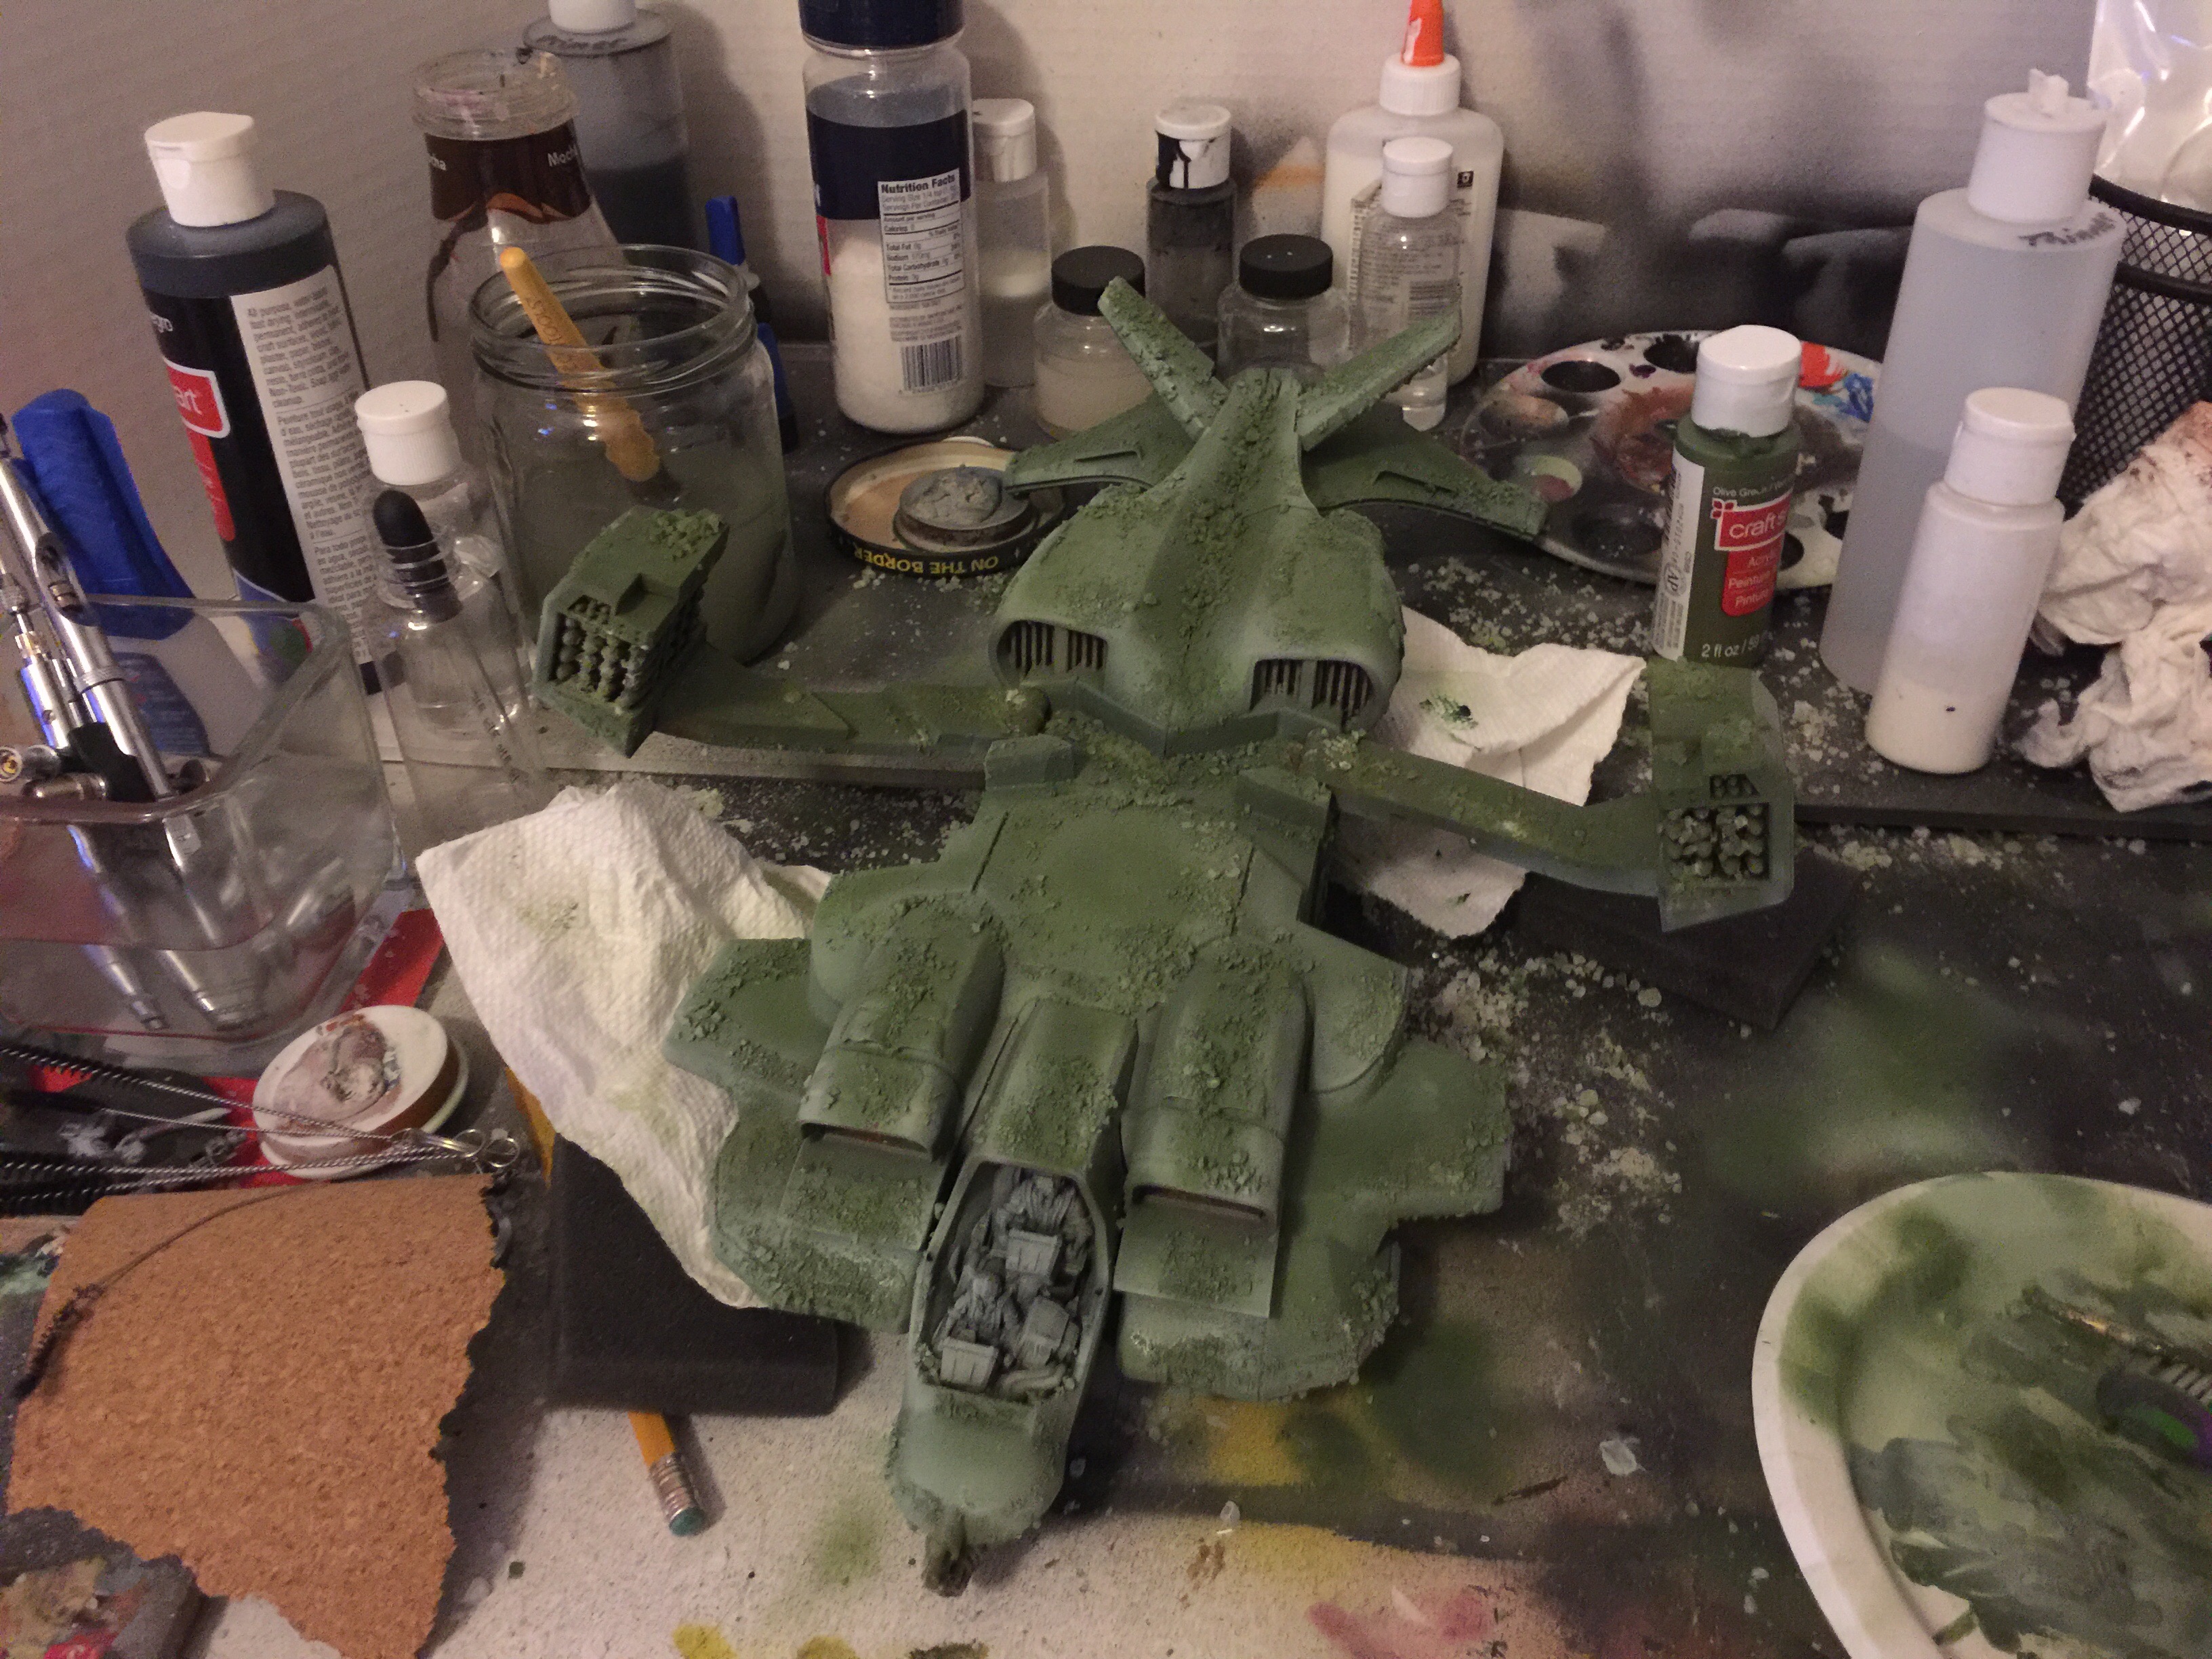

After brushing away the salt, it’s time to paint some of the details.
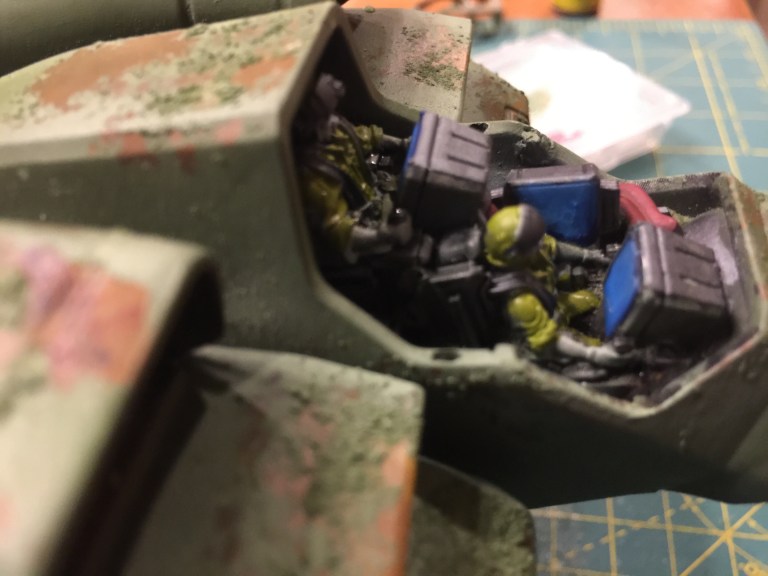

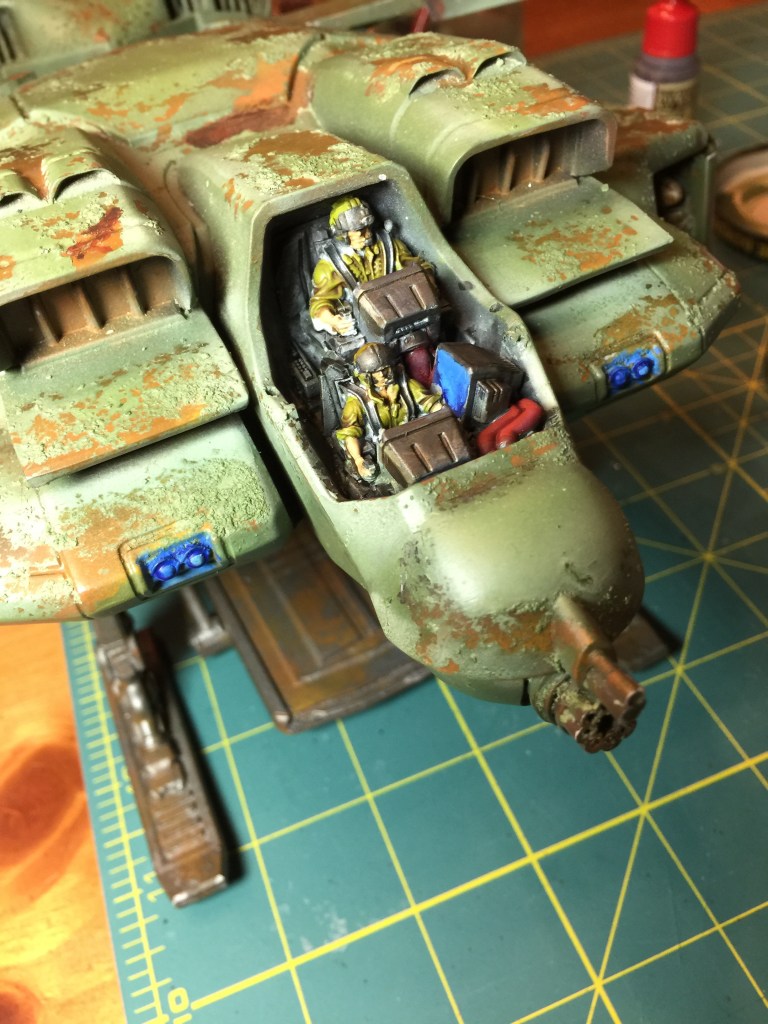

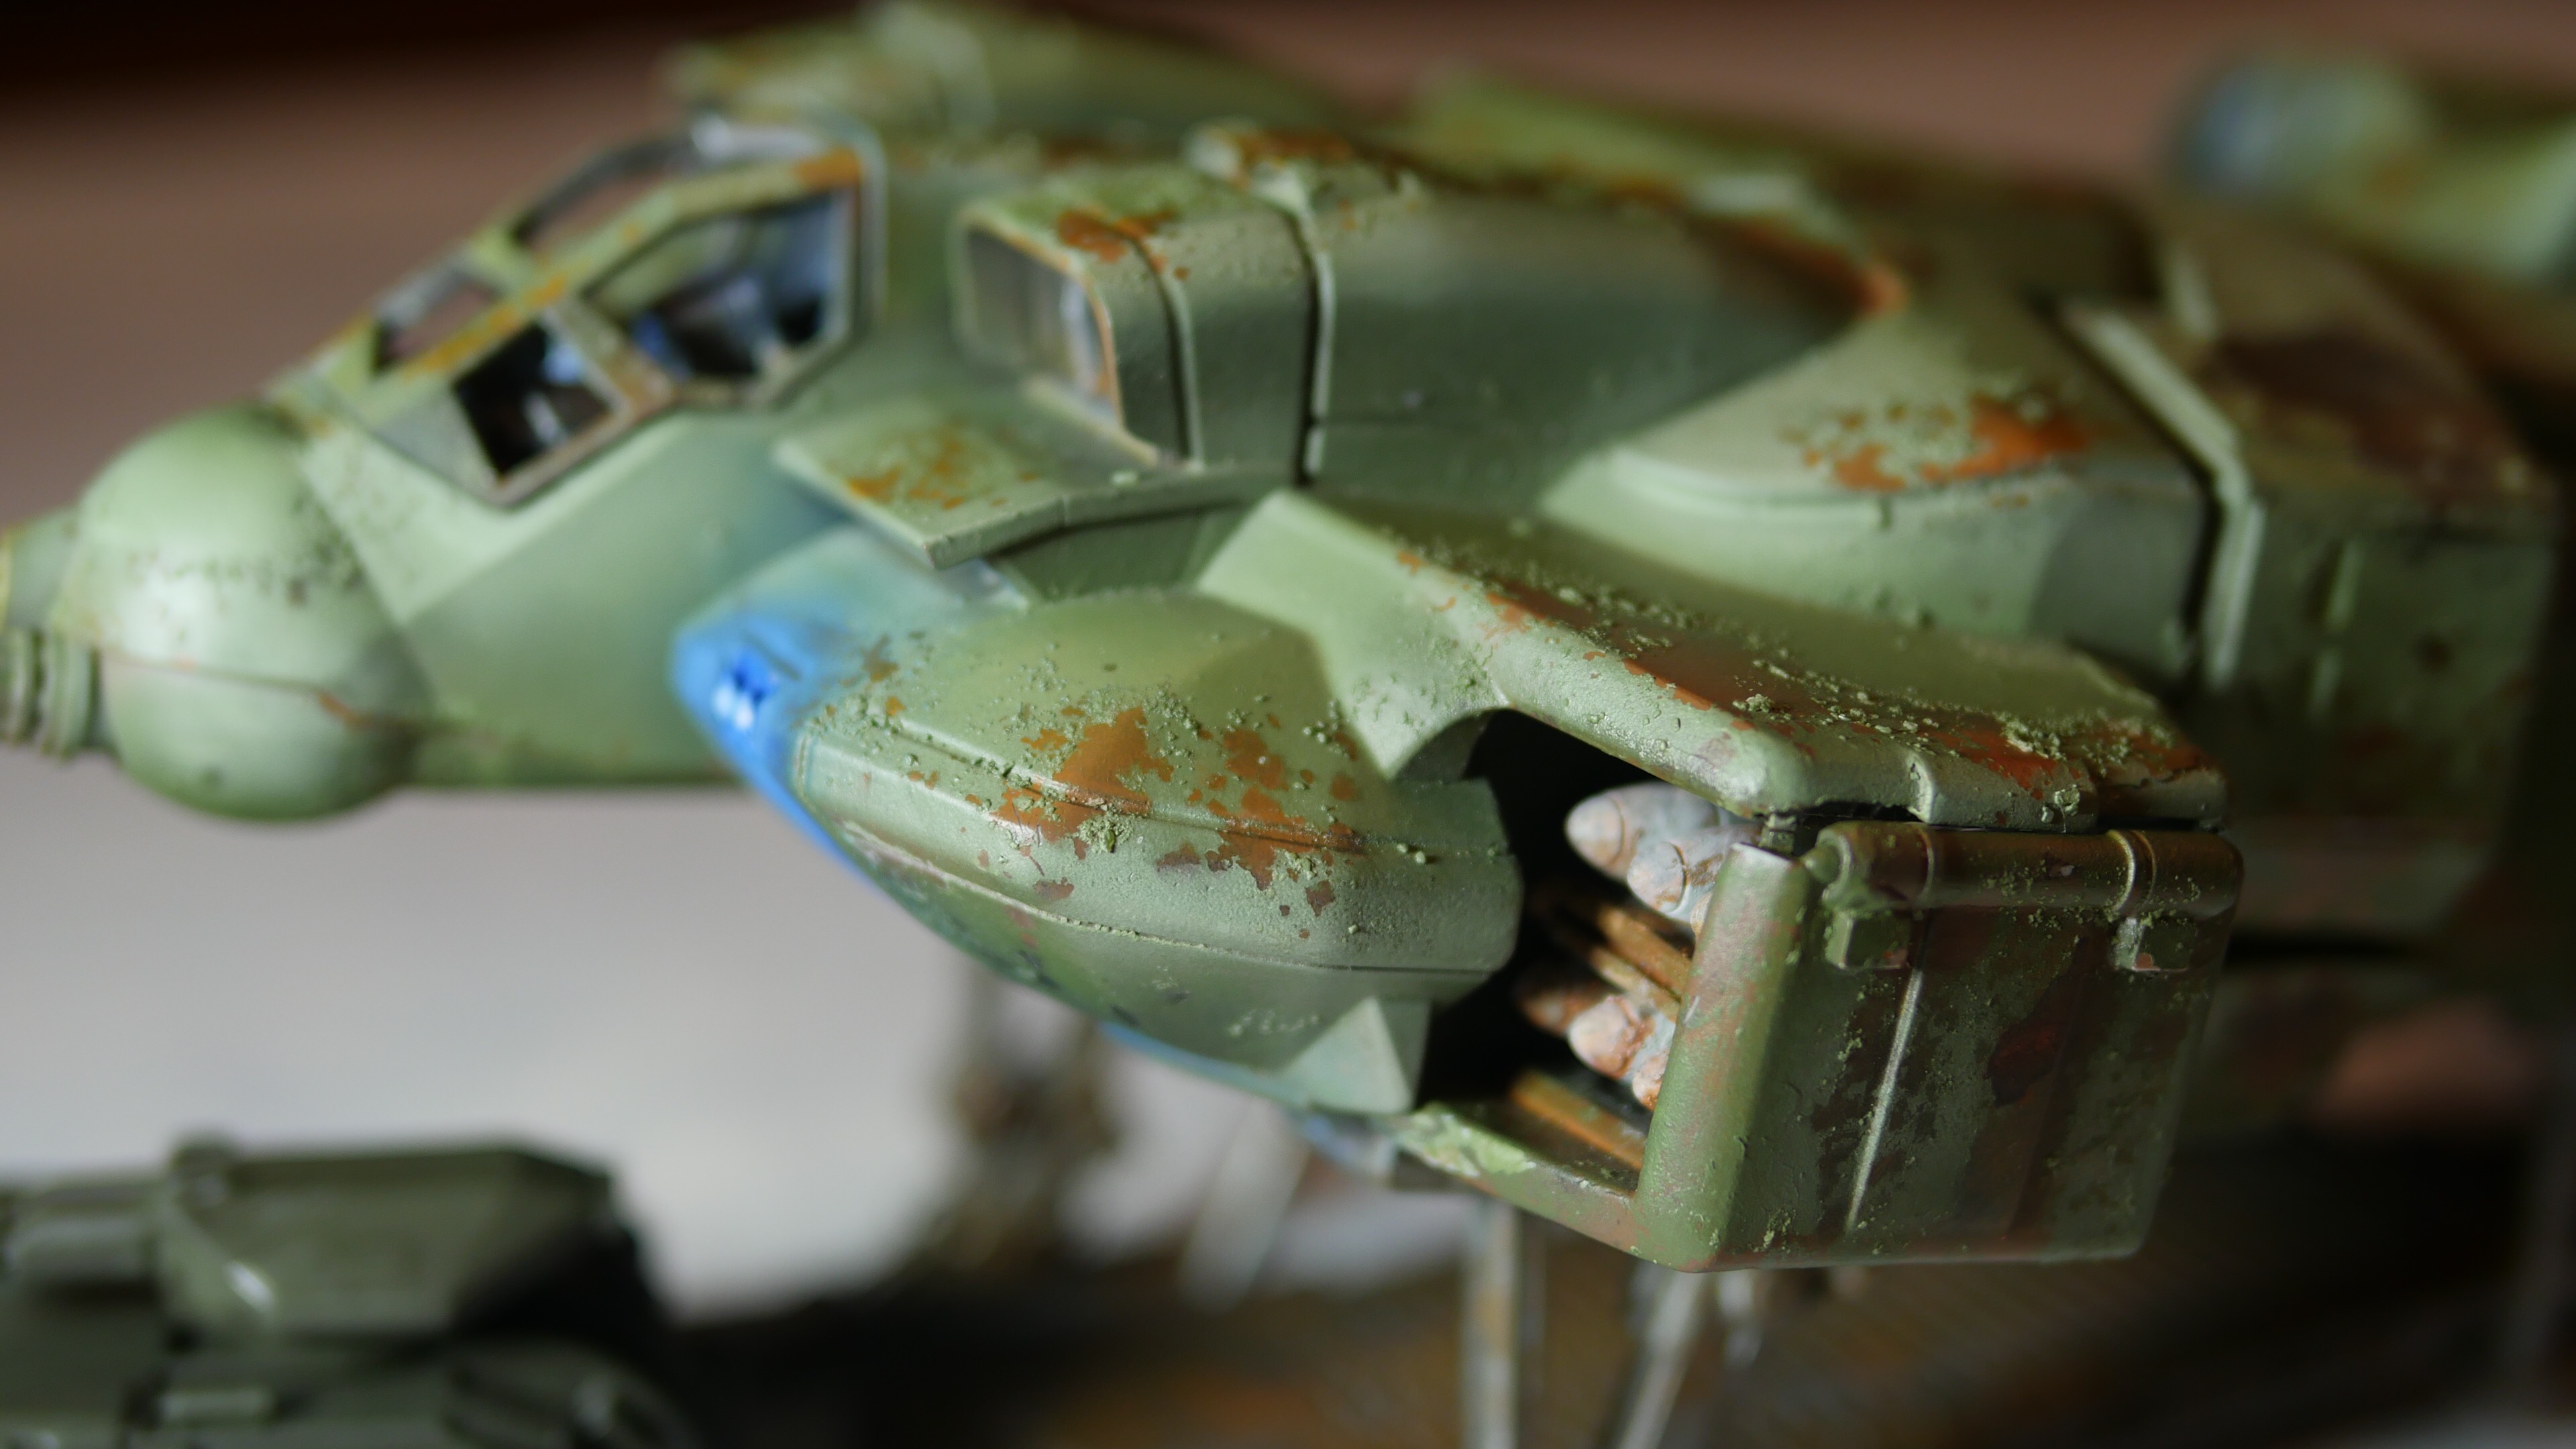
I used the airbrush to add a glow effect for the headlights and the pilots. There are three computer monitors in the cockpit putting off a blue glow.

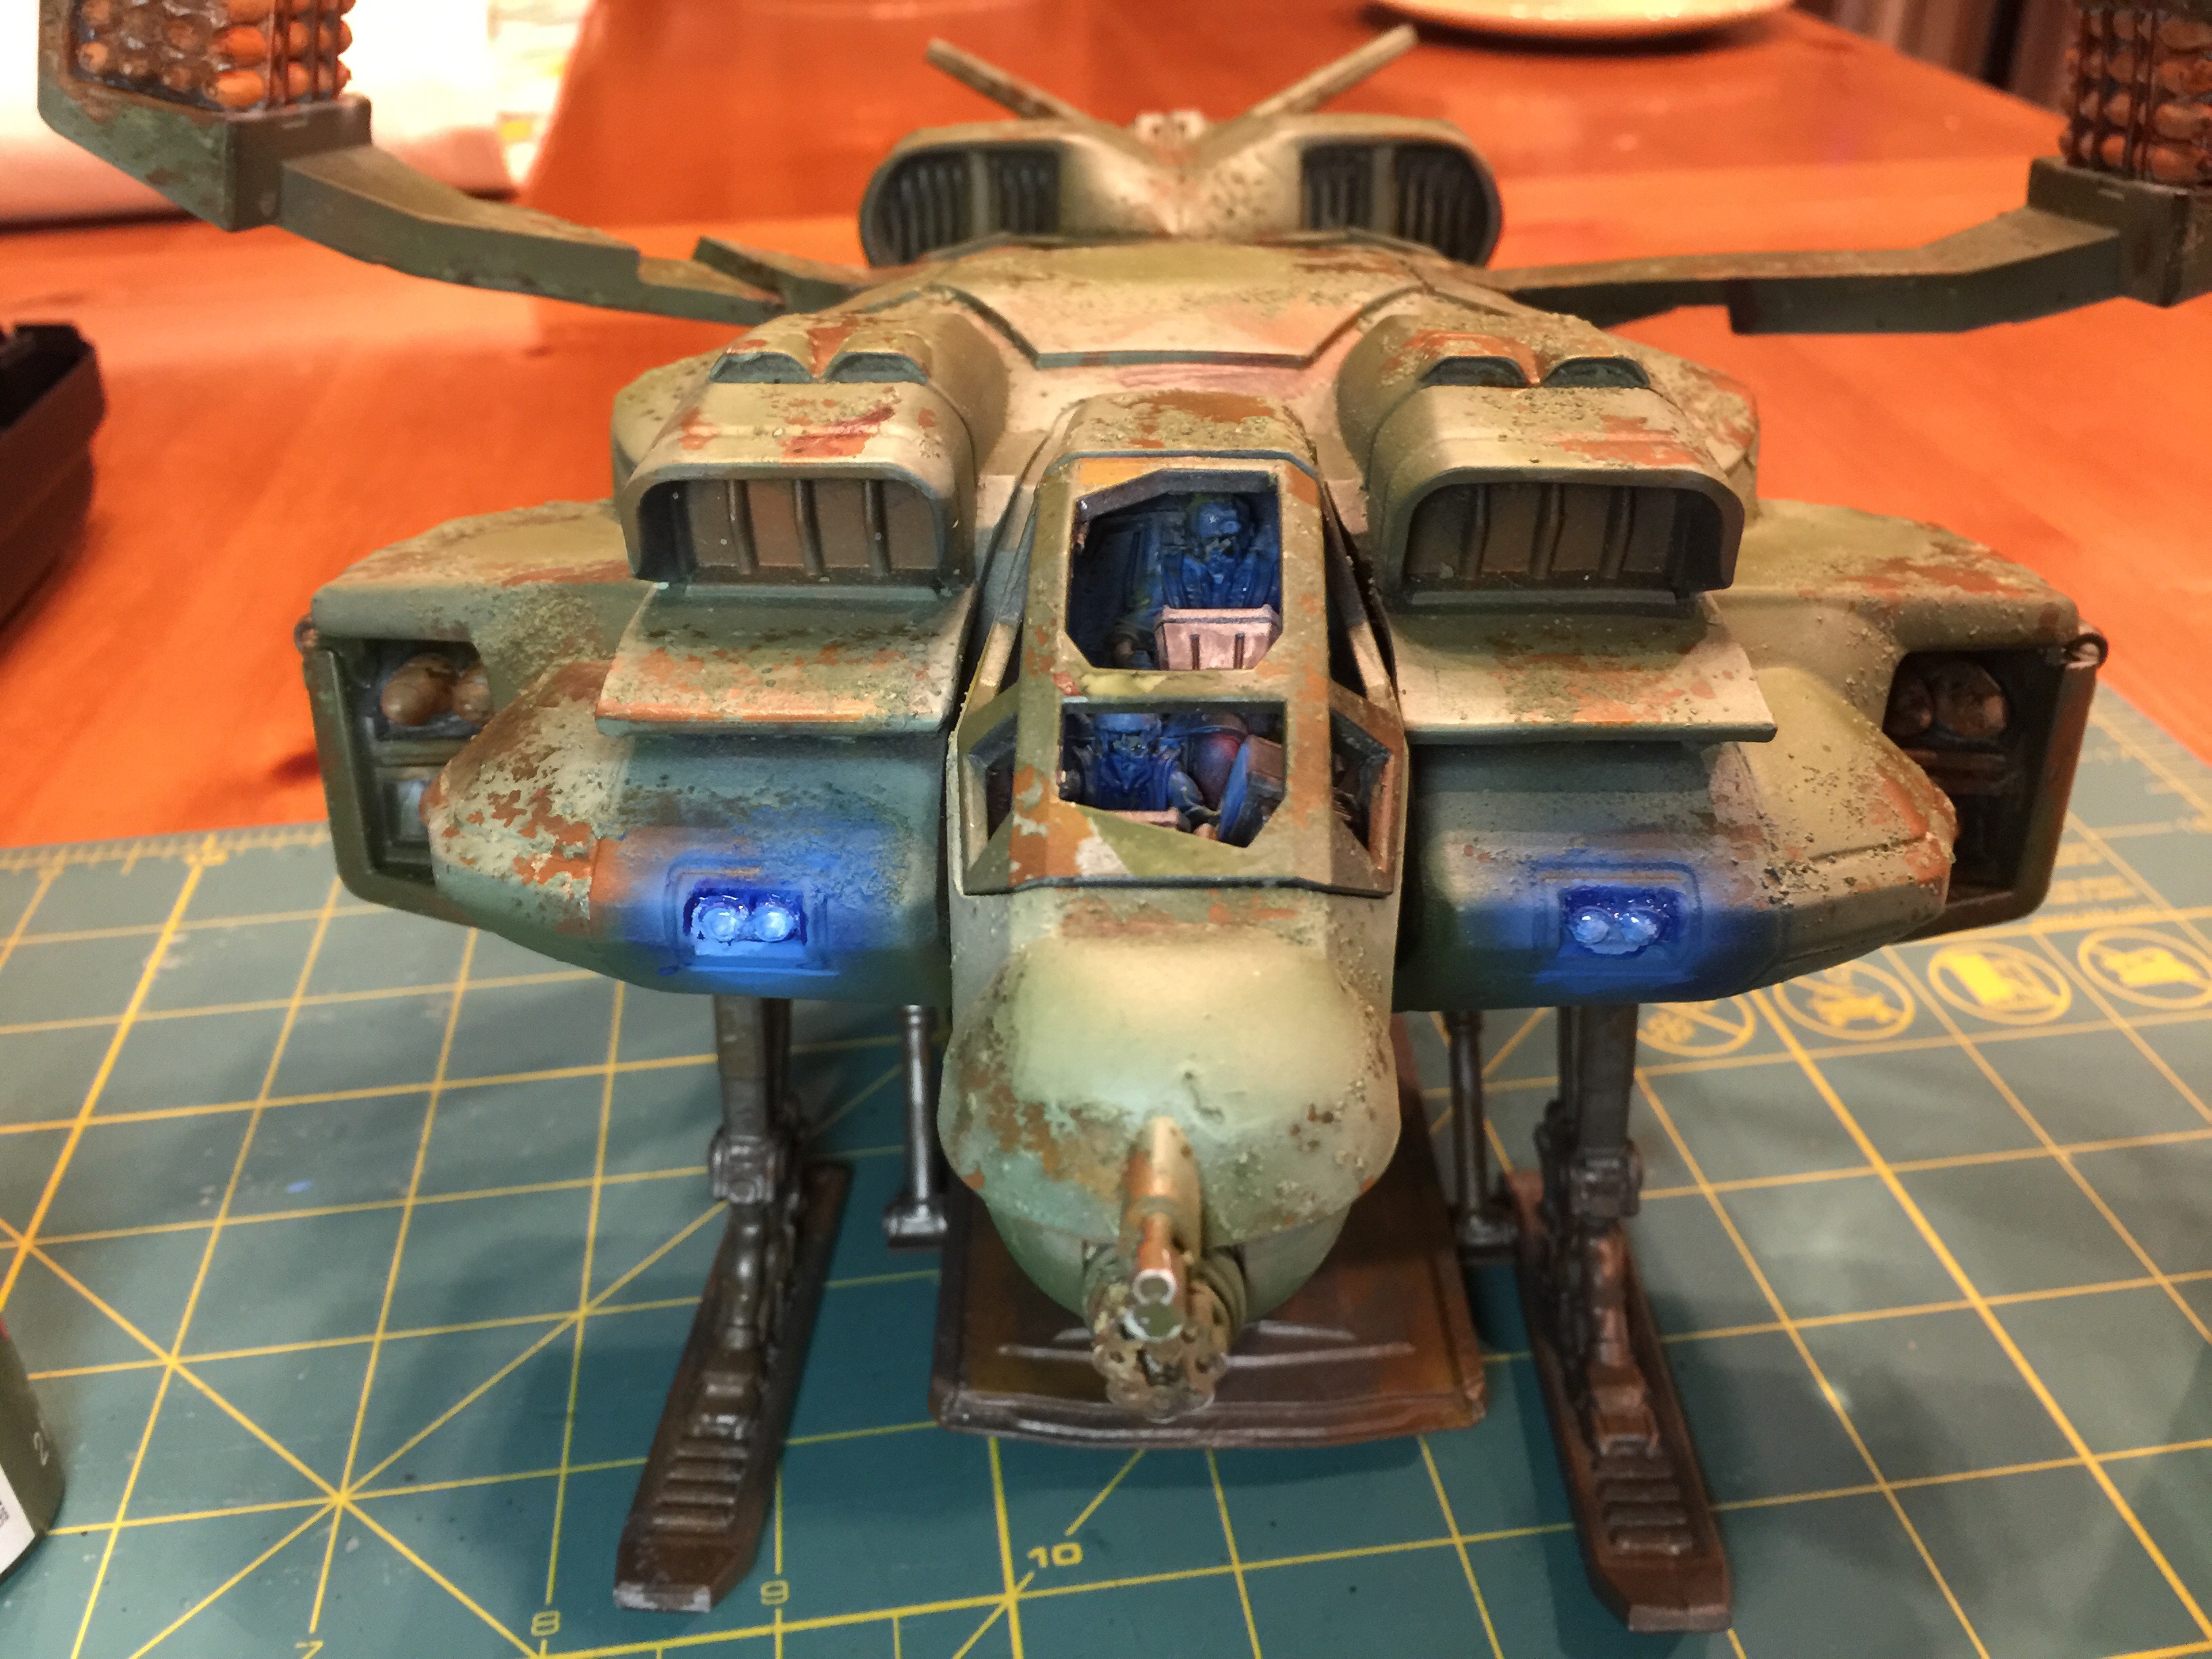
After a few more touch up details on the headlights and white dry brushing the pilots, the drop ship is complete.

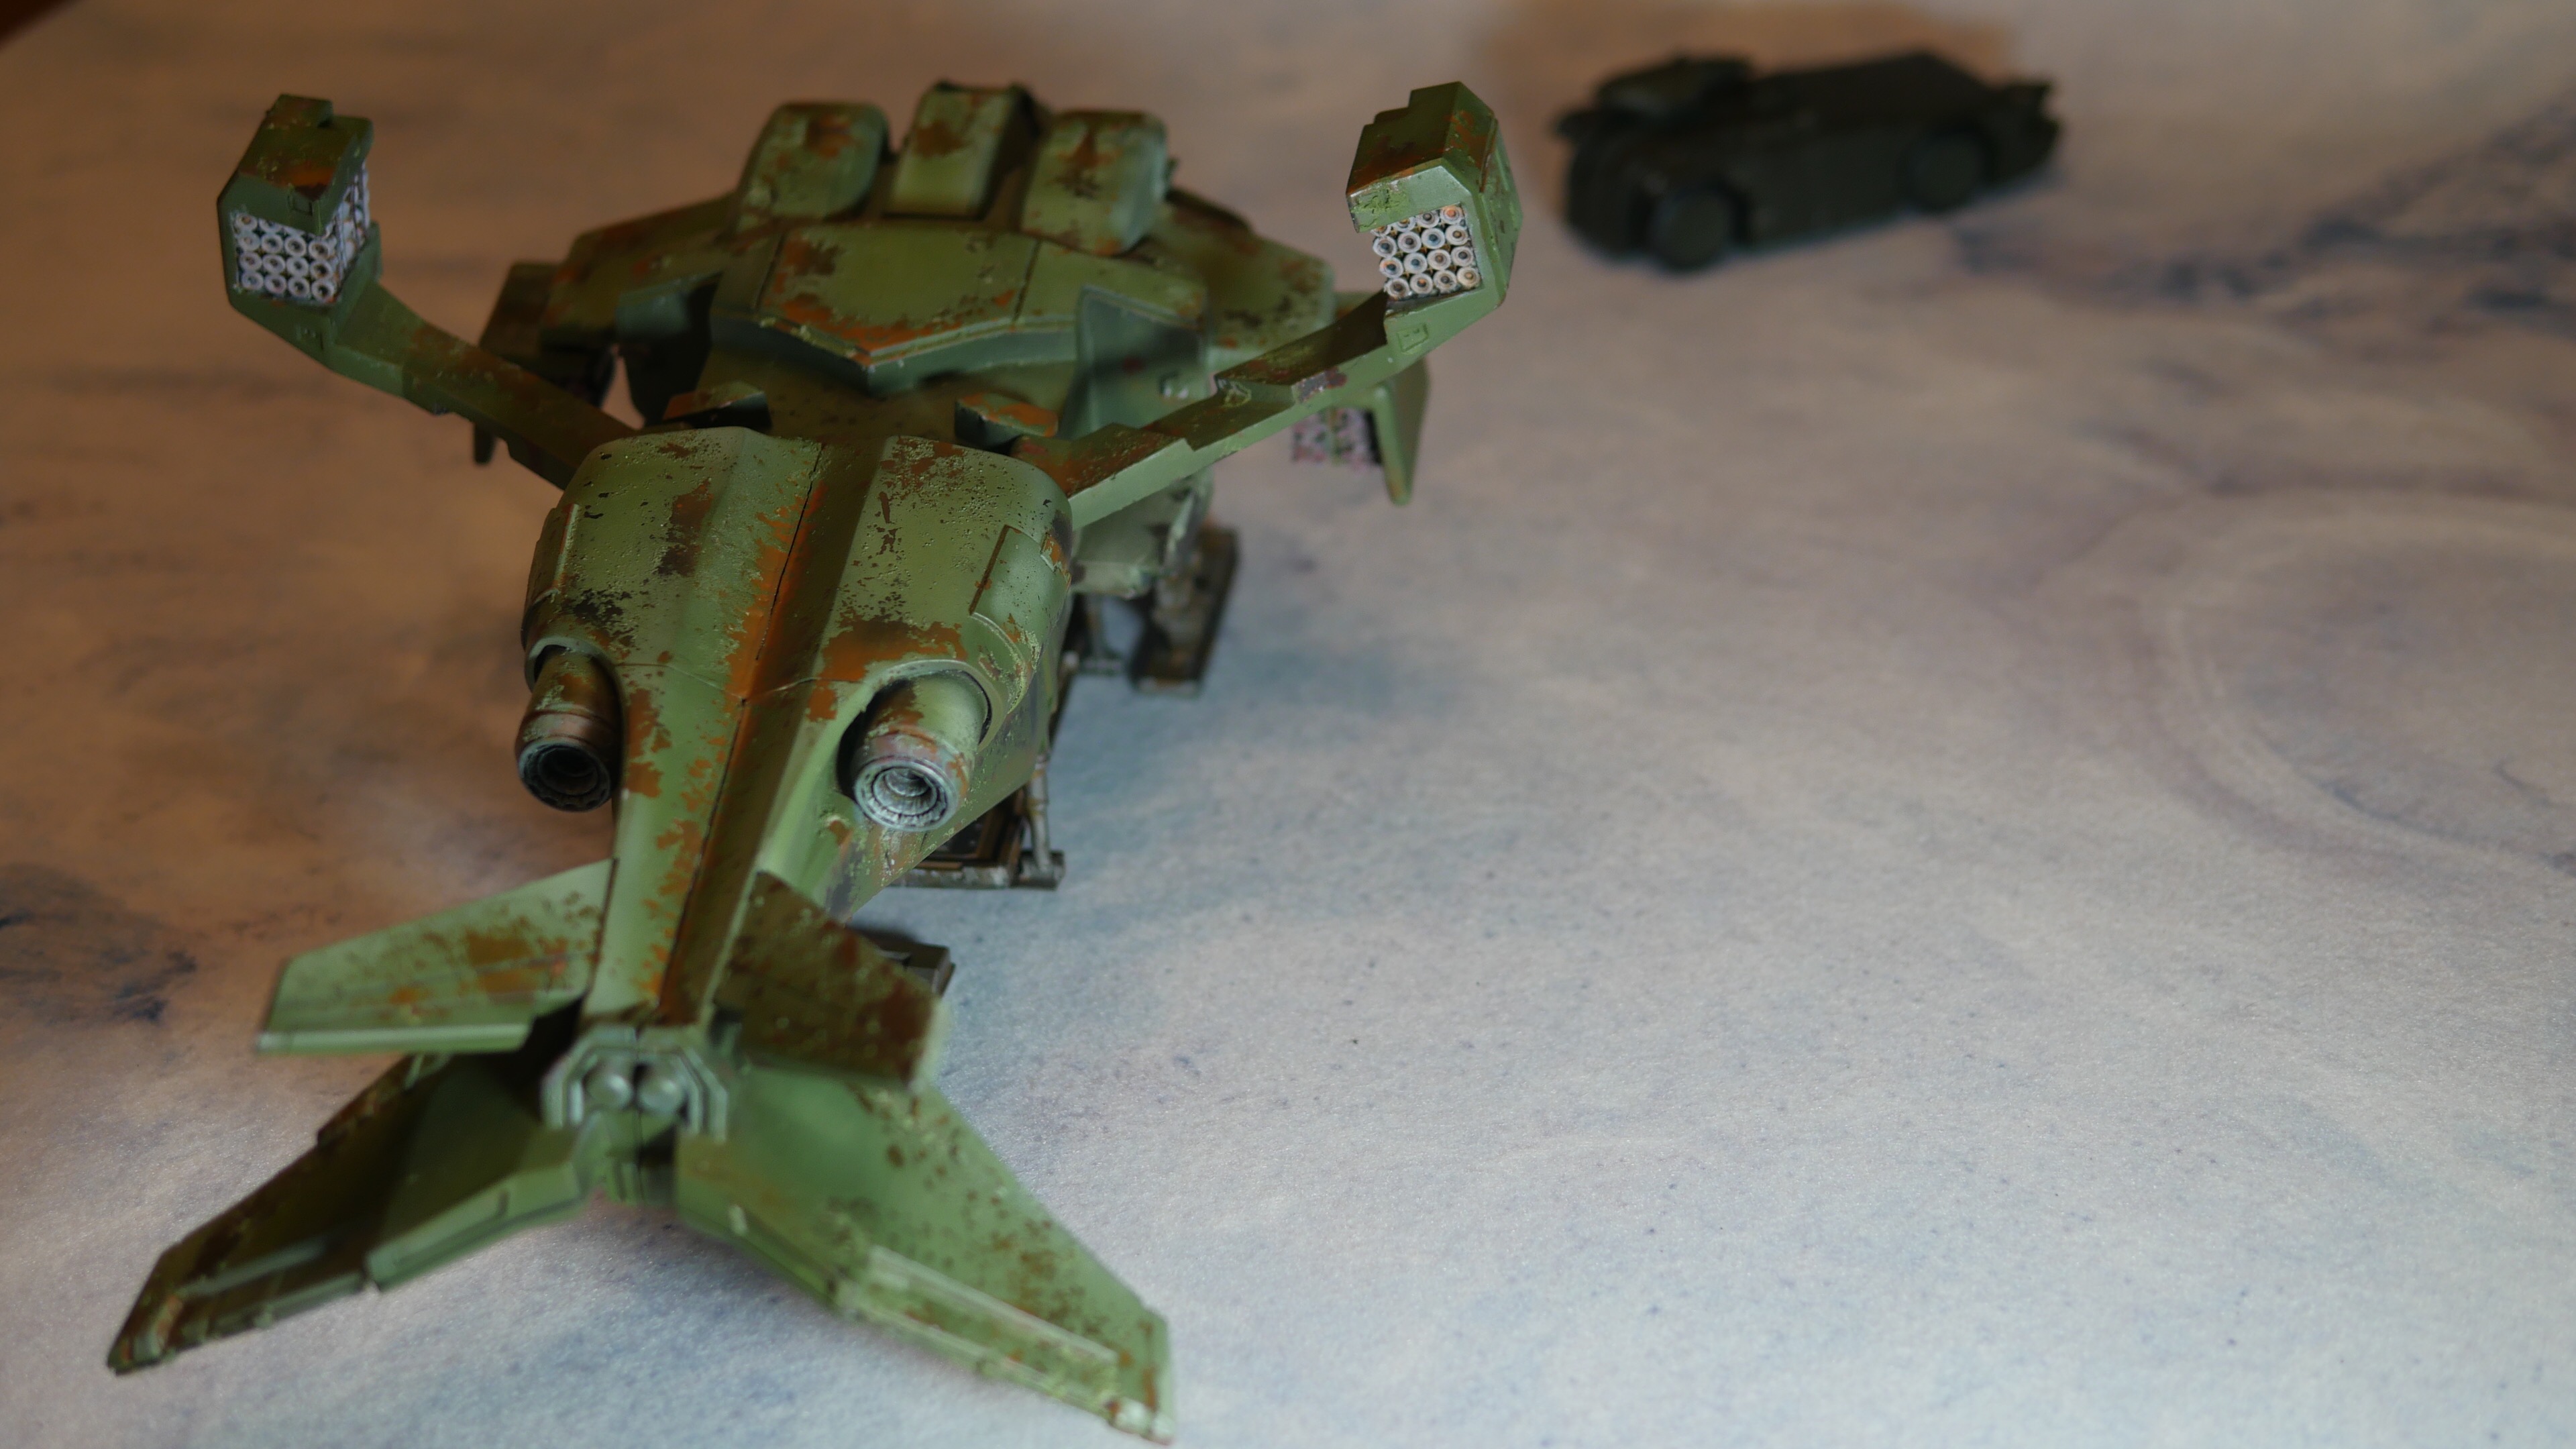


This Prodos model was a pleasure to assemble, even with the customization. I am pleased with the end result. This is a perfect and impressive replica of the Aliens Dropship and it’s a fantastic/realistic movie prop. I highly recommend purchasing this piece of wargaming terrain. I had the Leading Edge version of the Dropship and that model was a nightmare to build. I give this model 5 stars!!!!!

I am not sure that I like the Weathering effect shown here,it is the modelers own choice,I would have done the marine green version with the markings ect,maybe I will.
LikeLike
I needed to weather the drop ship because my new animated series takes place many many years after the showdown on LV 426. It’s been in many battles since bishop flew the crew to safety.
LikeLiked by 1 person
Nice work. I like the solutions you used for the under-wing mounted missile pods. I’ve been looking at coming up with ways to make a hinge there, but simply magnetizing it in one of two configurations may well be the best. Thanks for sharing your build..
LikeLiked by 1 person
I am glad I could help 🙂
LikeLike
Thanks for sharing this!
LikeLike
Outstanding work mate, grab them while you can, prodos will cease production end of April, I liked them so much I purchased a second a modified it to have moving parts much like this one. It’s an absolutely fantastic model! http://www.tanksandtrolls.co.uk/AvP.htm
It sits nicely next to my predator gunship
LikeLike
Thanks, for sharing this!
LikeLike
You’re welcome! I think I might make a video to demonstrate it in action.
LikeLike