

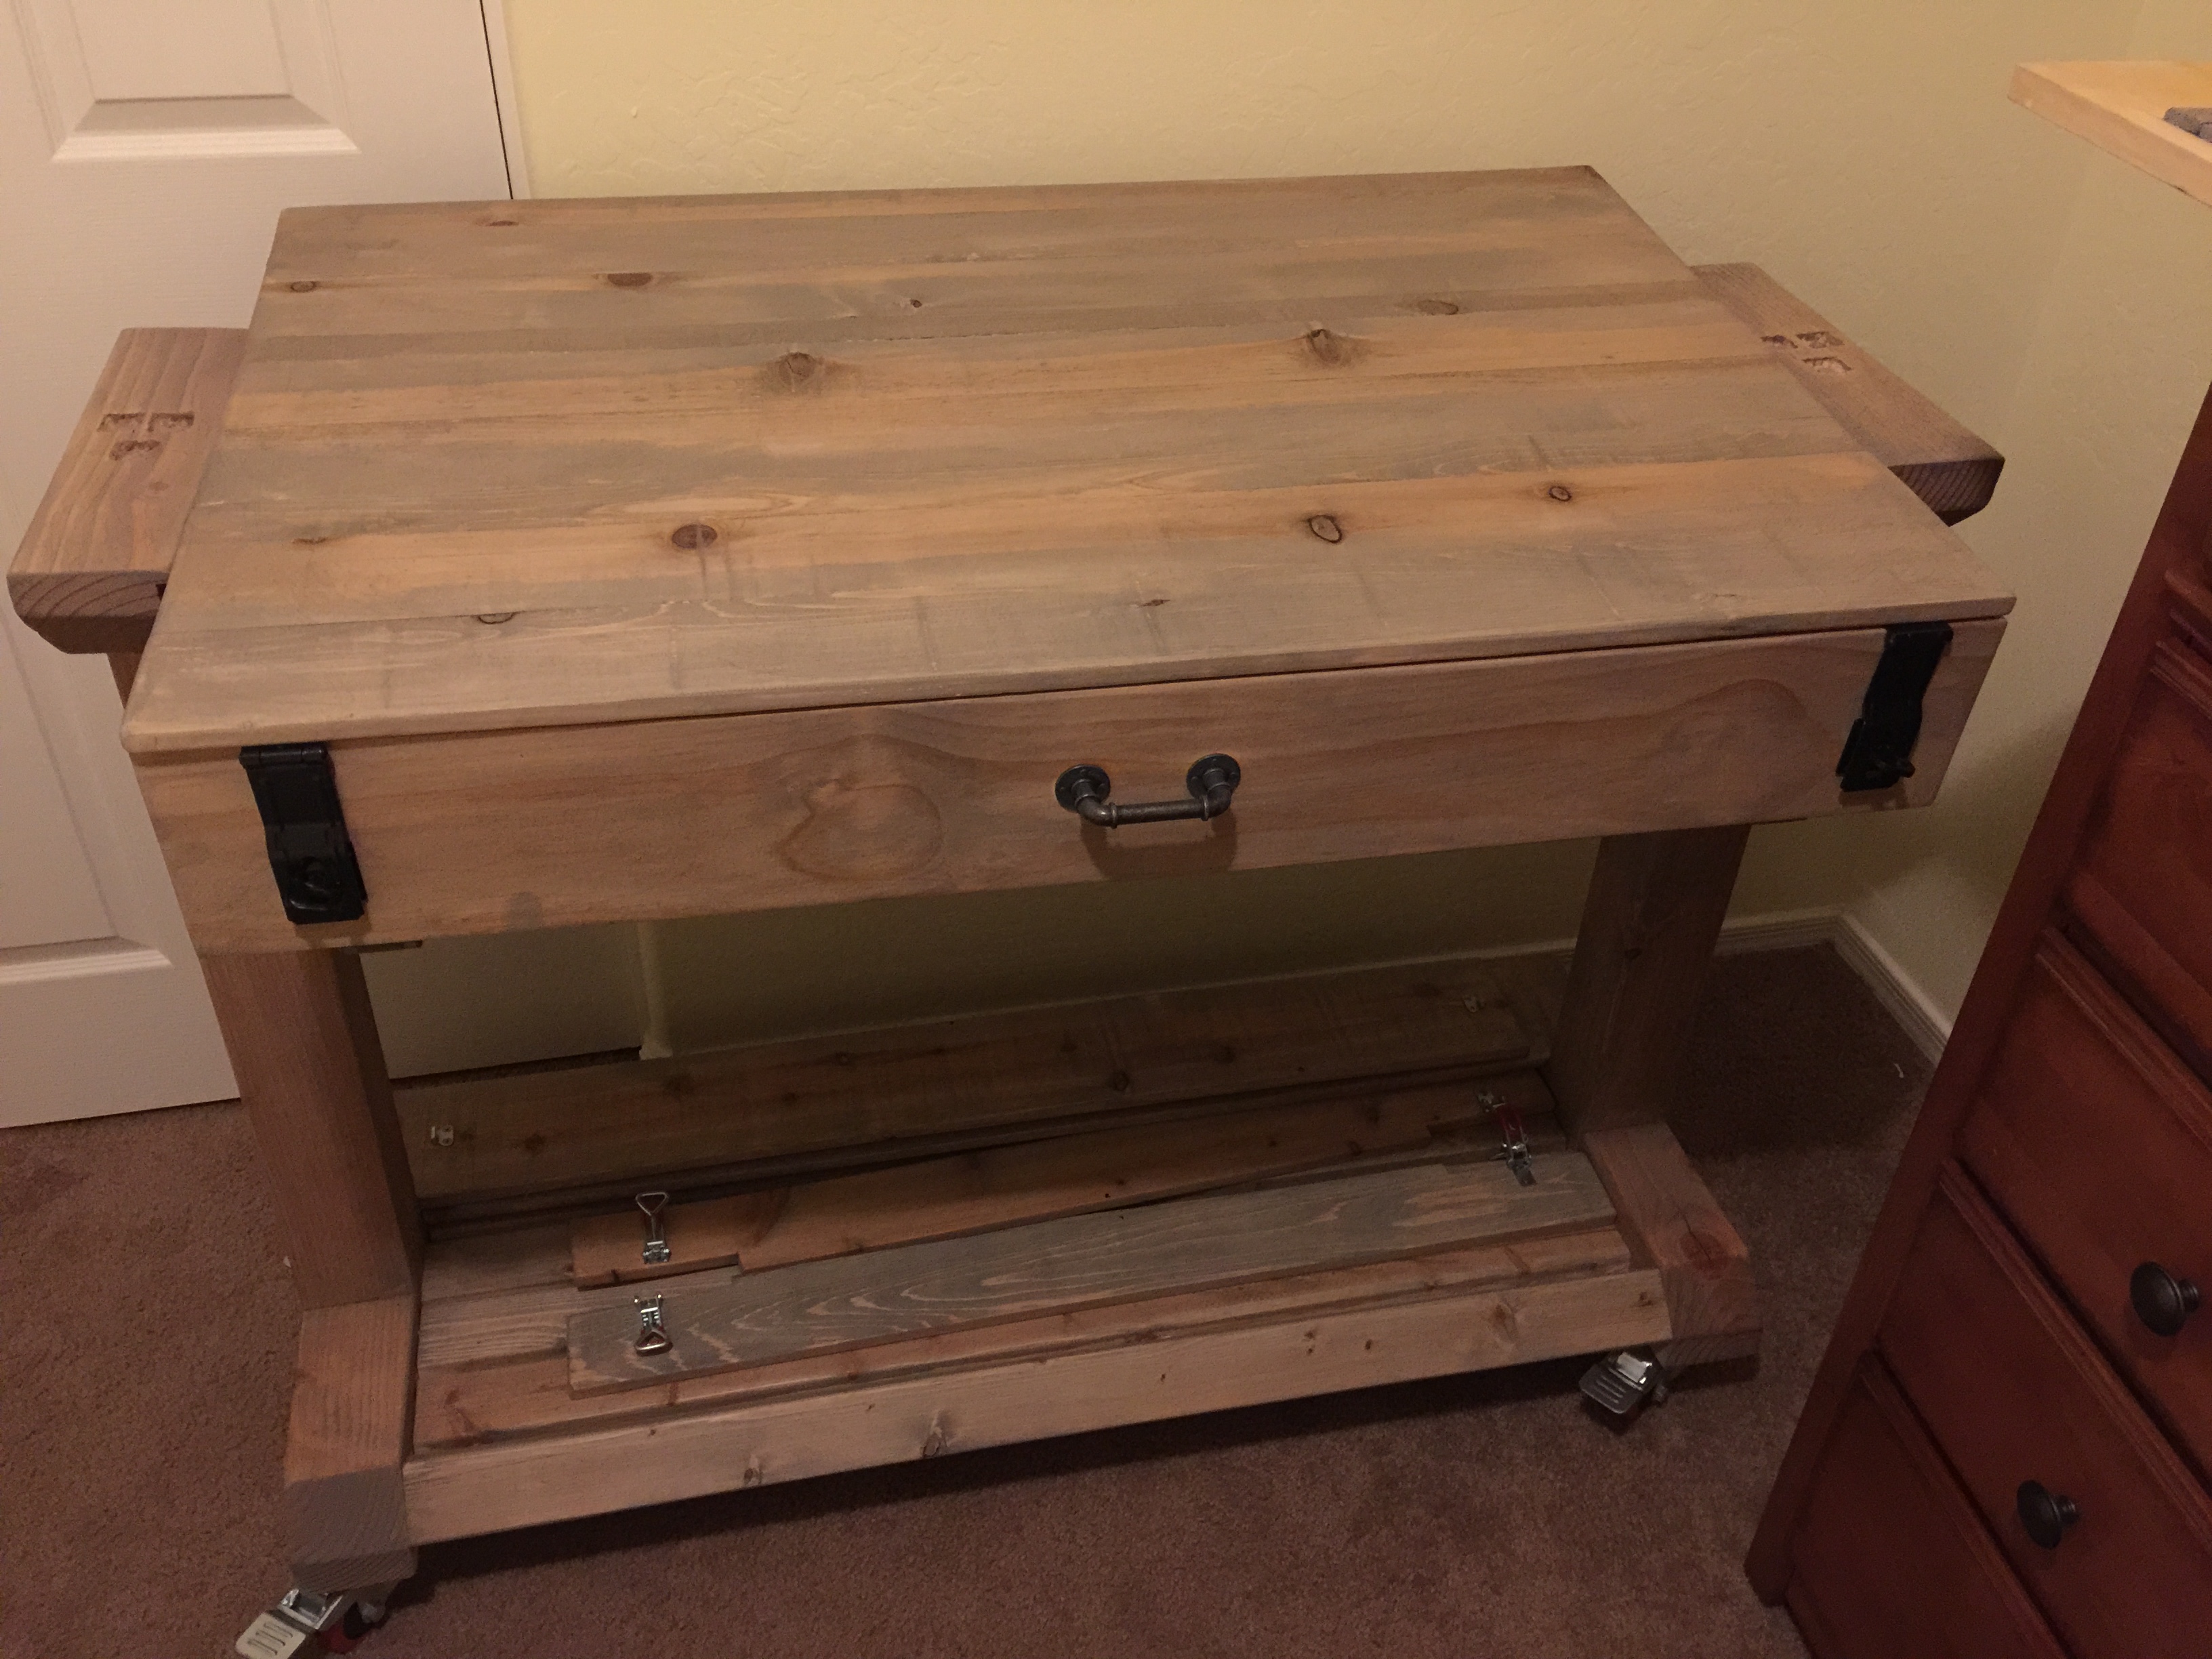
Introducing the ADP GSH 5000 gaming-animation studio-hobby station-table.
I designed this mobile table to address a few specific needs I’ve been challenged with. I was tired of setting up my stop motion movies on the kitchen table and then being forced to complete the film shoot all night before the savages I live with (my kids) were to wake up and touch everything. This table allows me to start and stop a film shoot whenever I feel like it because each scene, with all the models, can be locked away and remain in place until I return. I also needed a place where I can paint my minis as well as store my painting supplies and airbrush compressor. In addition, this table allows me to play board games and war-games up to 4′ x 3′. I also added storage for gaming mats. The best fact about this table is the mobility and it’s small-ish footprint. I hope this blog post will demonstrate how to construct this table and the design ideas that went into it.
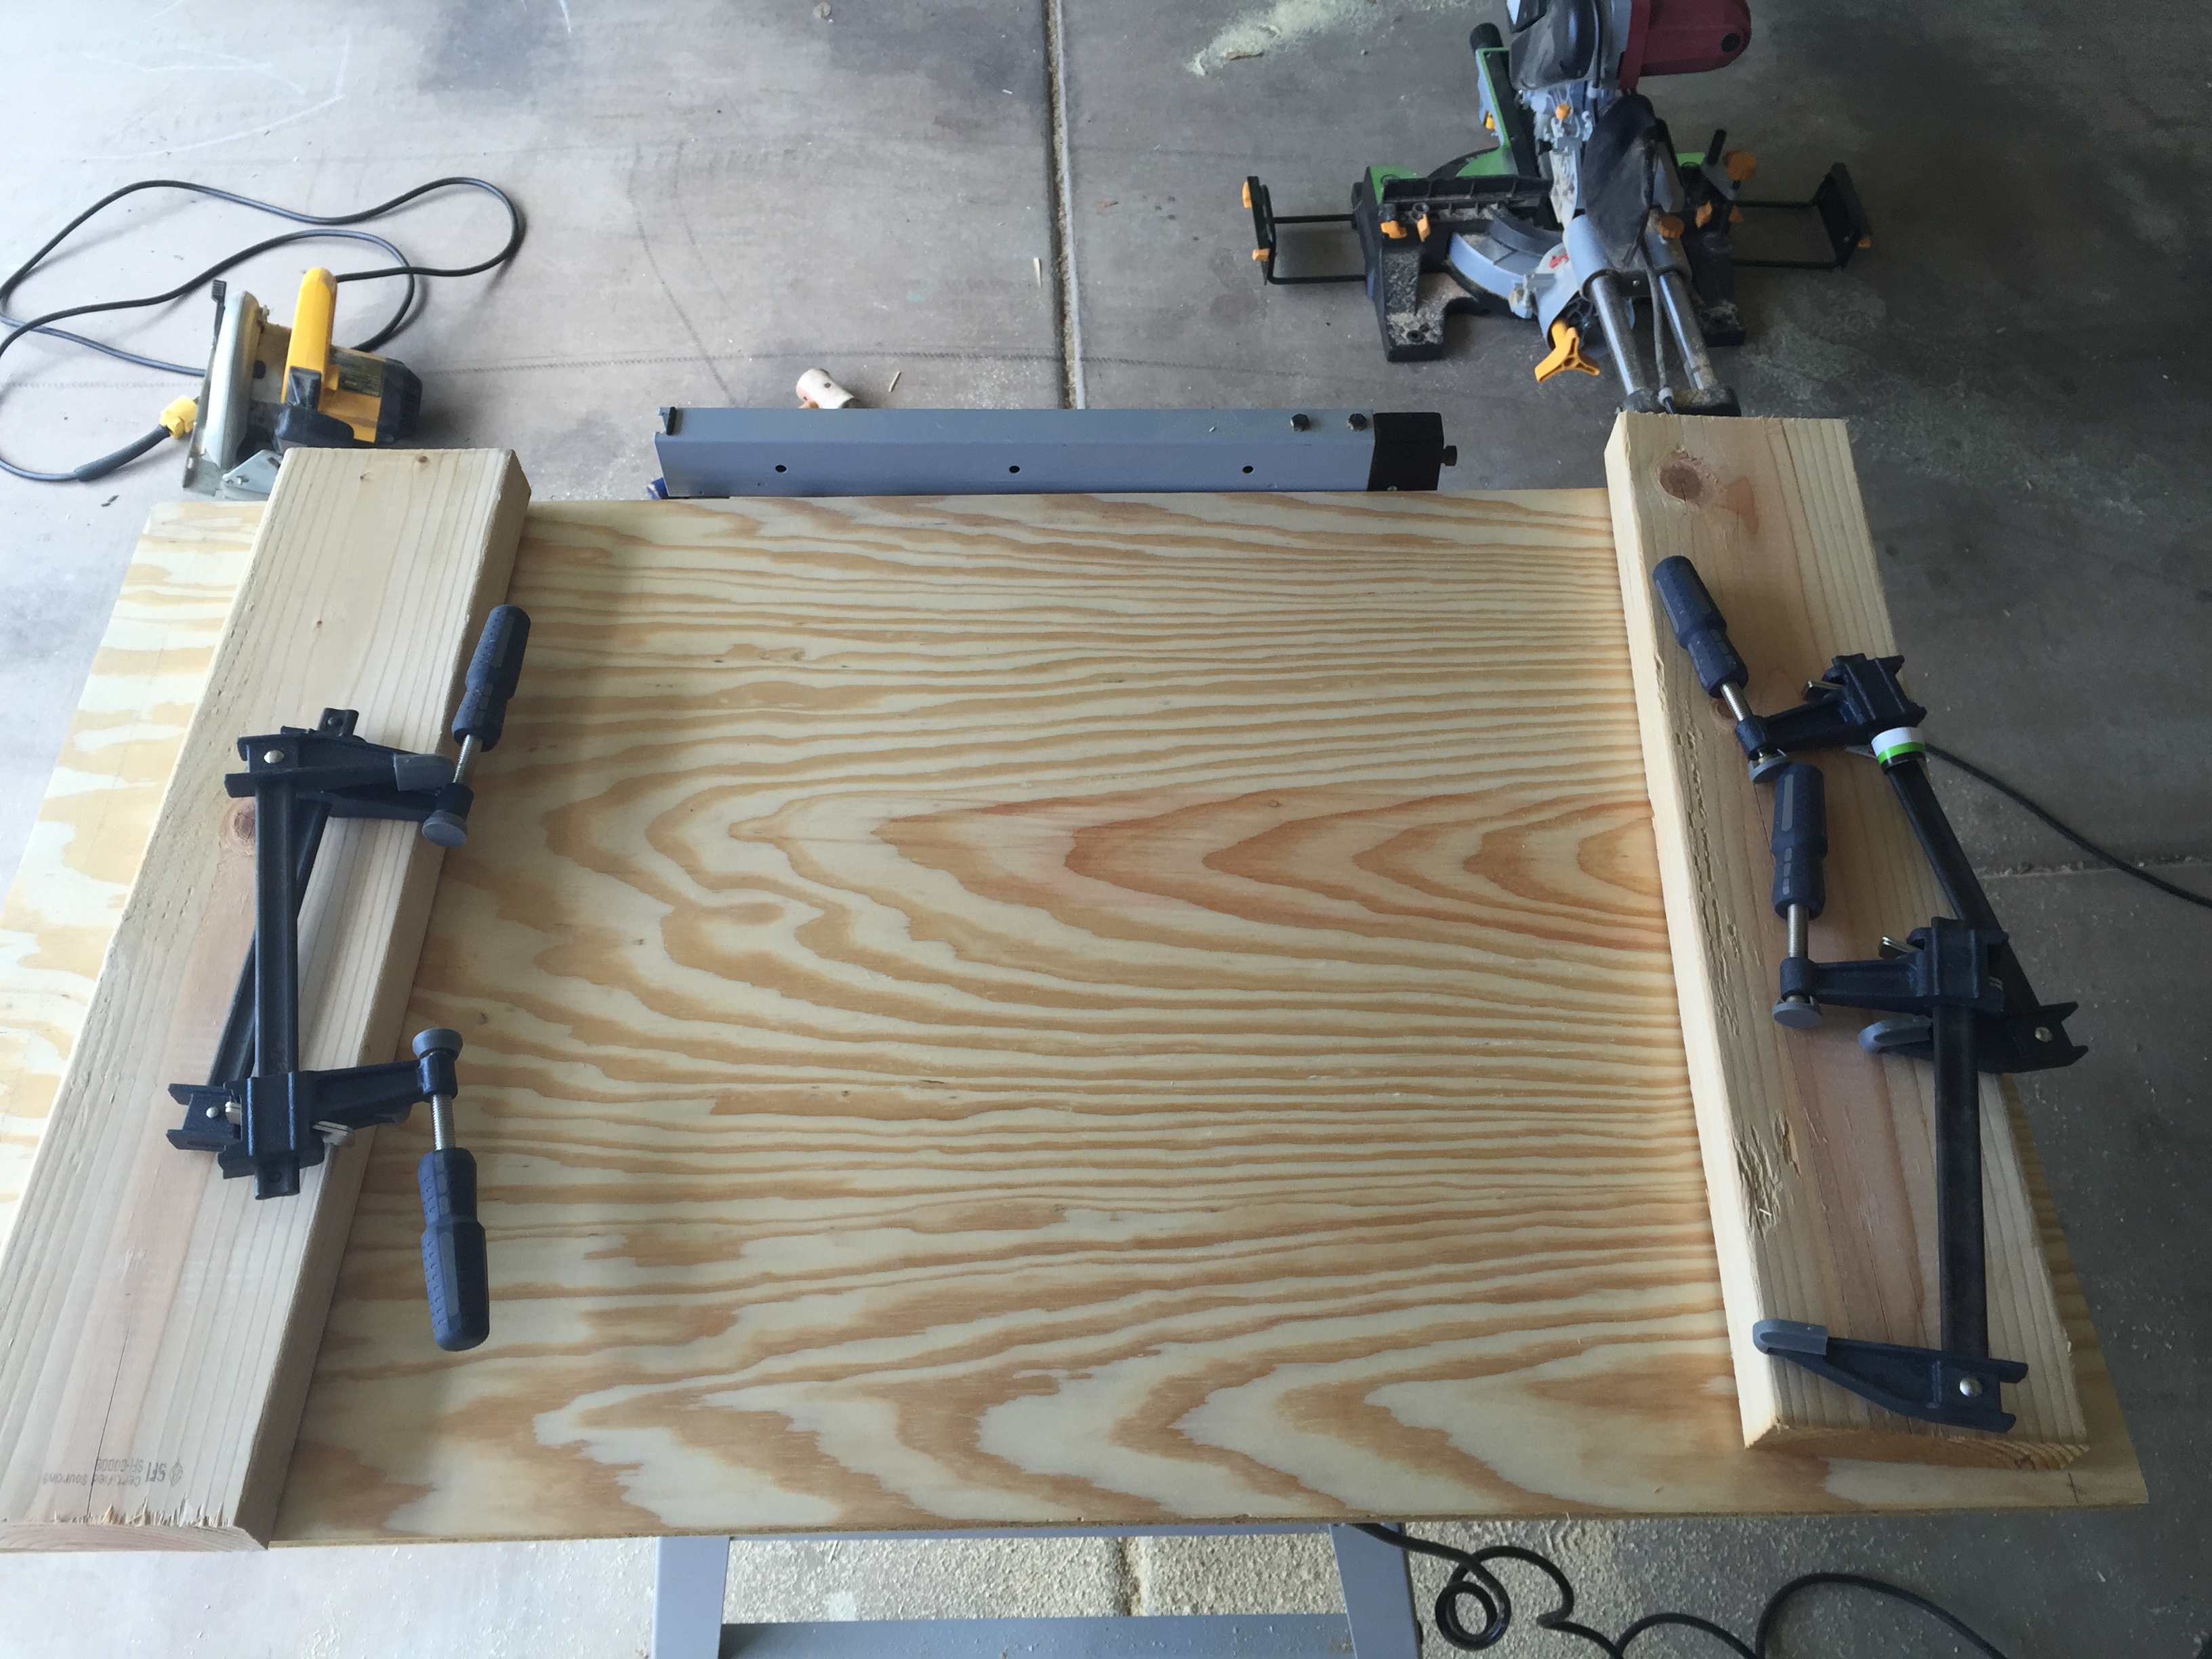
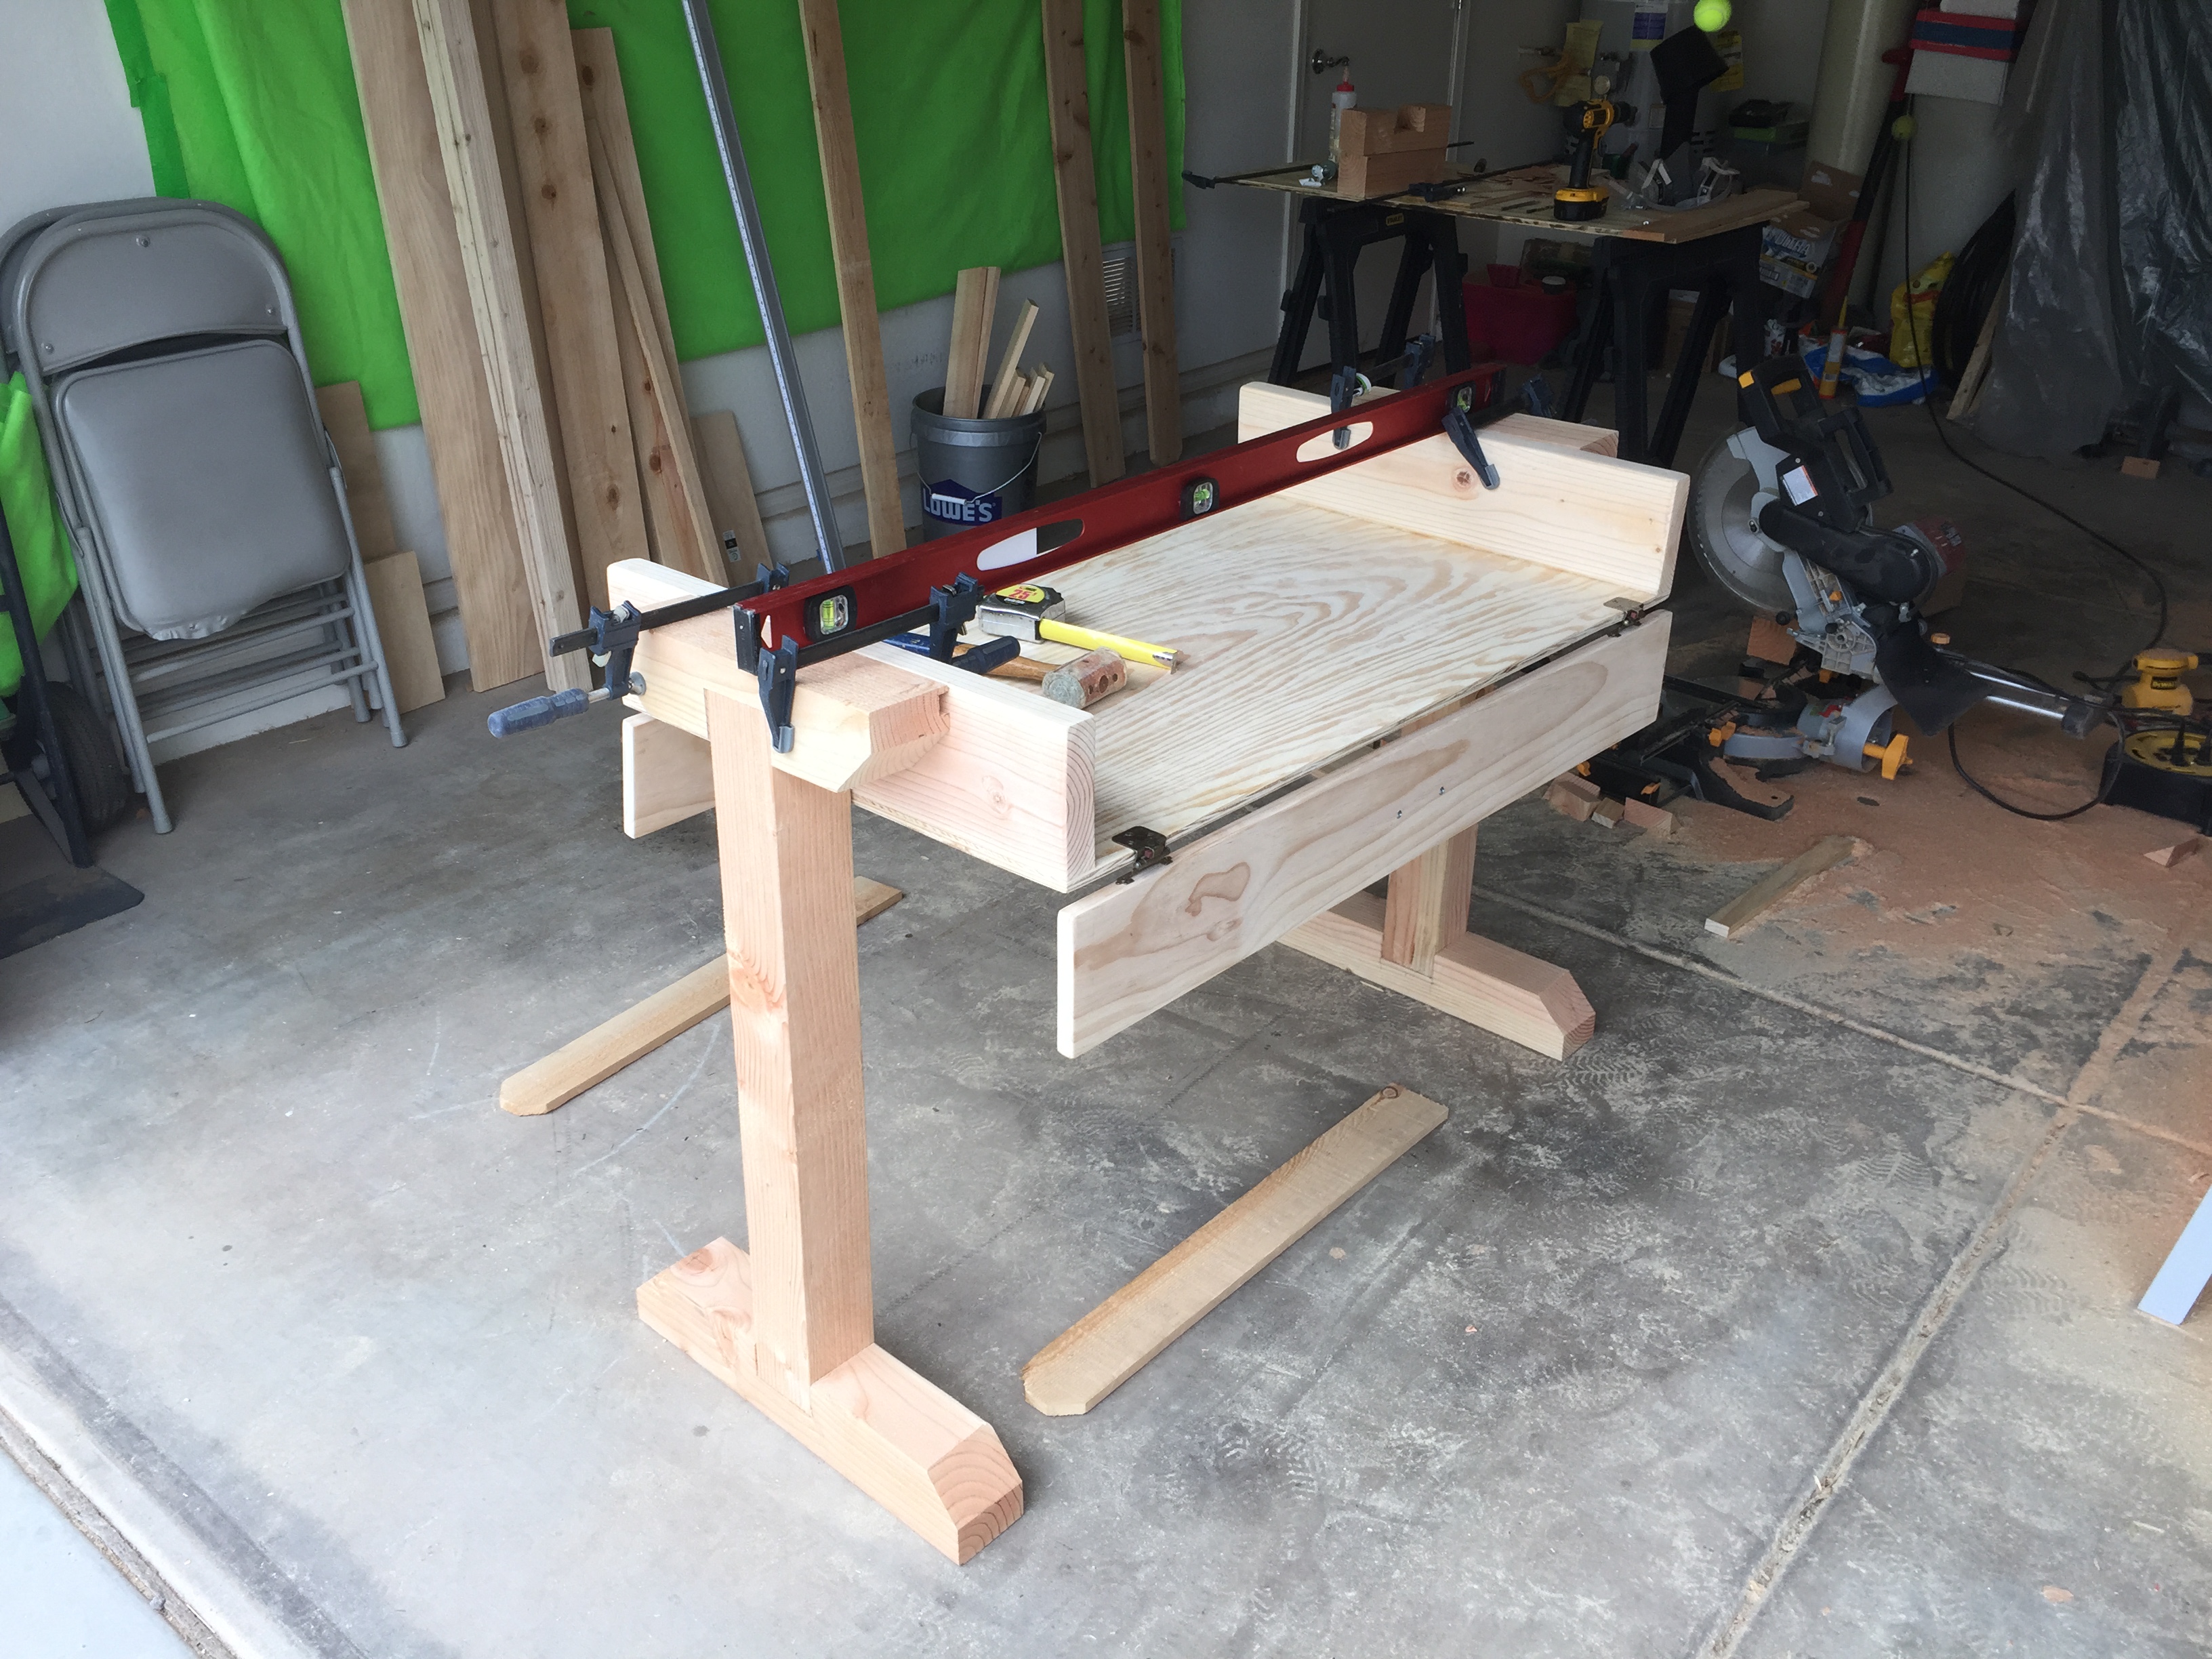
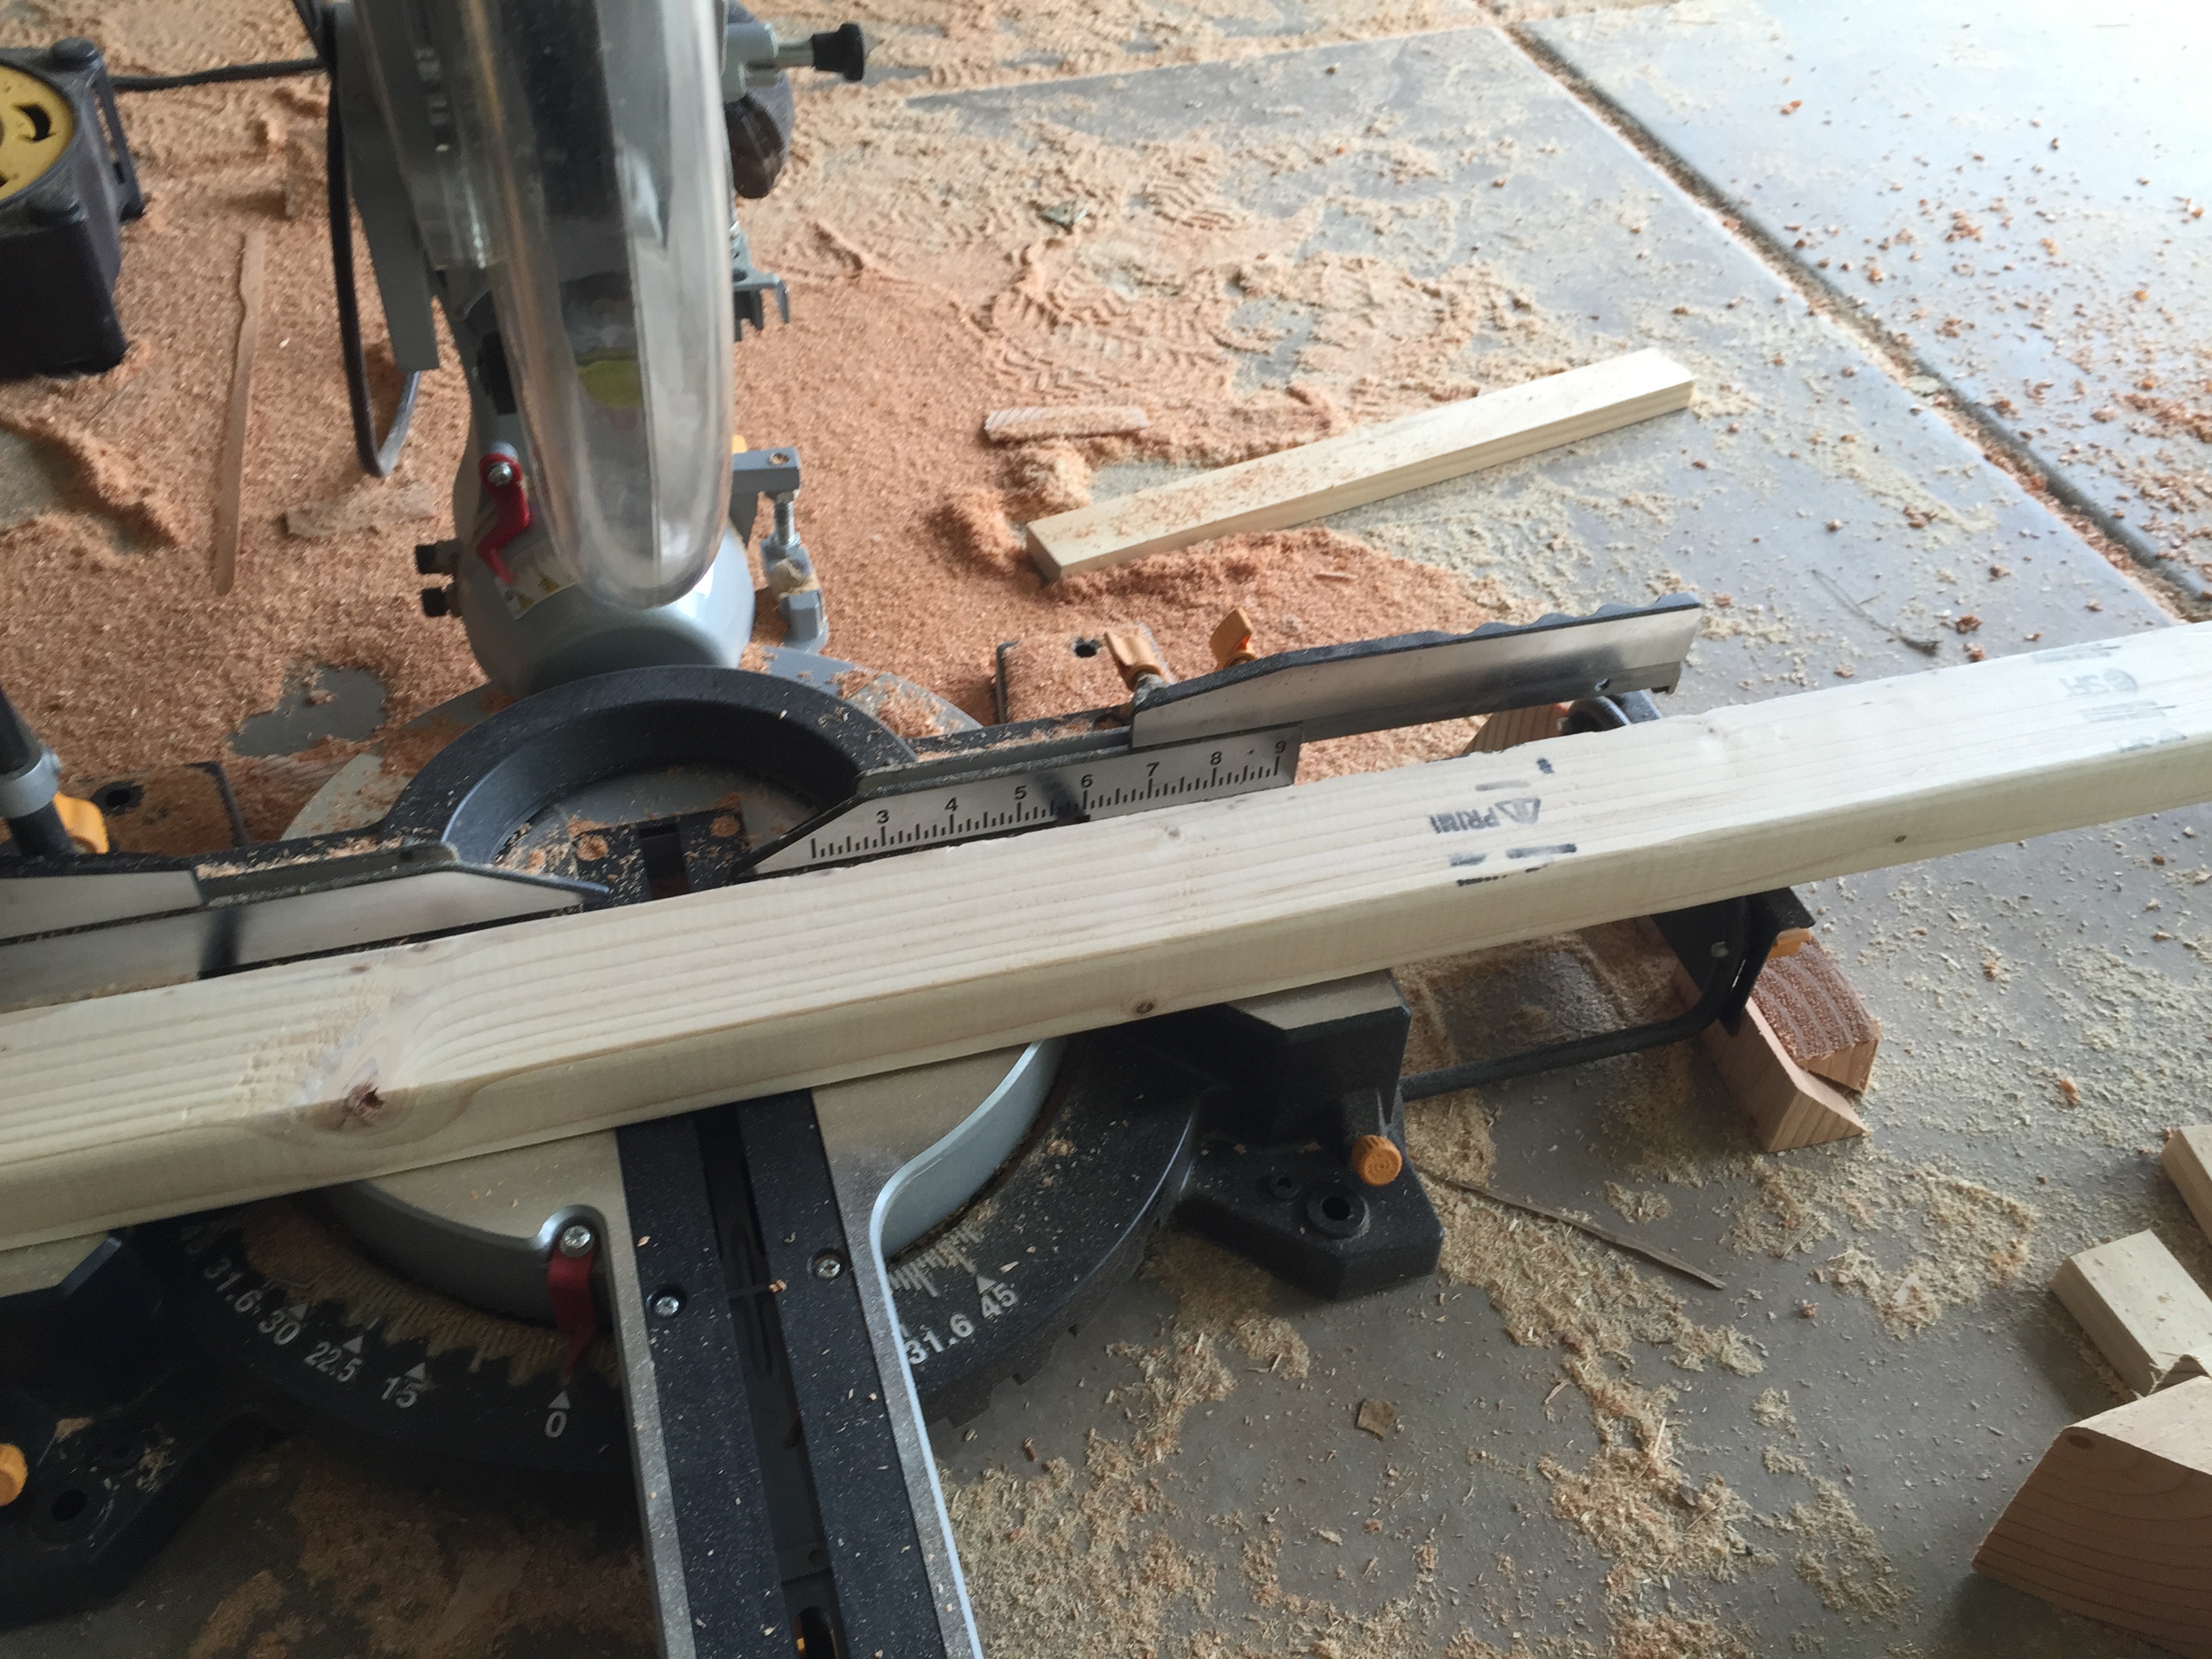
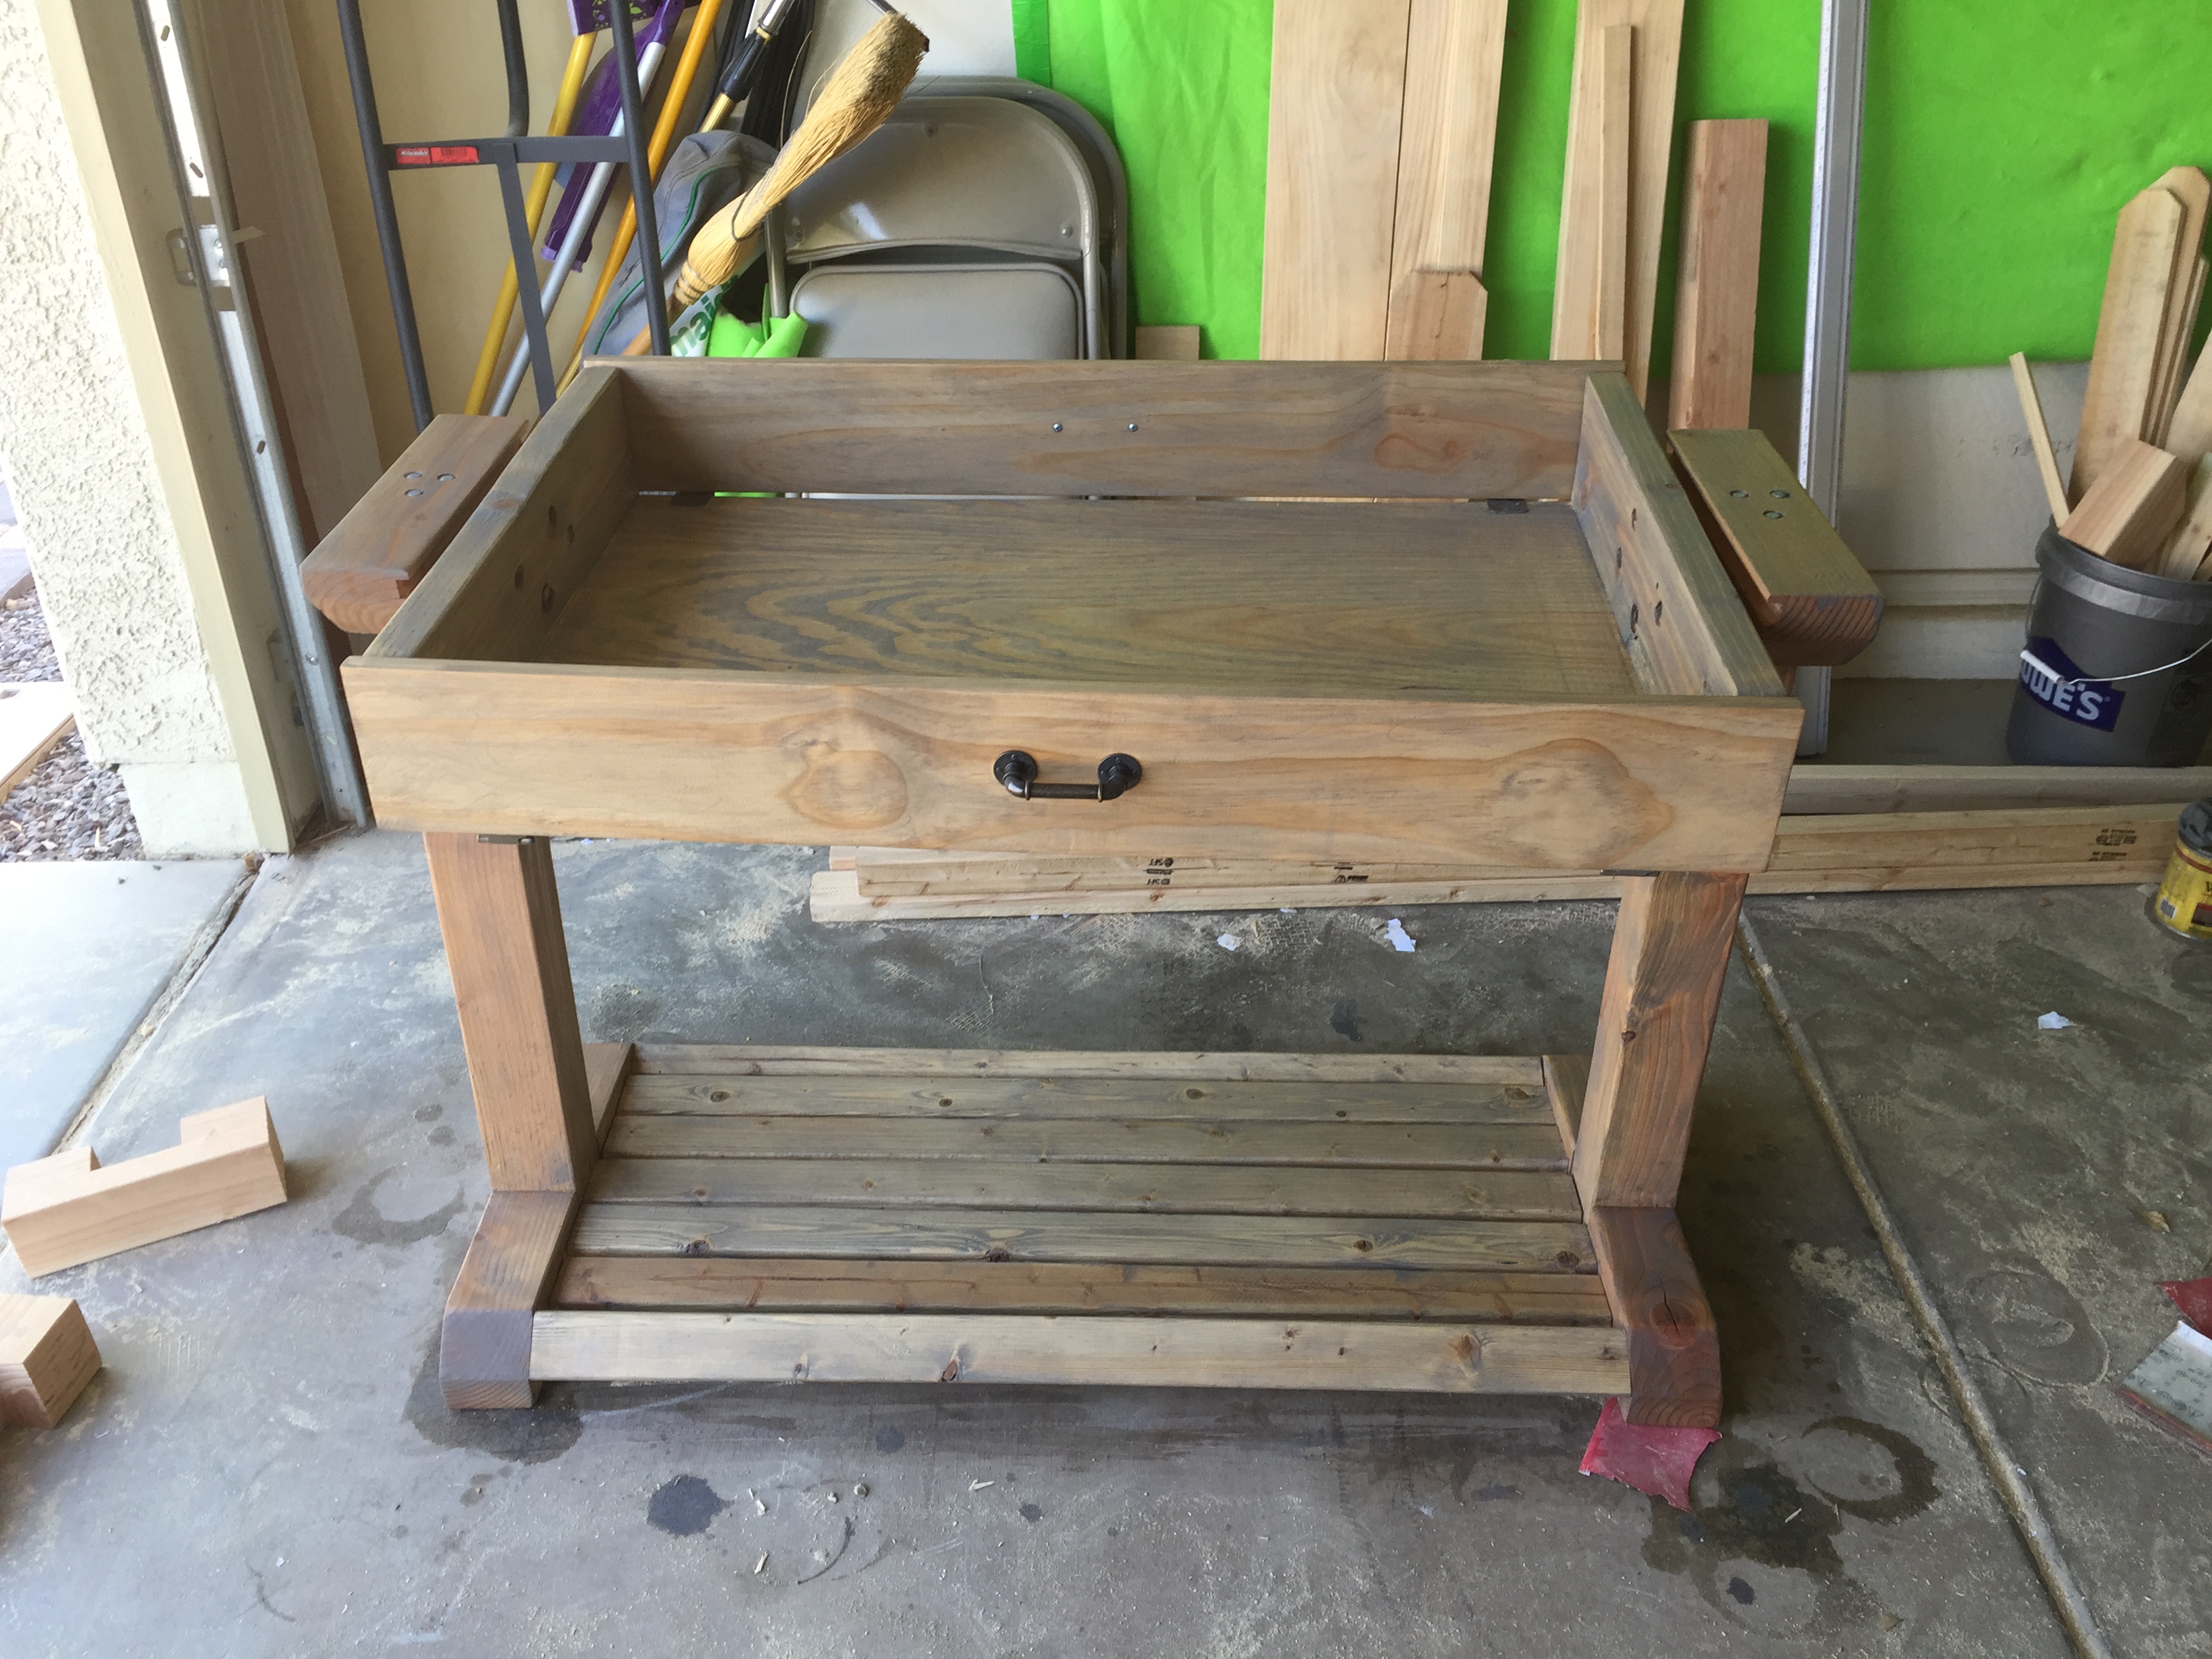
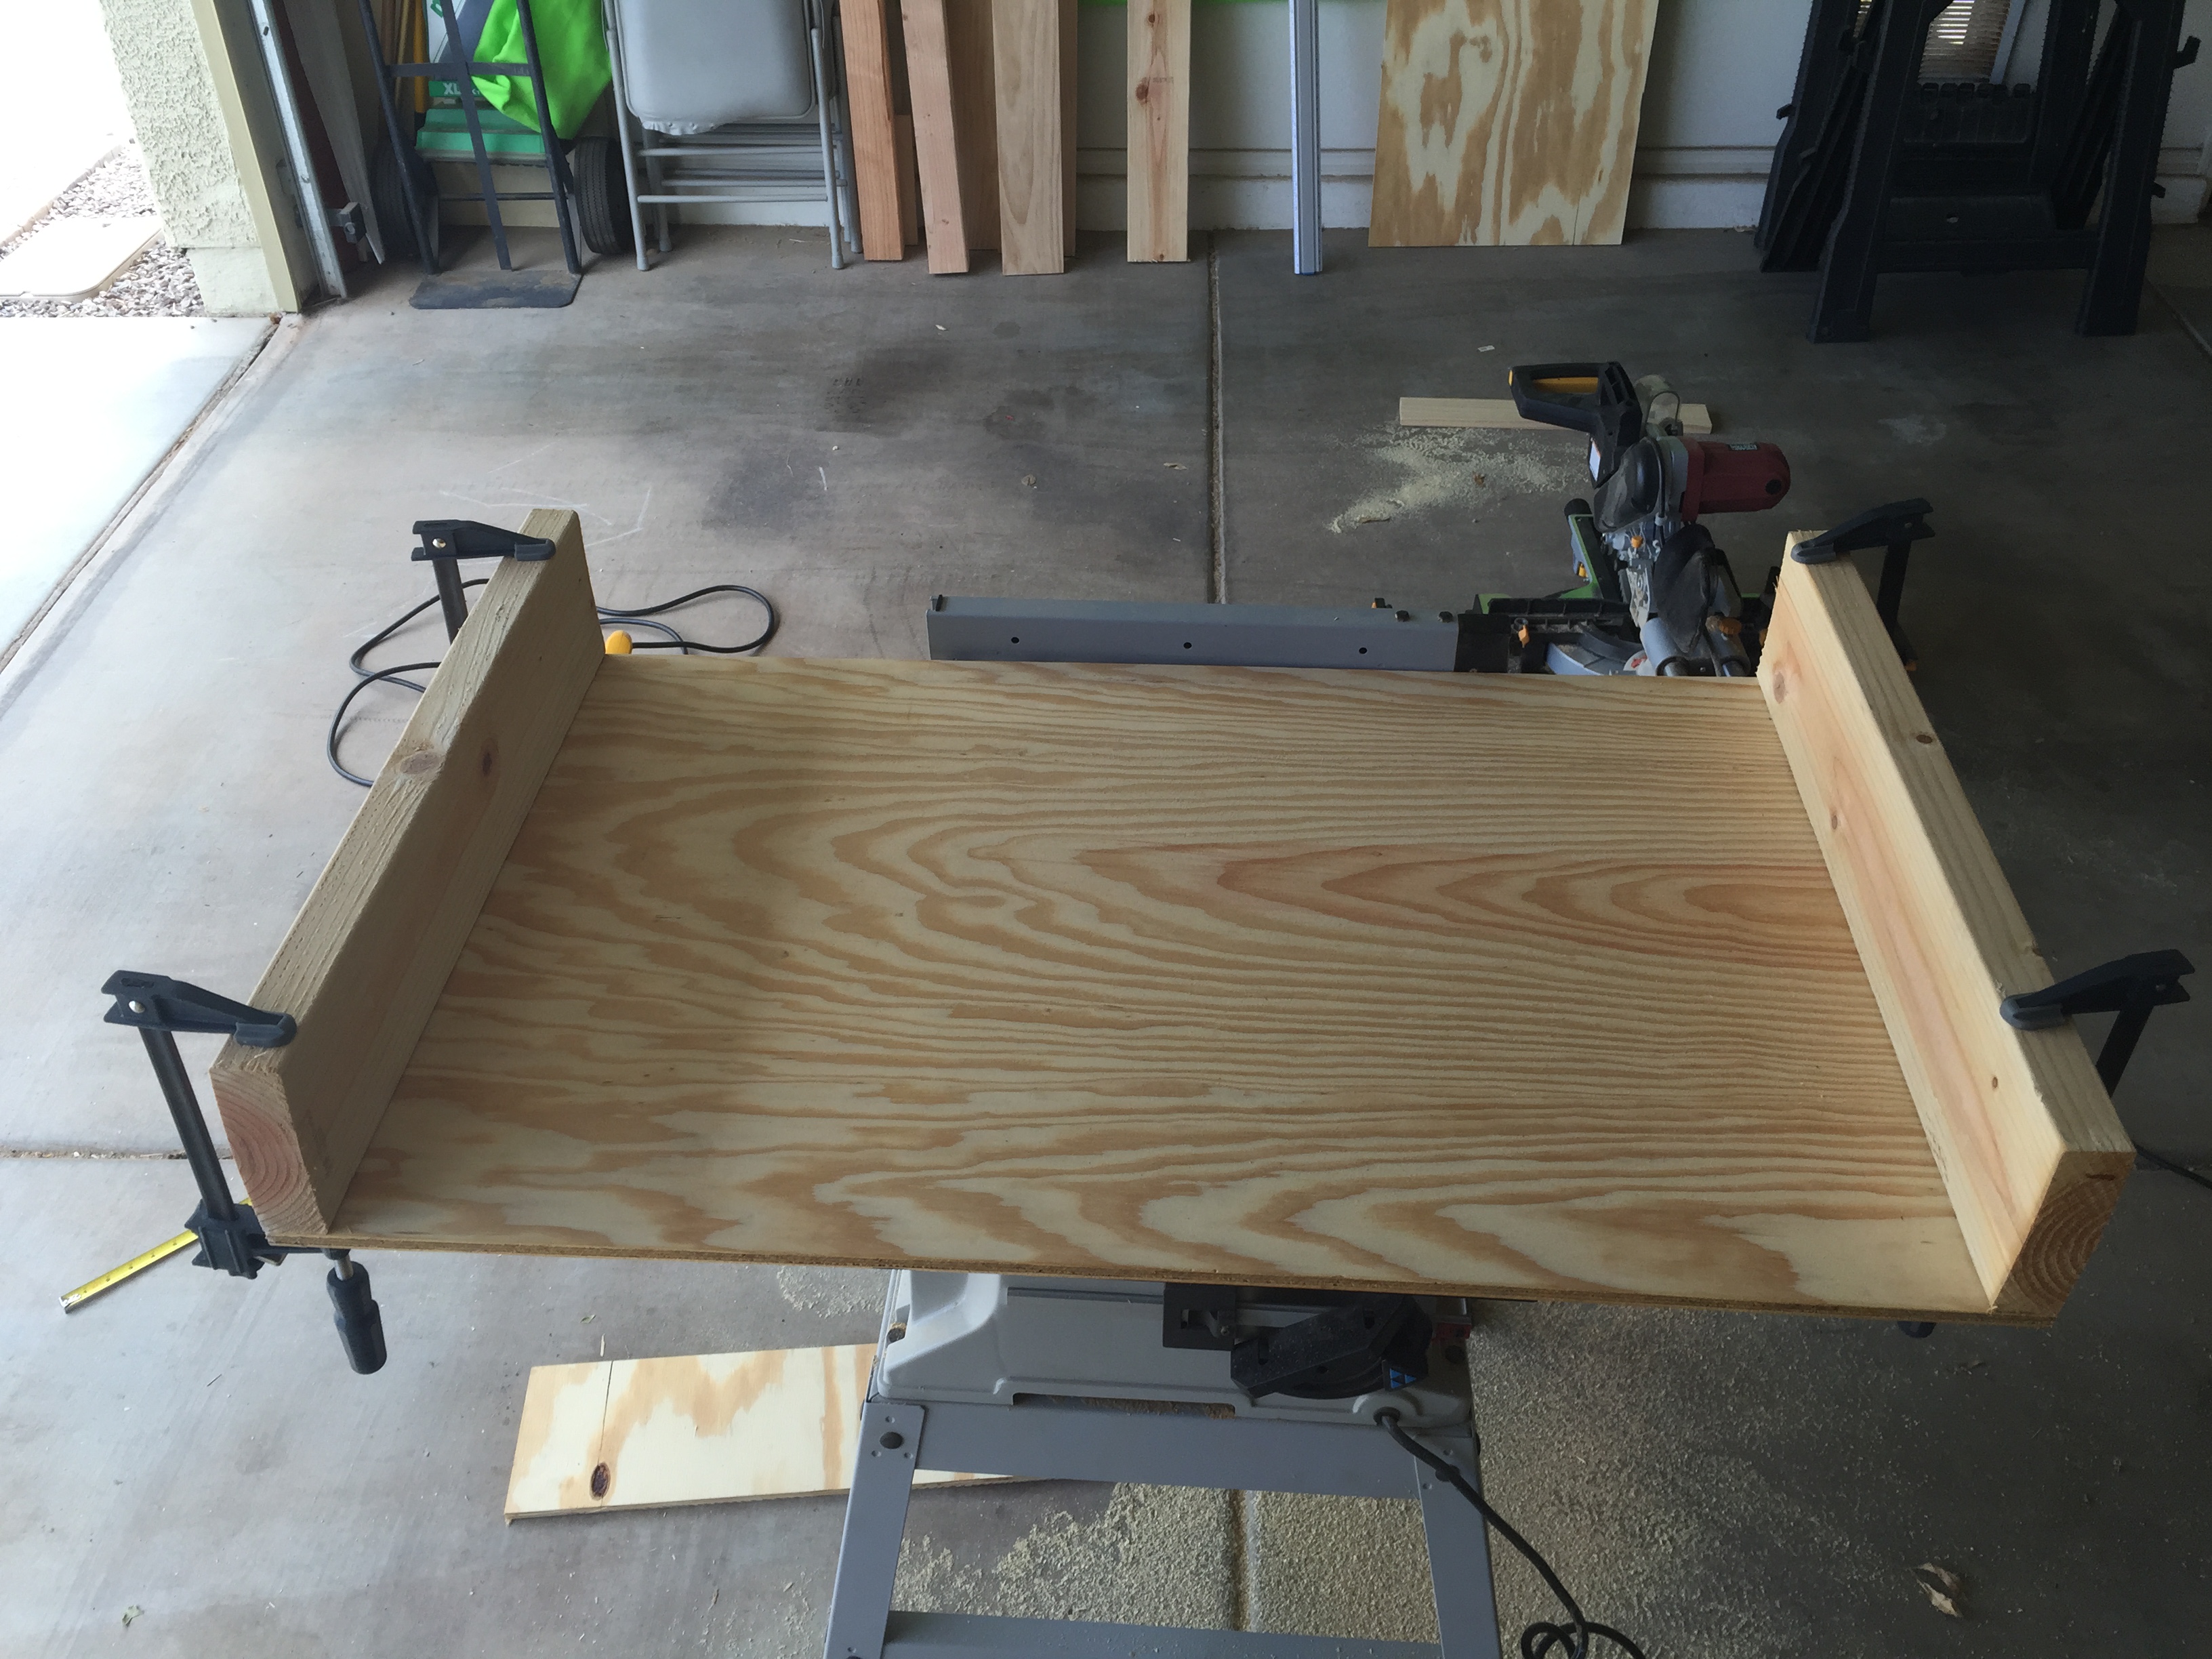
To begin, determine the size and depth of your table top gaming box. The idea for this table revolves around a large, shallow rectangular box where movie scenes can be stored and protected. My goal was to be able to secure my 2’x3′ custom HeroQuest board when I was not filming. I chose and internal depth of 6″ just in case I were to ever include a tall model or piece of terrain. Measure and cut the base of your table top game box from a 4’x4′ sheet of plywood. Then, using a 2″x6″ plank of wood, cut out the side panels for the gaming box. These panels need to be secured with wood glue, clamps and screws. Drill the screws up through the bottom of the base. Once the screws are in place, the clamps can be removed. The glue with dry over night and the joint will be rock solid. These side panels need to be solid because they will support the entire wait of the table top game box.


You can see here how well the game board fits inside the table top game box.
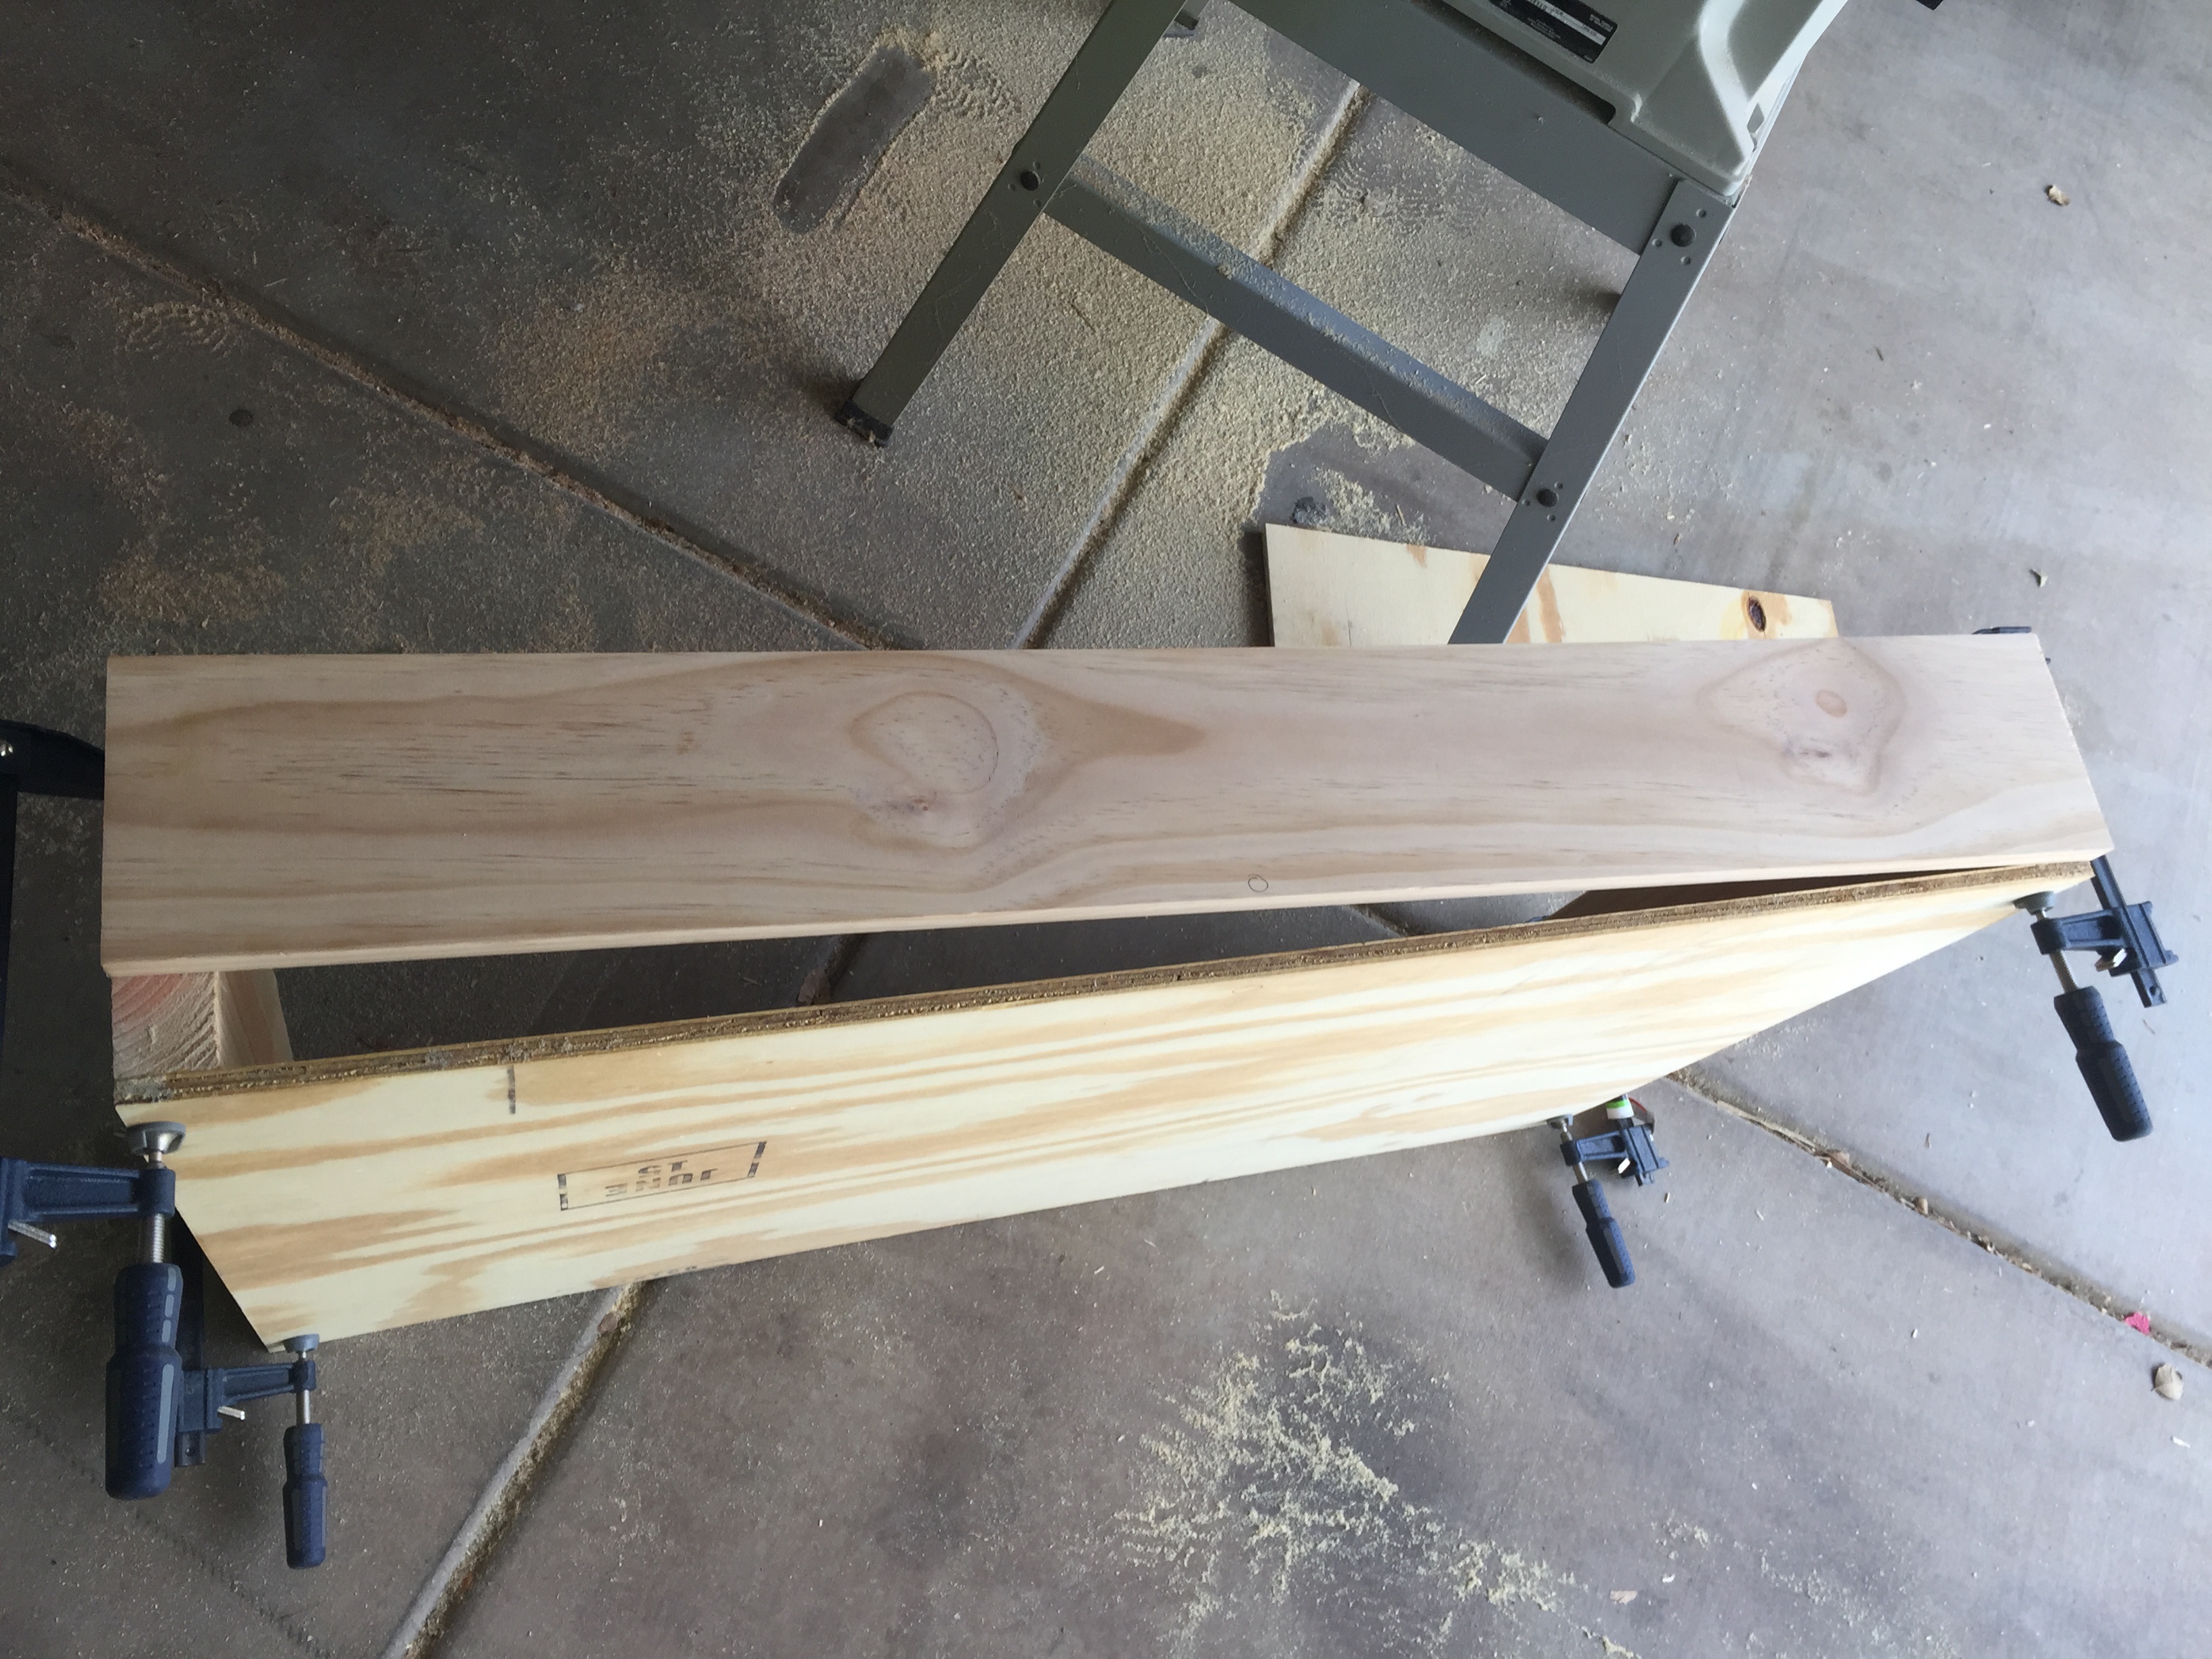
Next, I sanded the entire piece as a whole. This helped make the finishing process much easier in the end. I used both 110 grit and 220 grit sand paper with a palm sander. From here on out, I sanded each piece of wood as I made cuts.
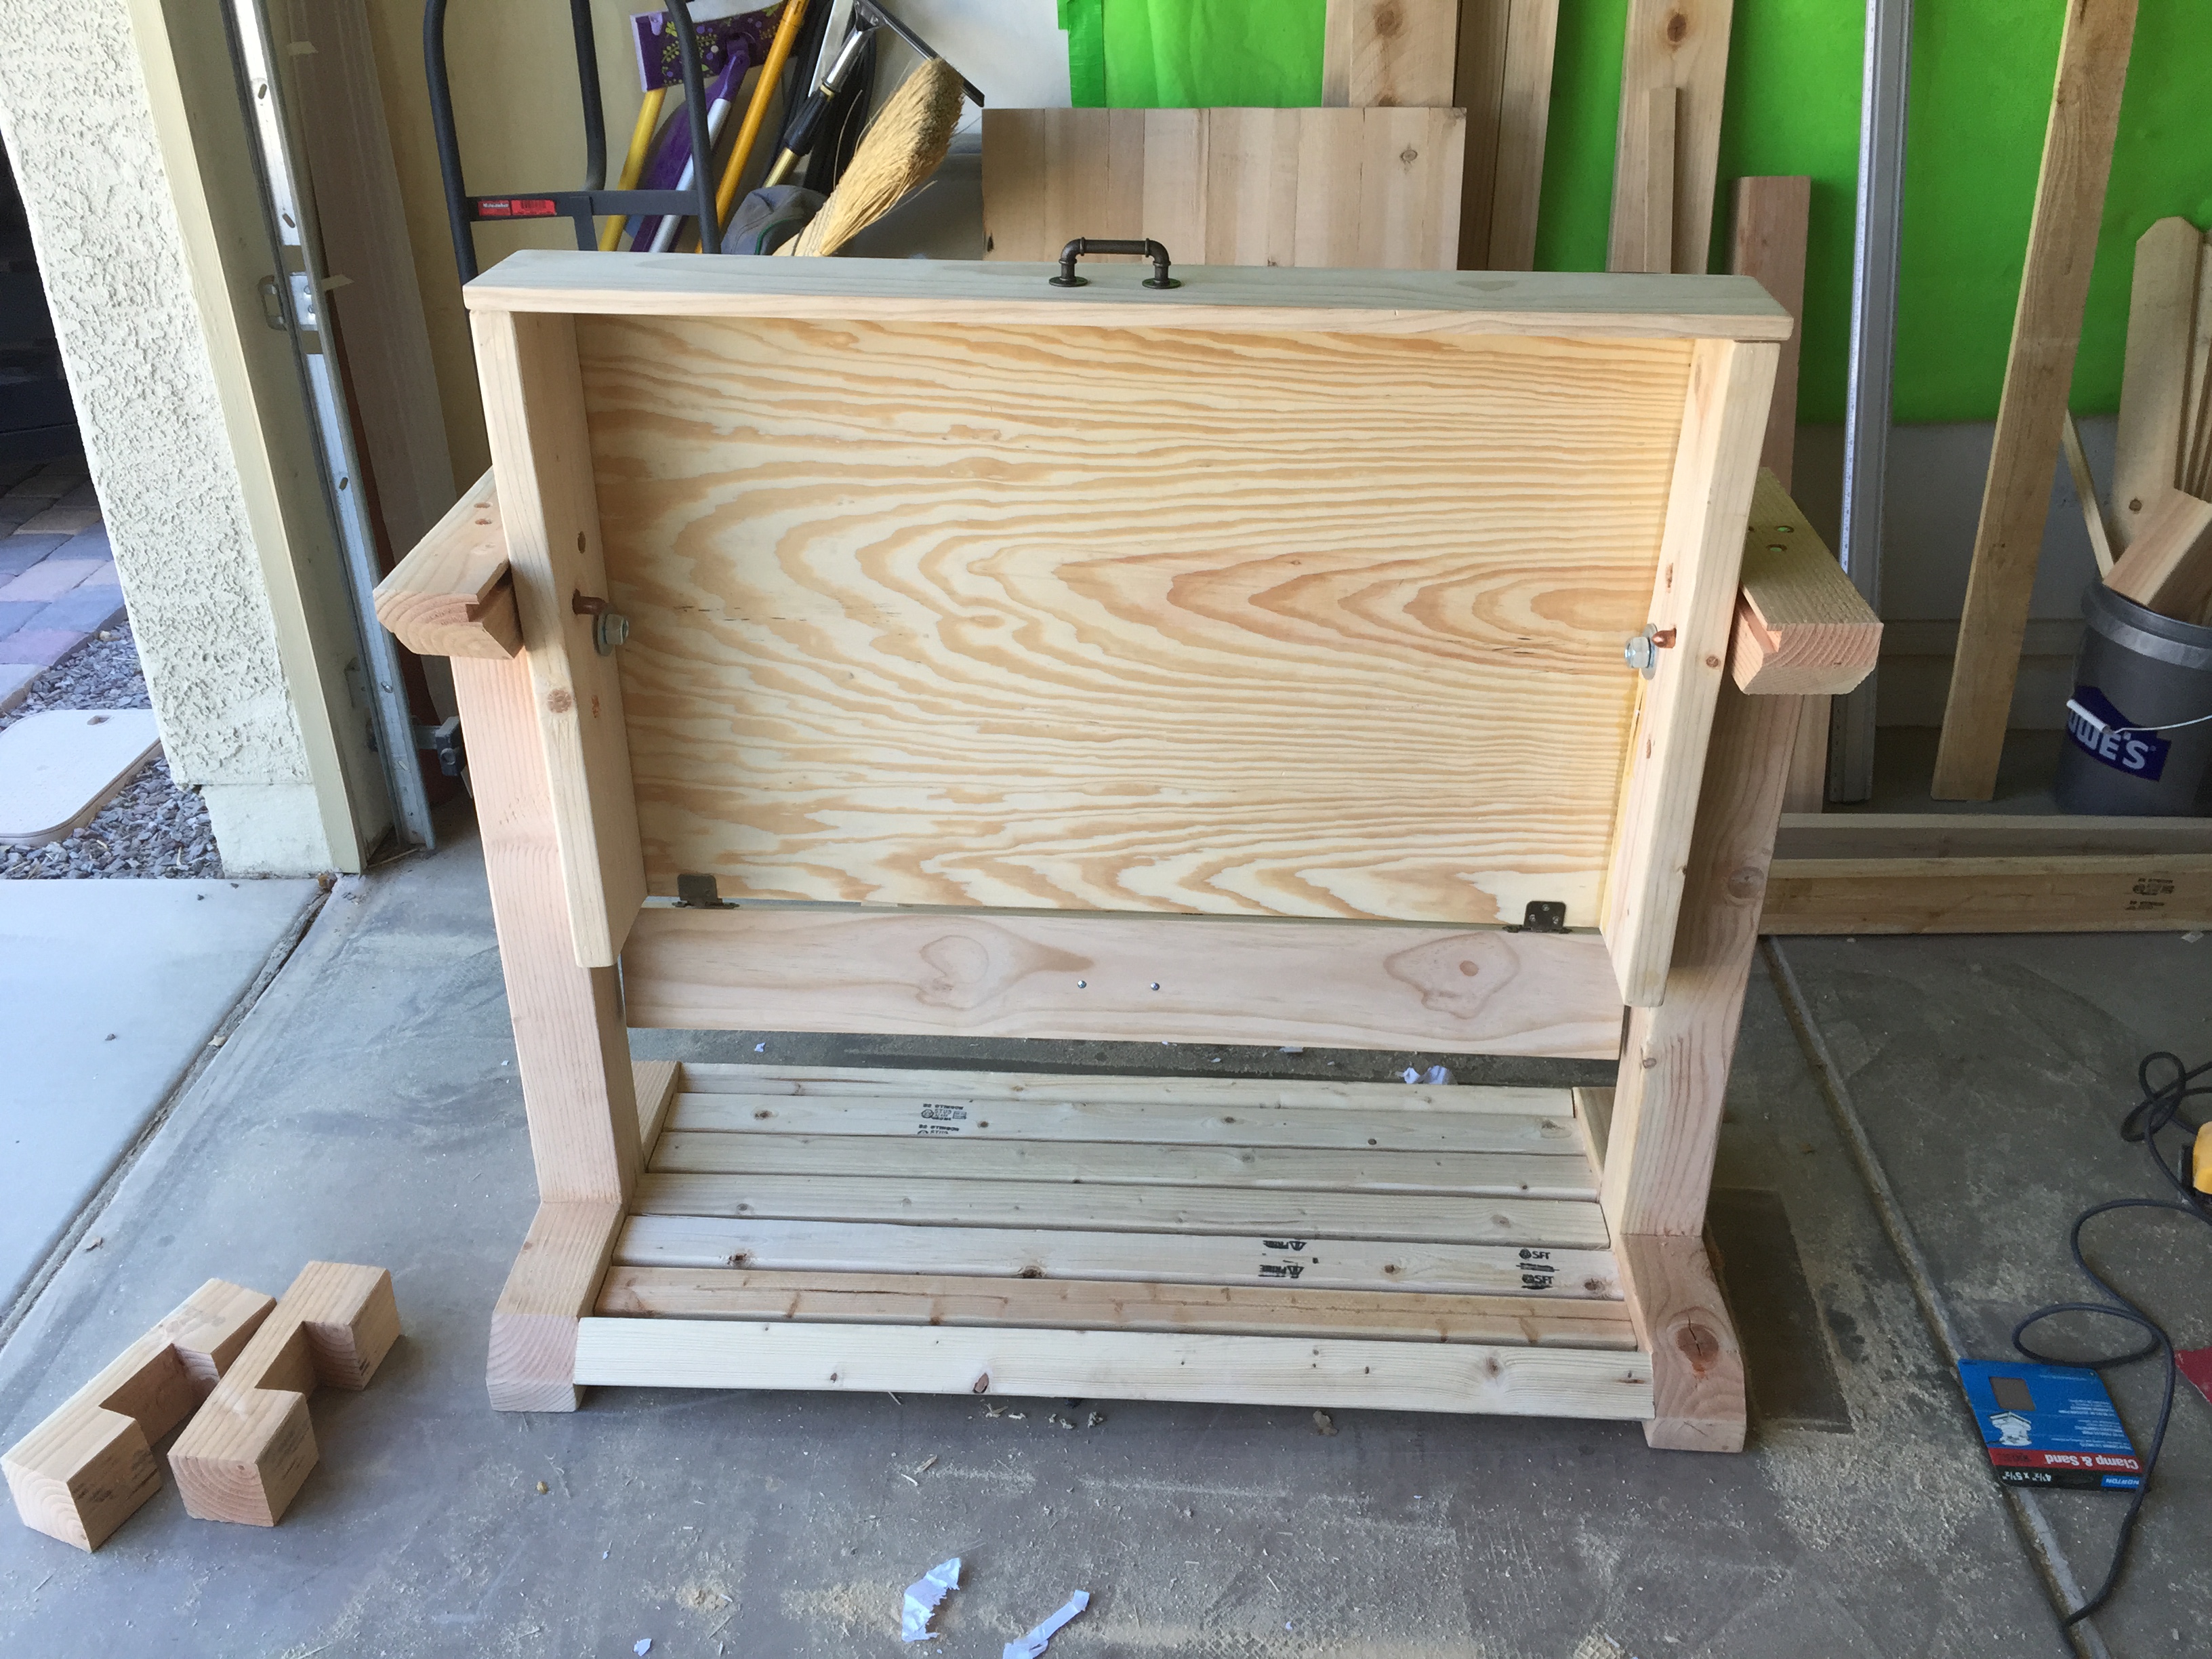
The table top game box needed side panel doors. Opening these doors will allow different game boards and mats to slide in and out. I made these doors out of 1″x6″ planks of select pine. The doors were attached with kitchen cabinet hinges and I added a cabinet handle to each door.
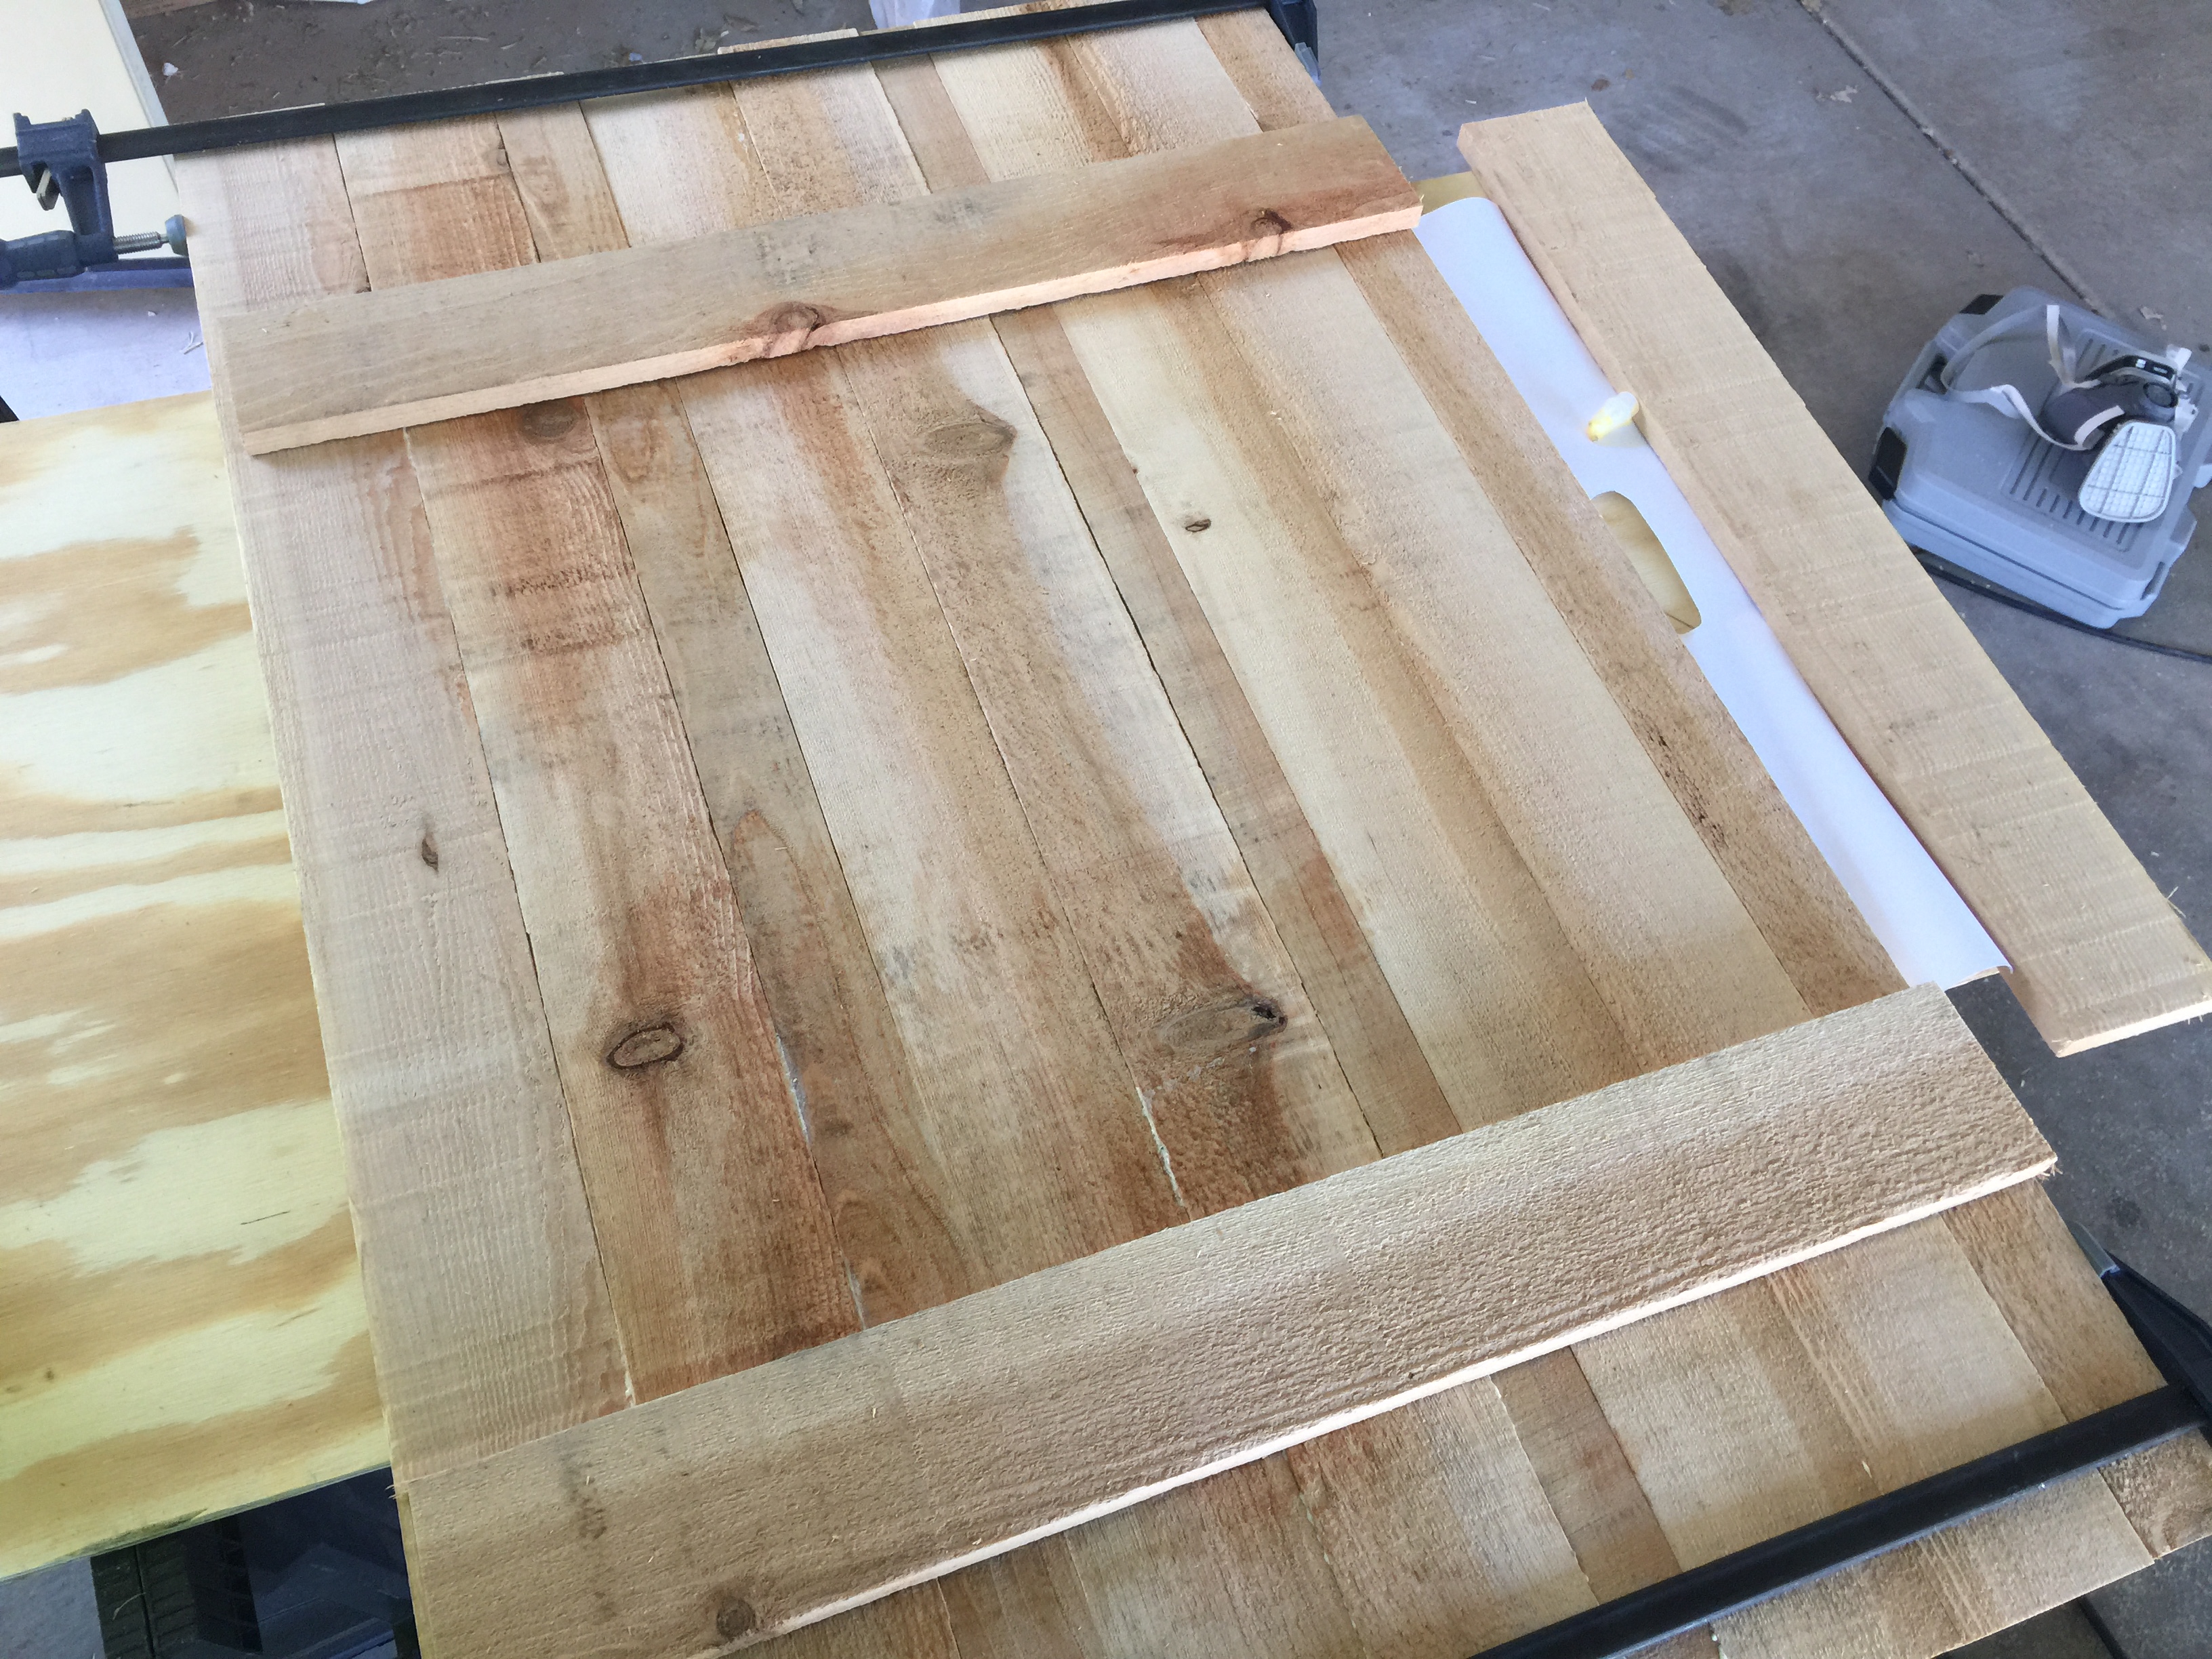
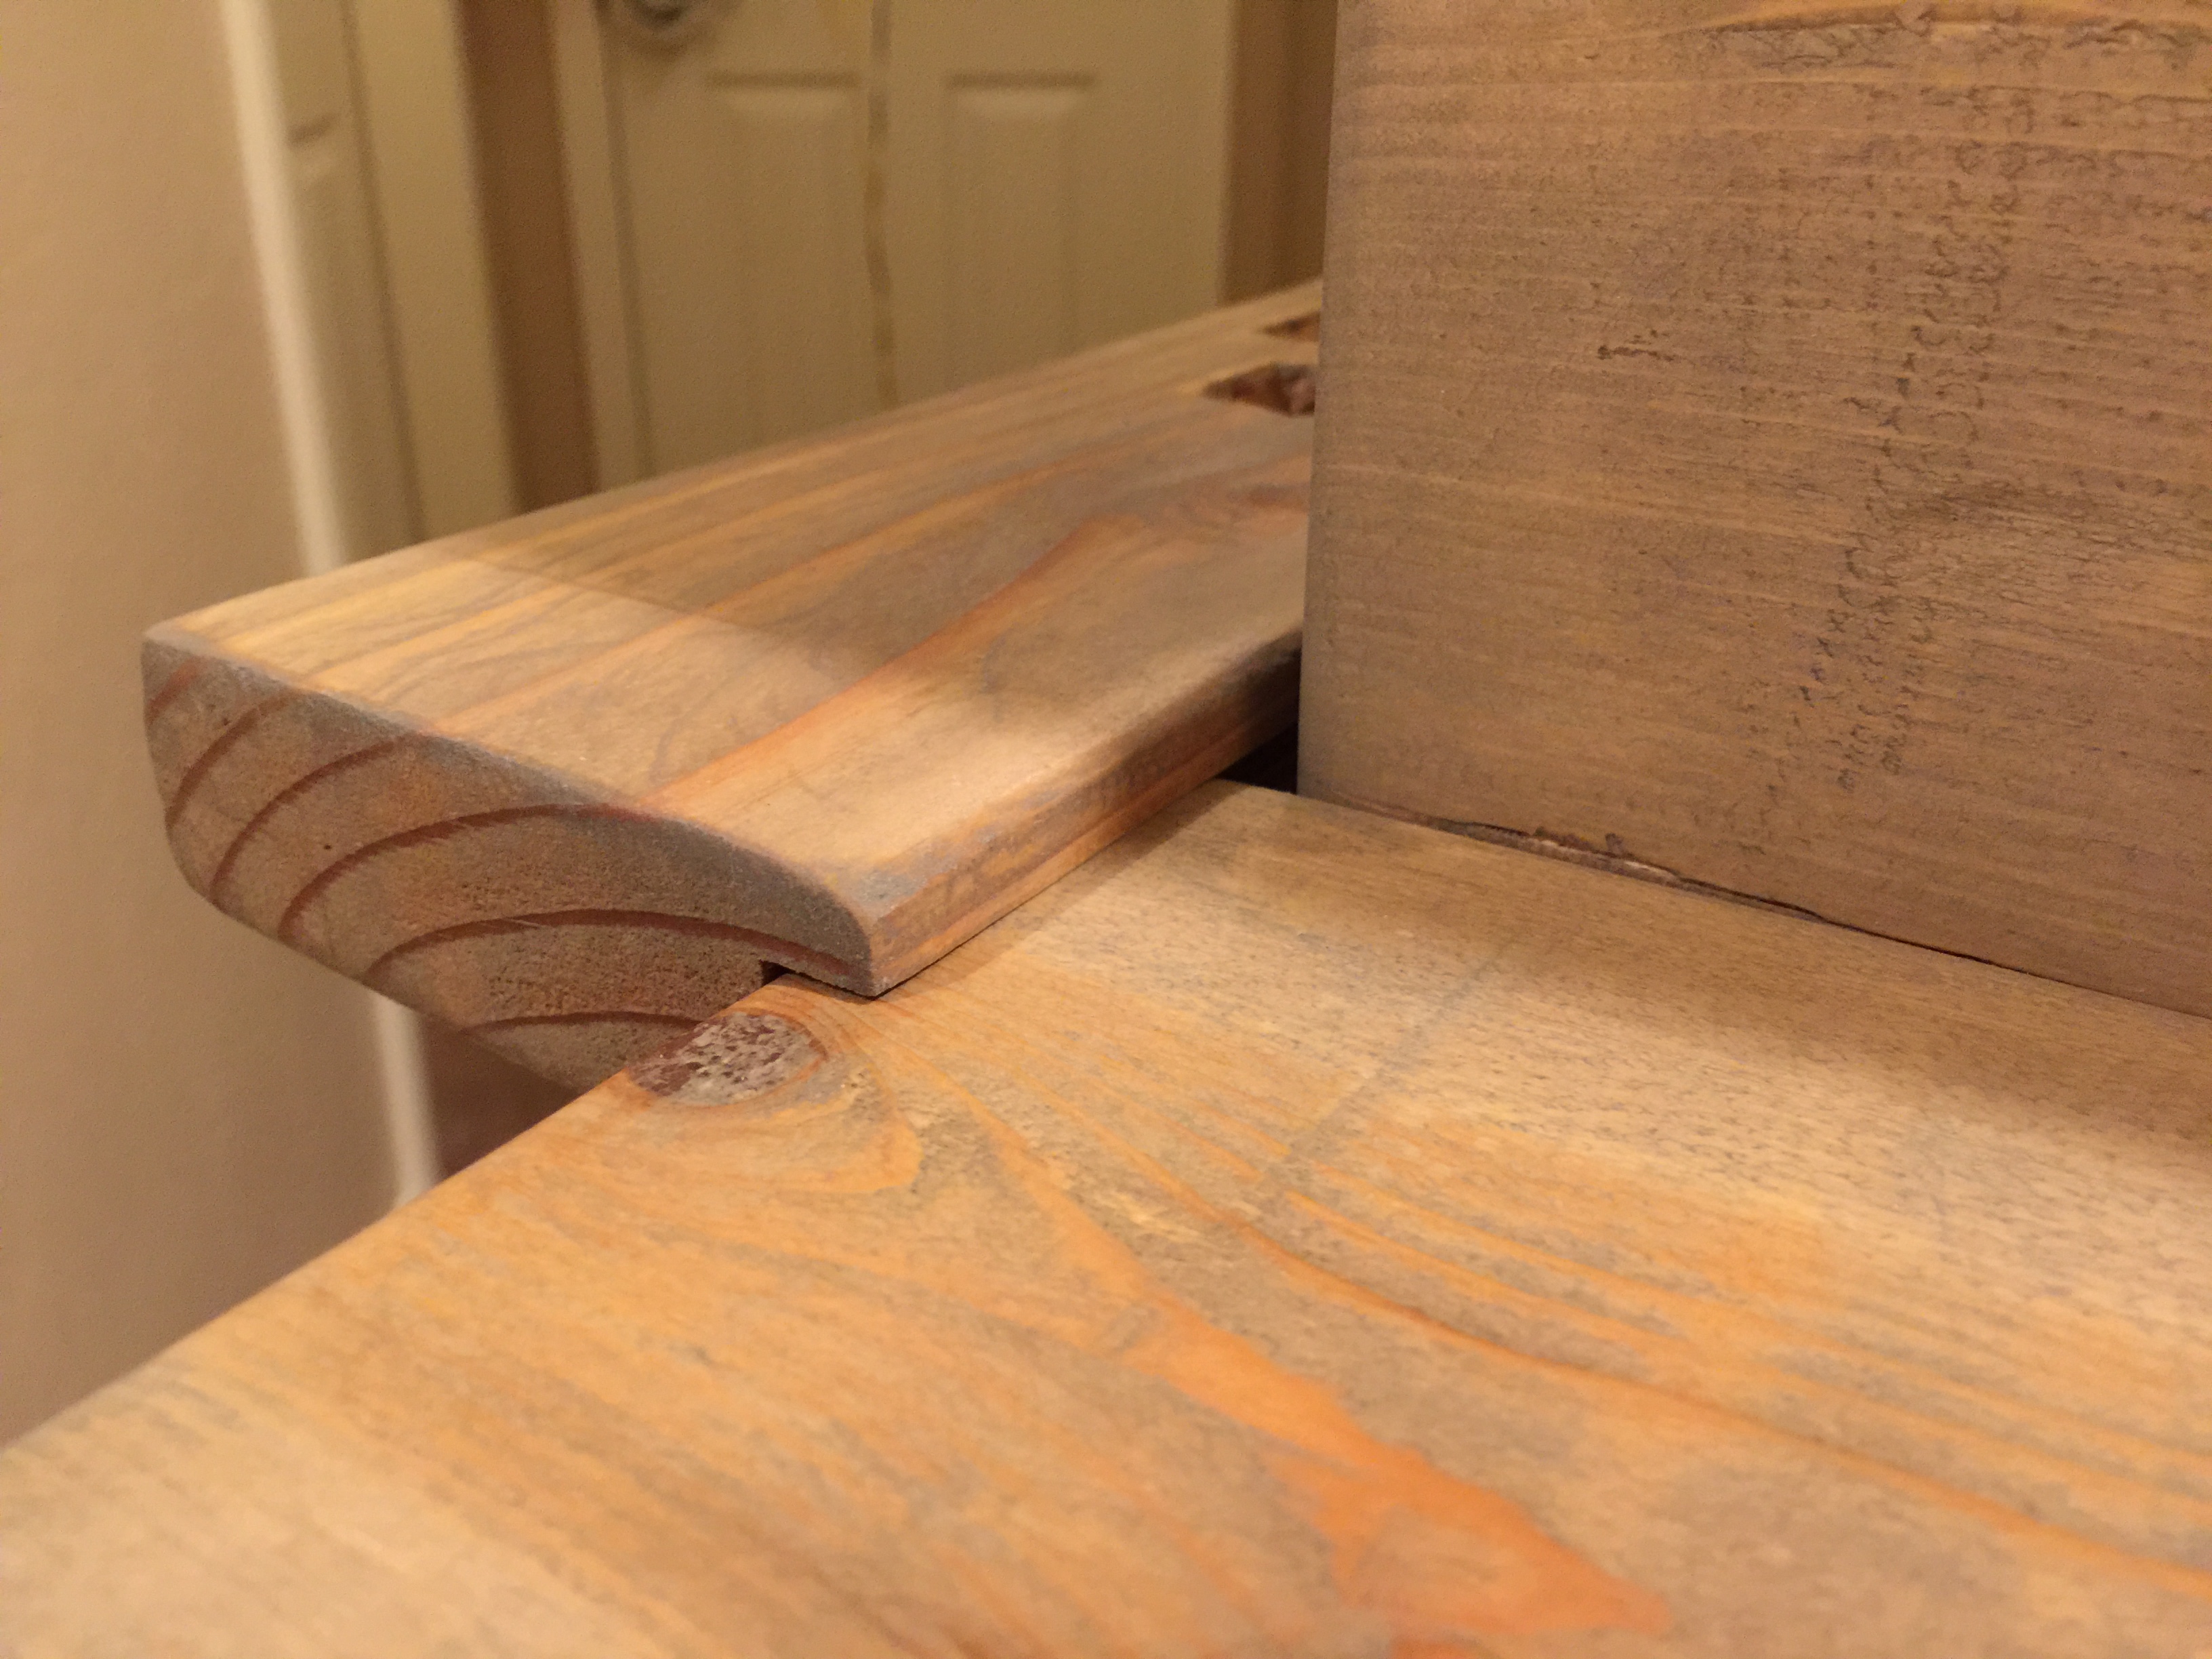
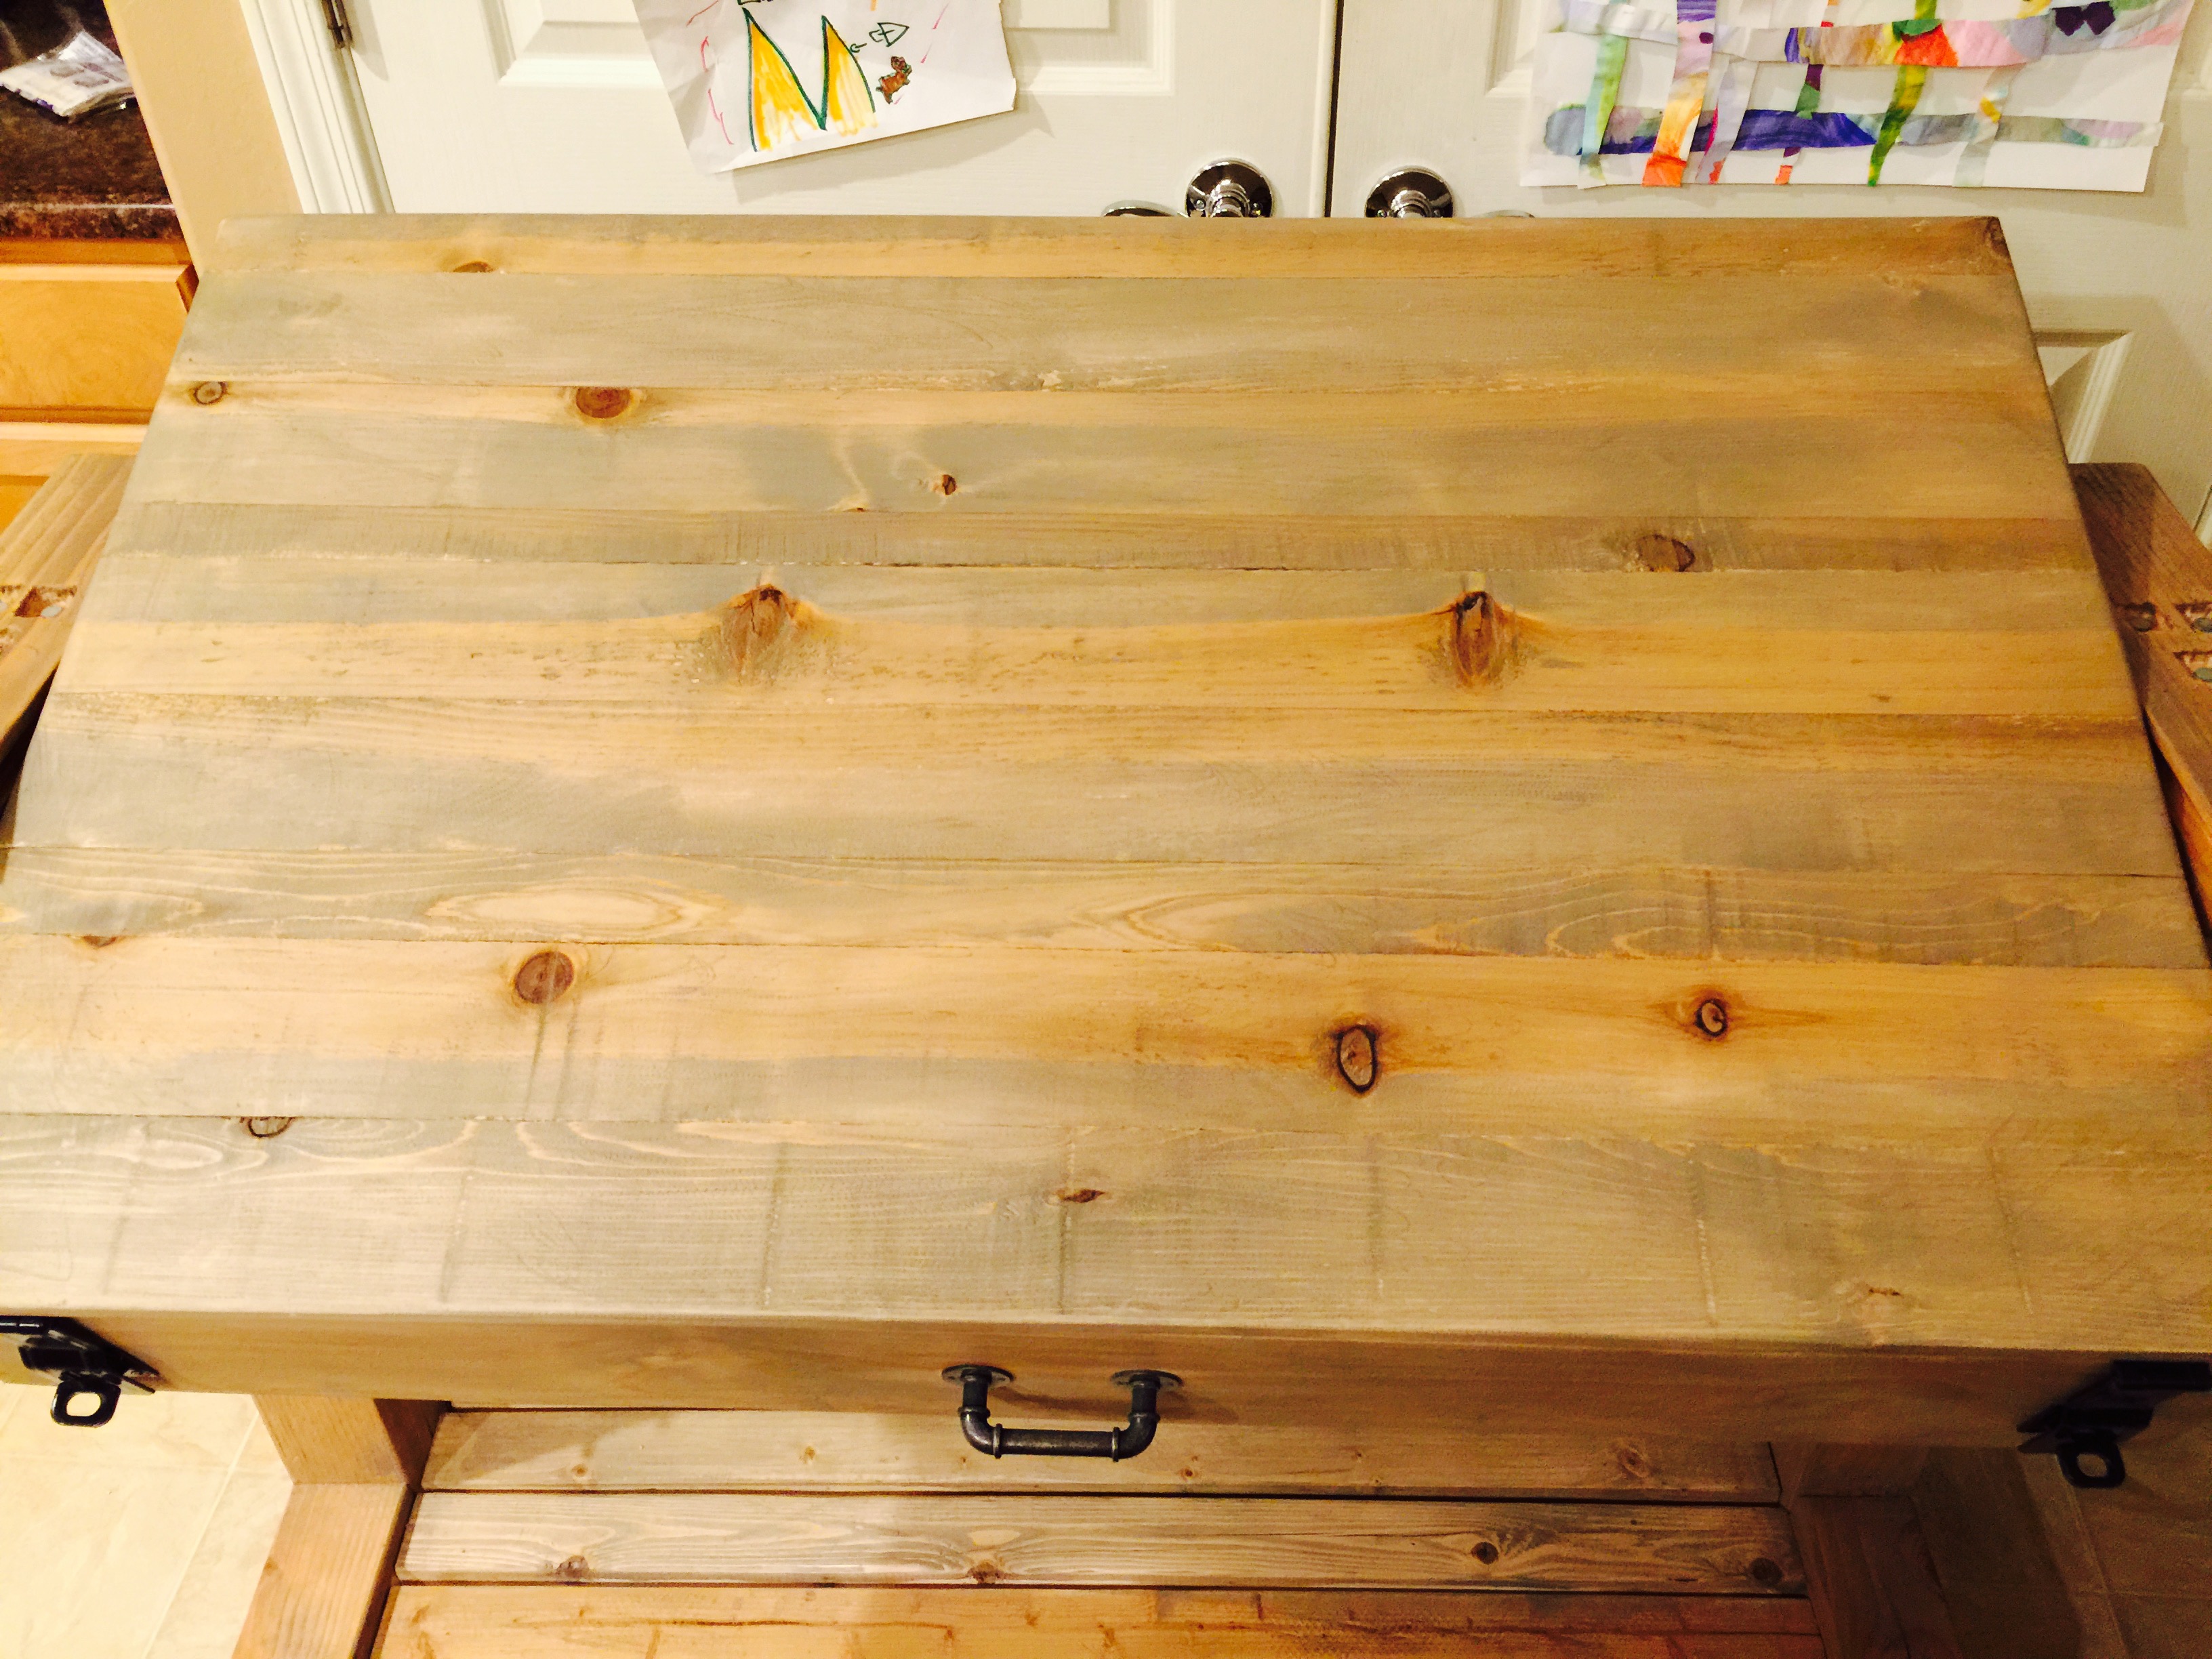
 The ‘Table Topper’ was a fun project. I always wanted to make a table top out of planks of wood and I’ve been admiring the different wood pallet projects I’ve seen on the web. Not wanting to deal with the nails and collecting pallets, I found planks of wood at Home Depot that looked like pallet wood. They were only $1.50 a piece. They had beautiful knots and they were terribly misshapen. Using the gaming box, I measure the needed table top length and width. The table top needs to cover the gaming box perfectly, other wise you will be unable to rotate the box into the three different positions. You will need to use a table saw to trim the width of one or two planks to make the table topper a perfect fit. You should be able to see 3 thinner planks in the table topper in the photos below.
Once you cut each plank to size and the length and with match the game box perfectly, it’s time to glue and clamp. Arrange your planks according to preference. You can see in the photos below that I organized the planks to make a rustic table top. Place butcher paper between your planks and work surface. You do not want your table topper laminated to your work bench. Add a healthy supply of glue to the edge of each piece and place them together. Once they are all together, use your clamps to secure them in-place. It will take 24 hours for the glue to set and for the top to become one solid sheet of wood.
After the table top has dried, you need to make support strips on the underside of the topper. These support strips will prevent the topper from sliding left and right when it is set on the gaming box.

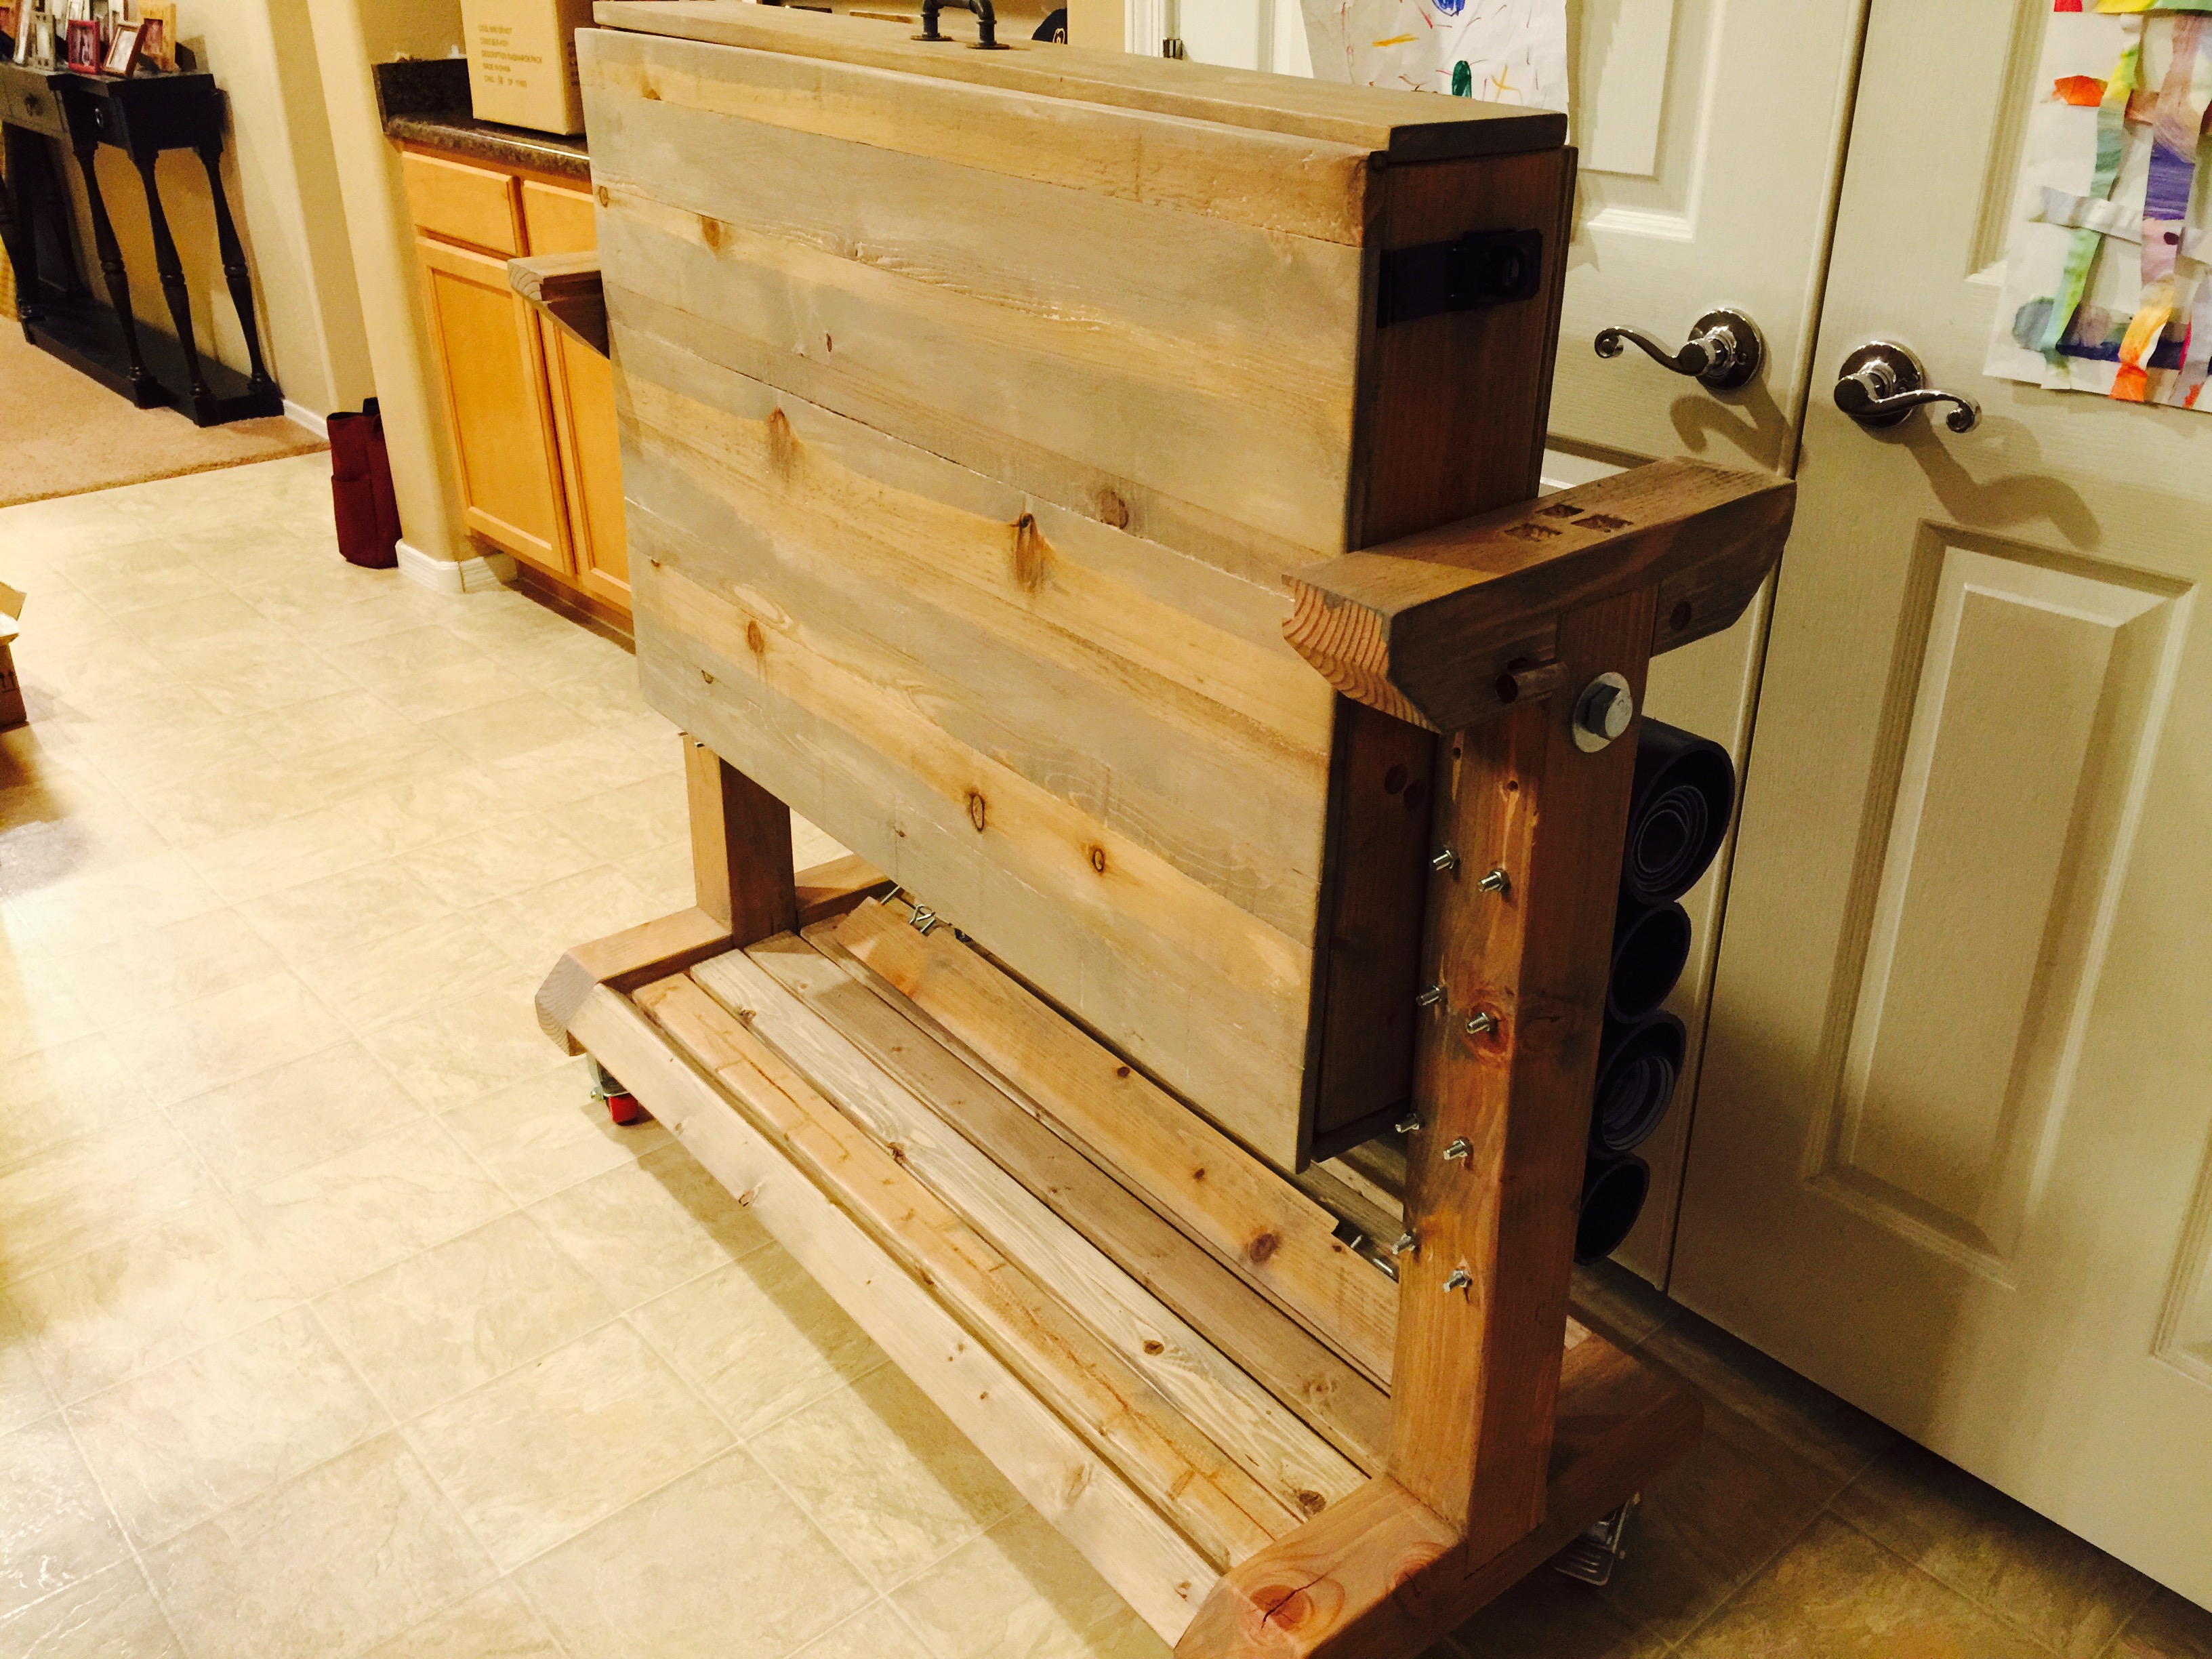
Bring on the legs! Now it’s time to measure and prepare the overall height of the table. My goal was to have the table top reach 36″ tall. Measure the leg posts and include the height of the wheel housing. The top of the leg post should be level with the top of the gaming box and NOT the table topper. The table topper should rest taller than the leg post.
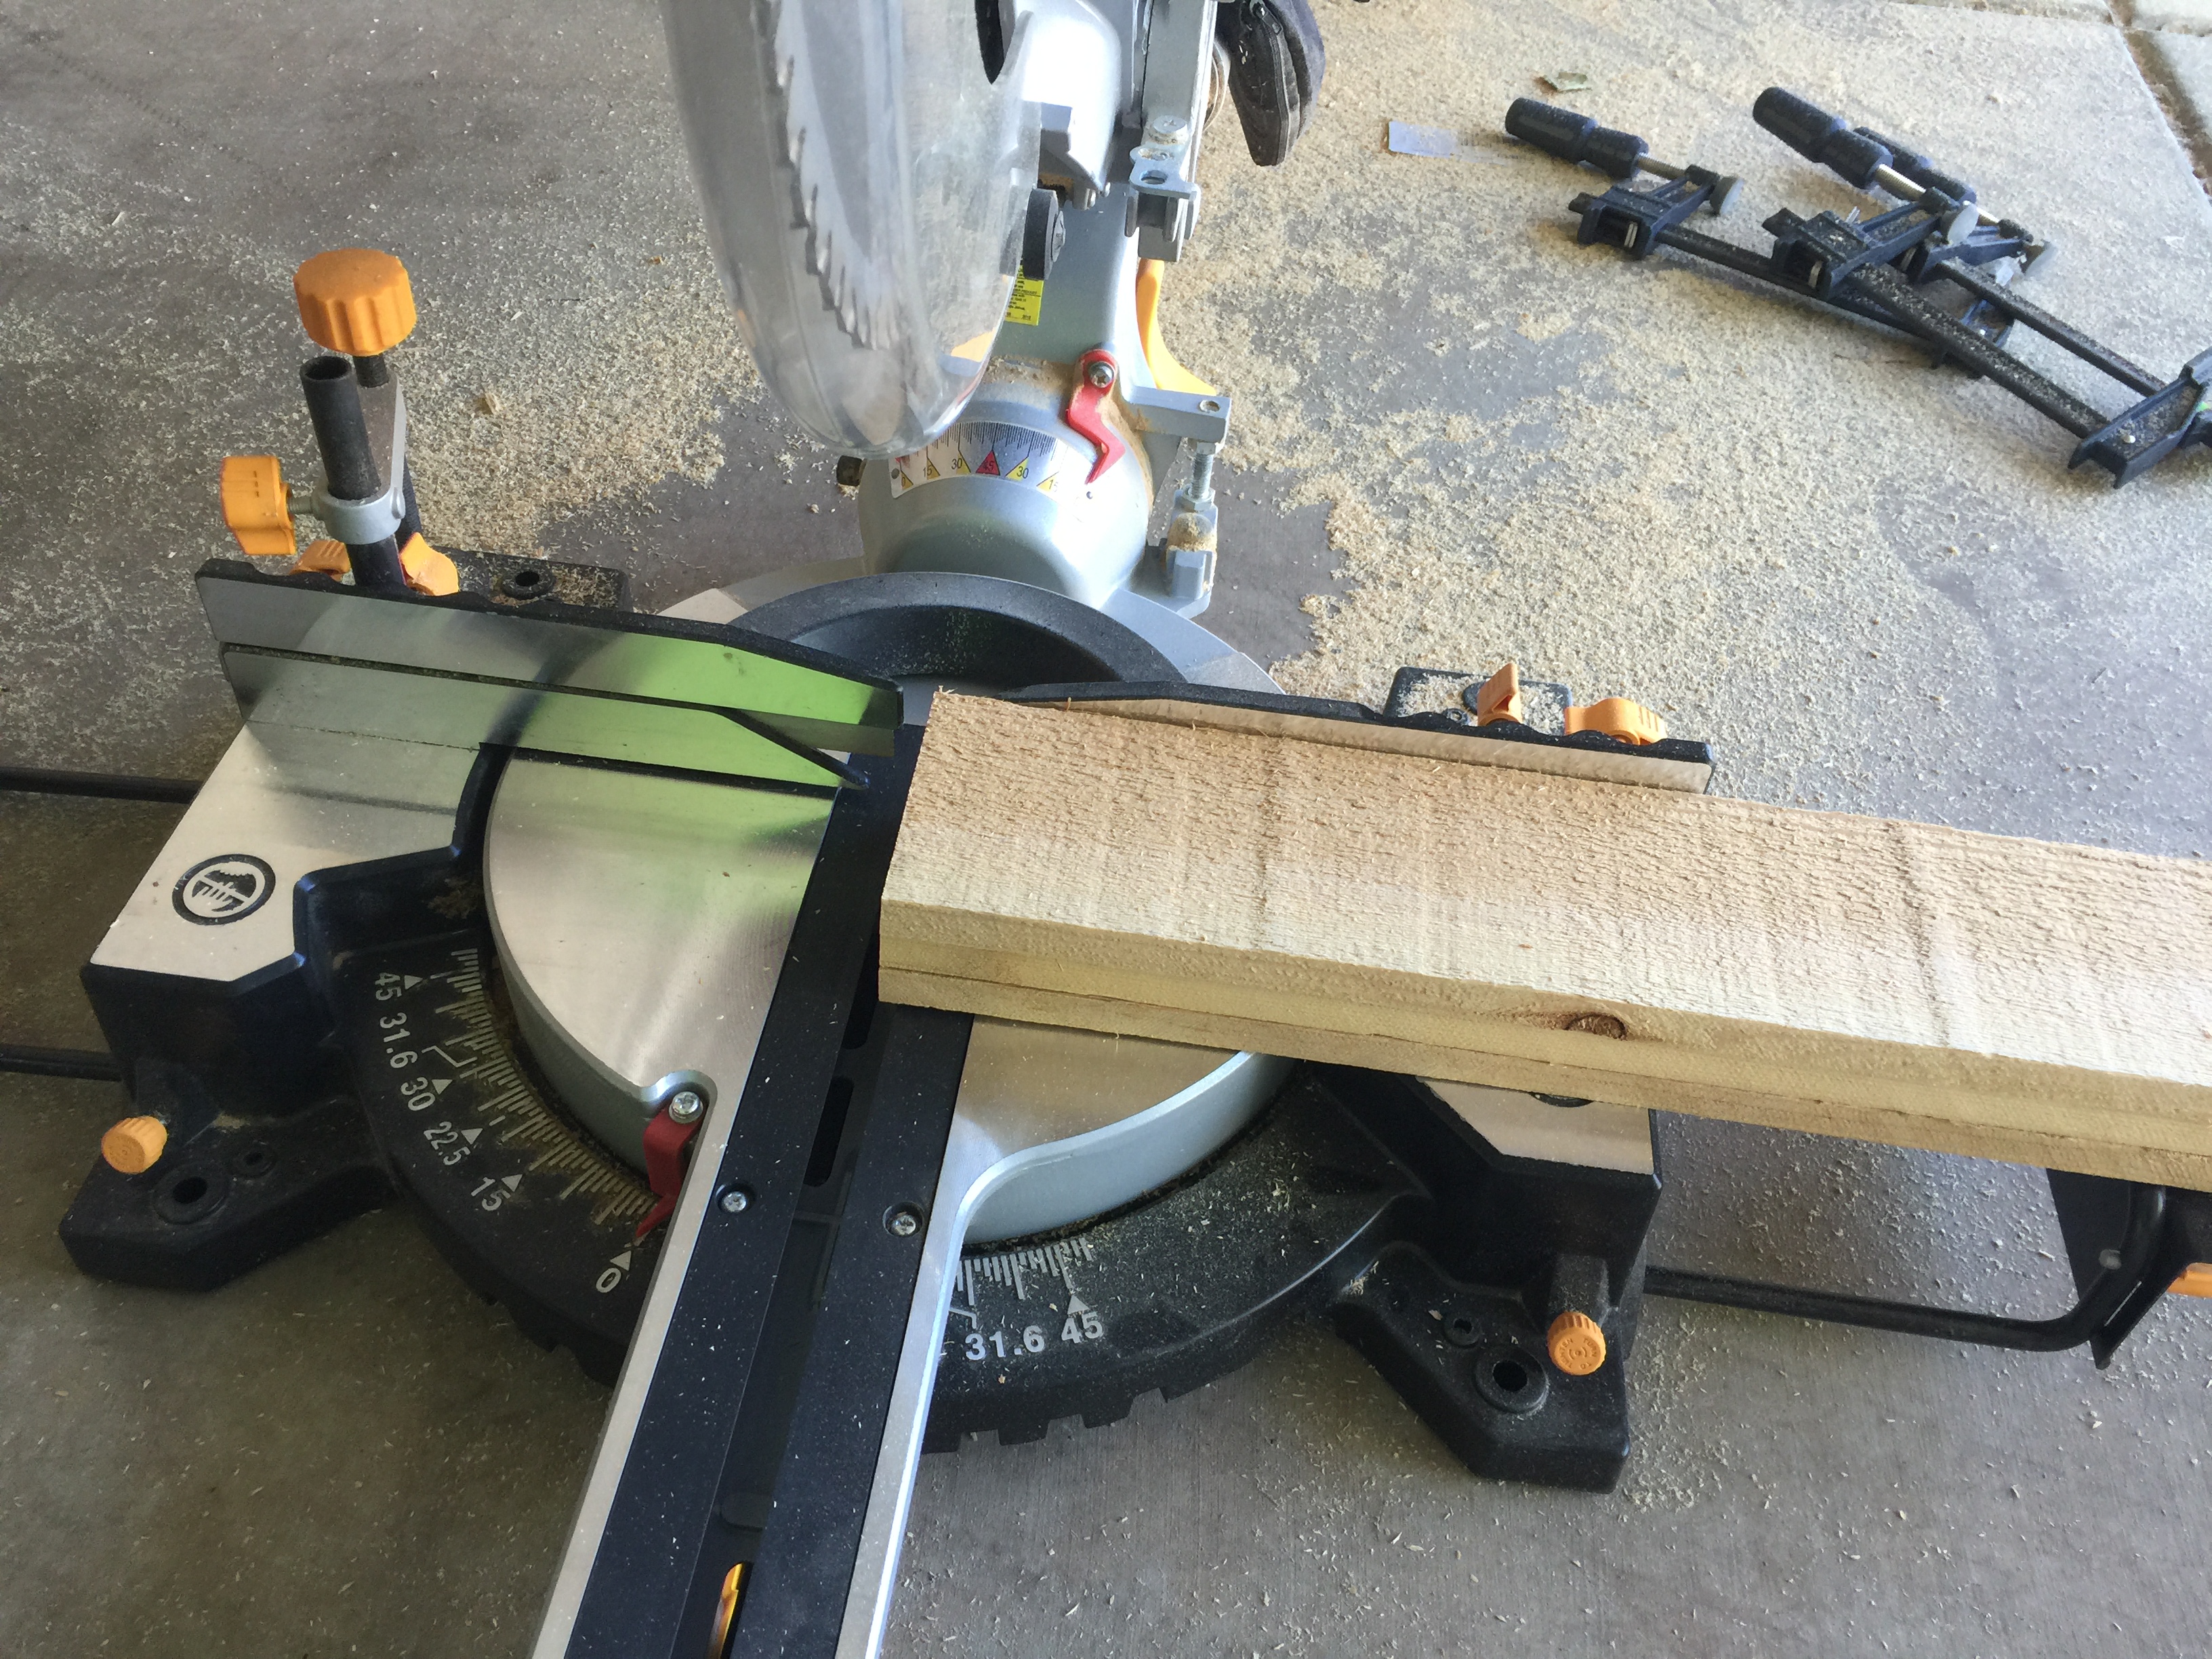
The legs were designed to be pedestal legs. I used a table saw to carve out a tongue and grove joint for the top and bottom supports of the pedestal leg.
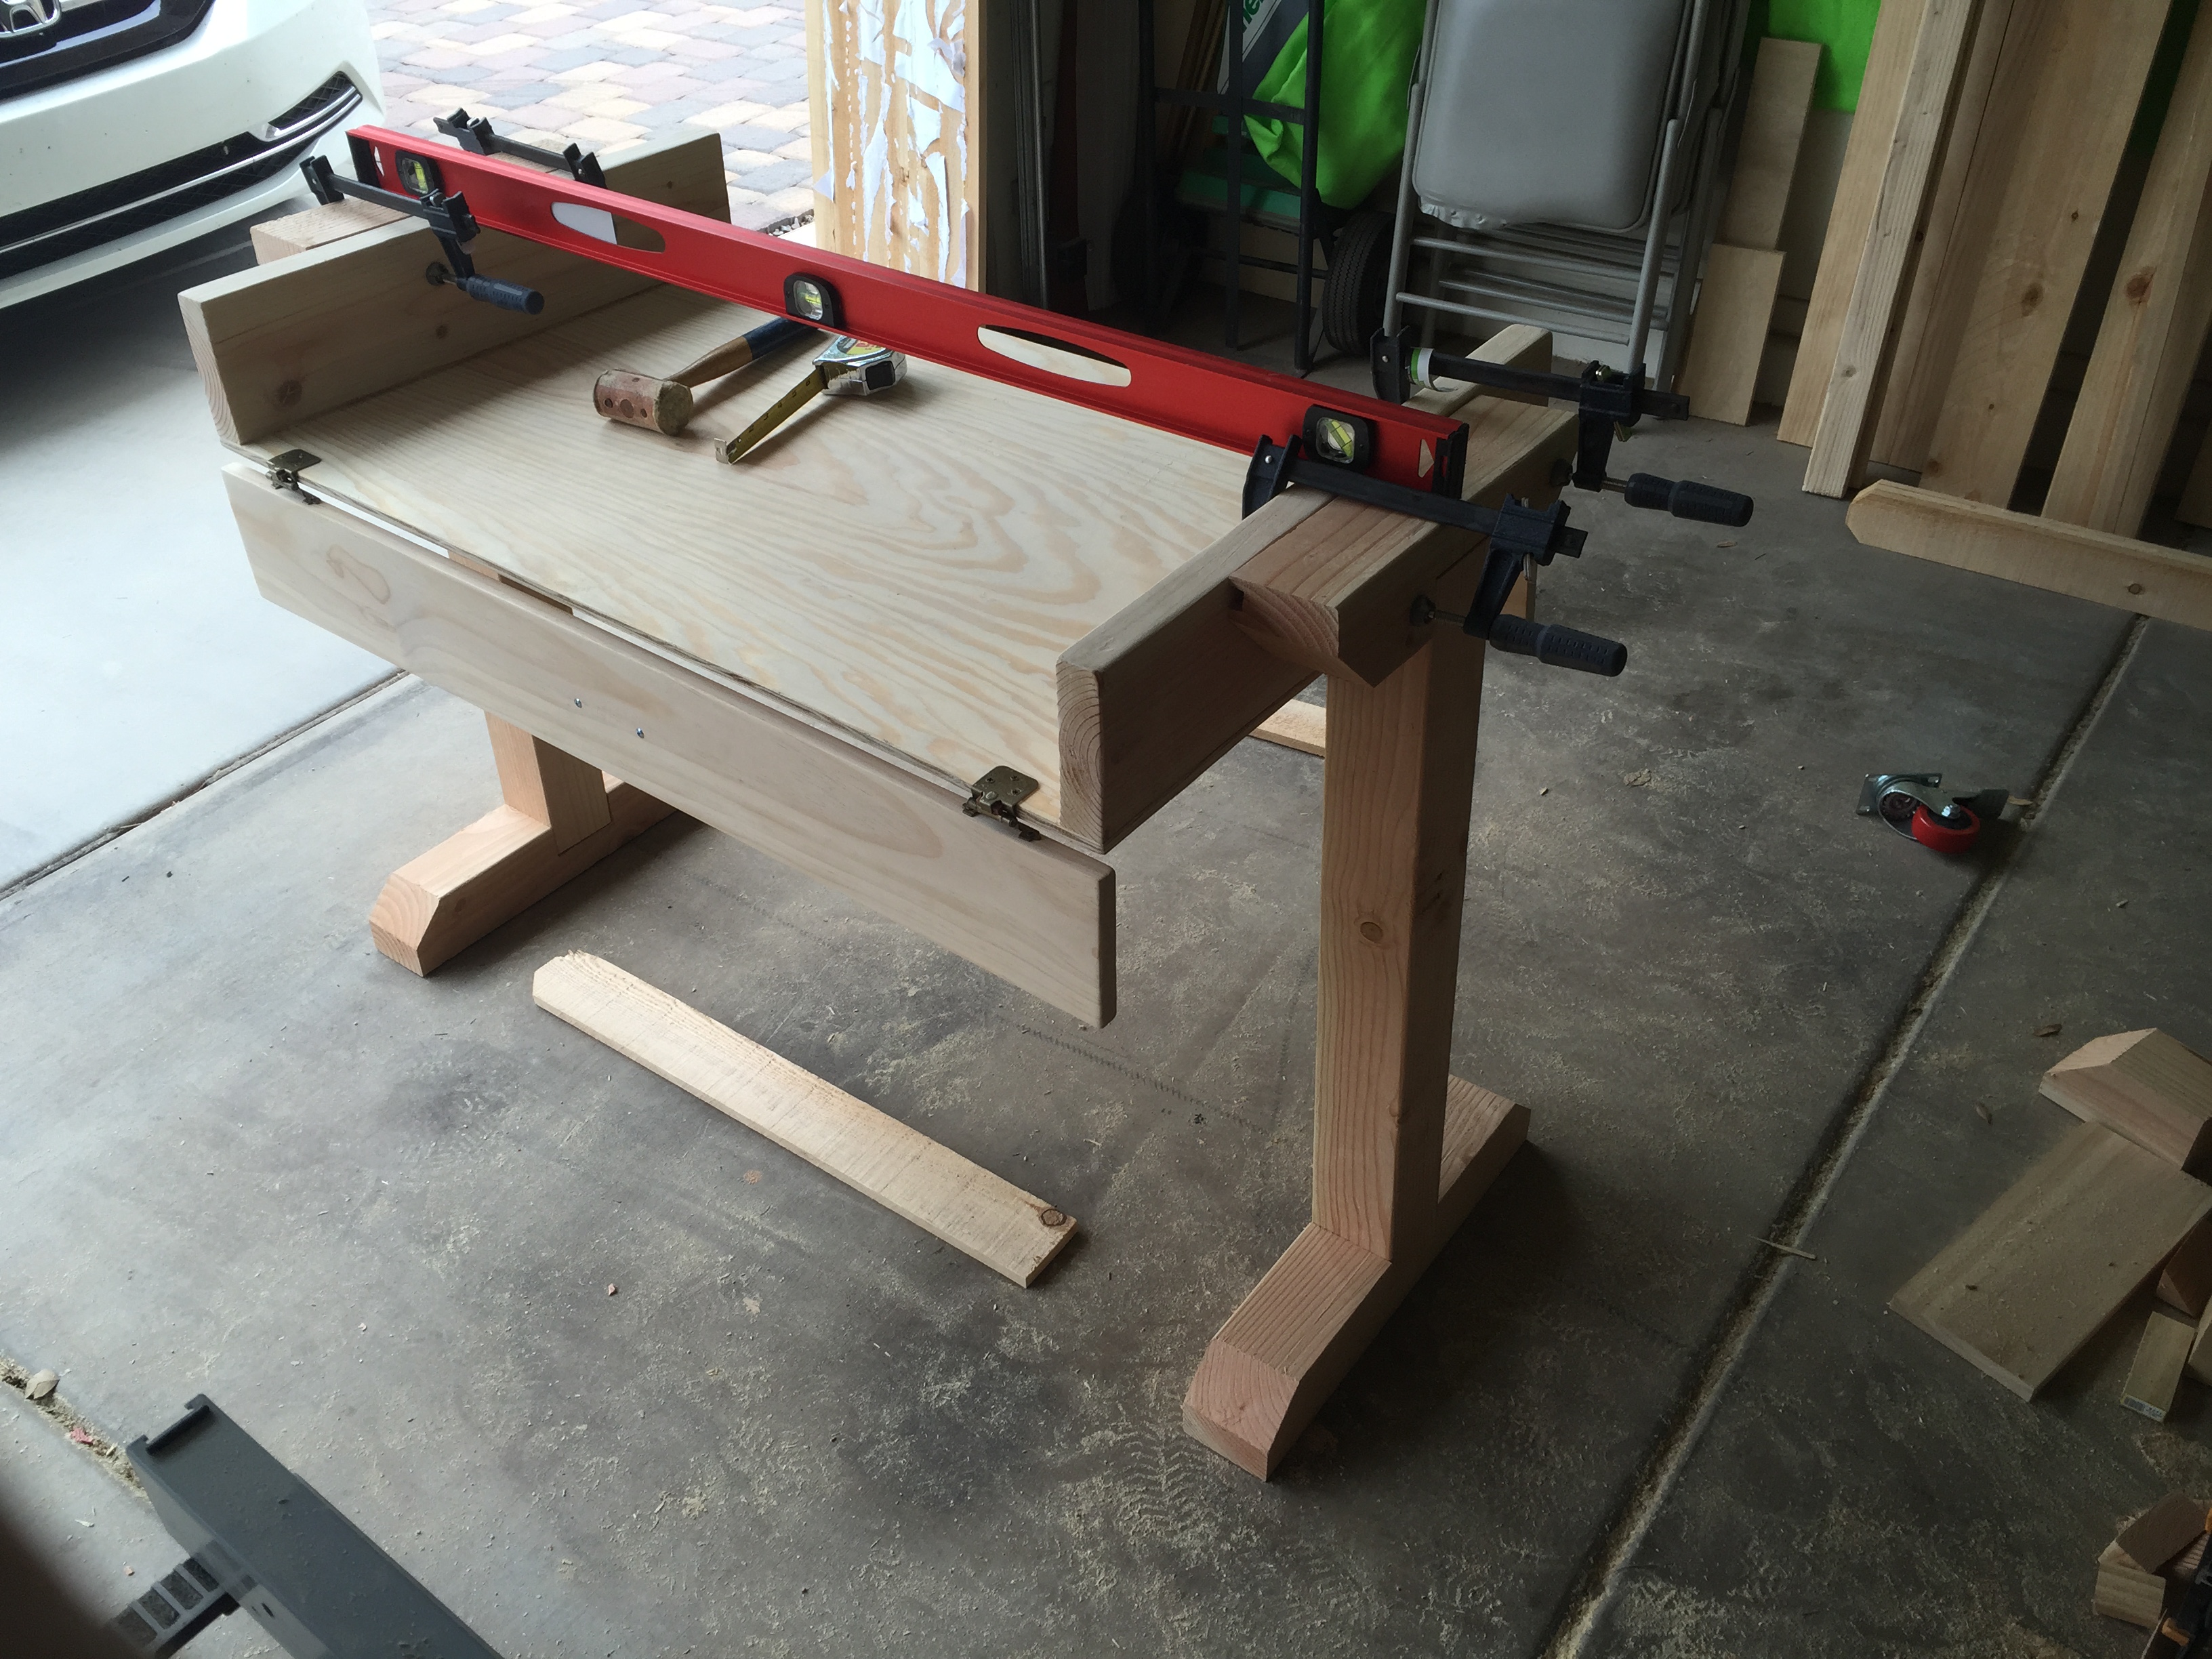
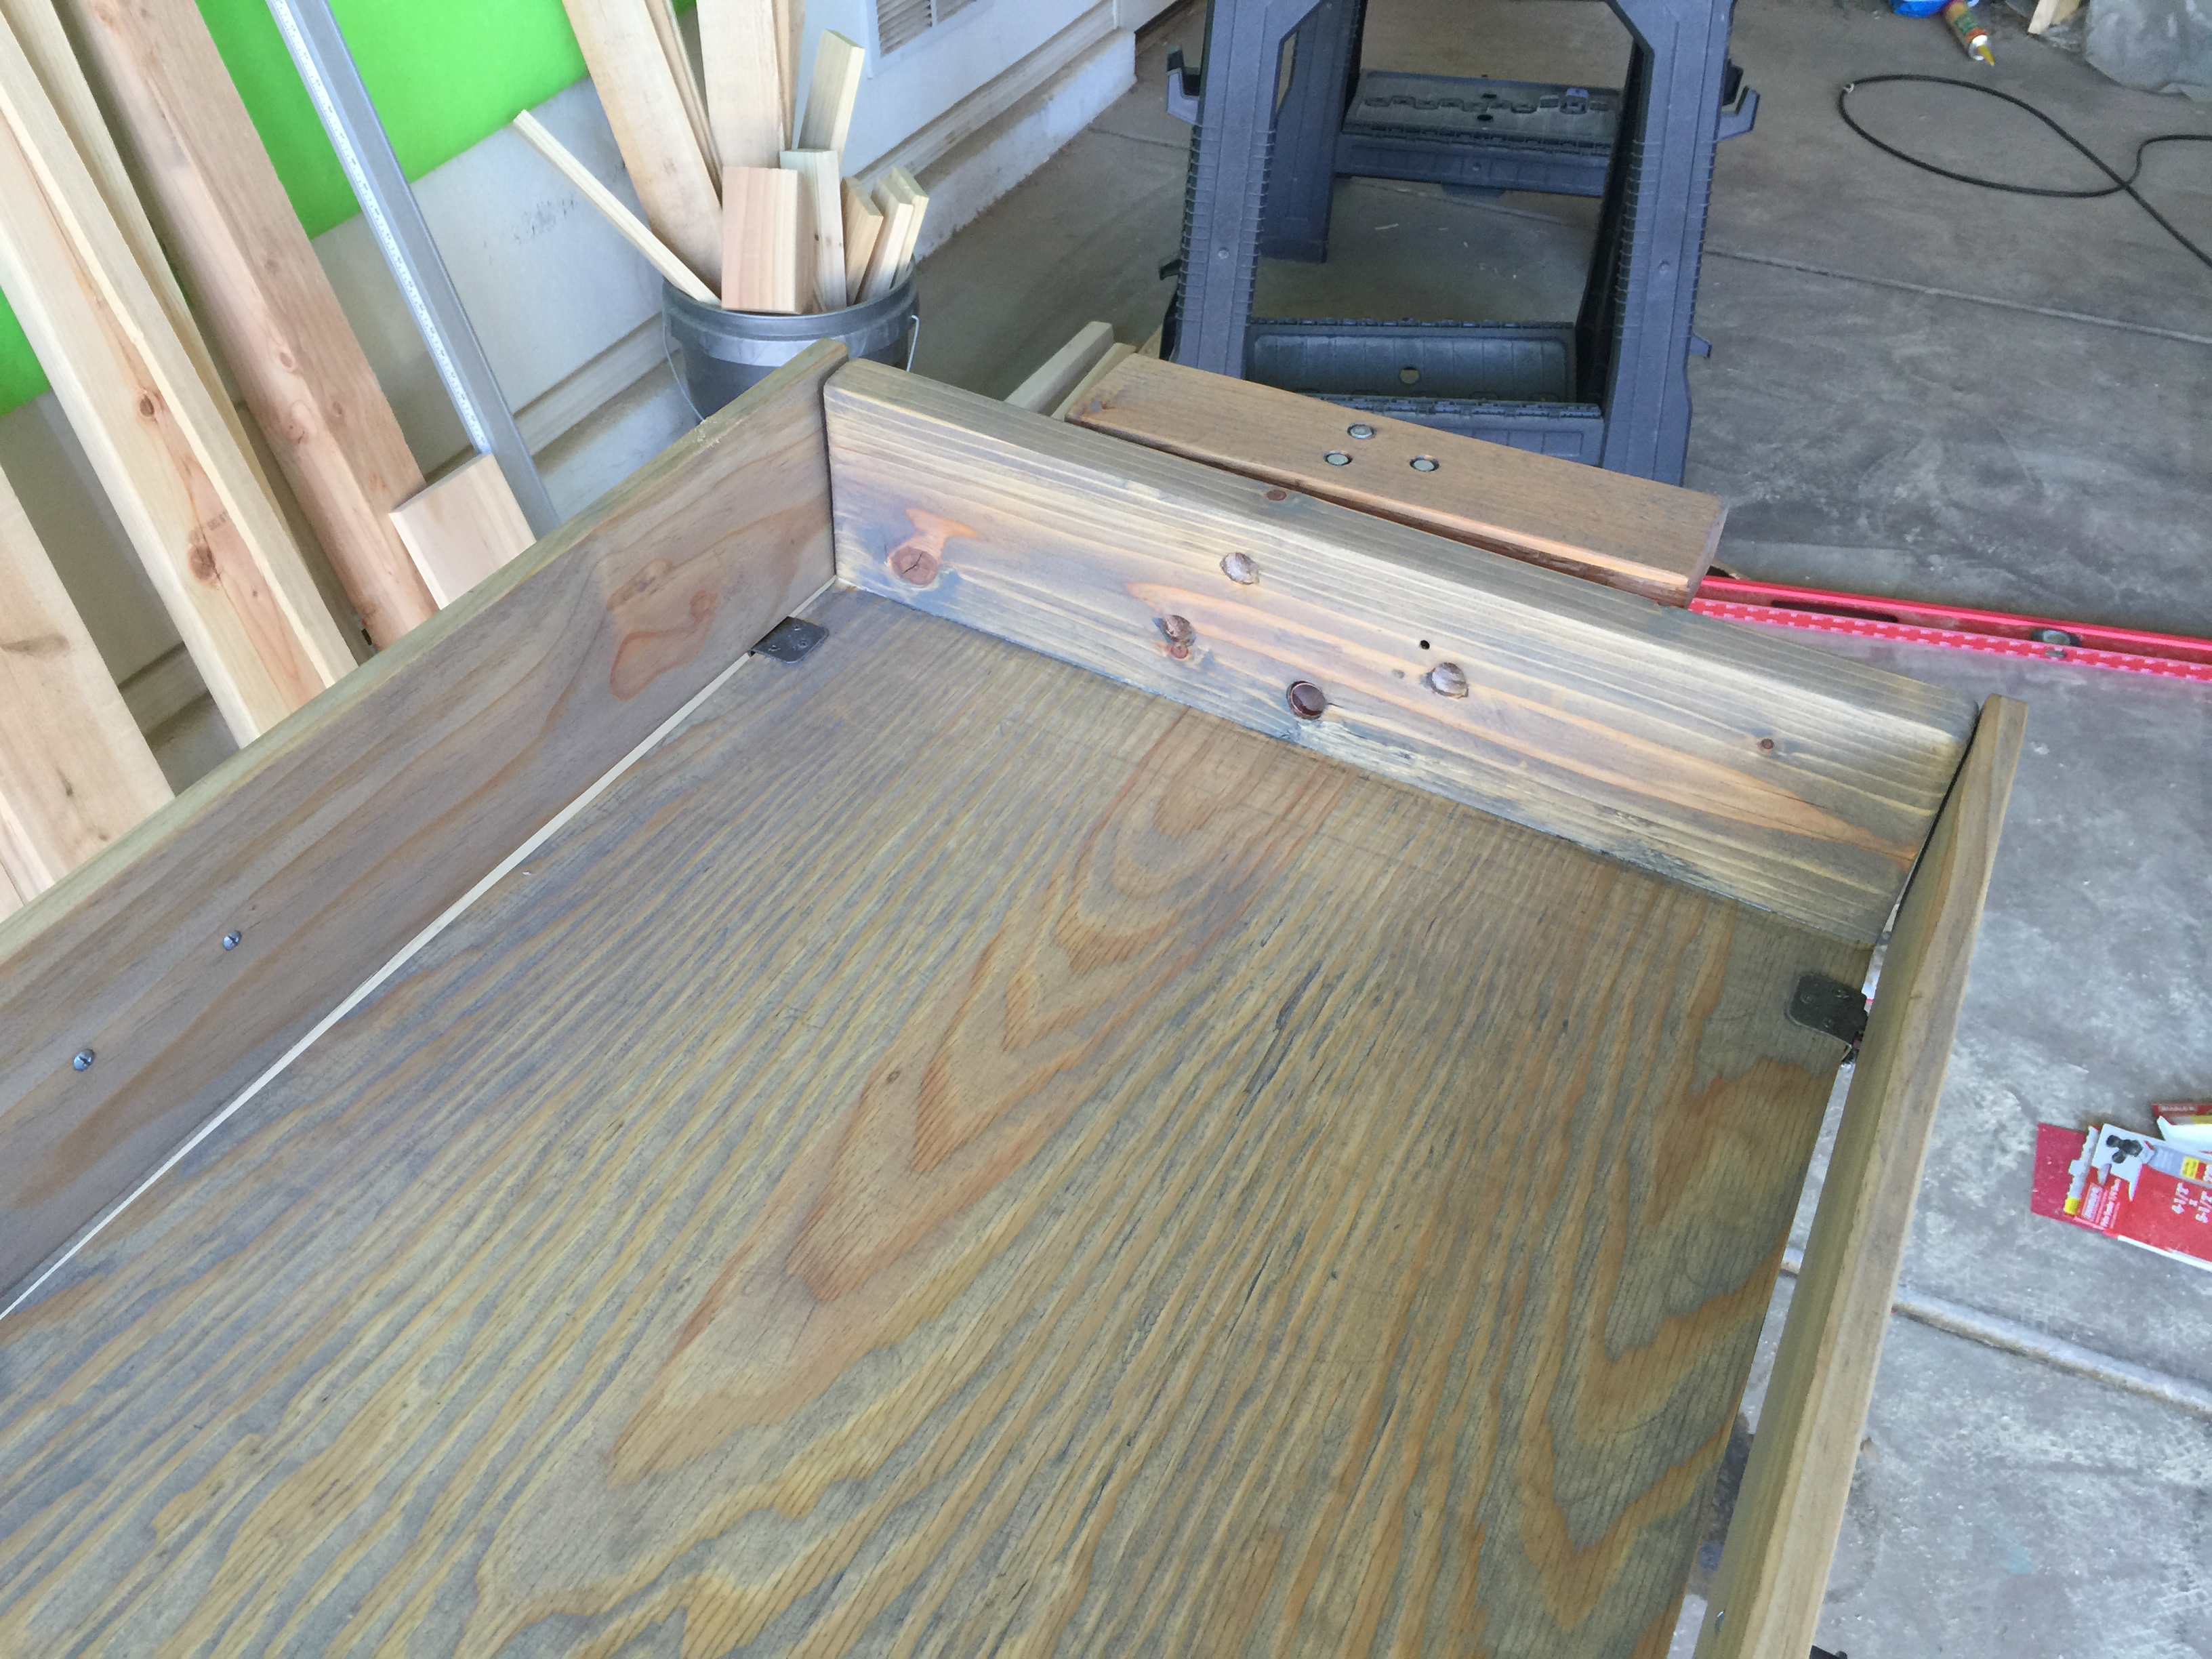
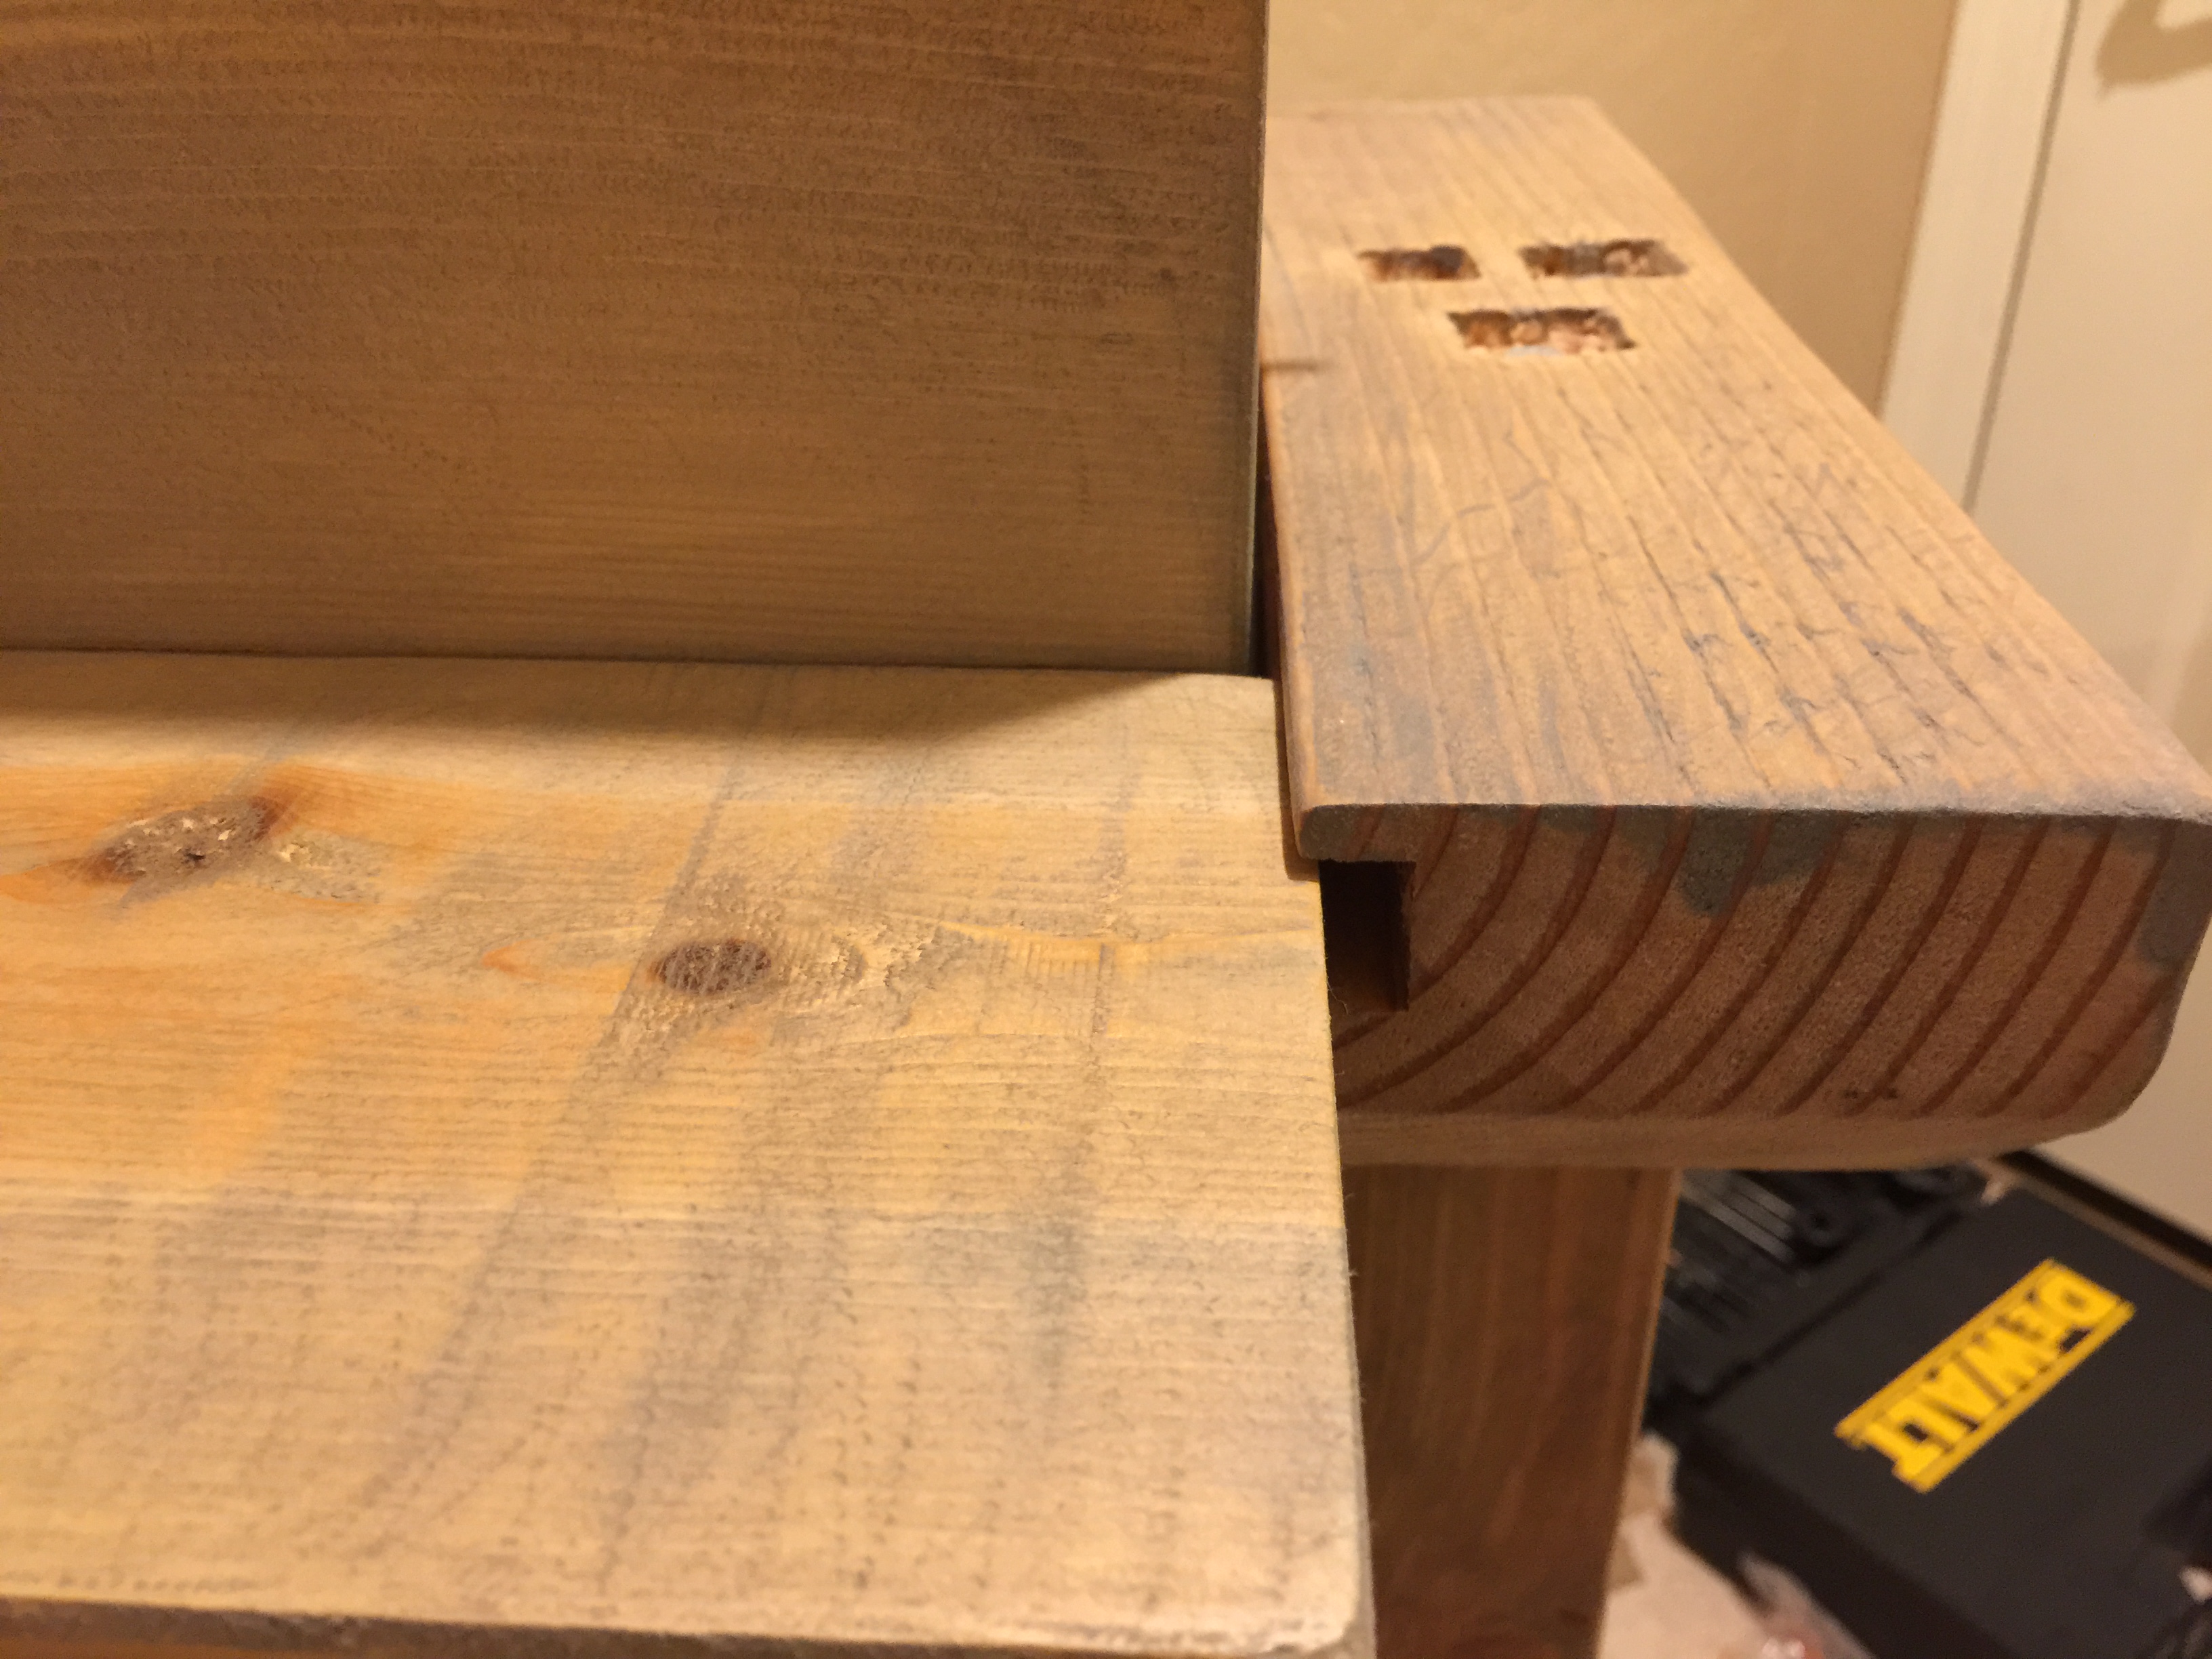
 The top and bottom leg supports attach to the leg post with 5″ bolts. You will need to pre-drill 3 holes through the leg support so it can be attached to the post. Now, on the inside of the top 2 supports, you will need to cut a grove. The grove needs to be big enough to fit and support one plank of the cheap wood used for the table topper. This is how the photo shelf will be created.


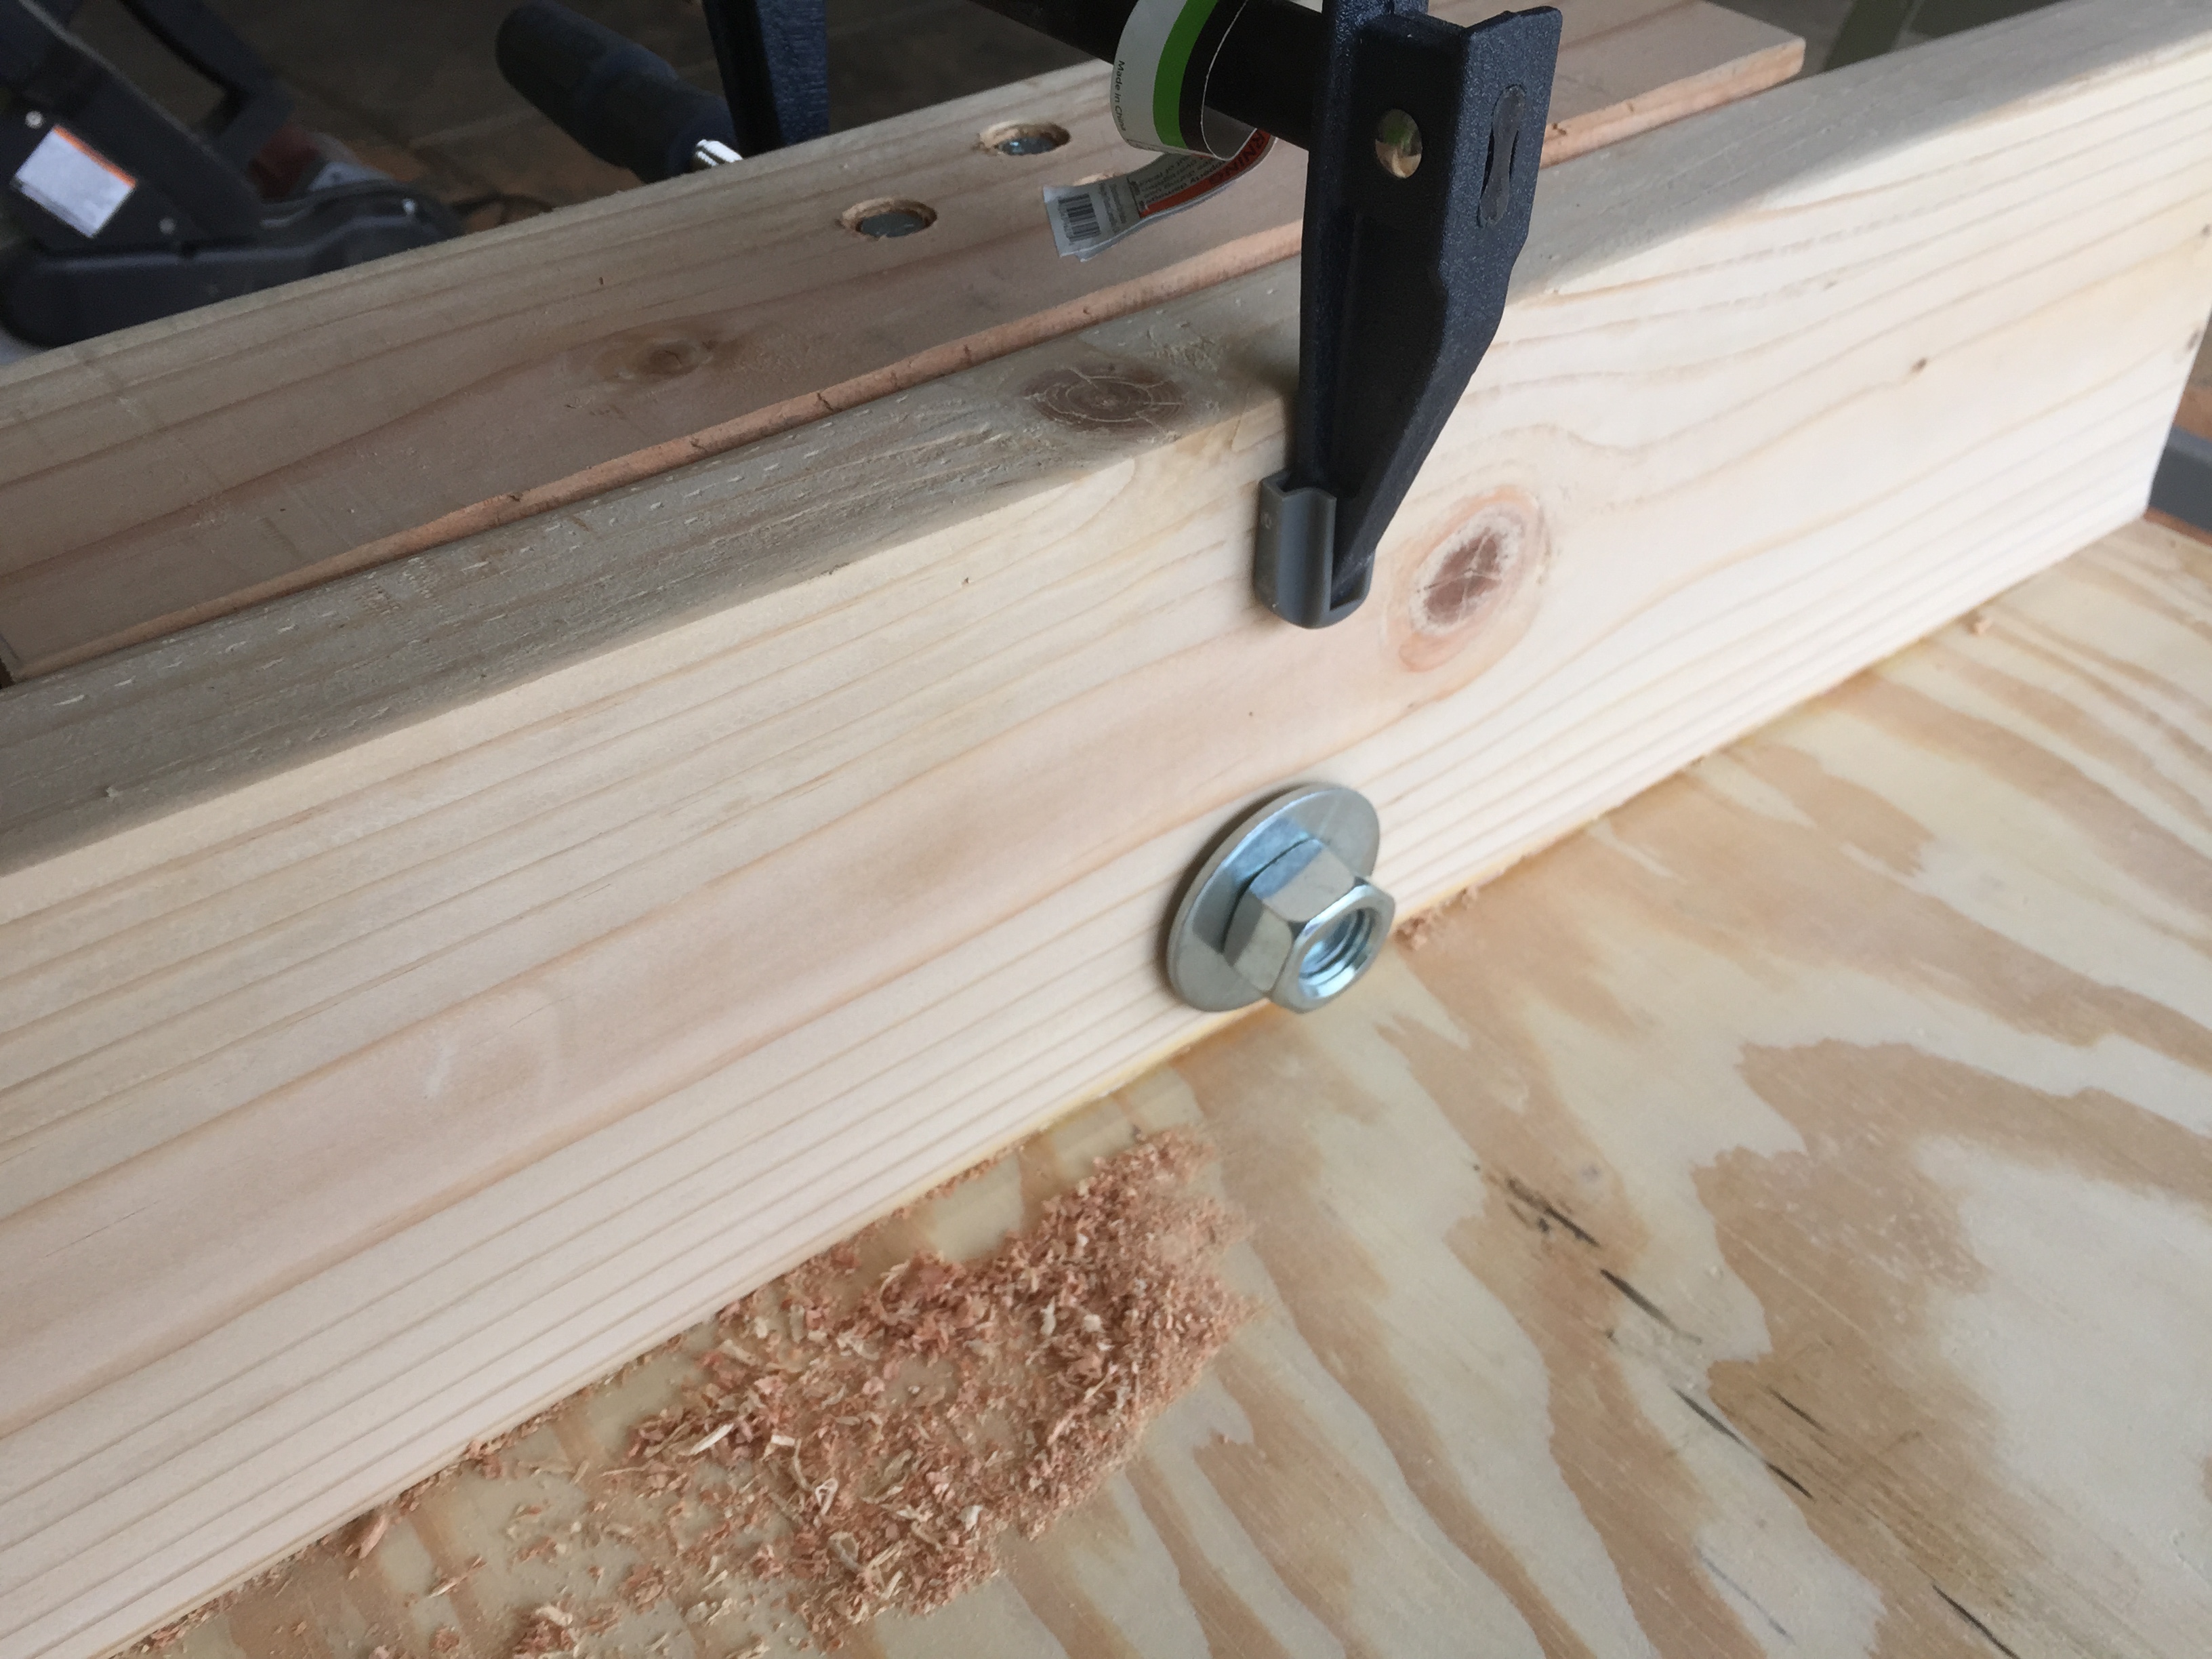
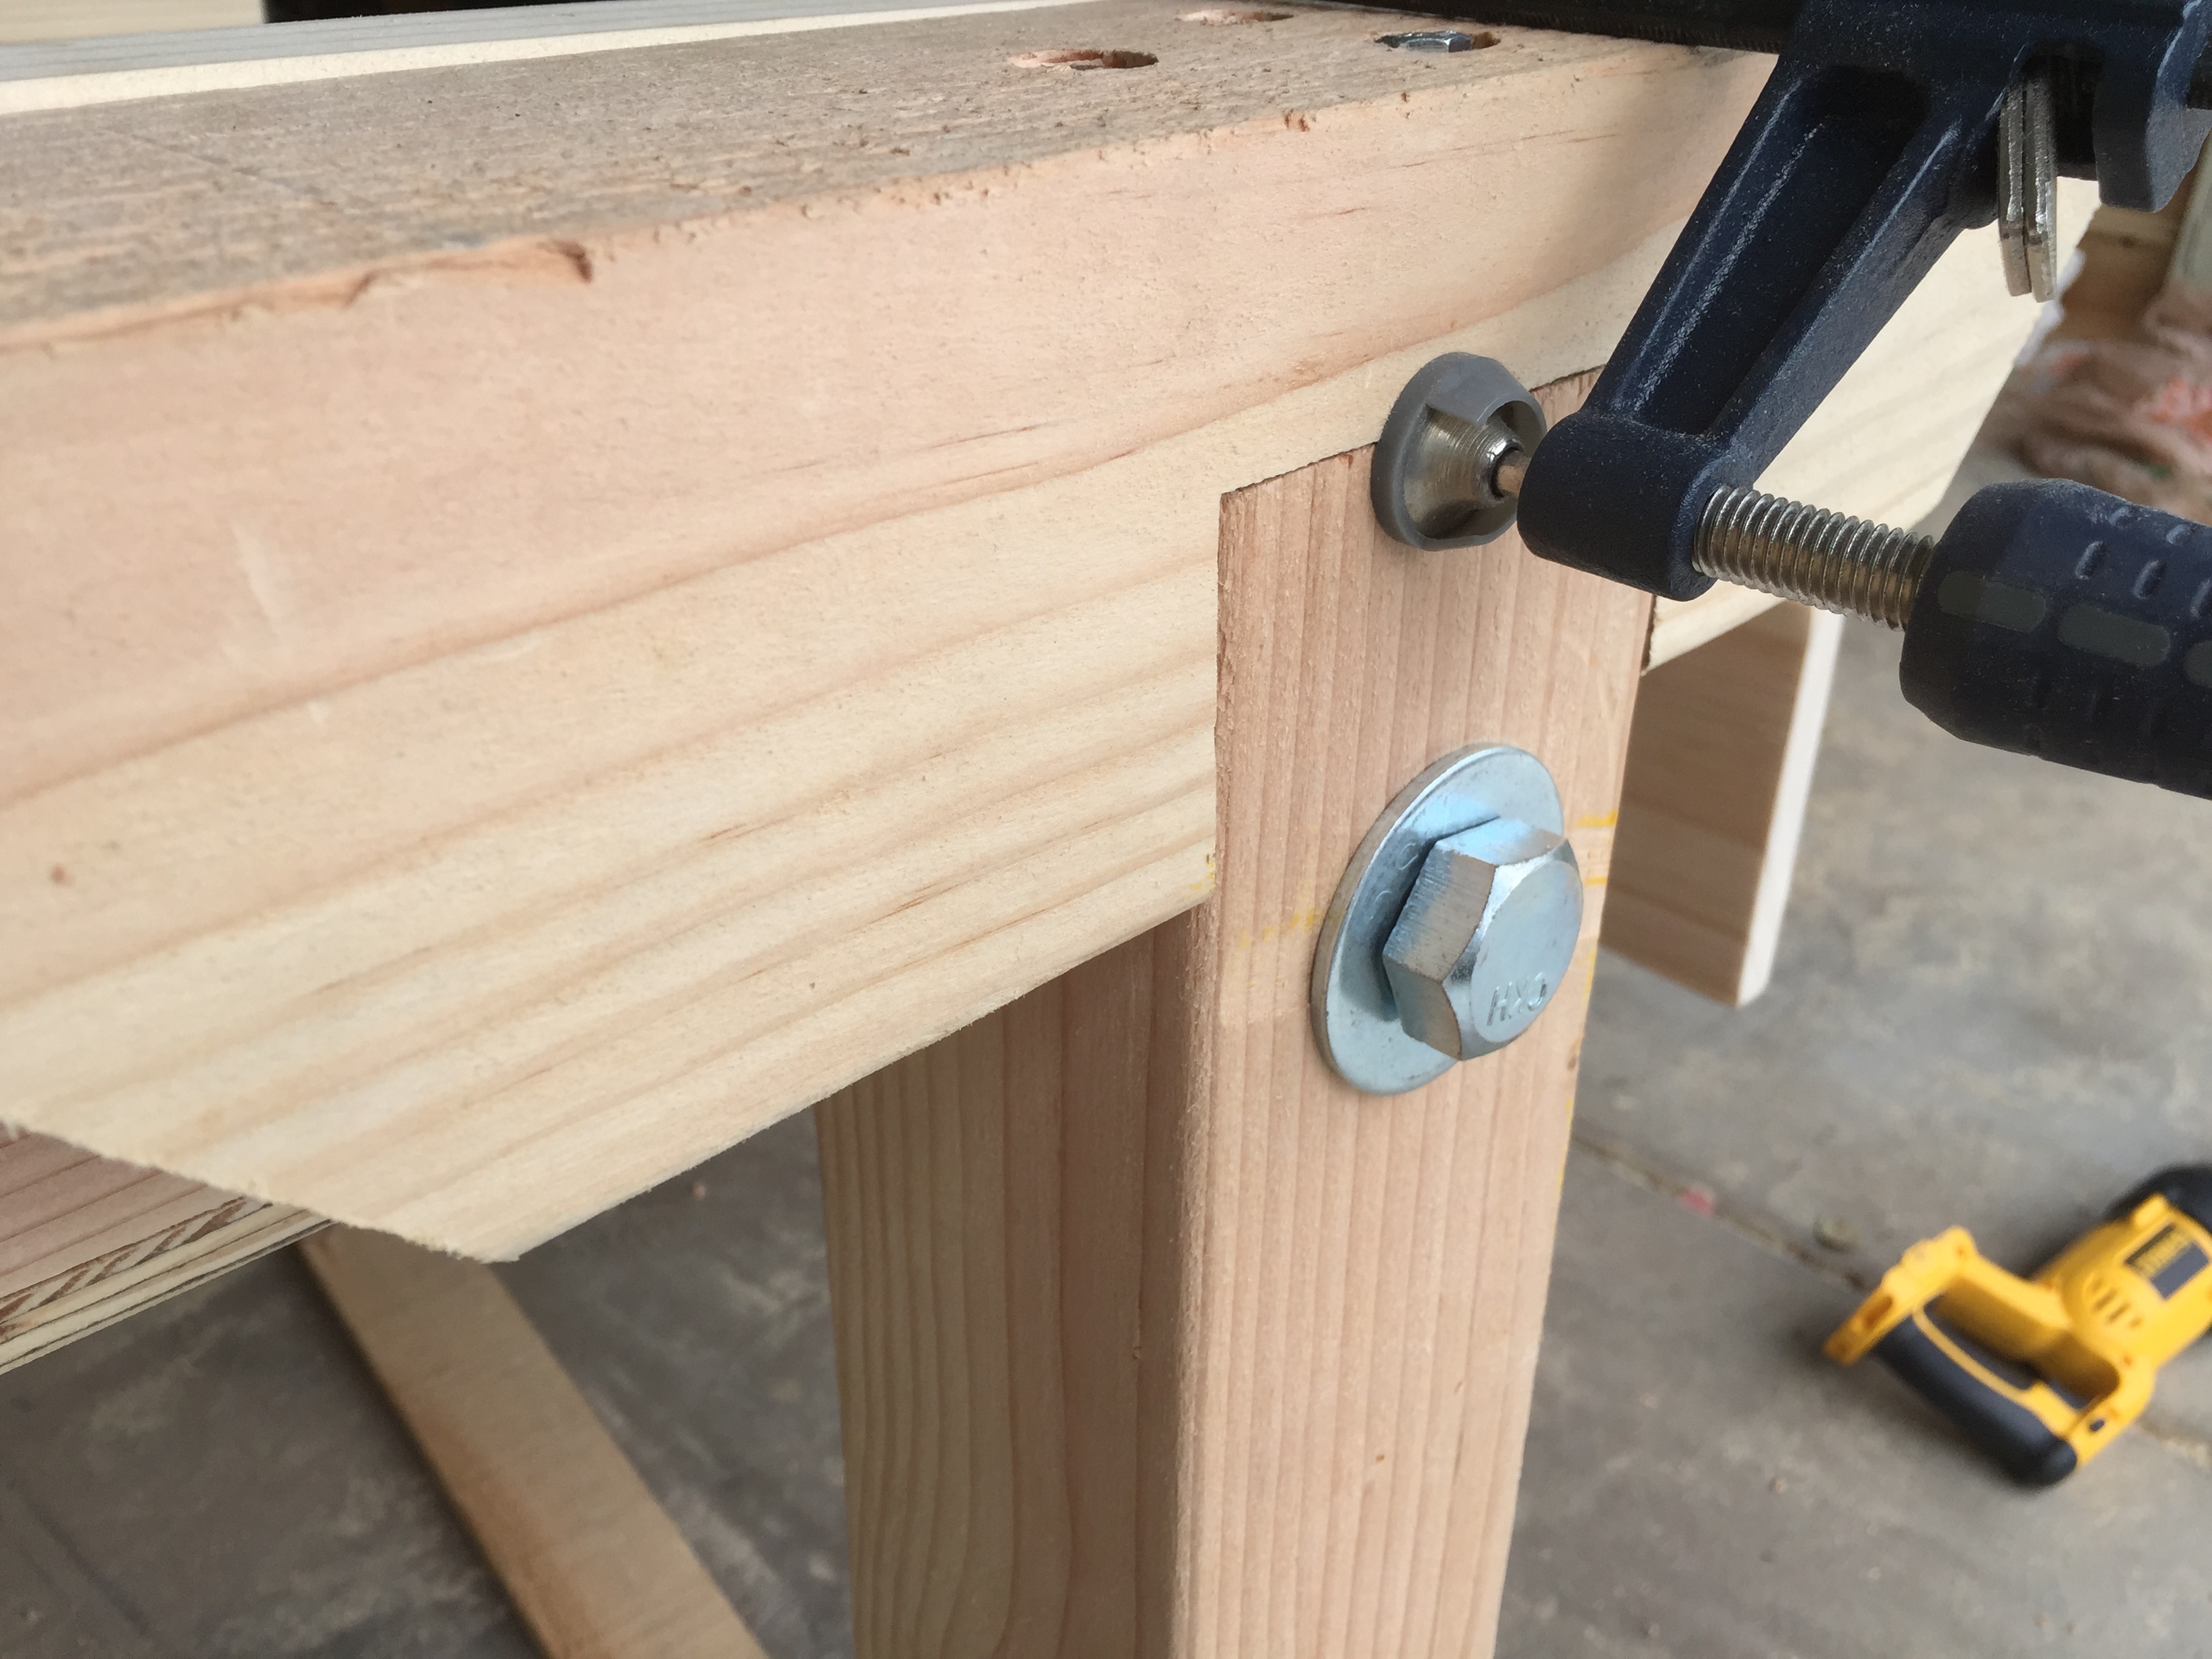
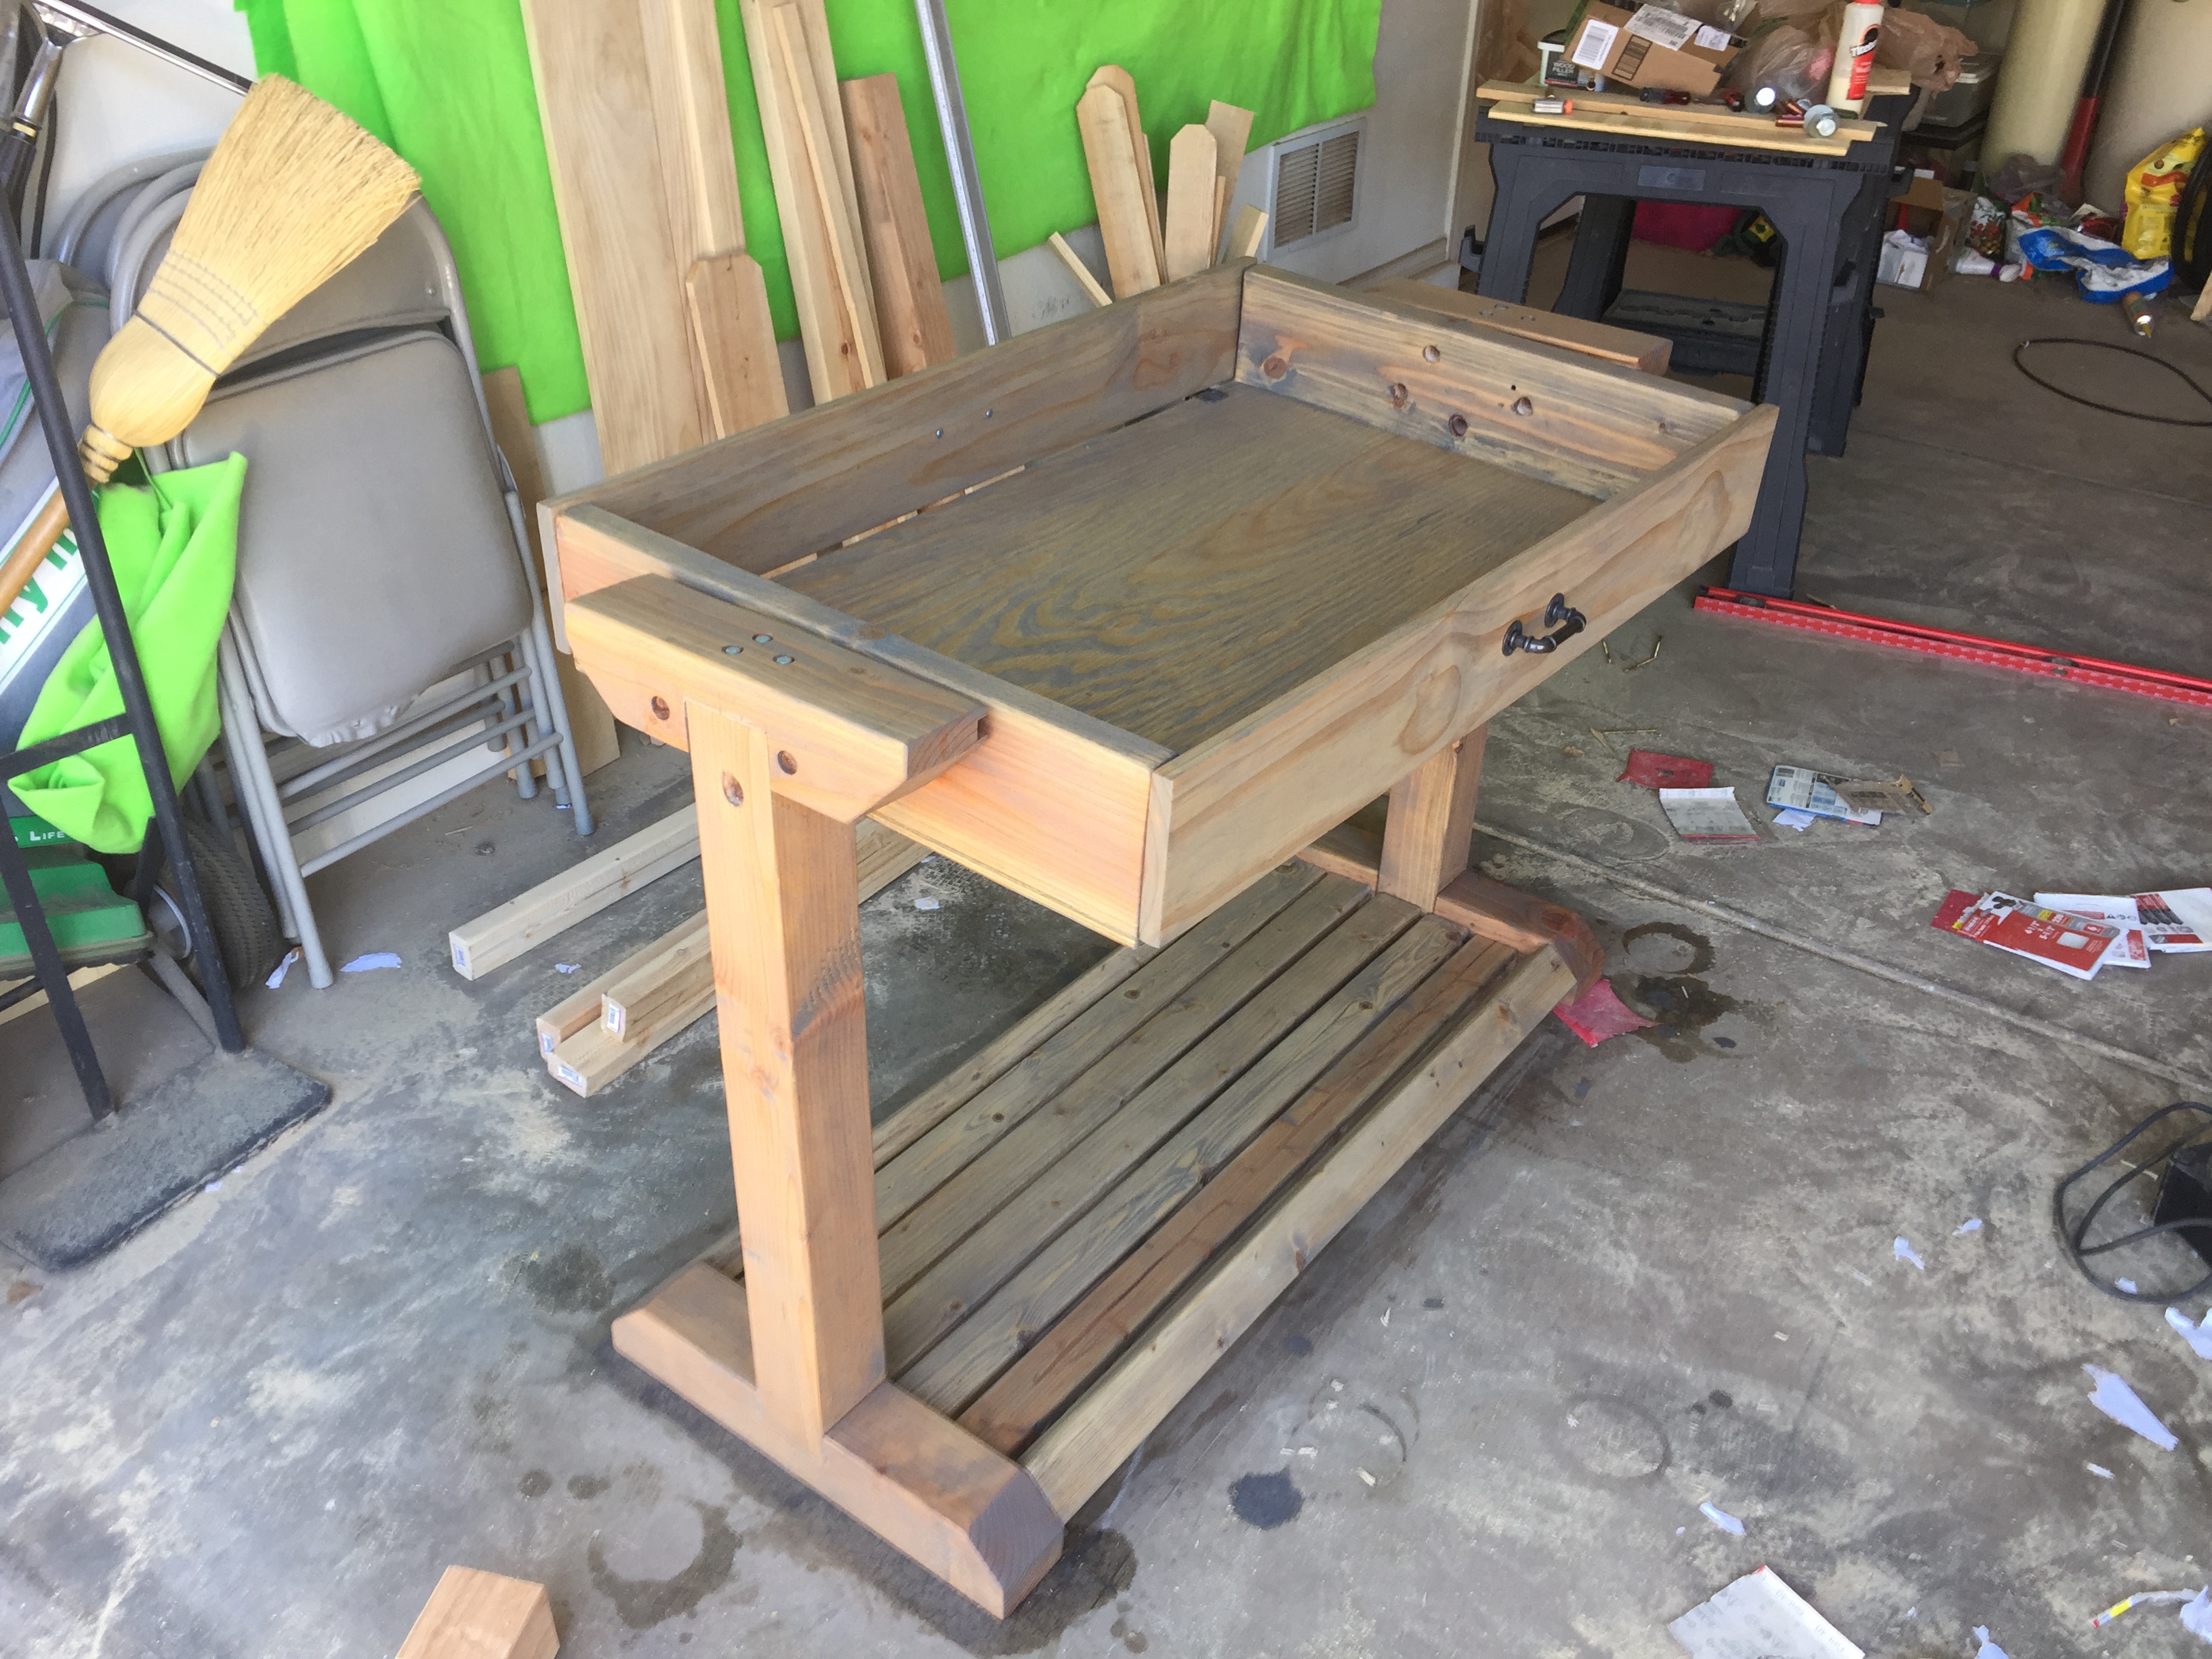
Attaching the legs was the hardest part of this project. I could have used a second pair of hands. Using clamps I was able to attach the legs to the gaming box. I then used a level to make sure the table gaming box was set in the most ideal position. At this point, I drilled a 3/4″ hole through the leg pedastal and the gaming box side panel. Then I cut a 3/4″ piece of copper piping to insert through the hole. The copper pipping will protect the wood from the large bolts used to attach the legs to the gaming box and allow the gaming box to pivot. This table can be positioned at 180 degrees, 90 degrees and at a drafting angle (roughly 35 degrees). In the photos below you will see how I made a copper pin, To keep the table in these 3 positions. You will need to drill holes for each of these desired positions. The top arm of the leg pedestal will allow you to added your position holes.
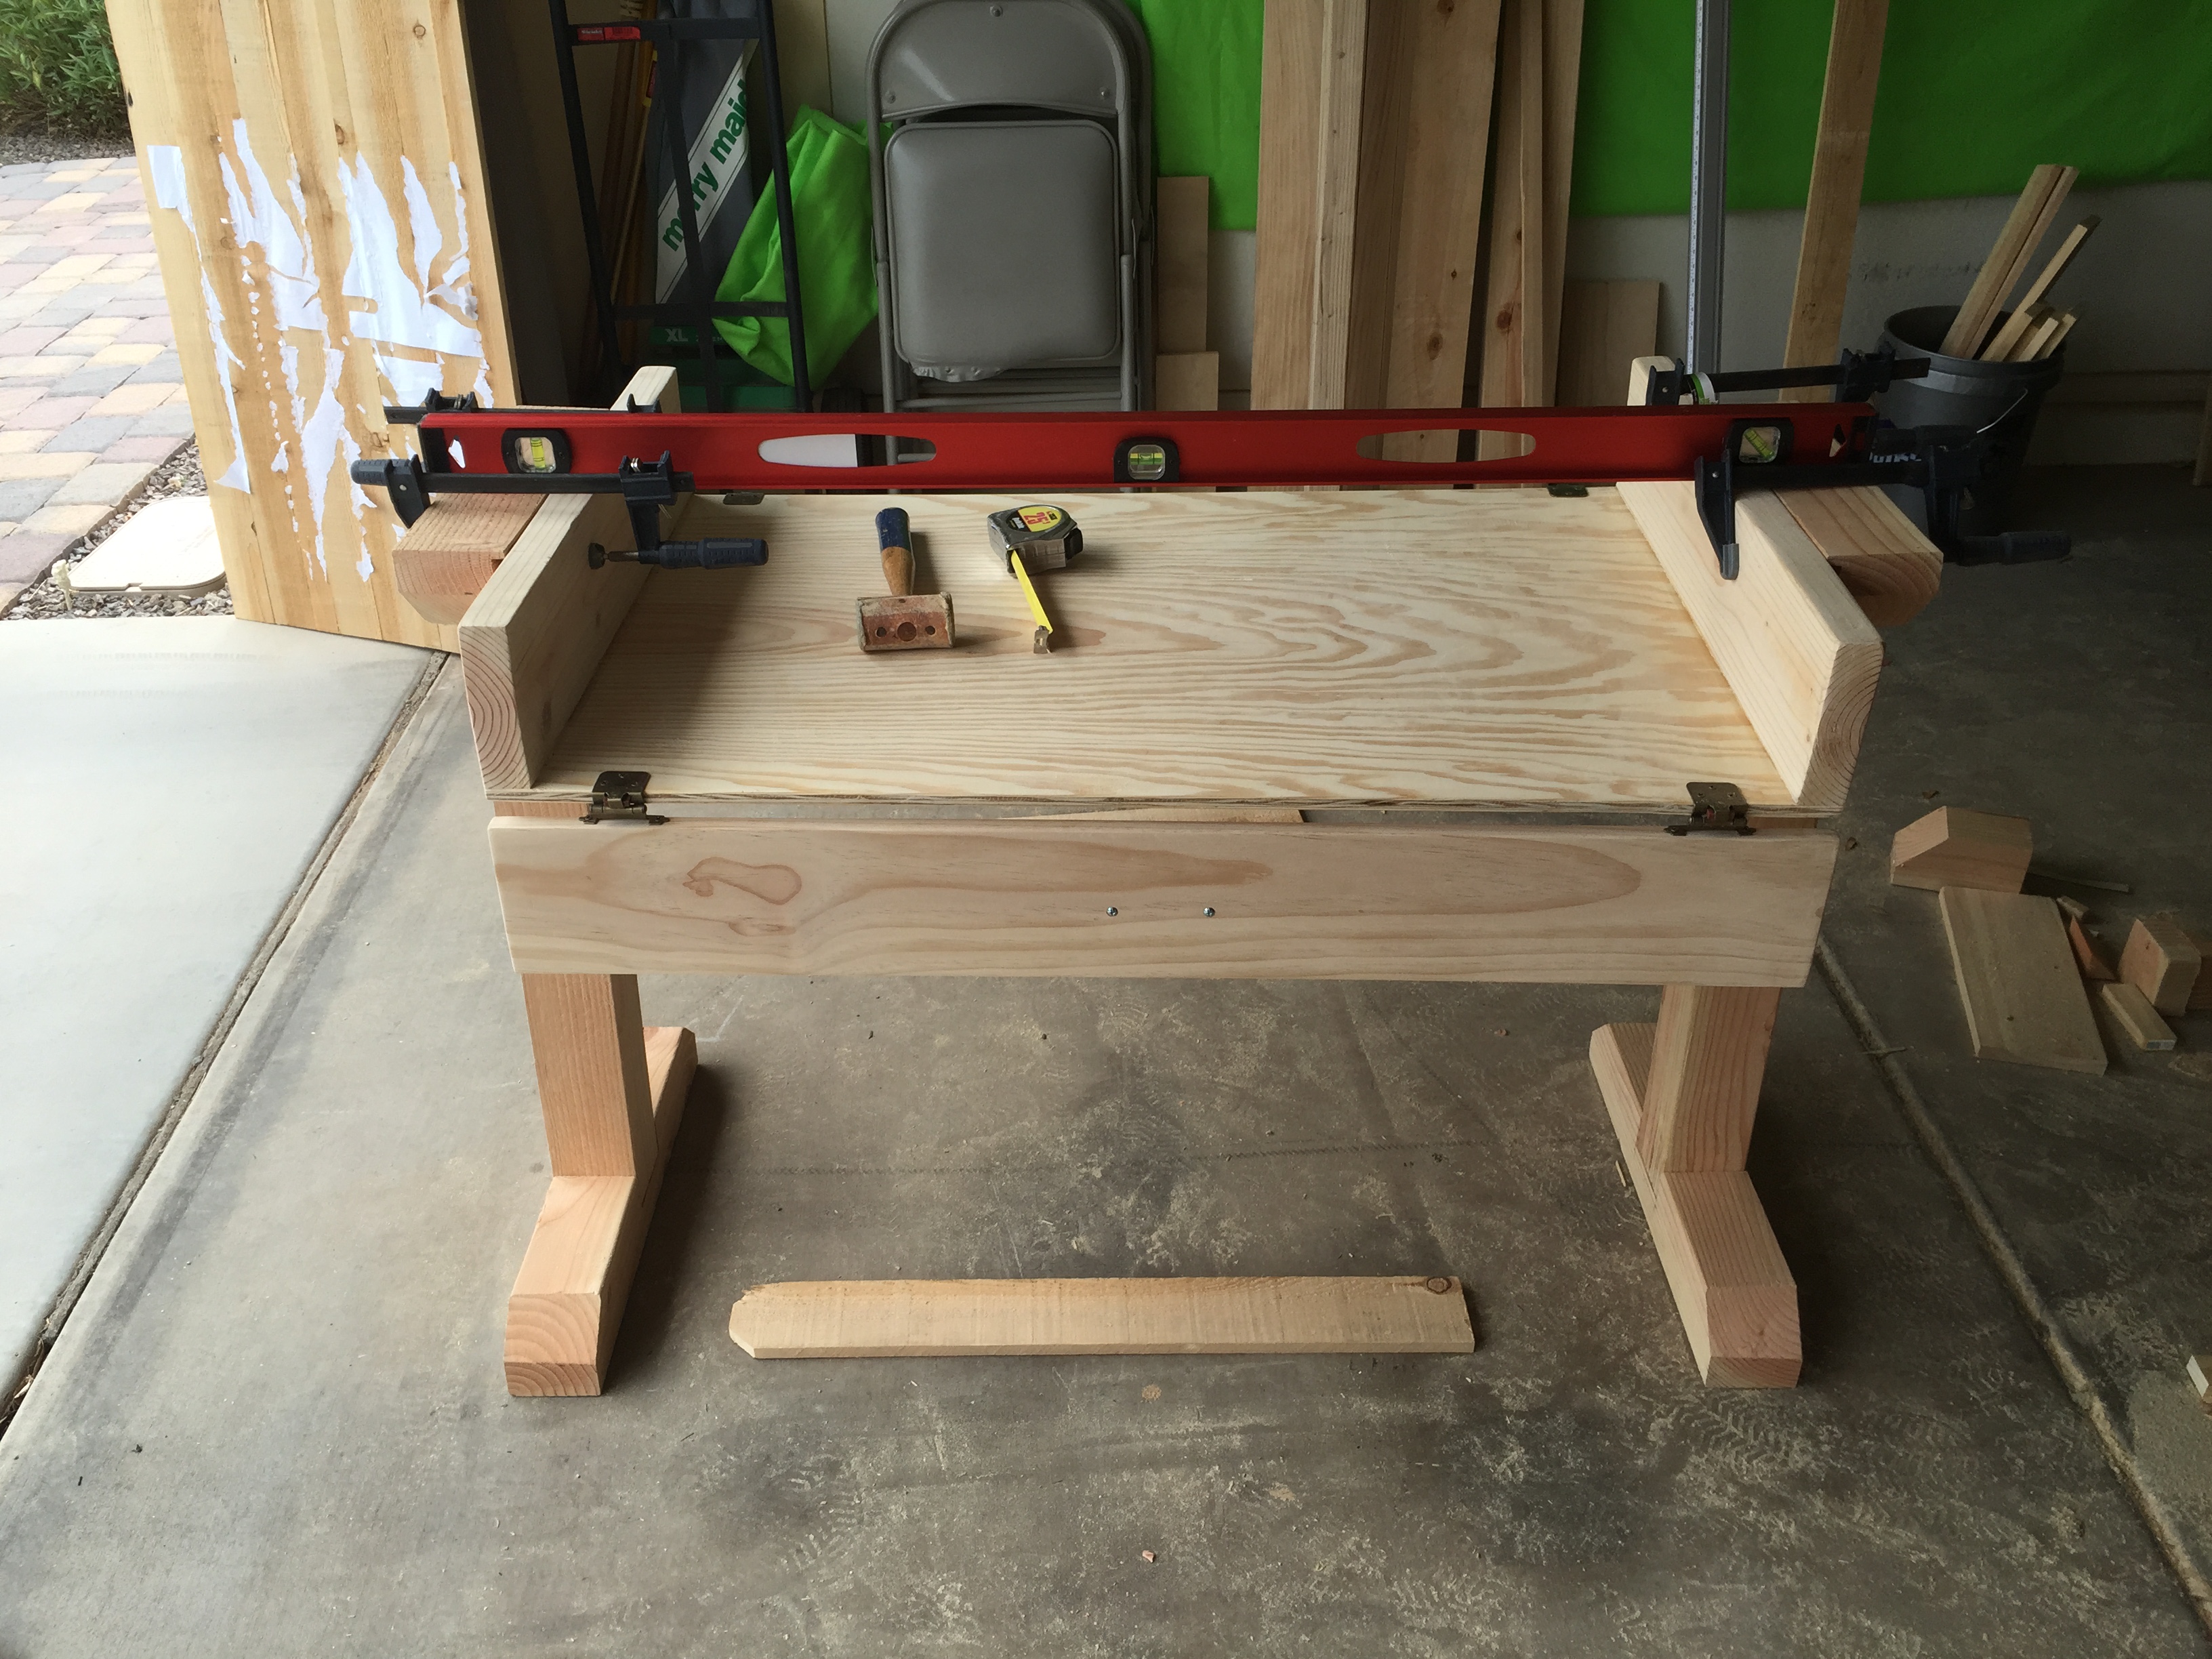

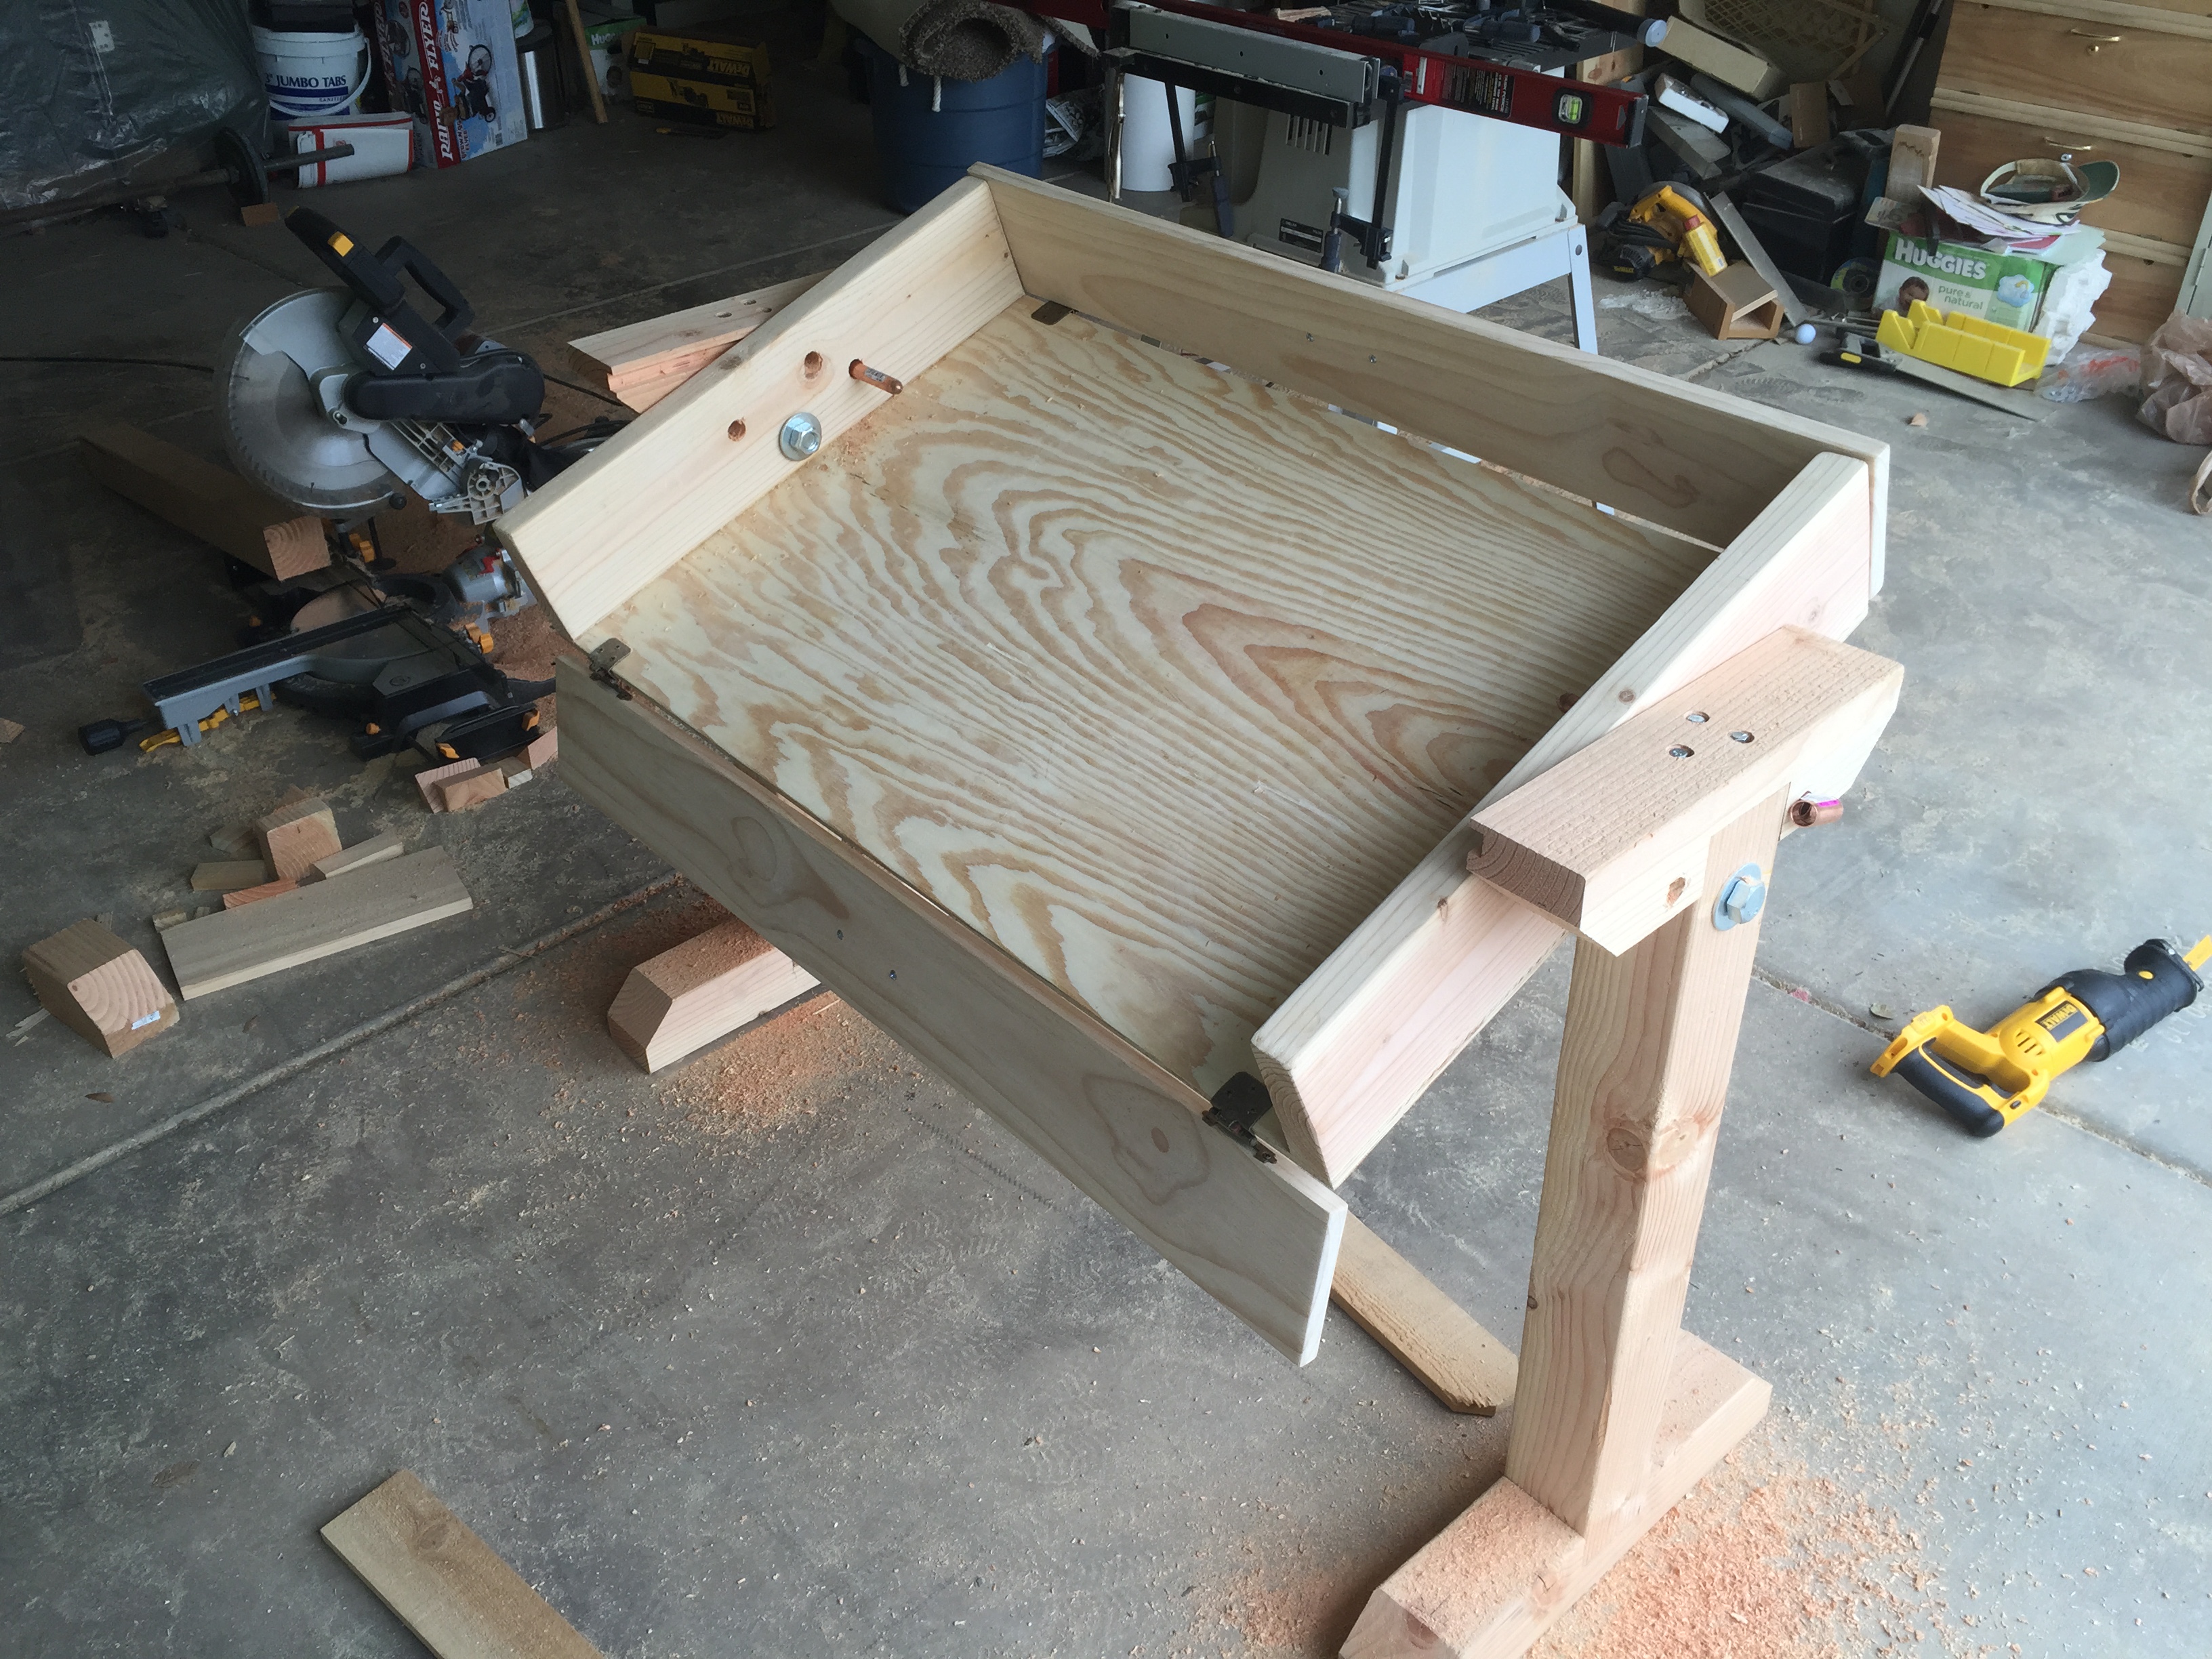
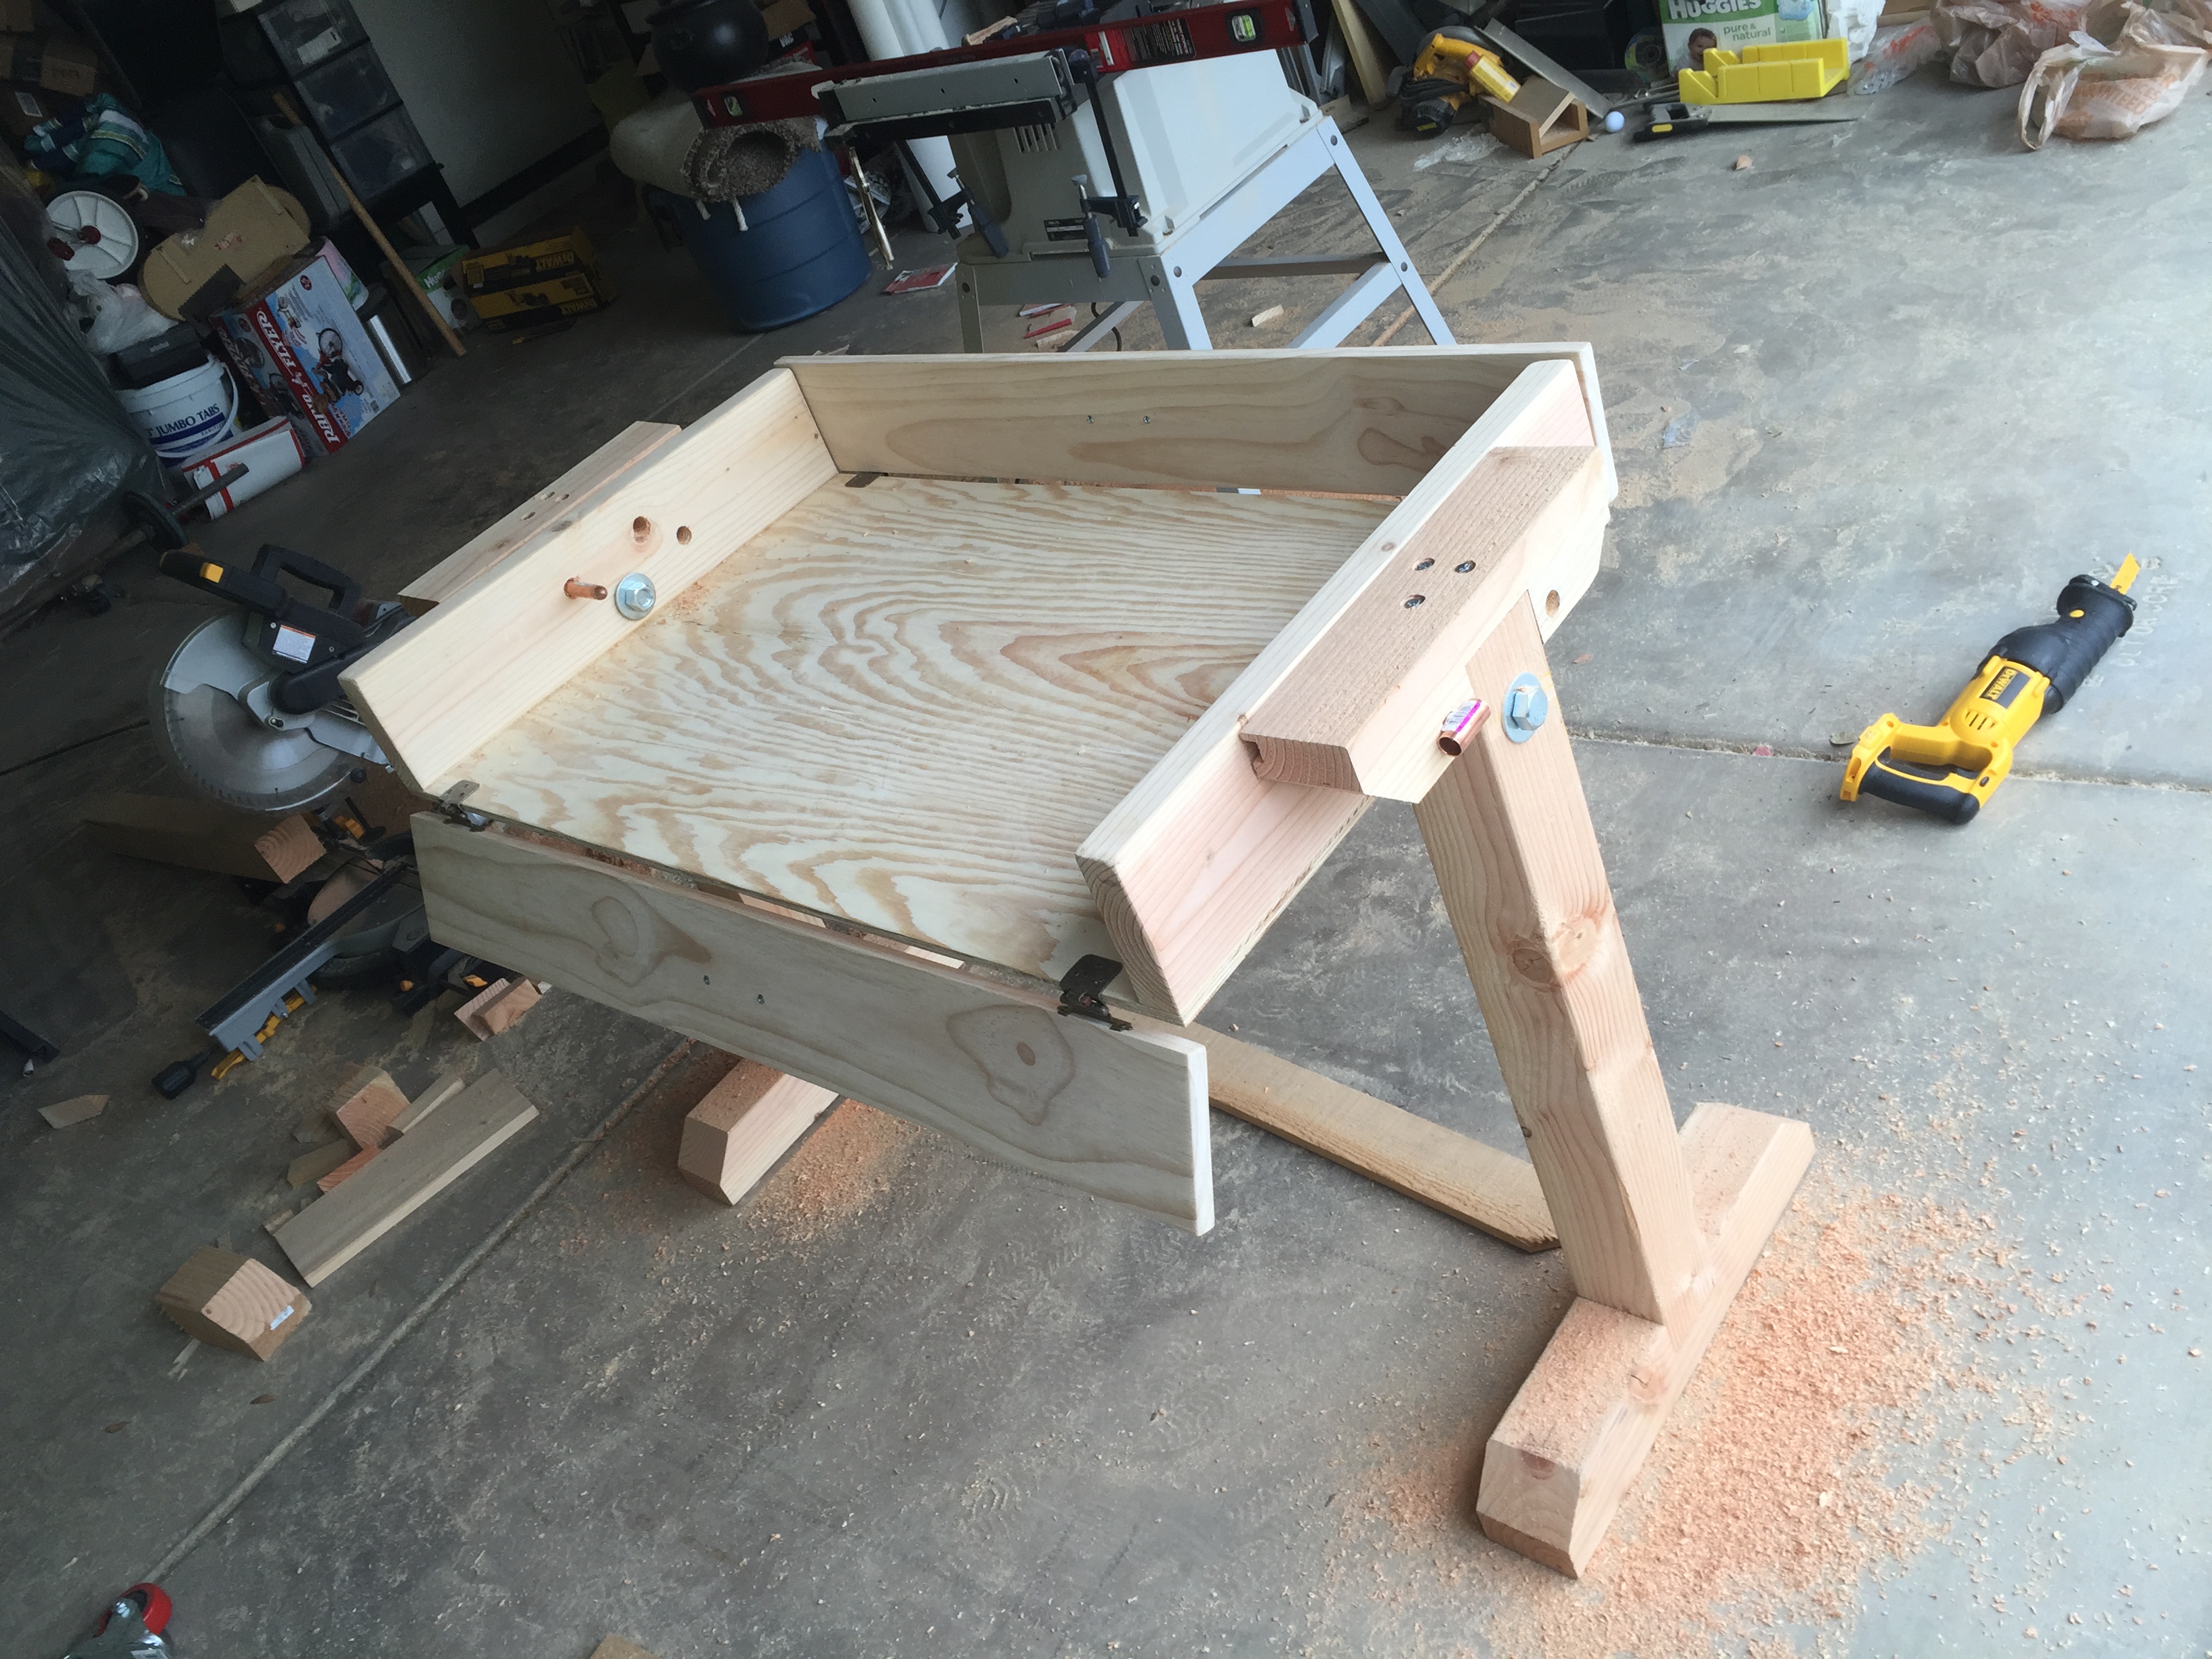
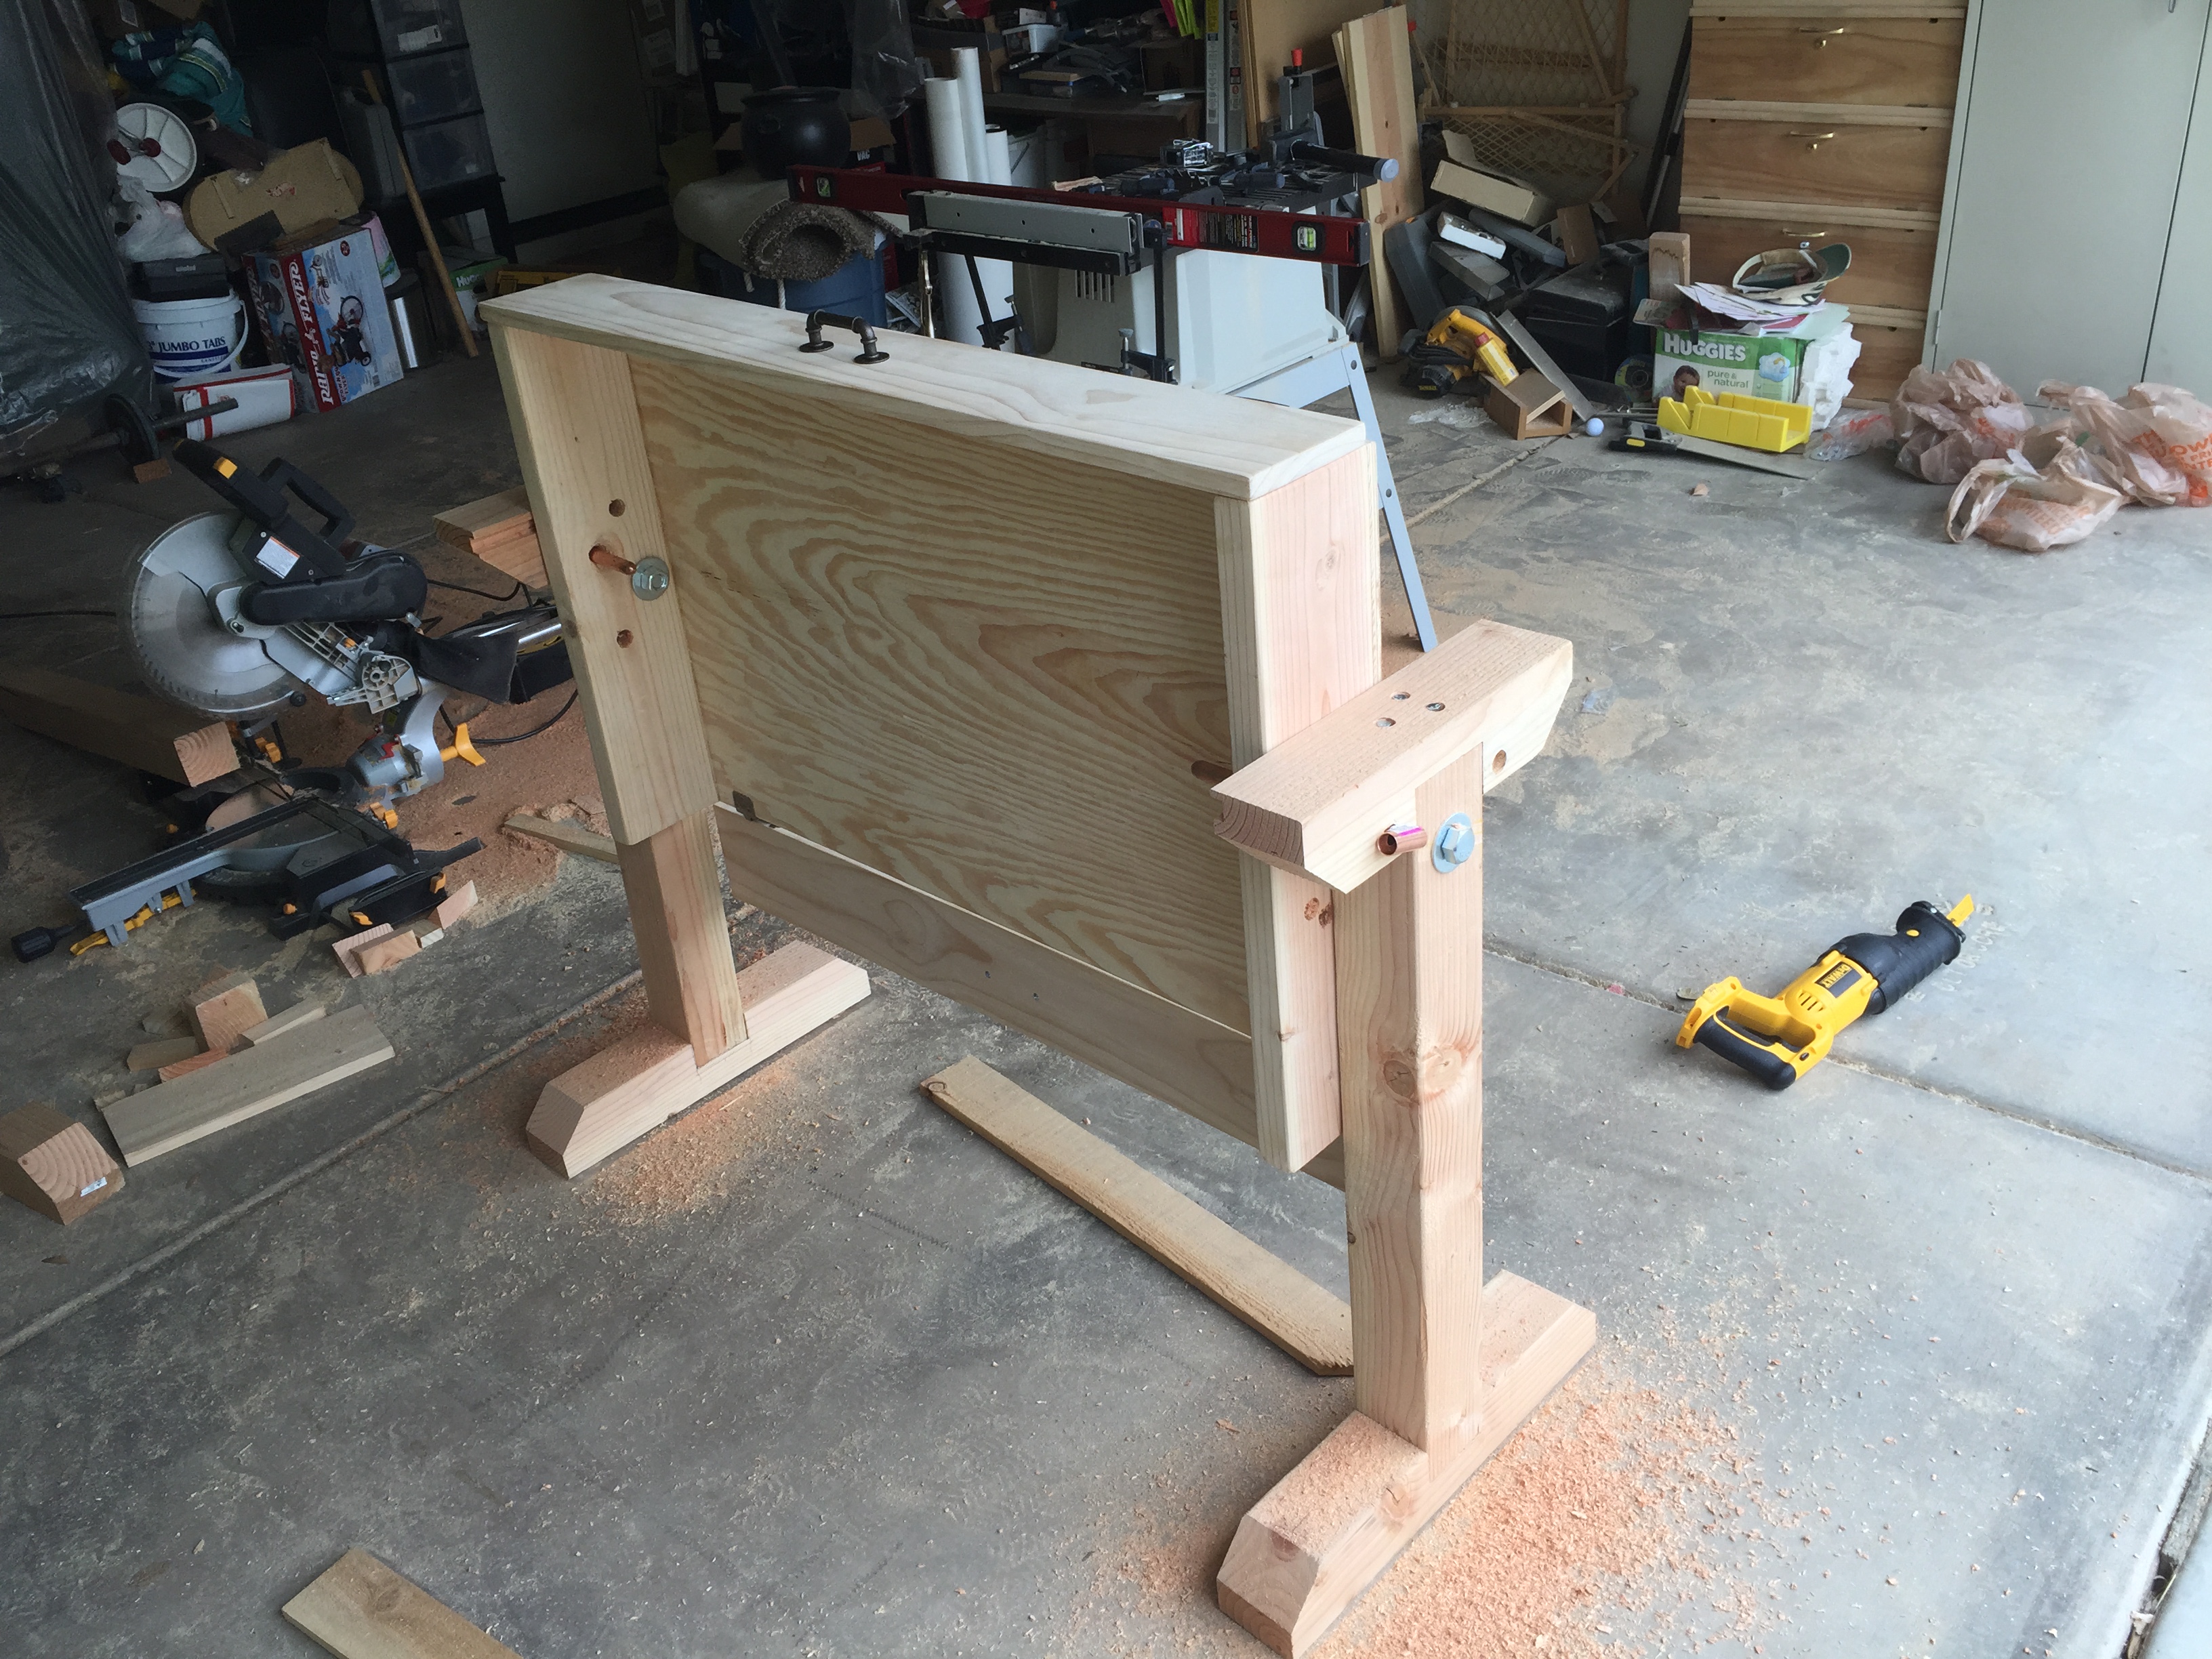
To support the structure of this table/cart, there needs to be a shelf added to the base of the table. I decided to make a support shelf out of 1″x3″ pieces of wood. I thought this would add to the rustic feel of this table. 3 1/2″ construction screws were used to attach these planks to the bottom of the pedestal legs. The front and back pieces of the shelf were installed at an angle for decorative purposes. You can also support your foot on that piece if you choose.


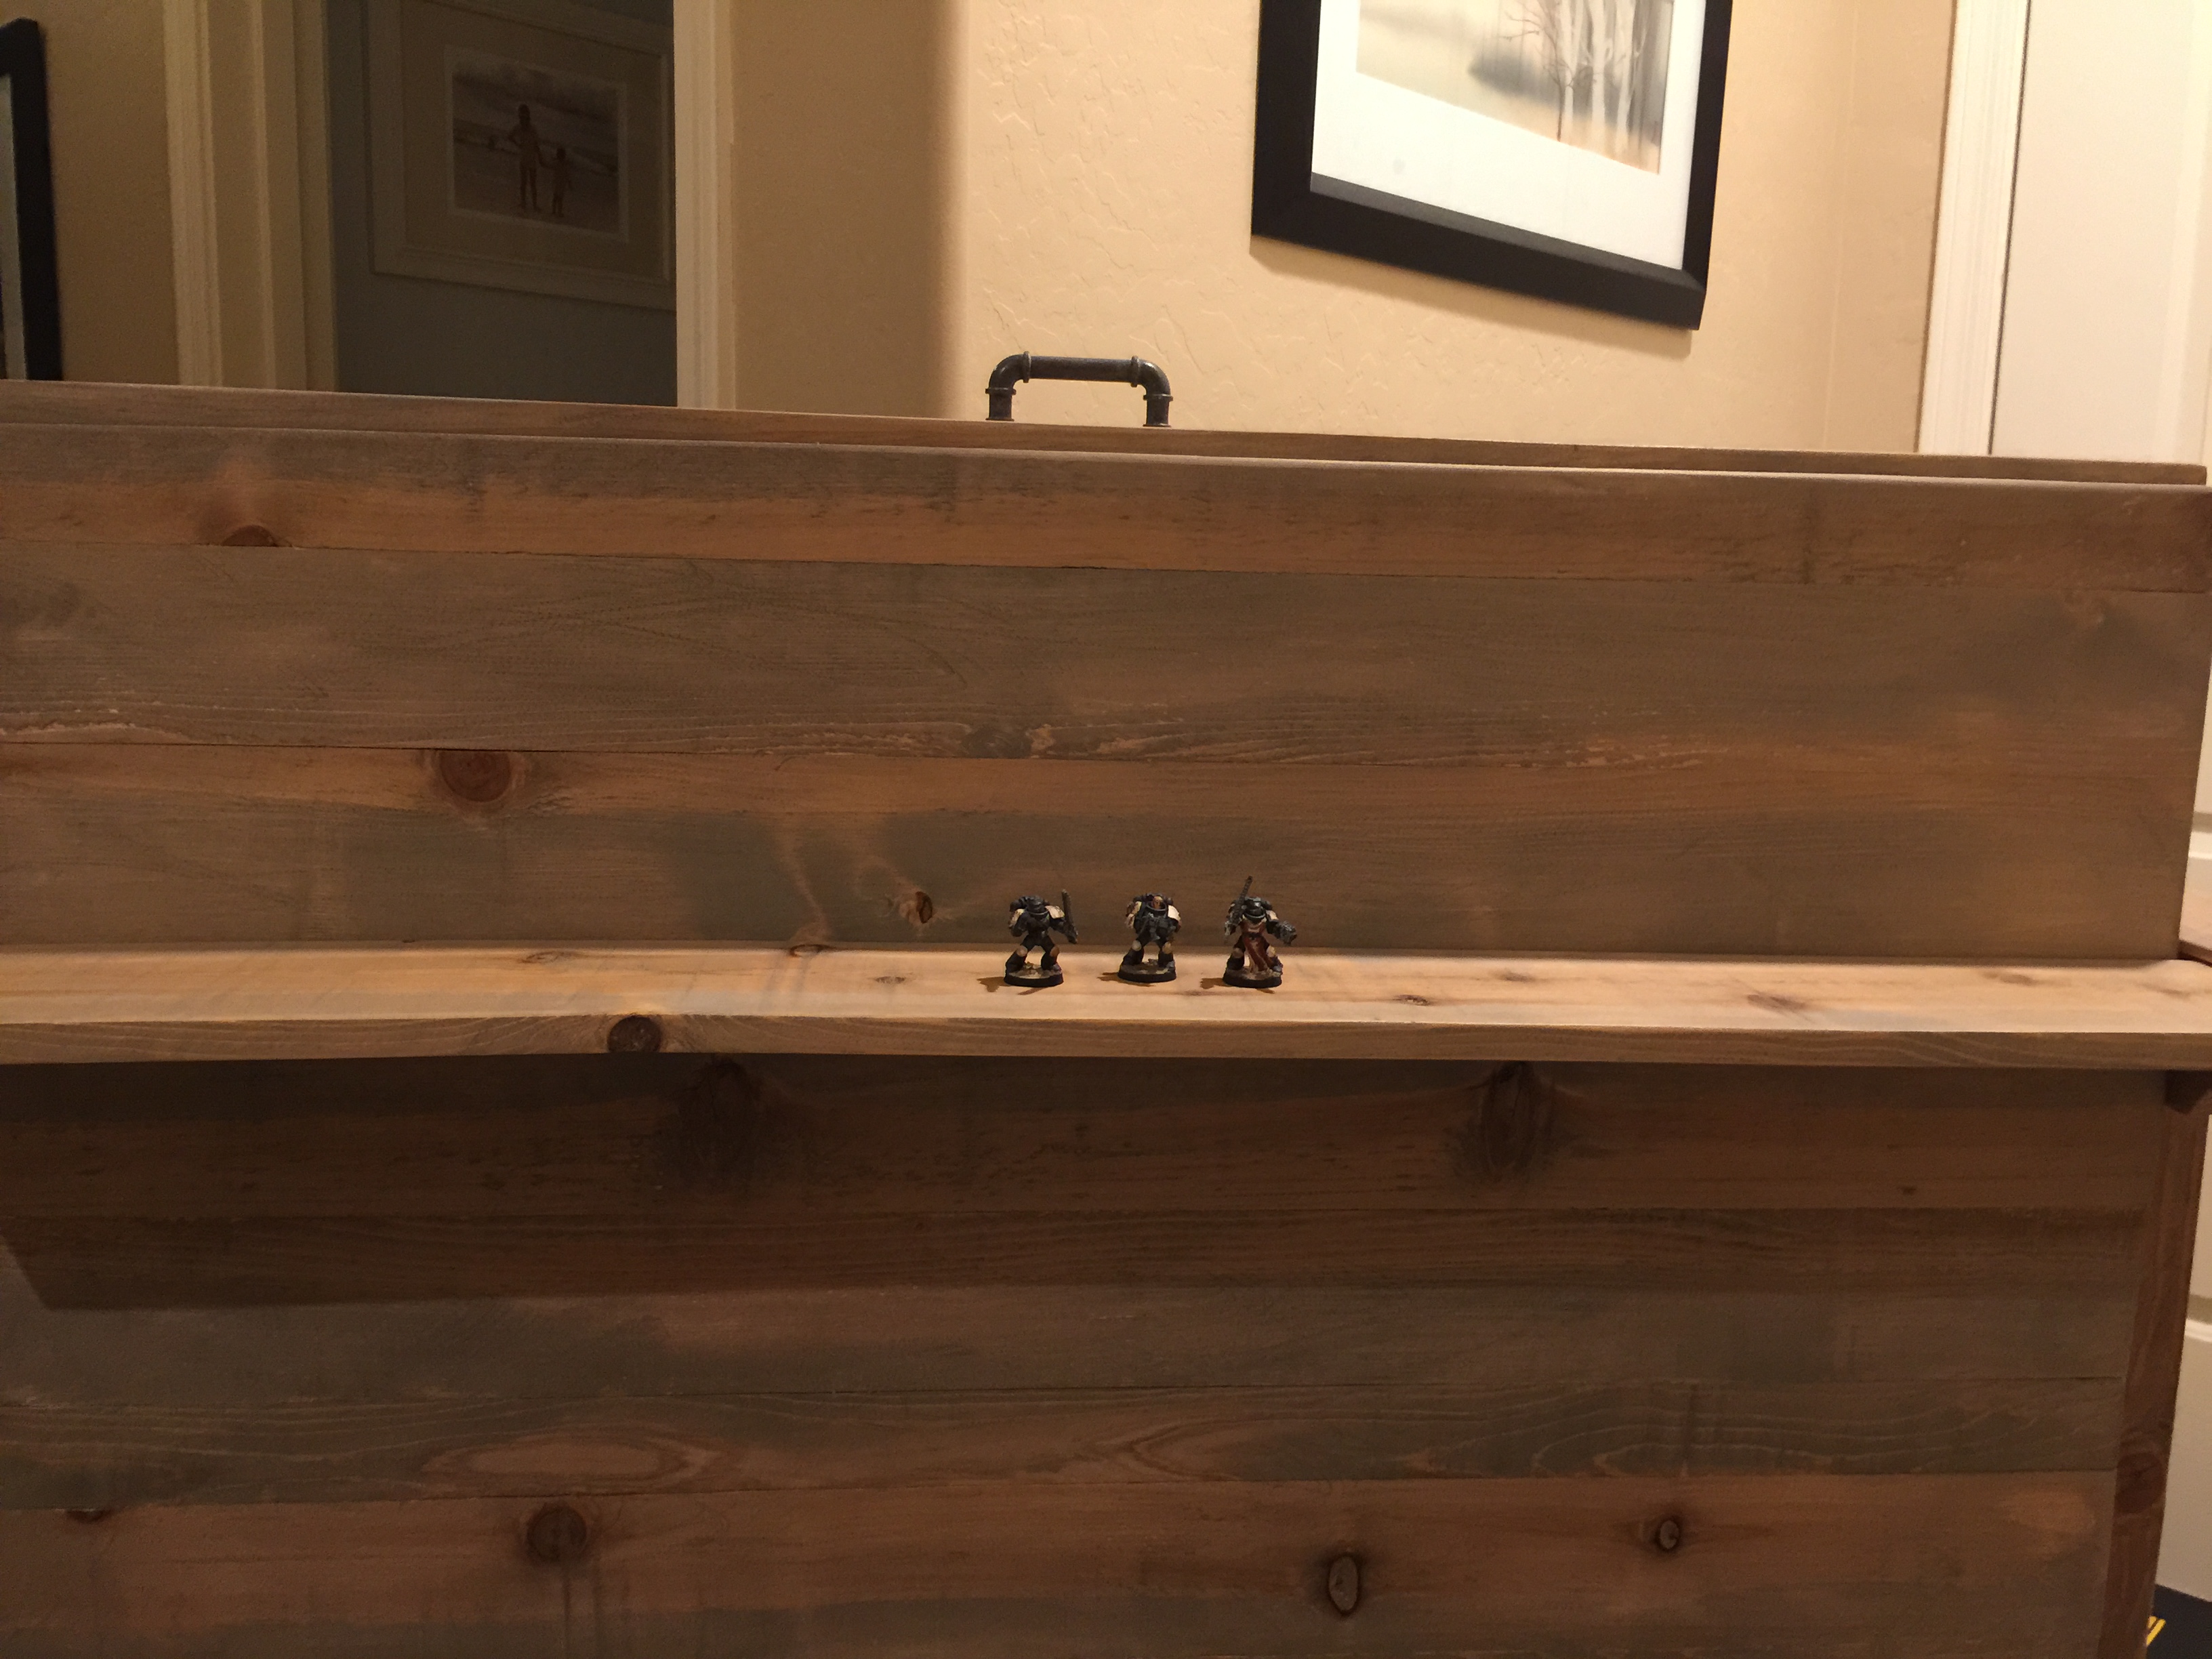
Now with the structure fully assembled you can test the different angles of the gaming box and you can also see if the photo shelf will fit in the groves. This shelf offers a place to take pictures of painted miniatures. It offers a nice background for these types of photos.

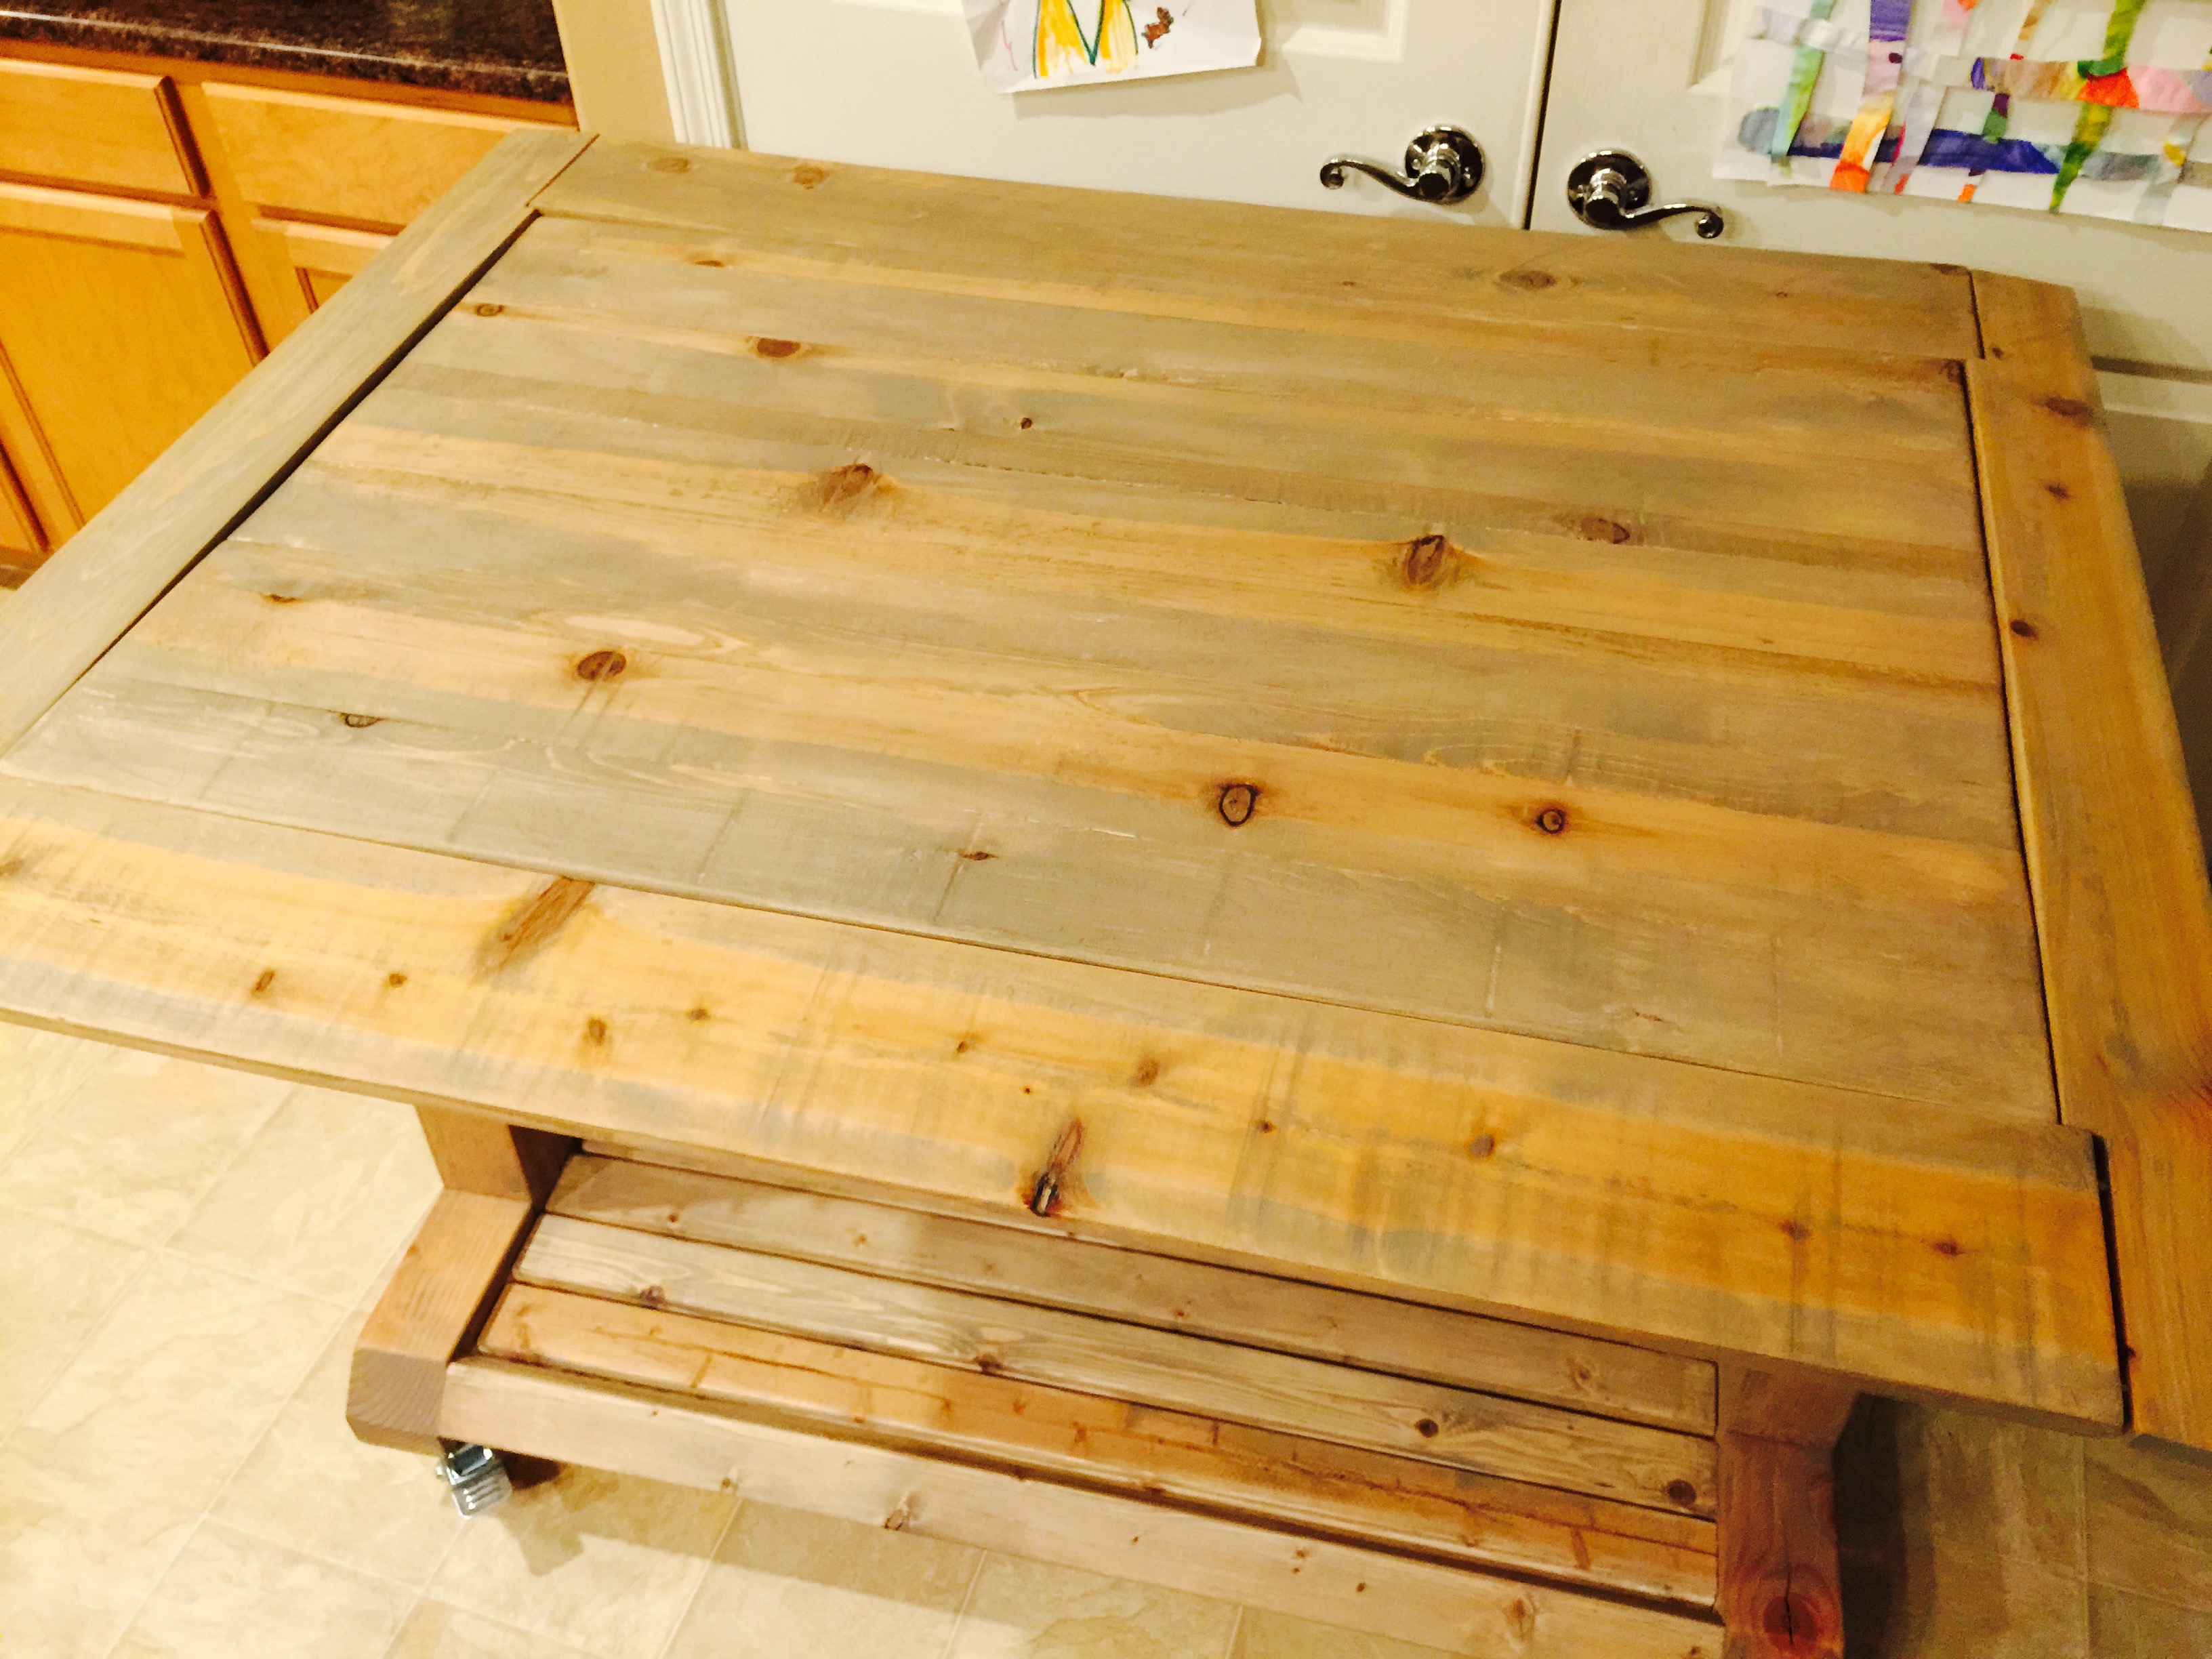
Since I have a few gaming mats that are 3’x4′ and this table top is only 2’x3′, I needed to design some kind of leaf, table top extender system. I came up with a frame like mounted extender. 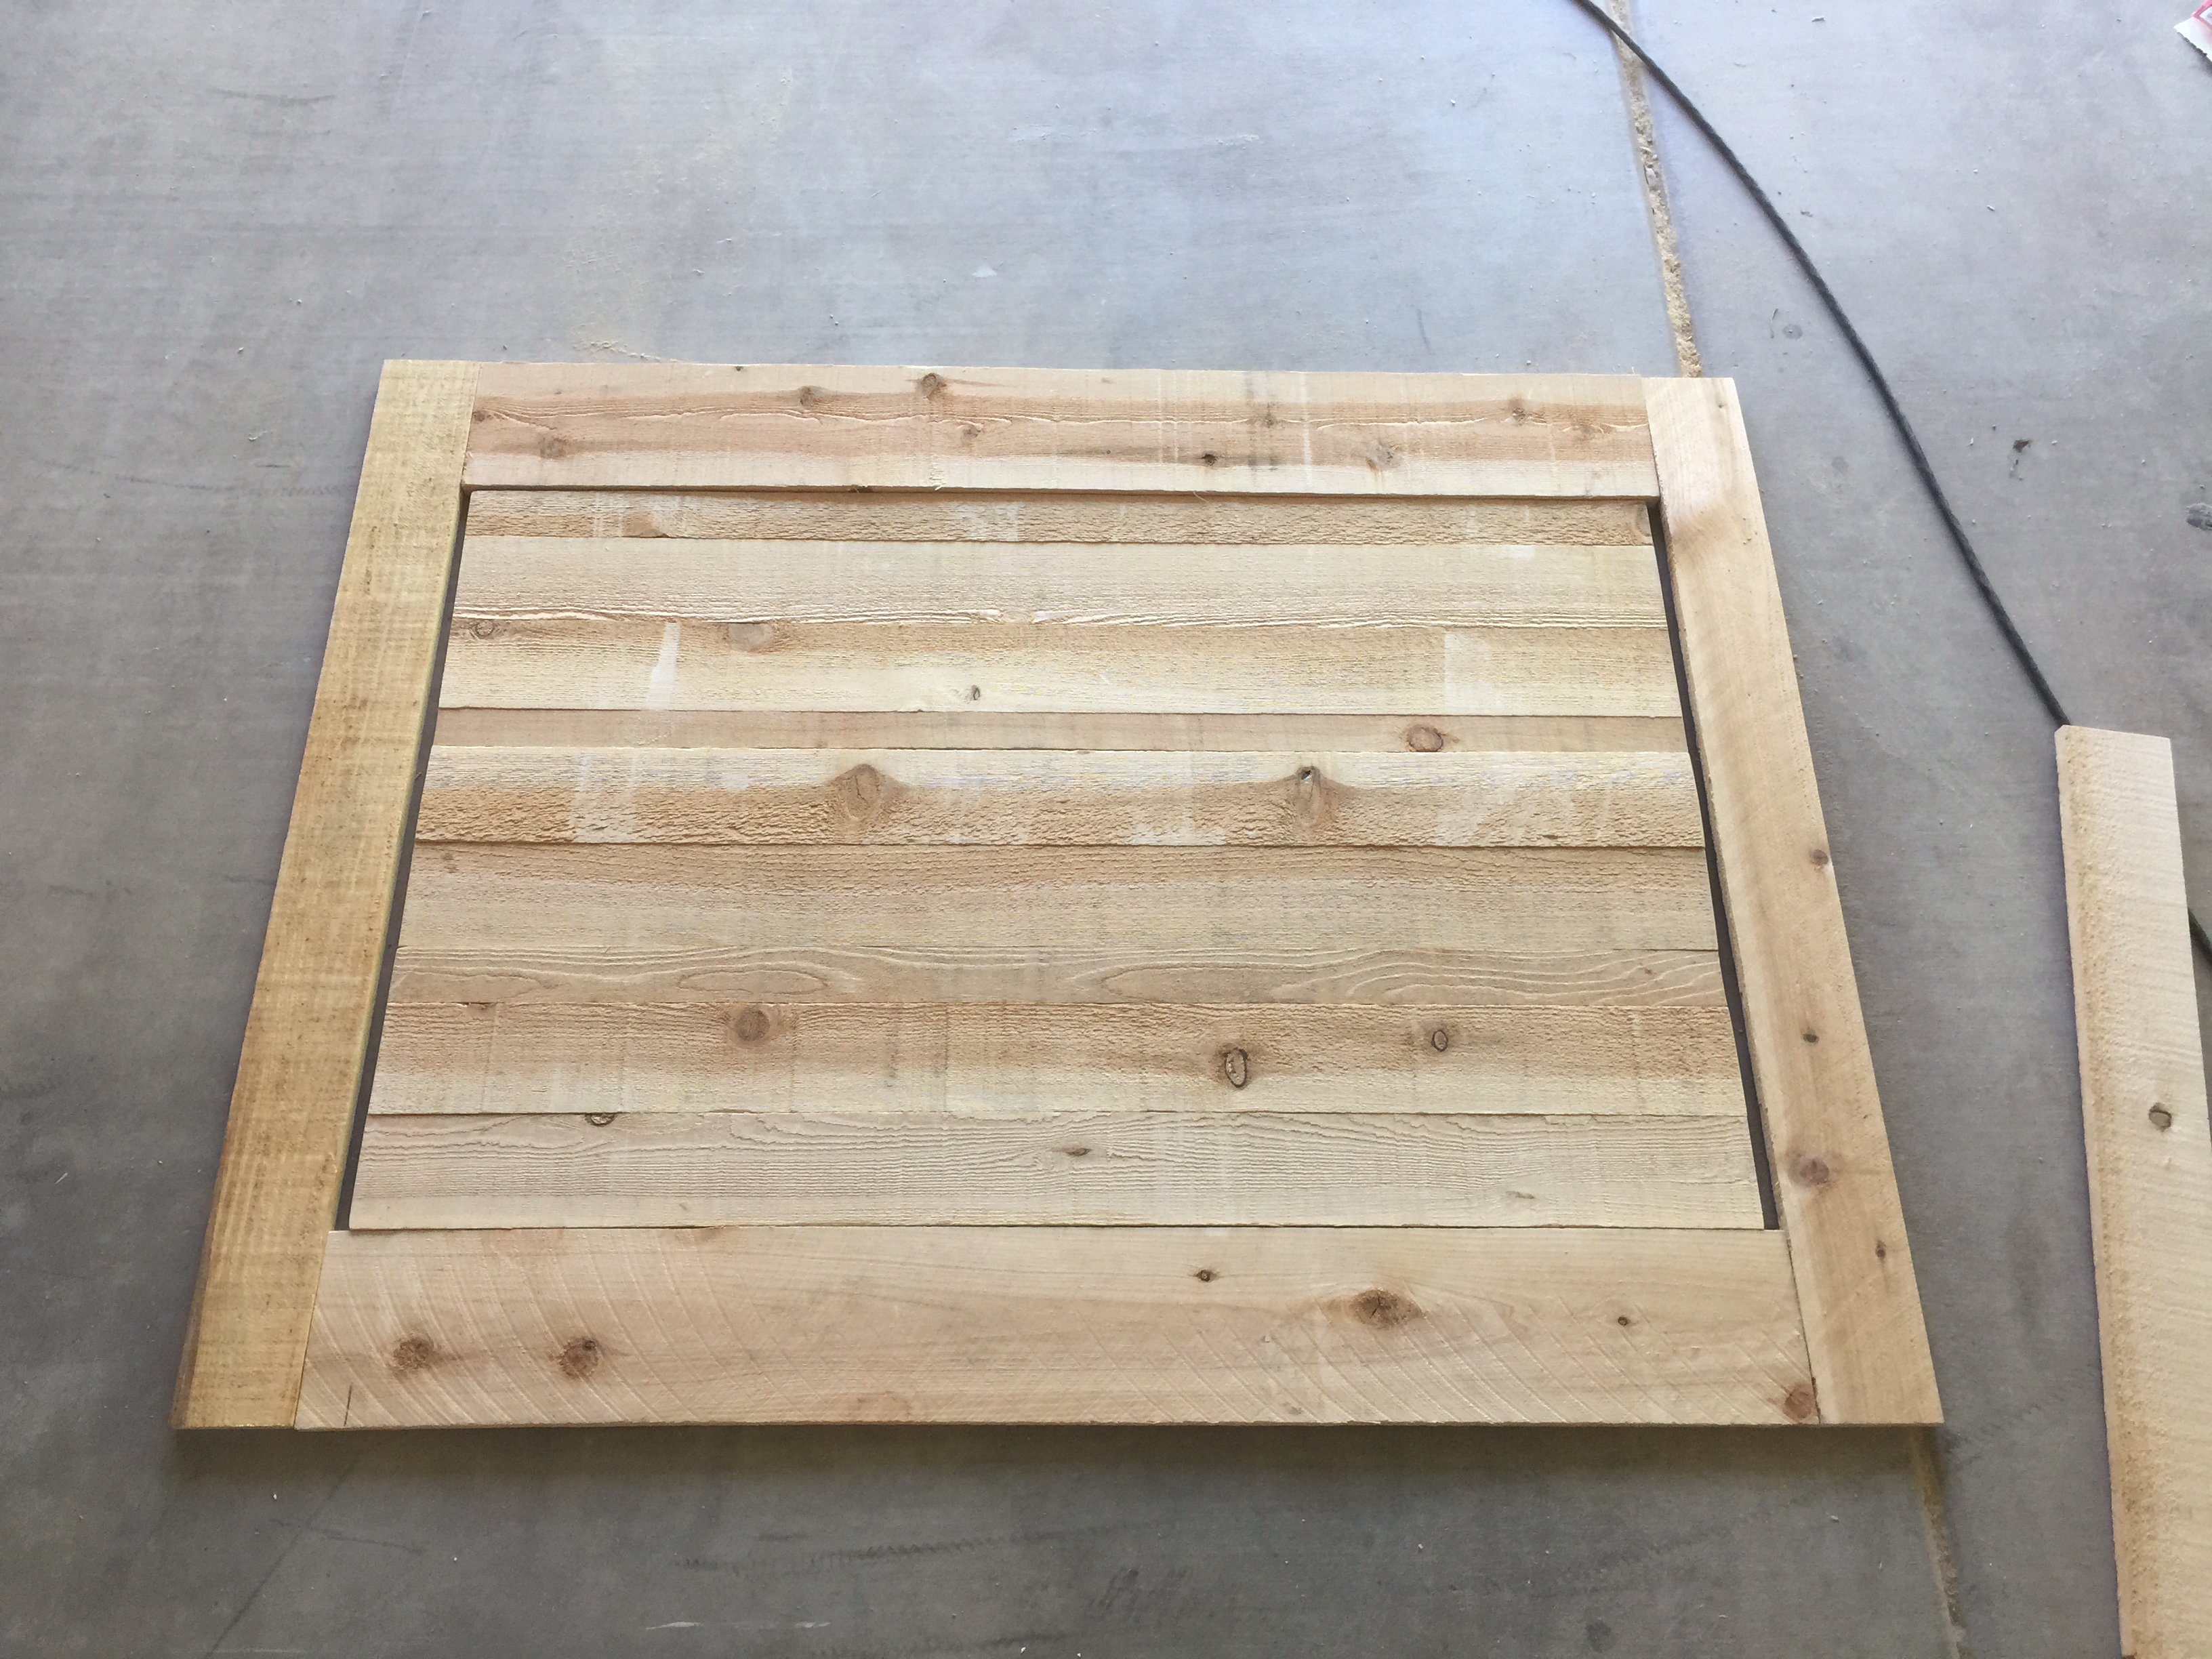 Finishing wood is my favorite part. I chose a weathered oak Minwax would stain. It added a nice worn look to the rustic wood.

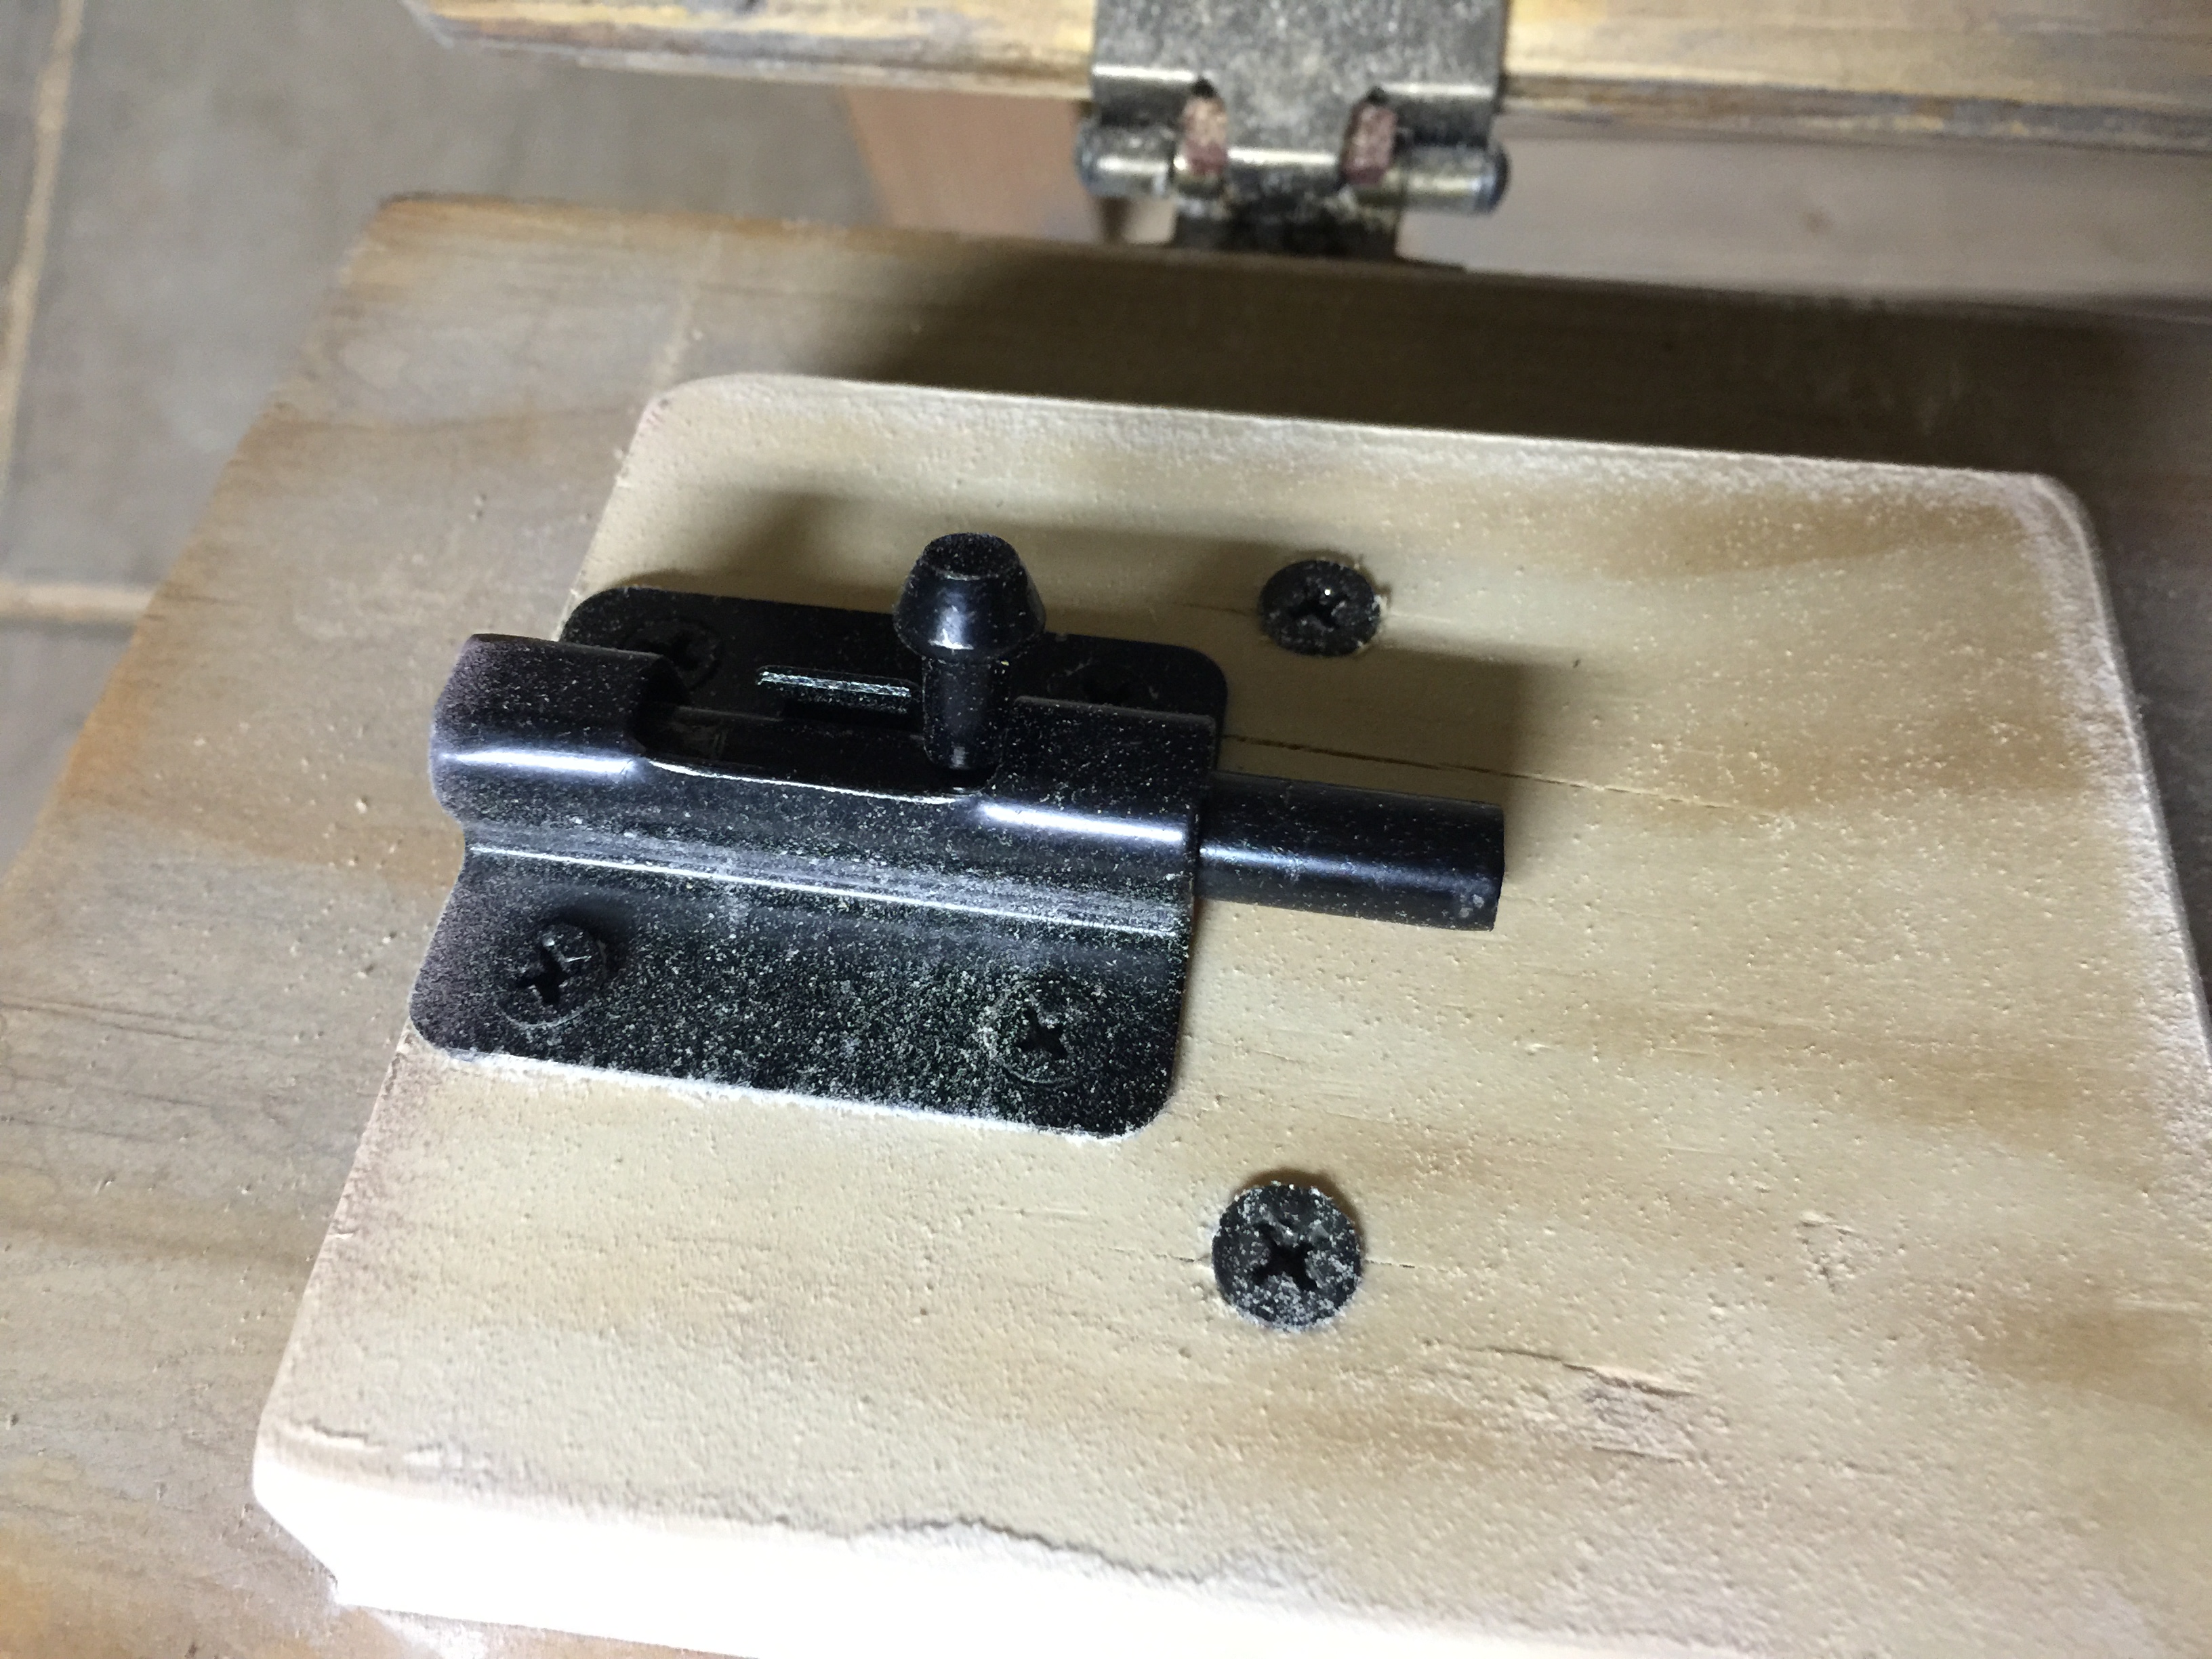
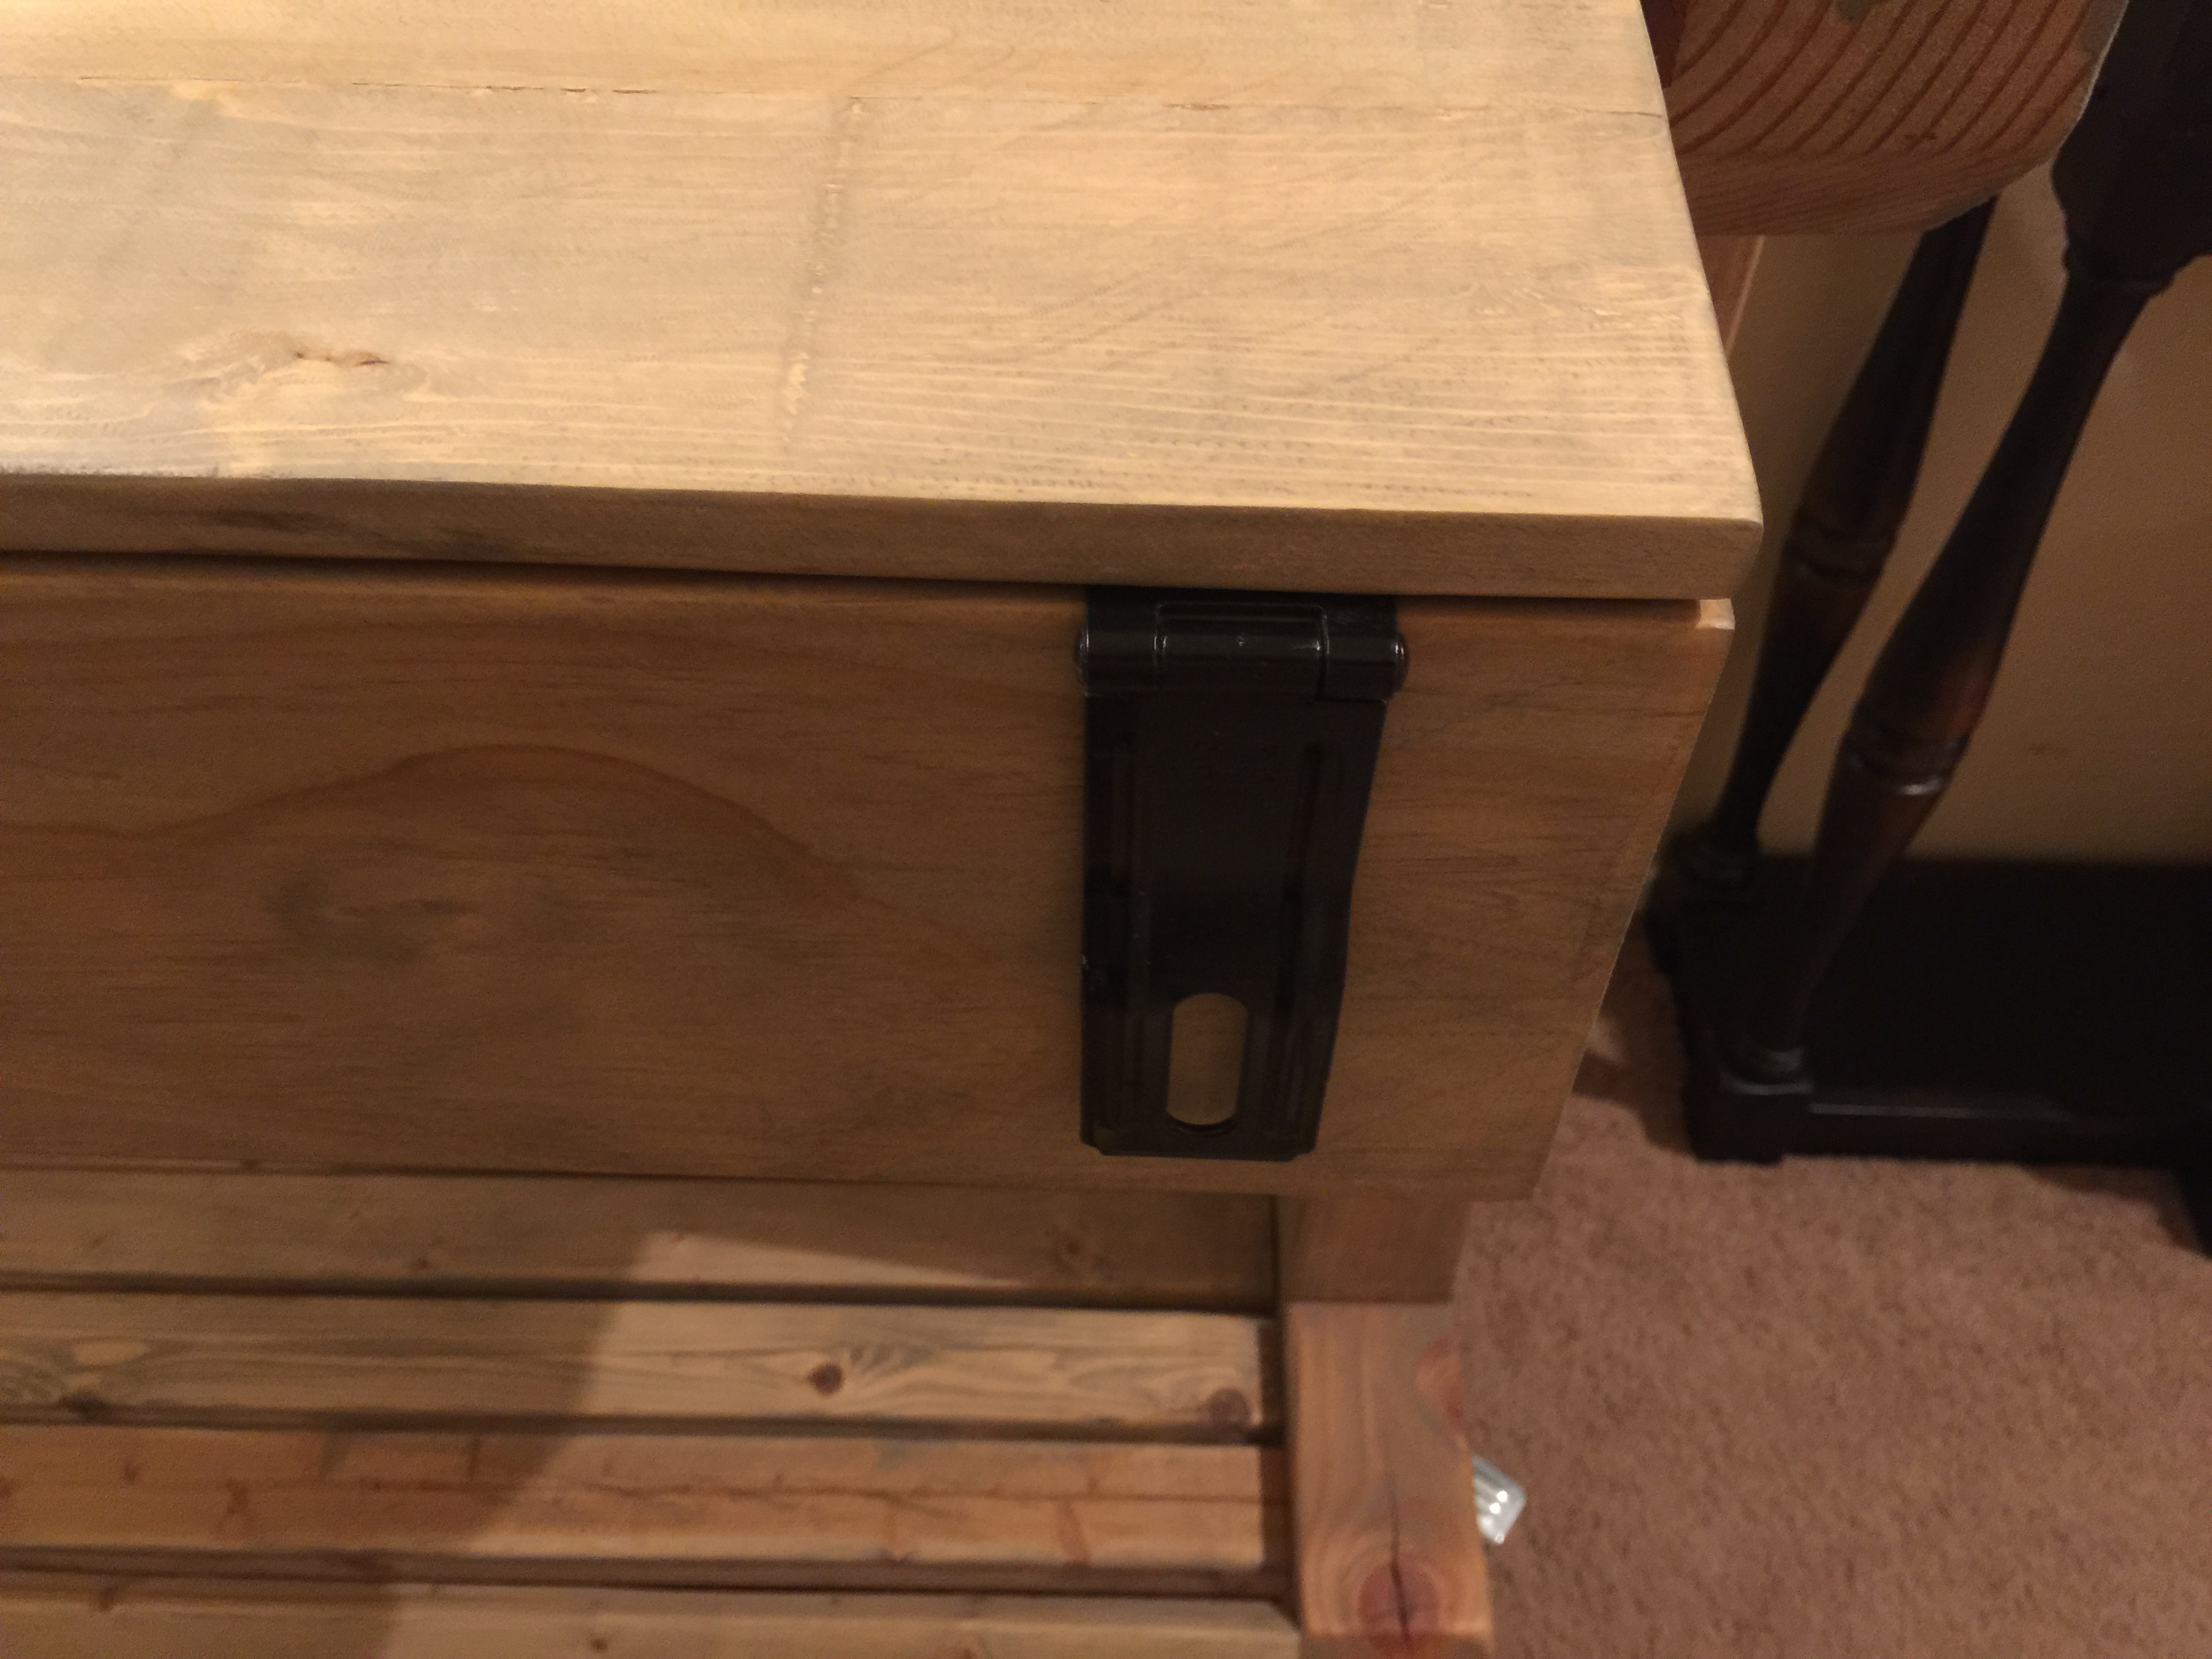
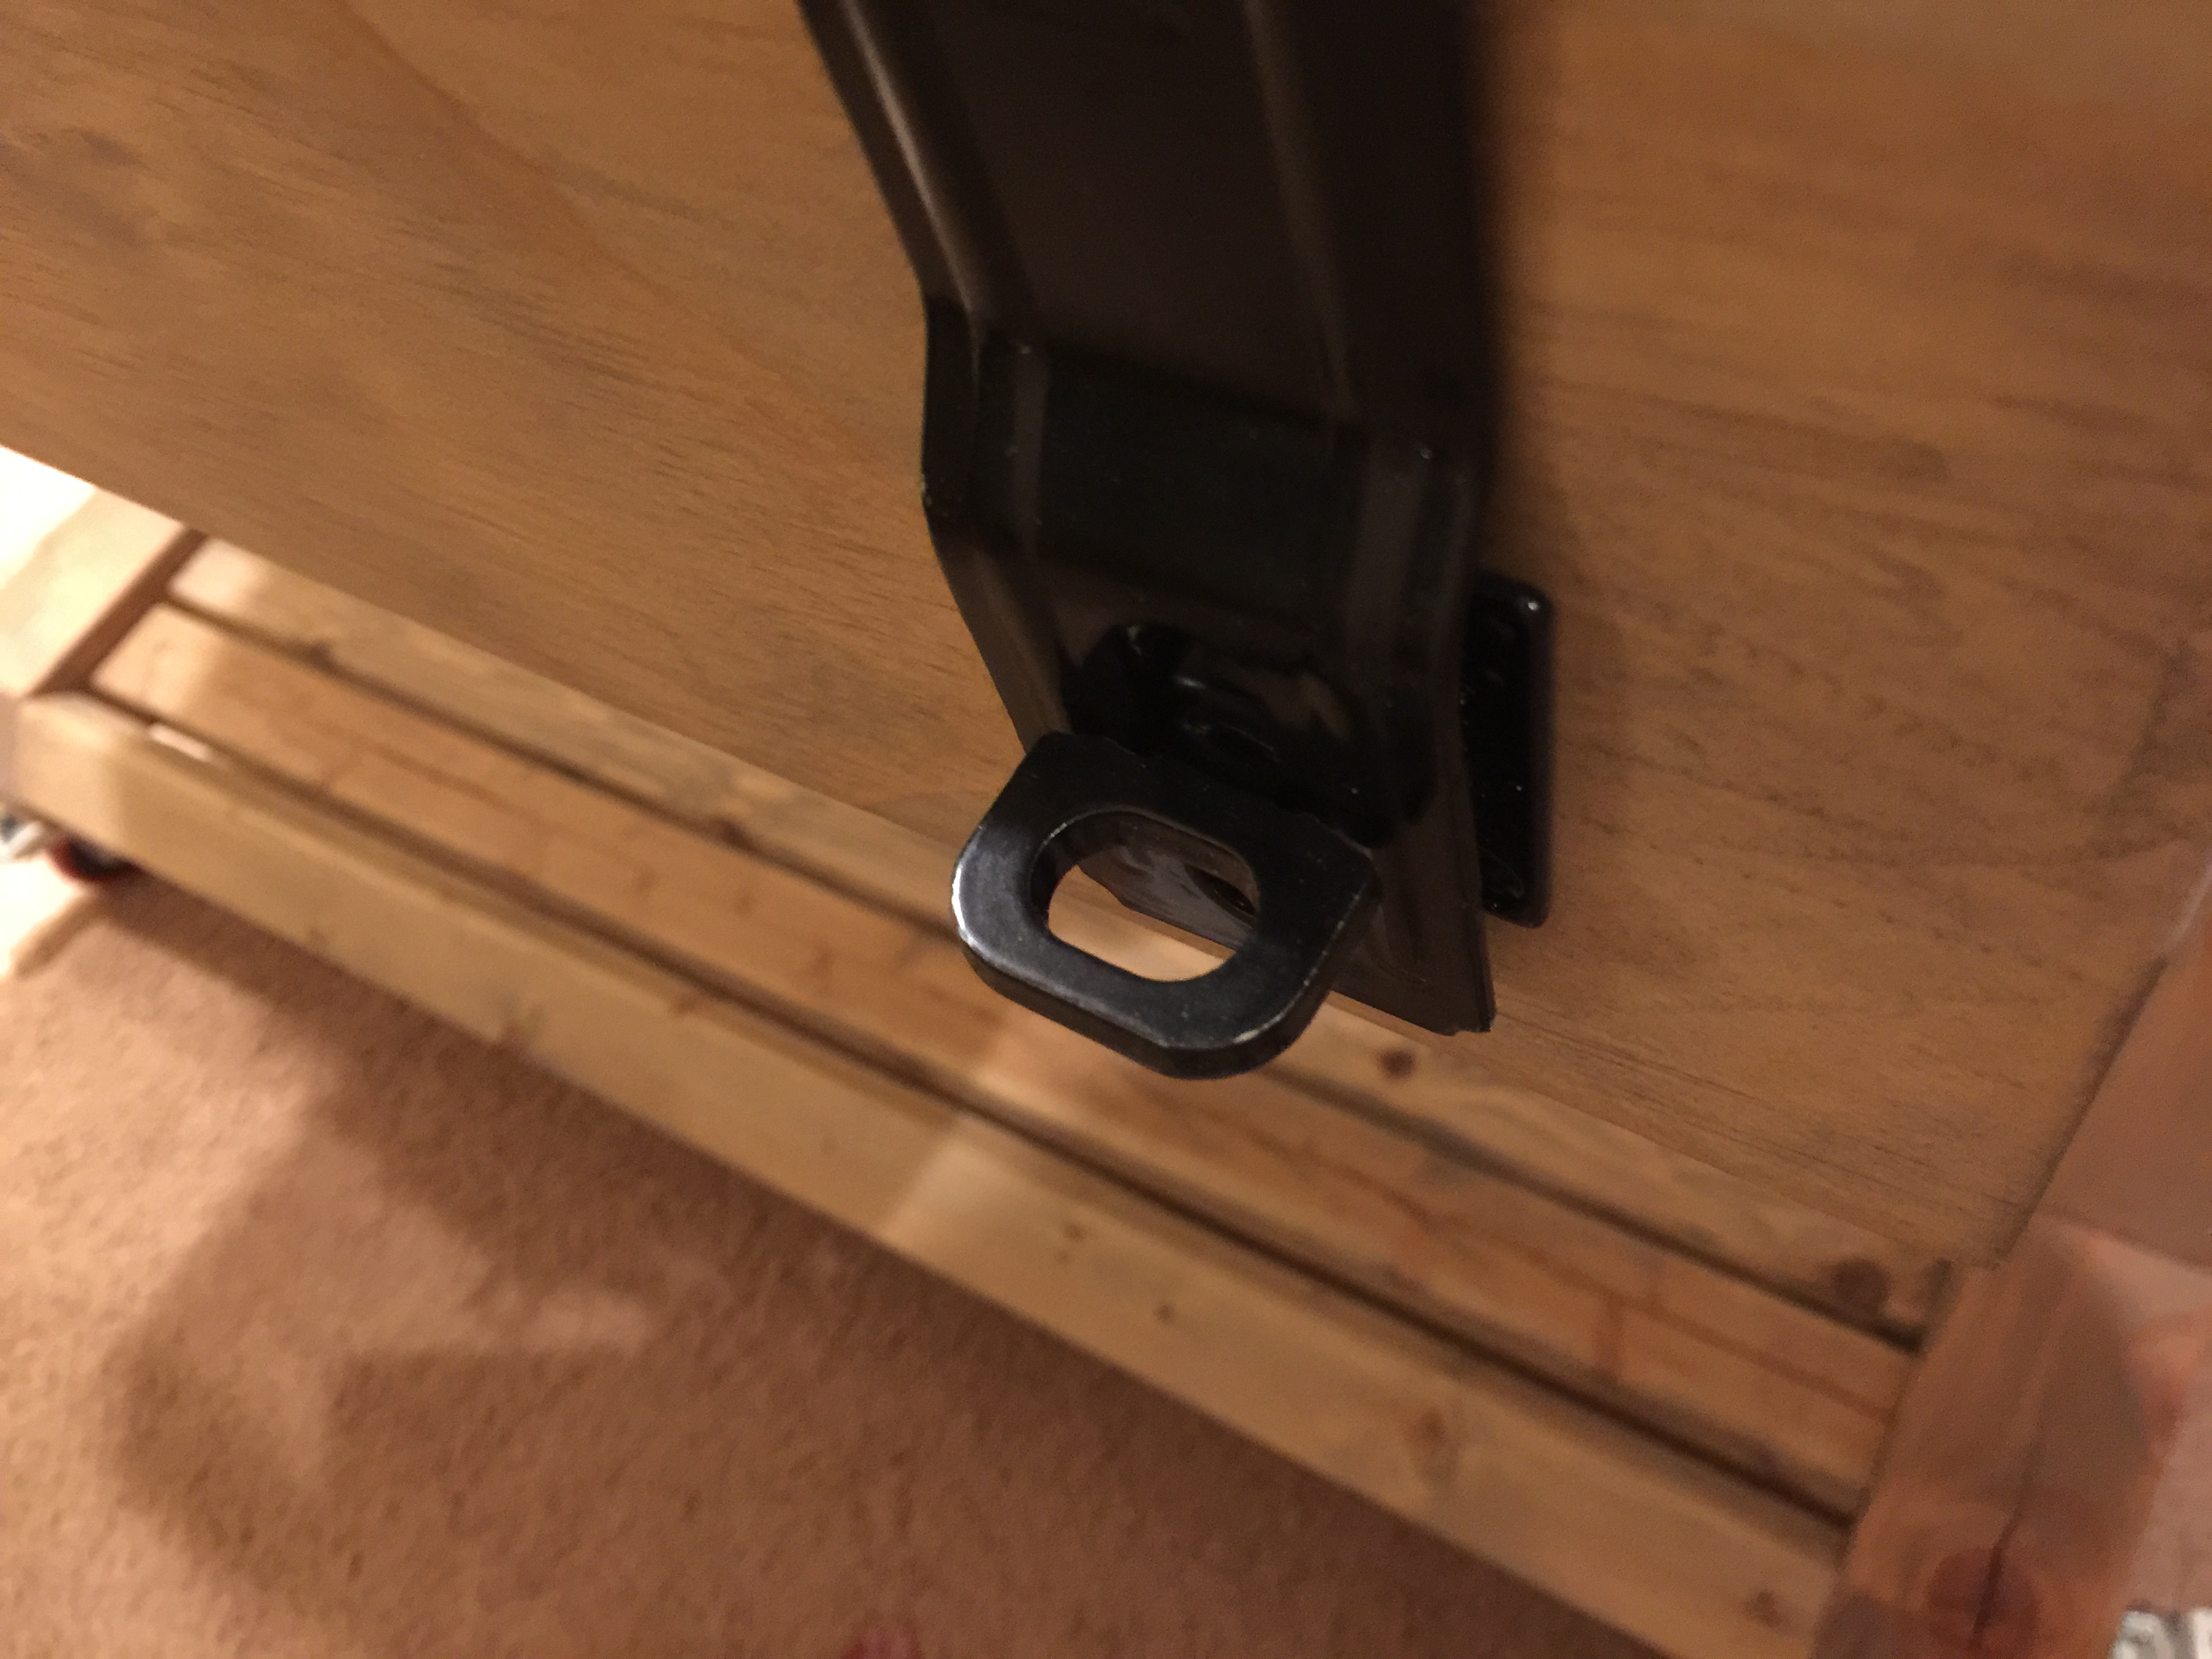
 Latches need to be added to the inside of the gaming box doors this way the doors will not flap open when the table is rotating.
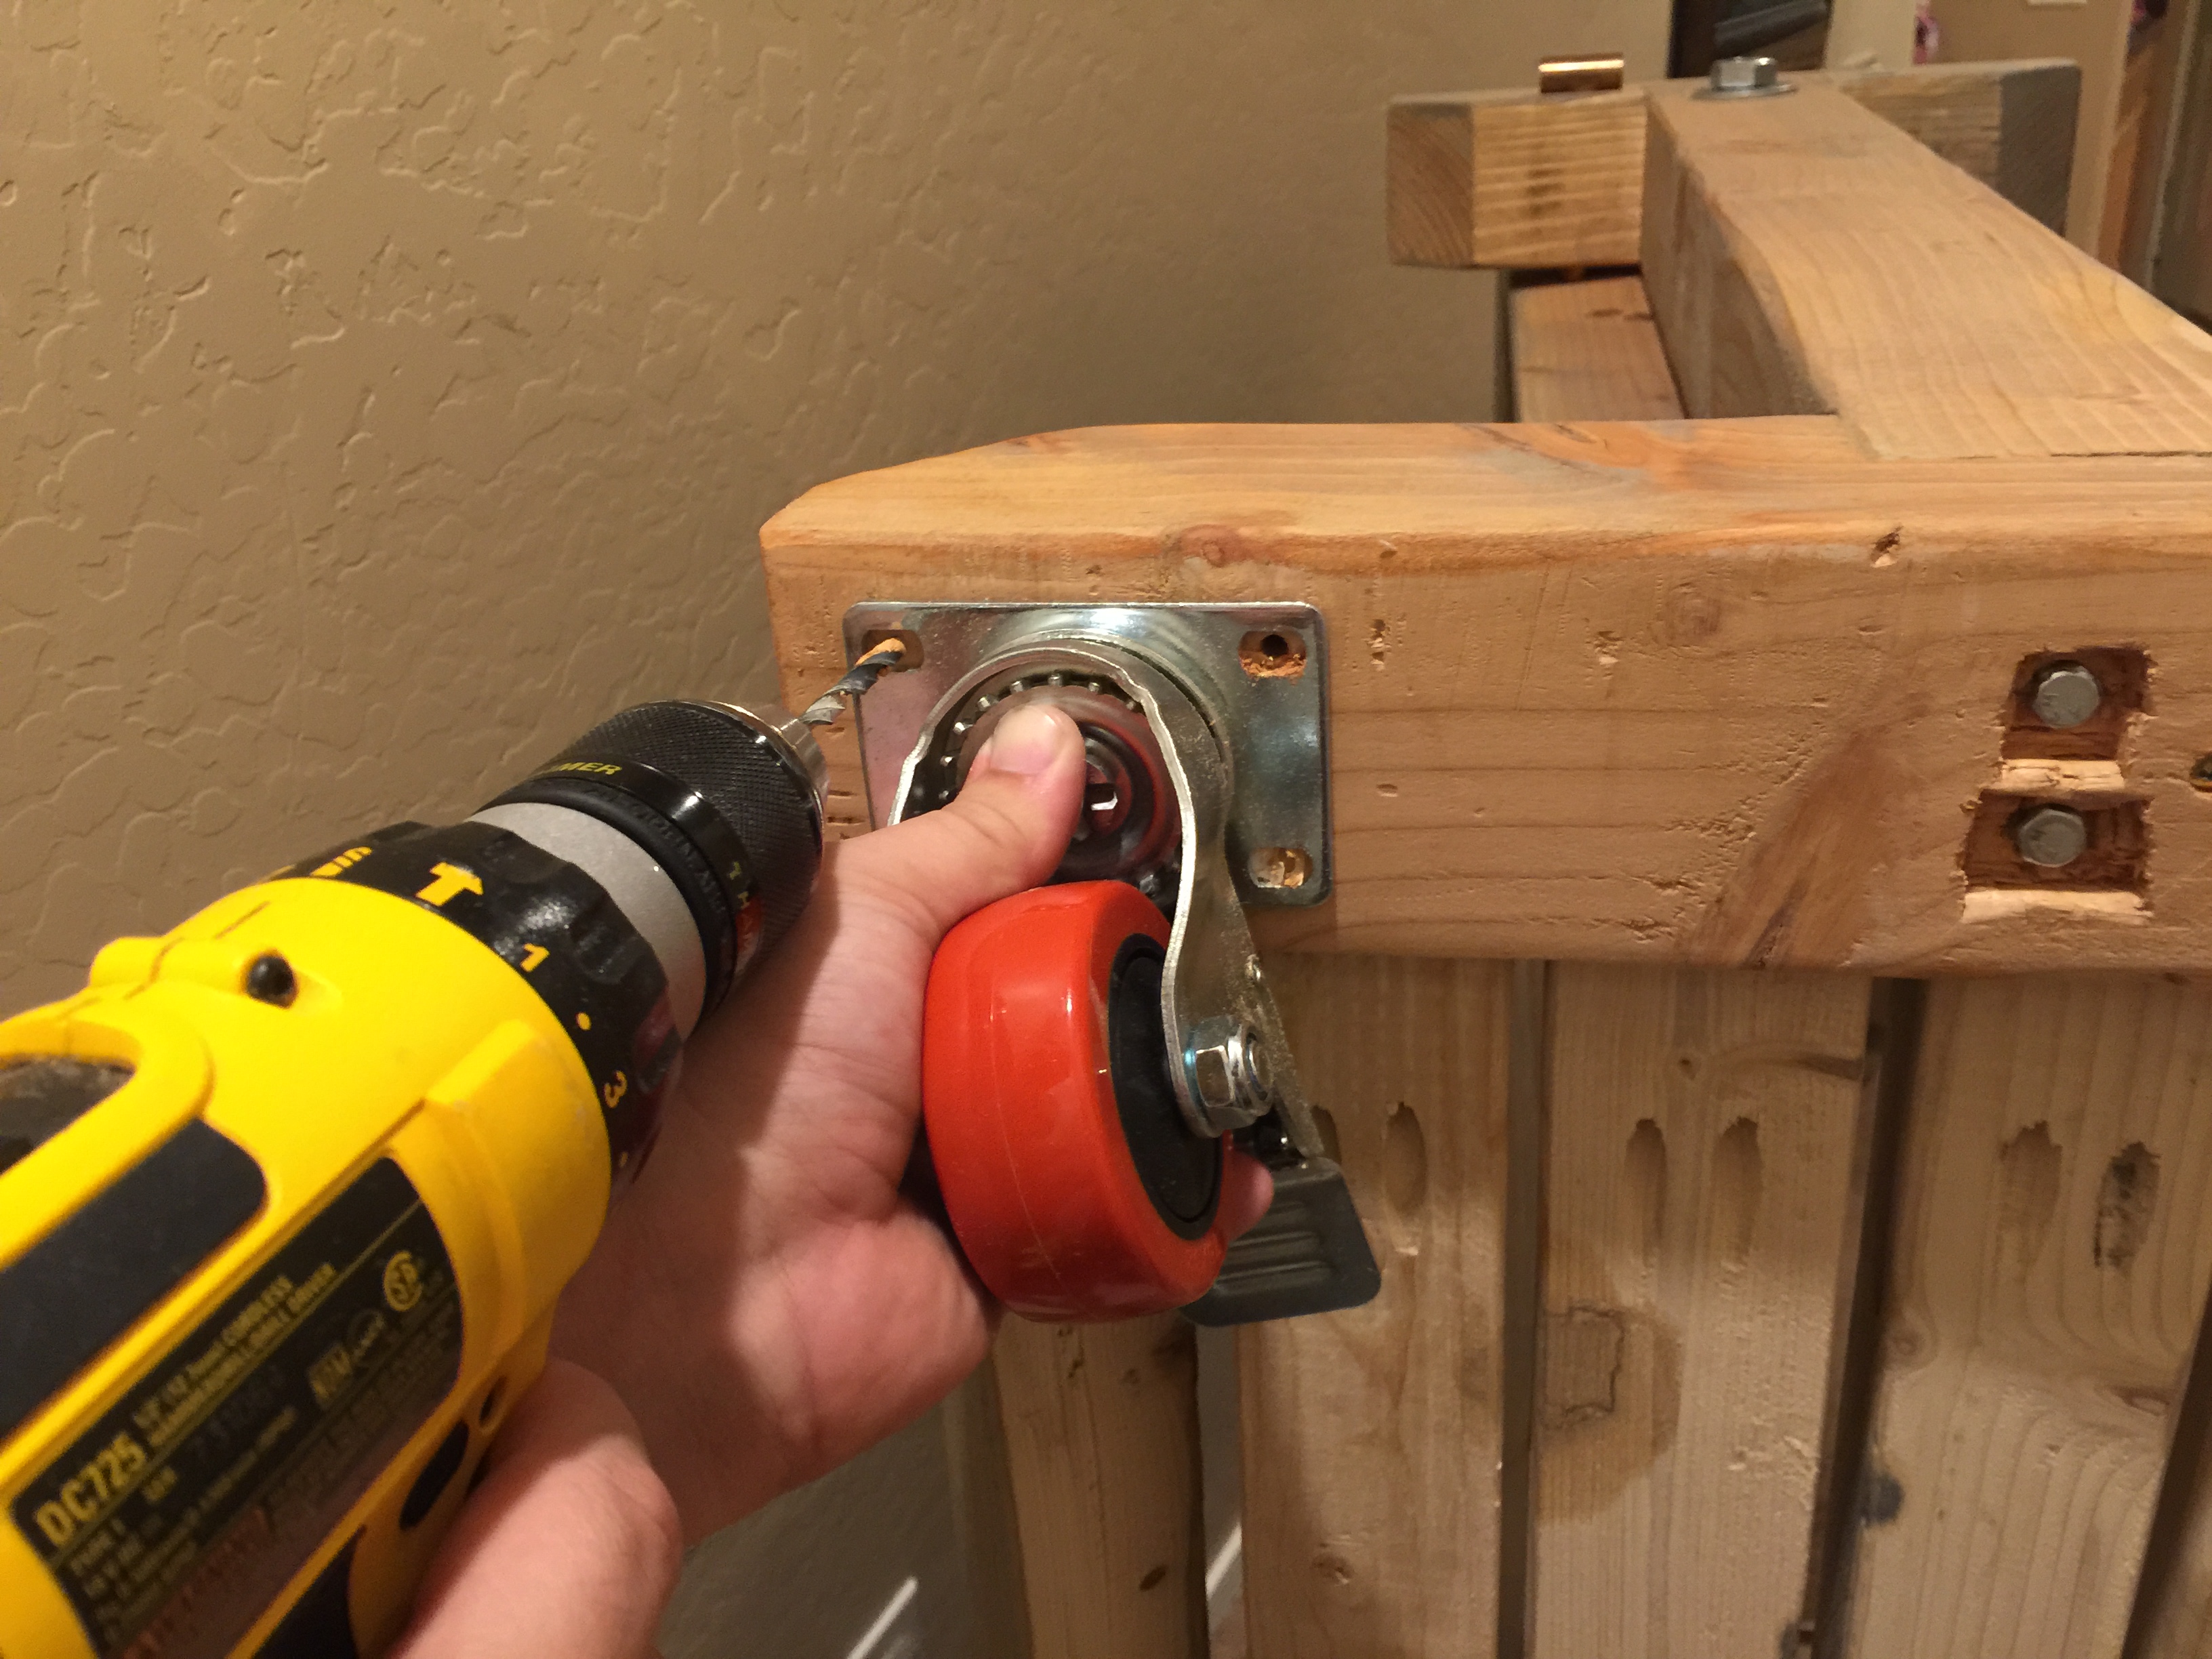
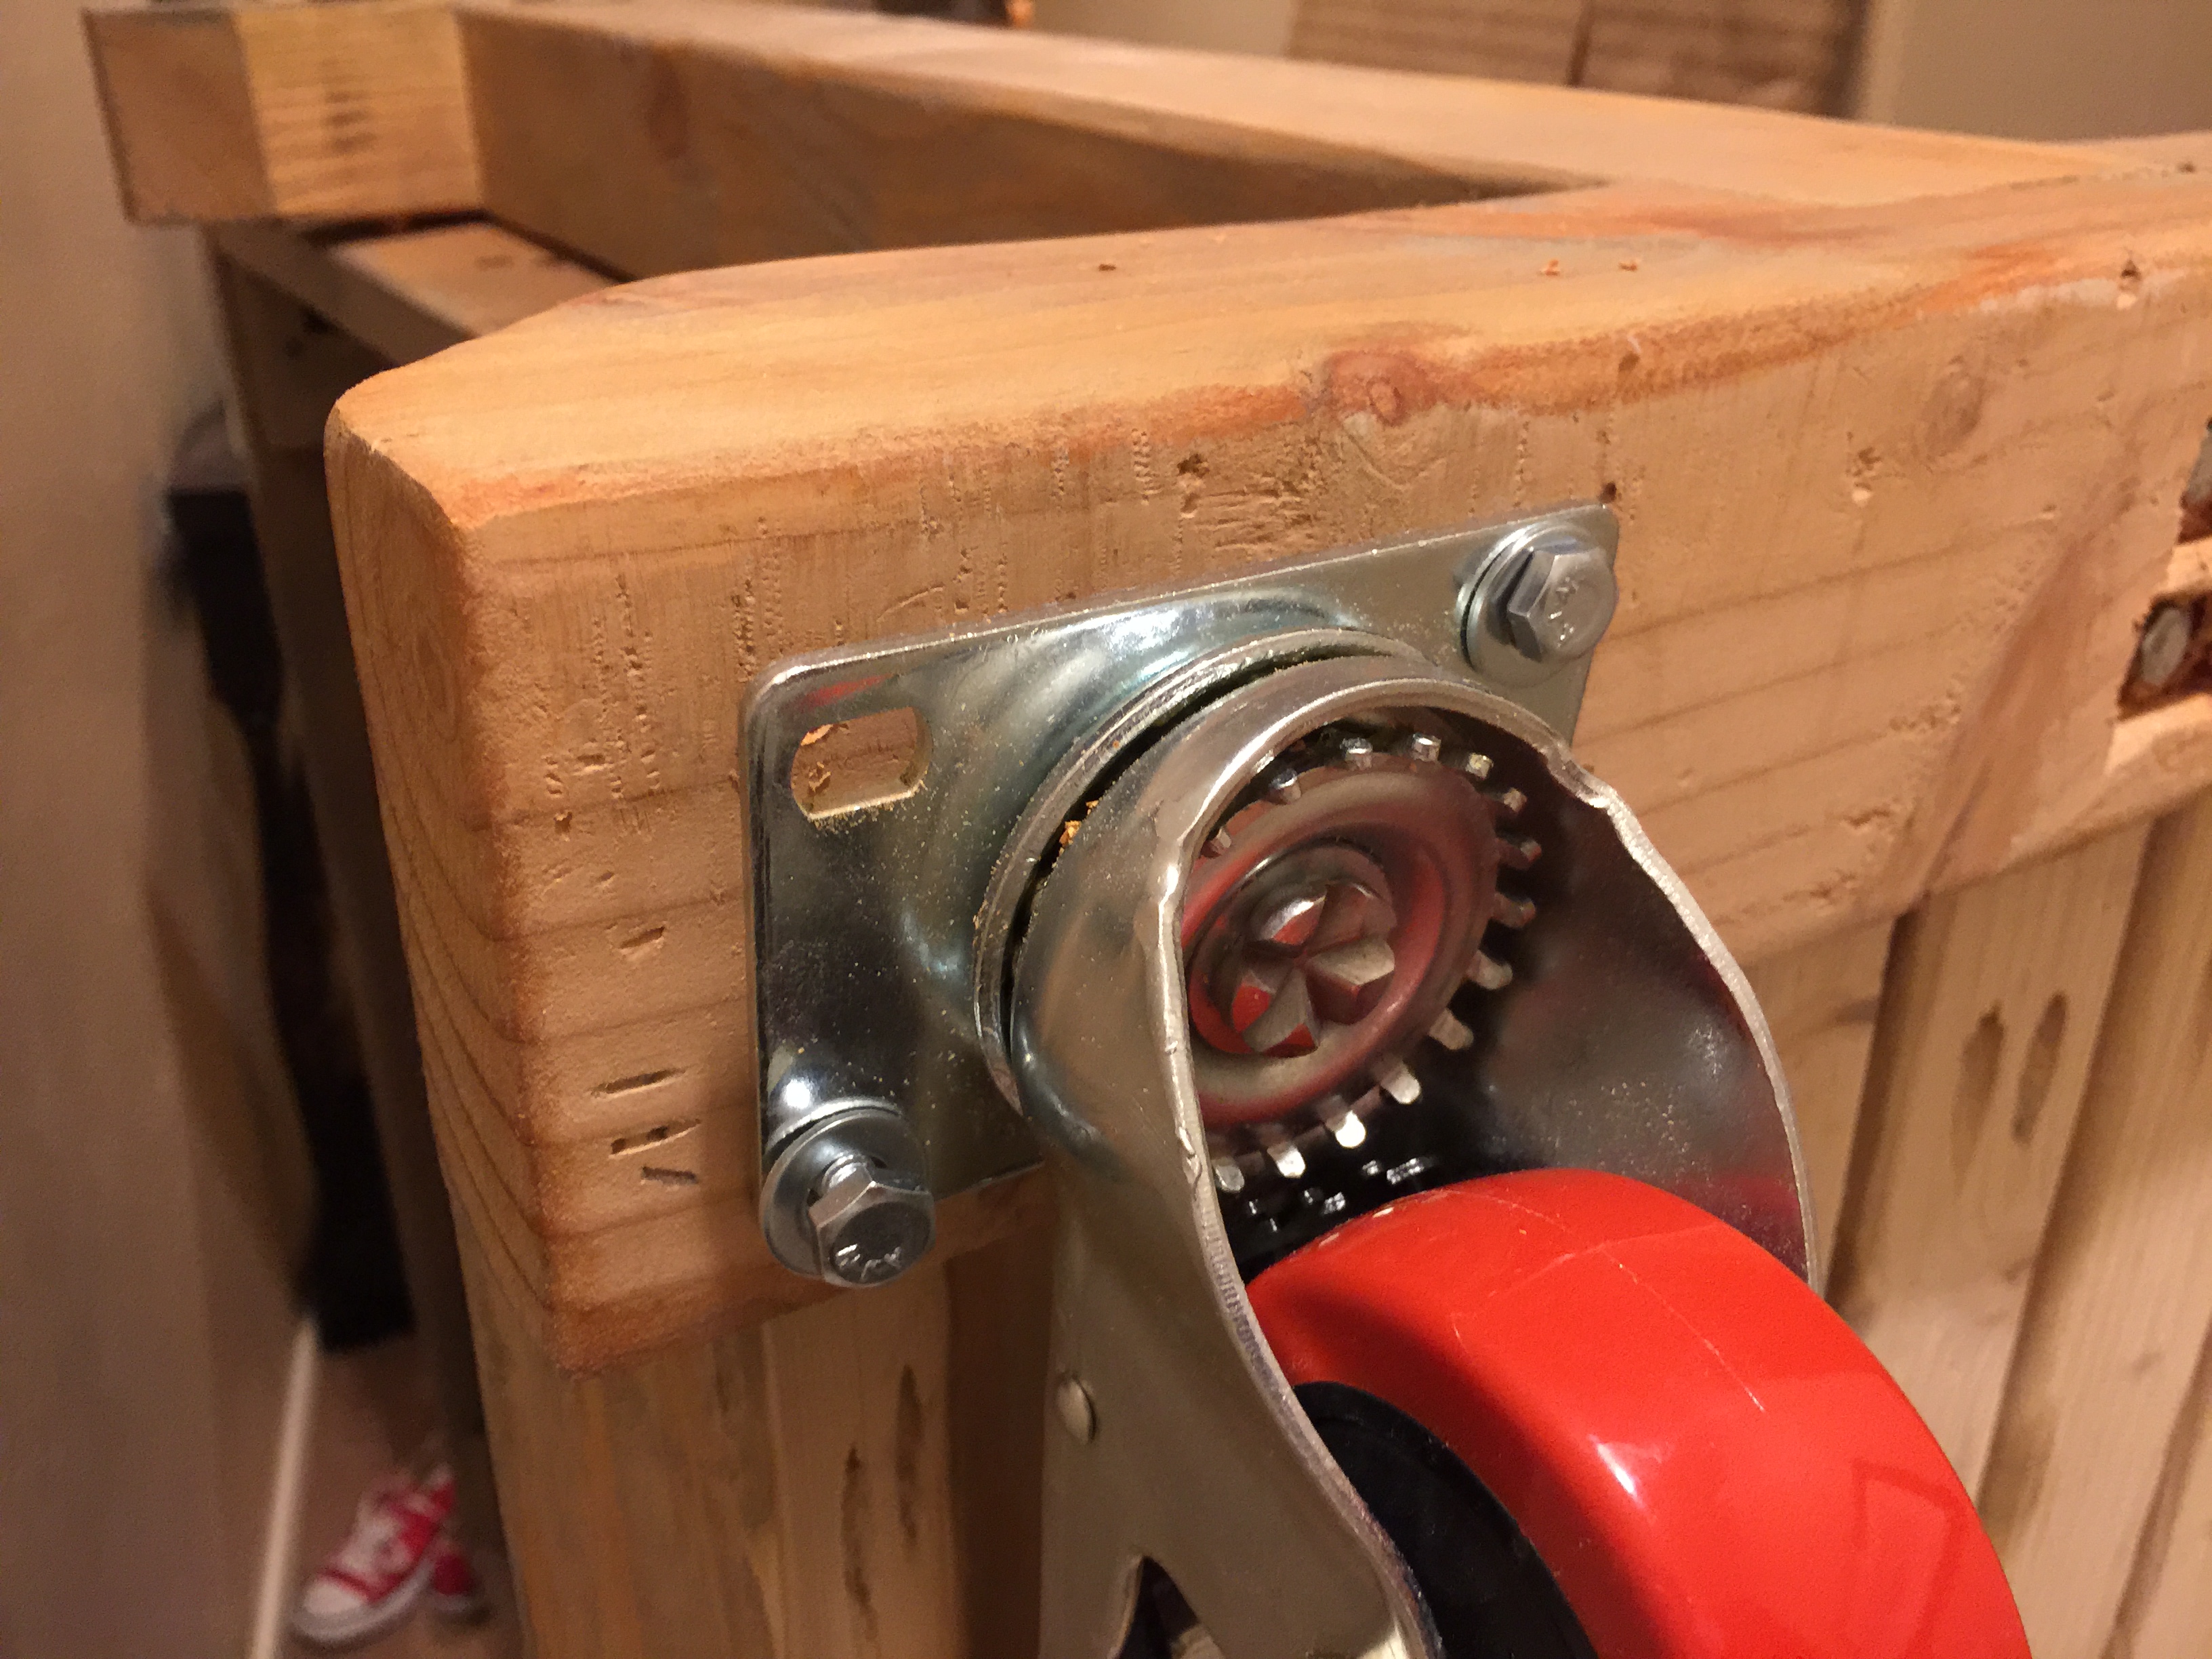
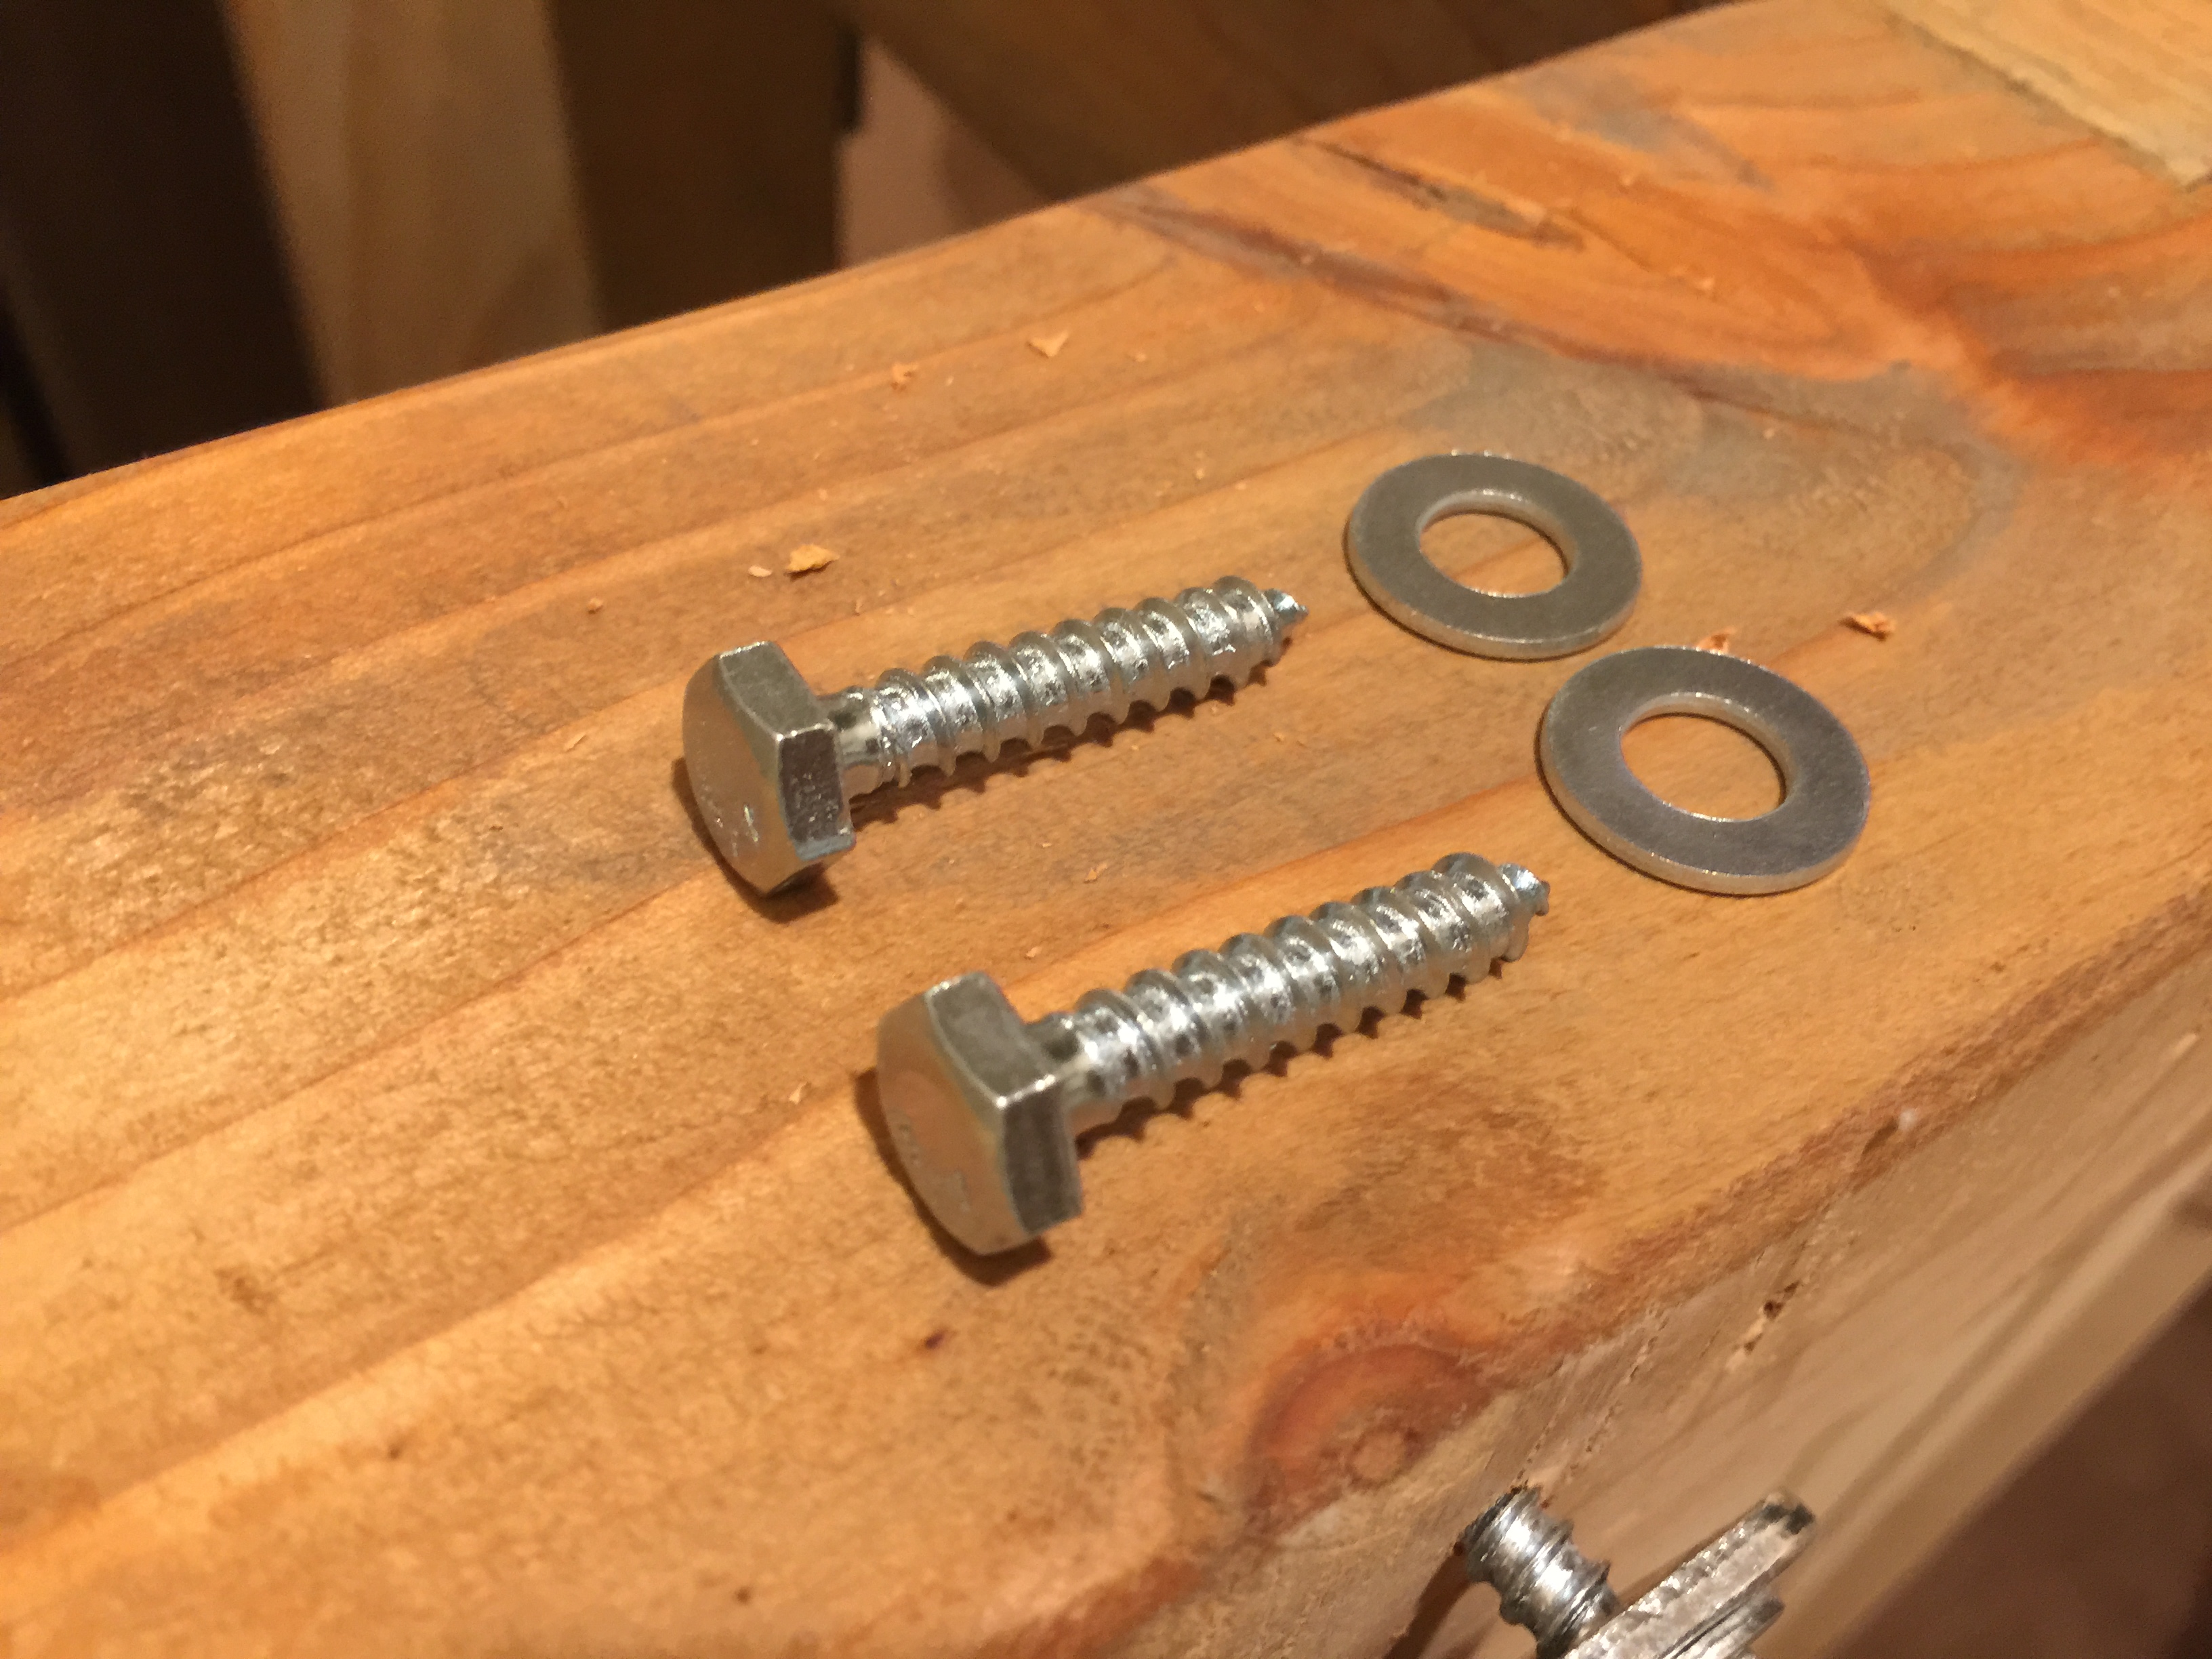
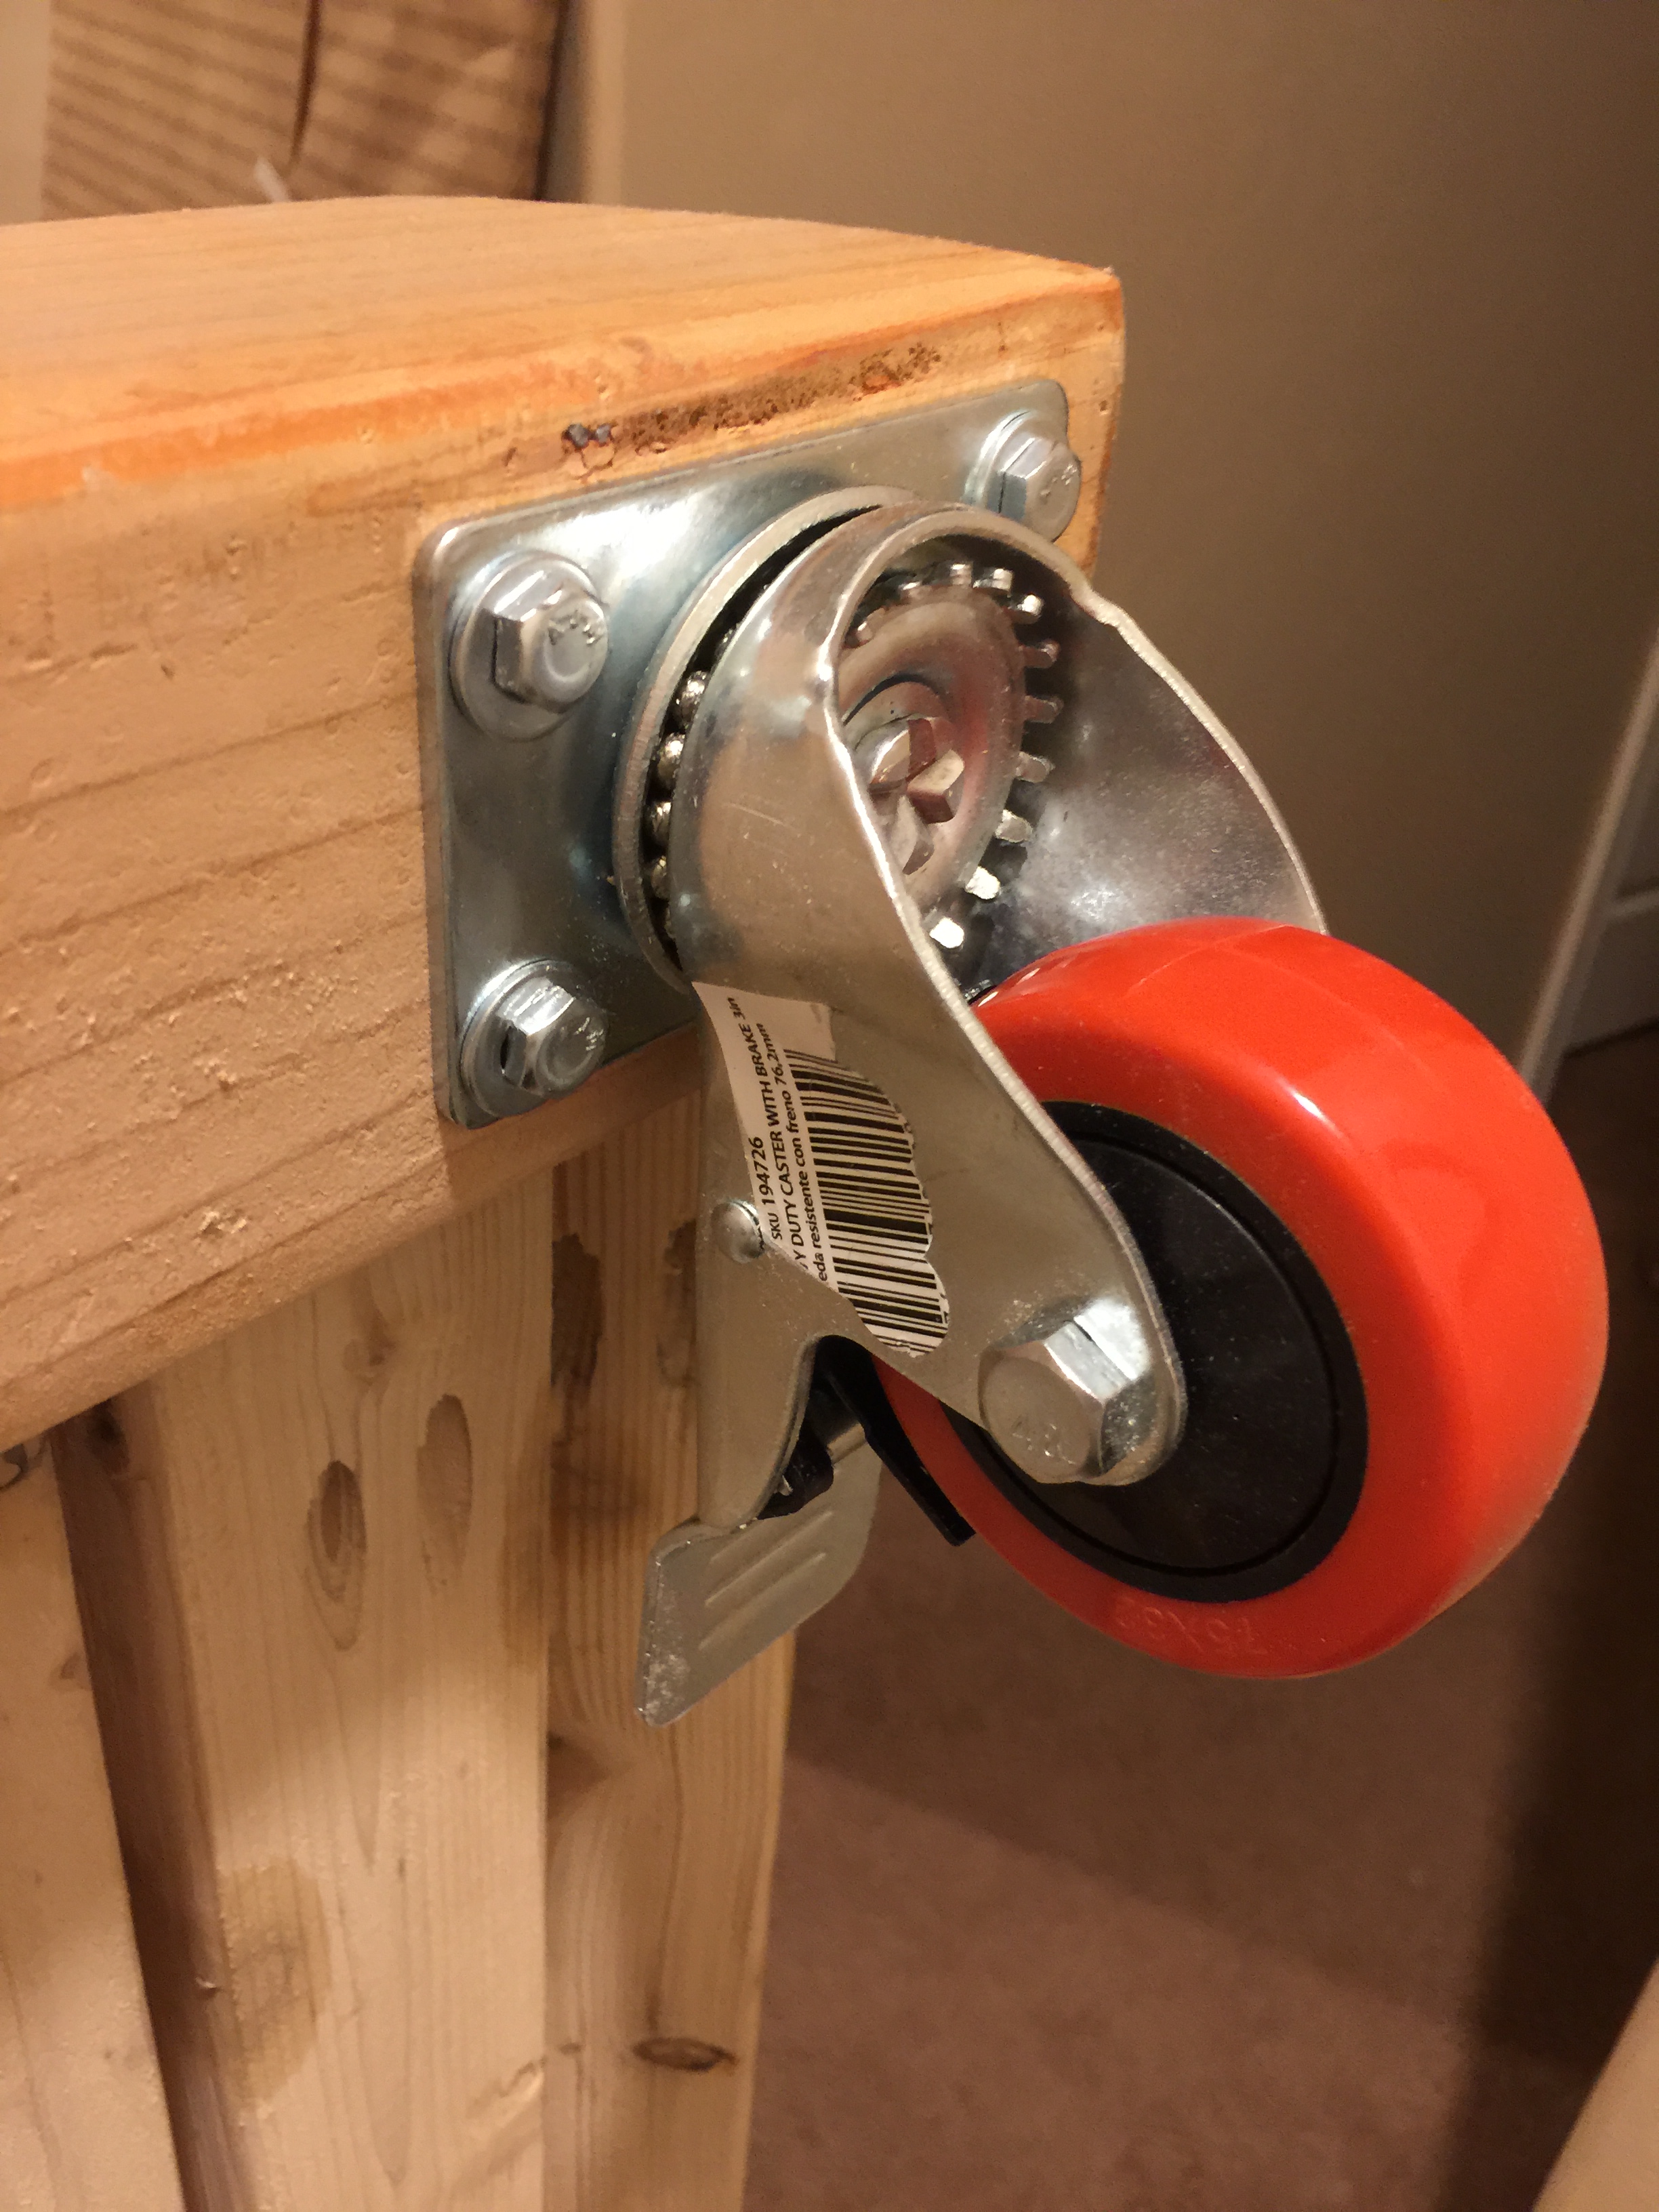
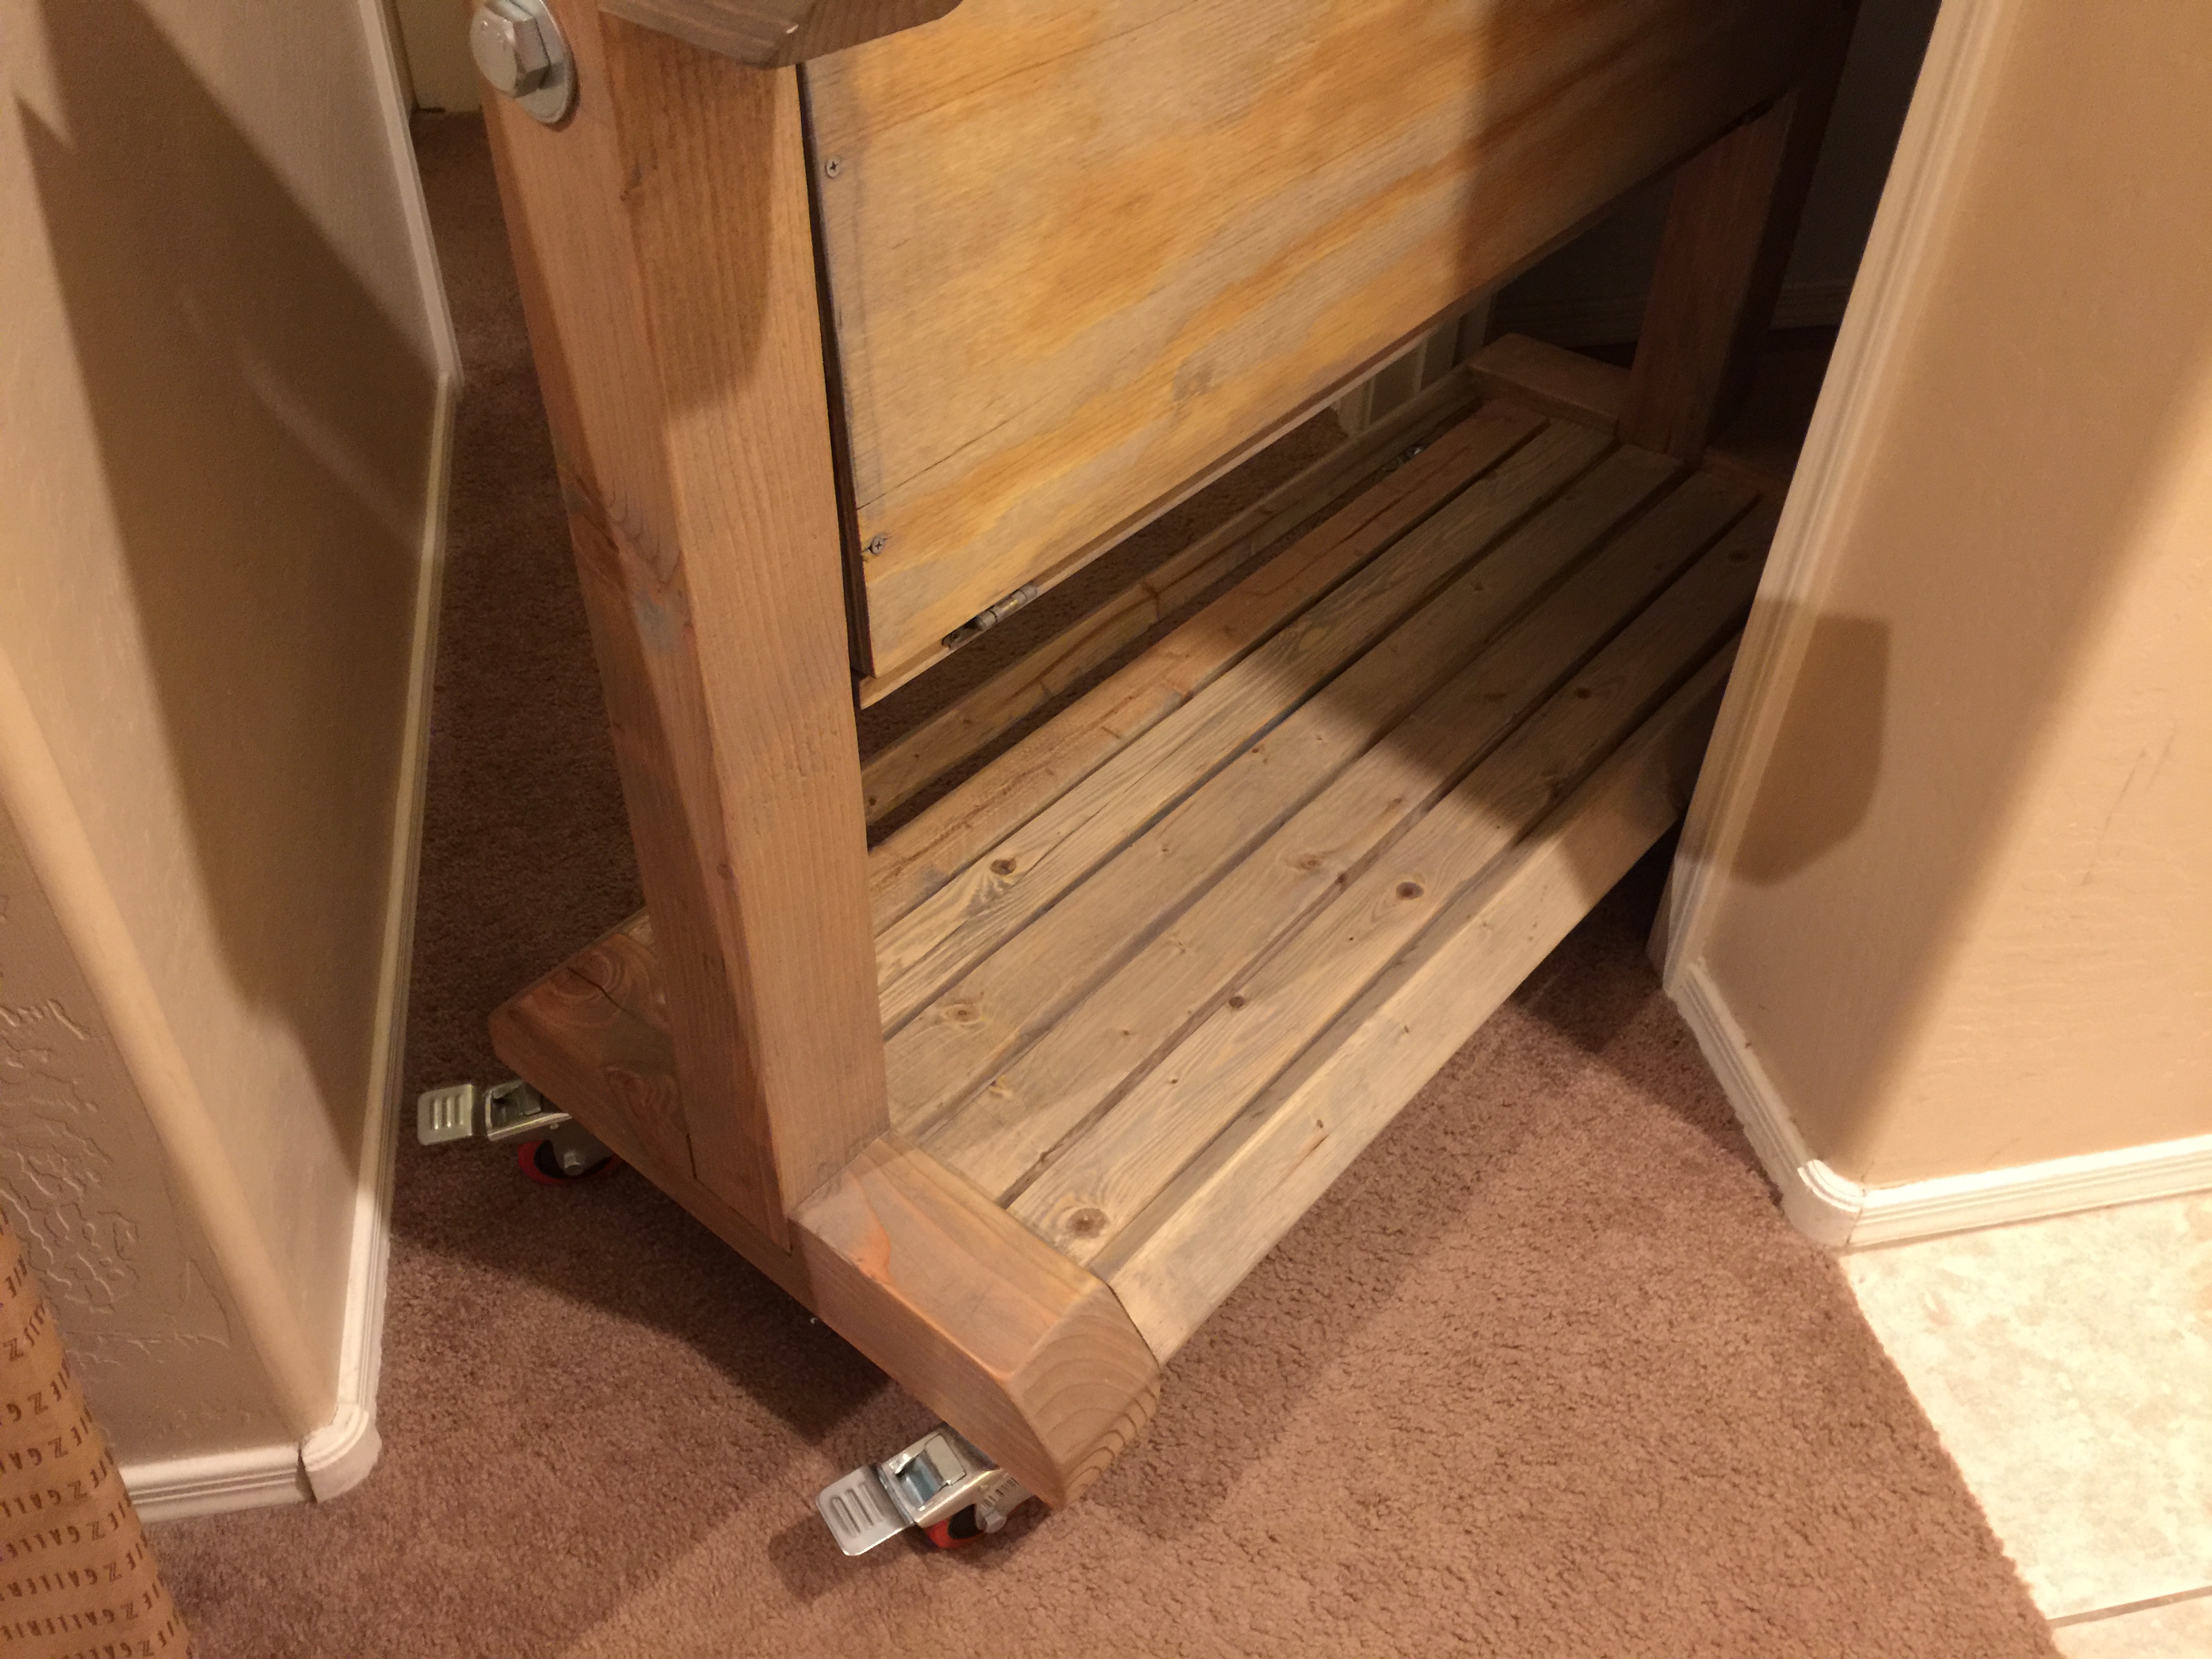
I cleaned the table off and brought it inside the house so I could install the wheels. I didn’t want the wheels outside where it was dirty since this table was going to be wheeled all over my home. These wheels can spin 360 degrees and they also have a two way lock. The table can be locked in place so it doesn’t move during filming, gaming or painting. These wheels allow the table to be wheeled around tight corners, into rooms and around furniture.
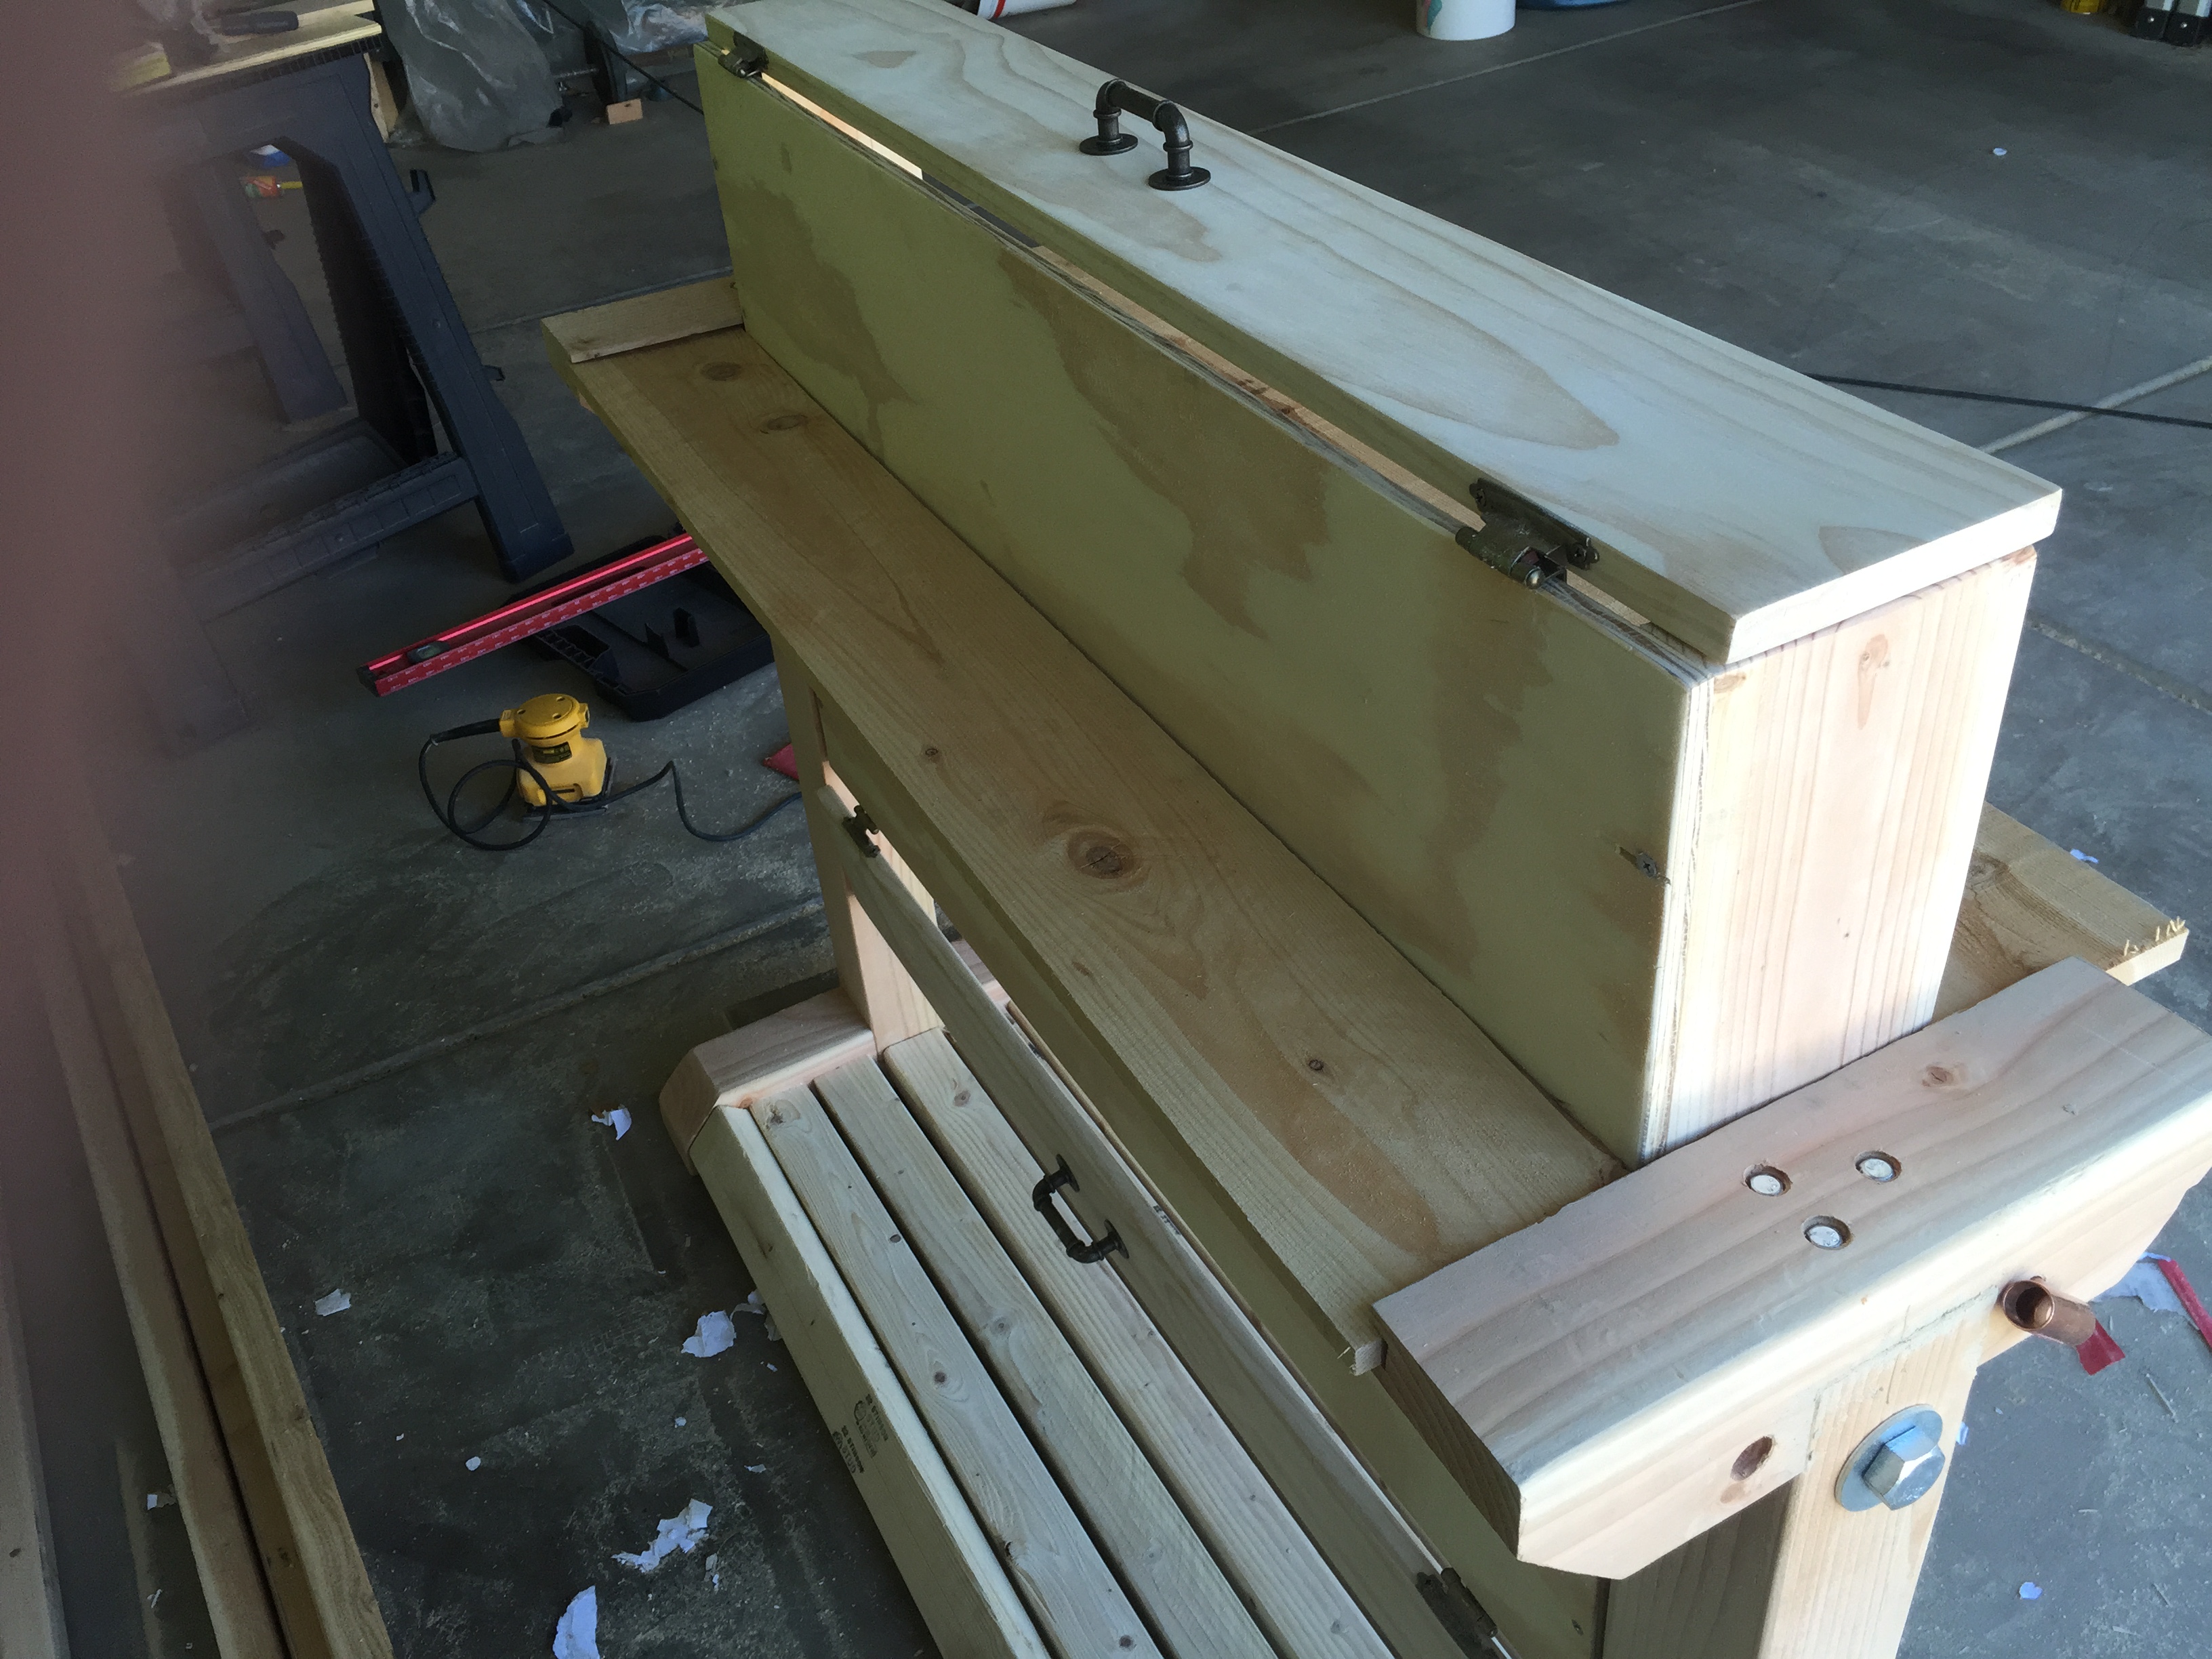
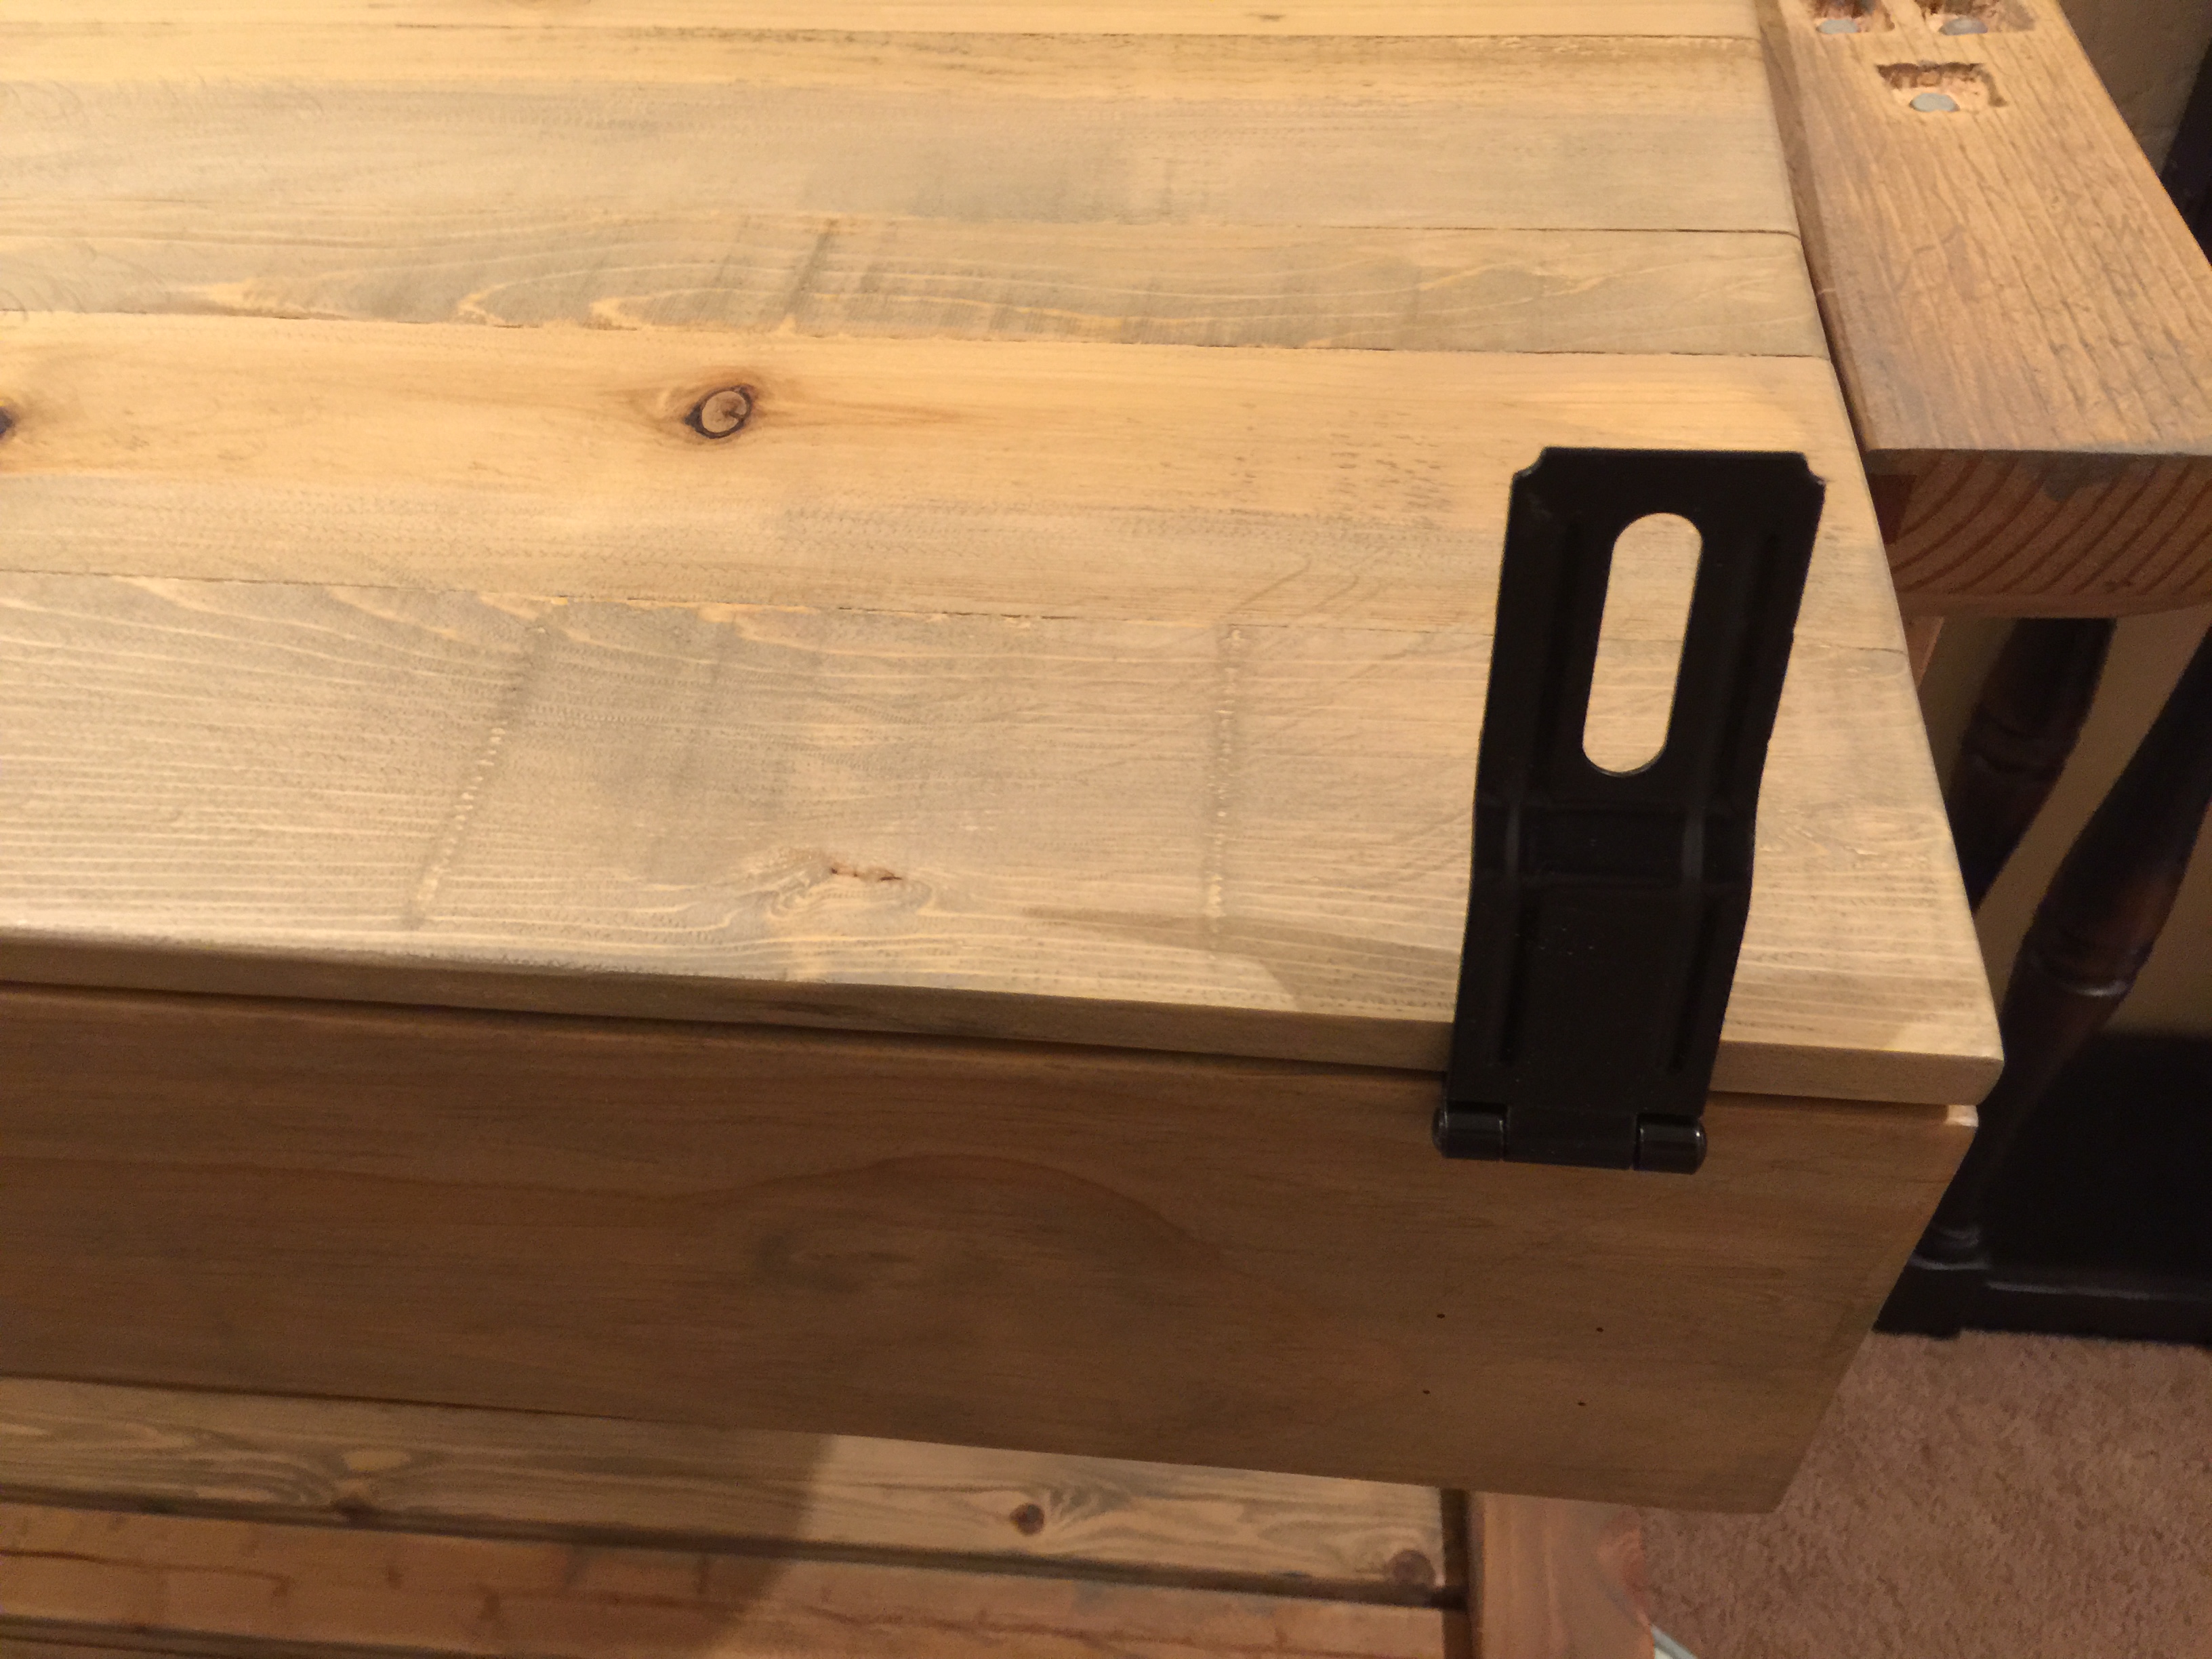
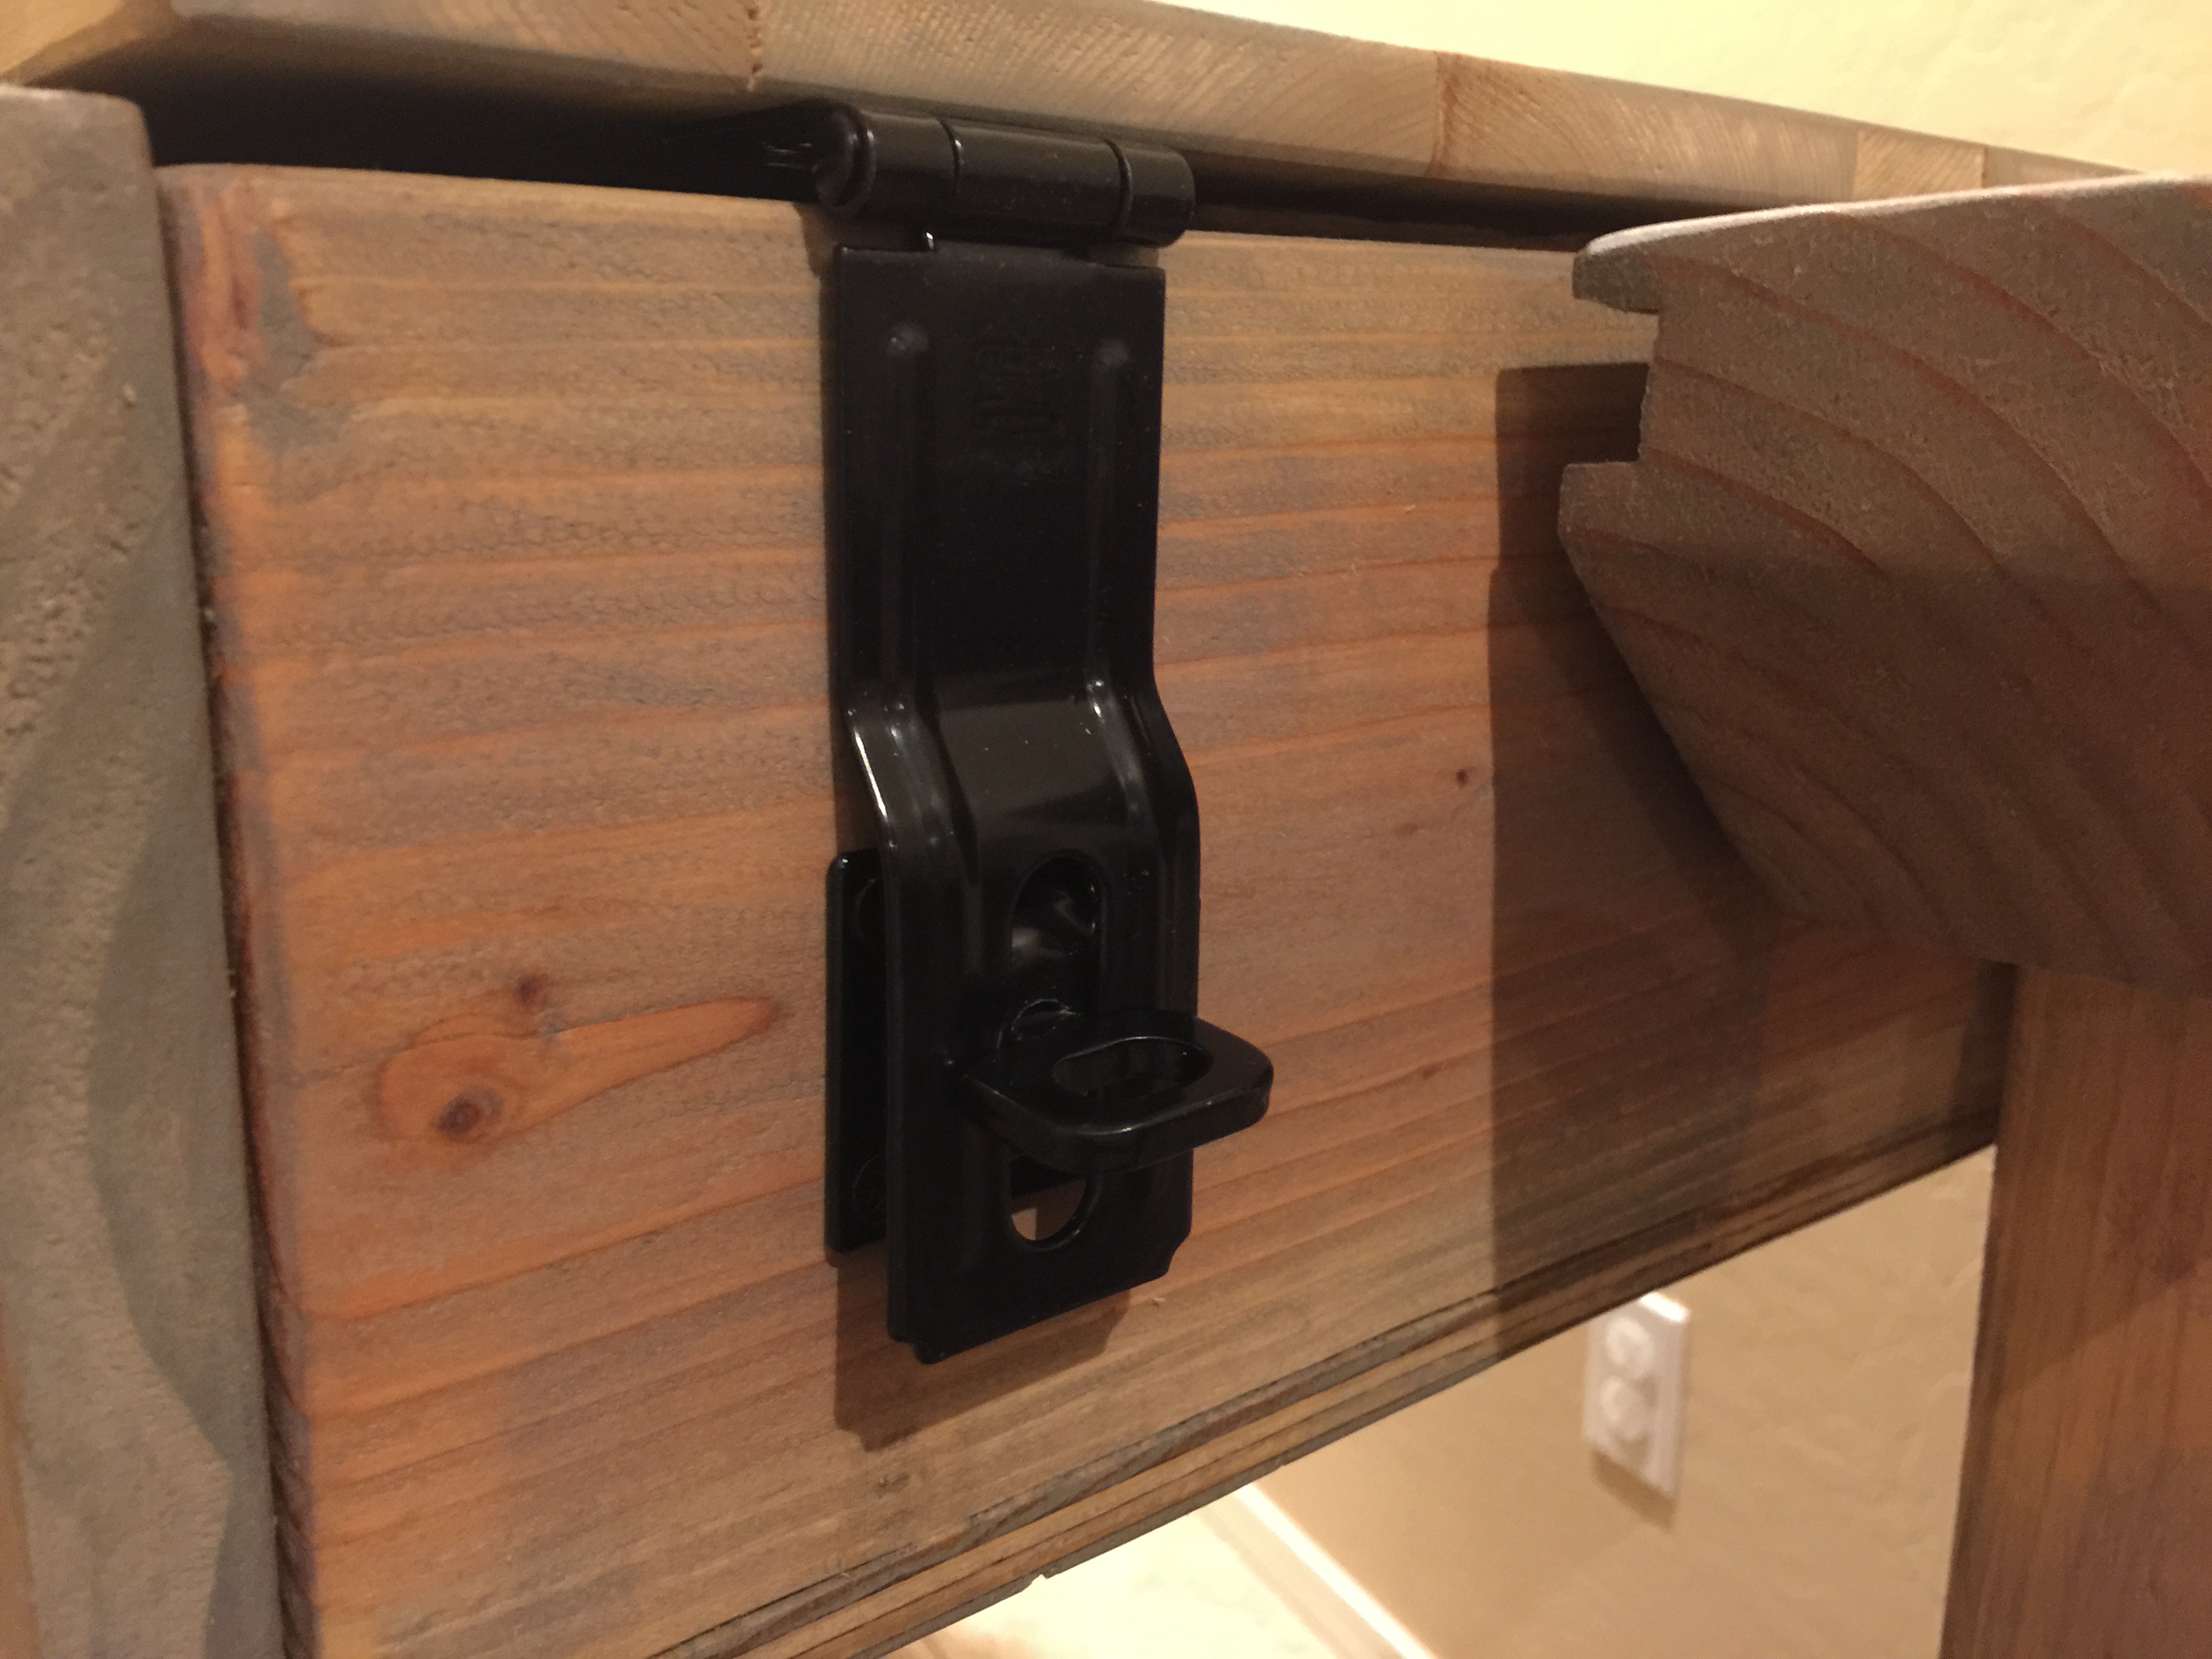
 Lockable latches were then added to the table topper. This keeps the table topper in place in all 3 positions. It also allows me to secure my games and film scenes away from my kids.

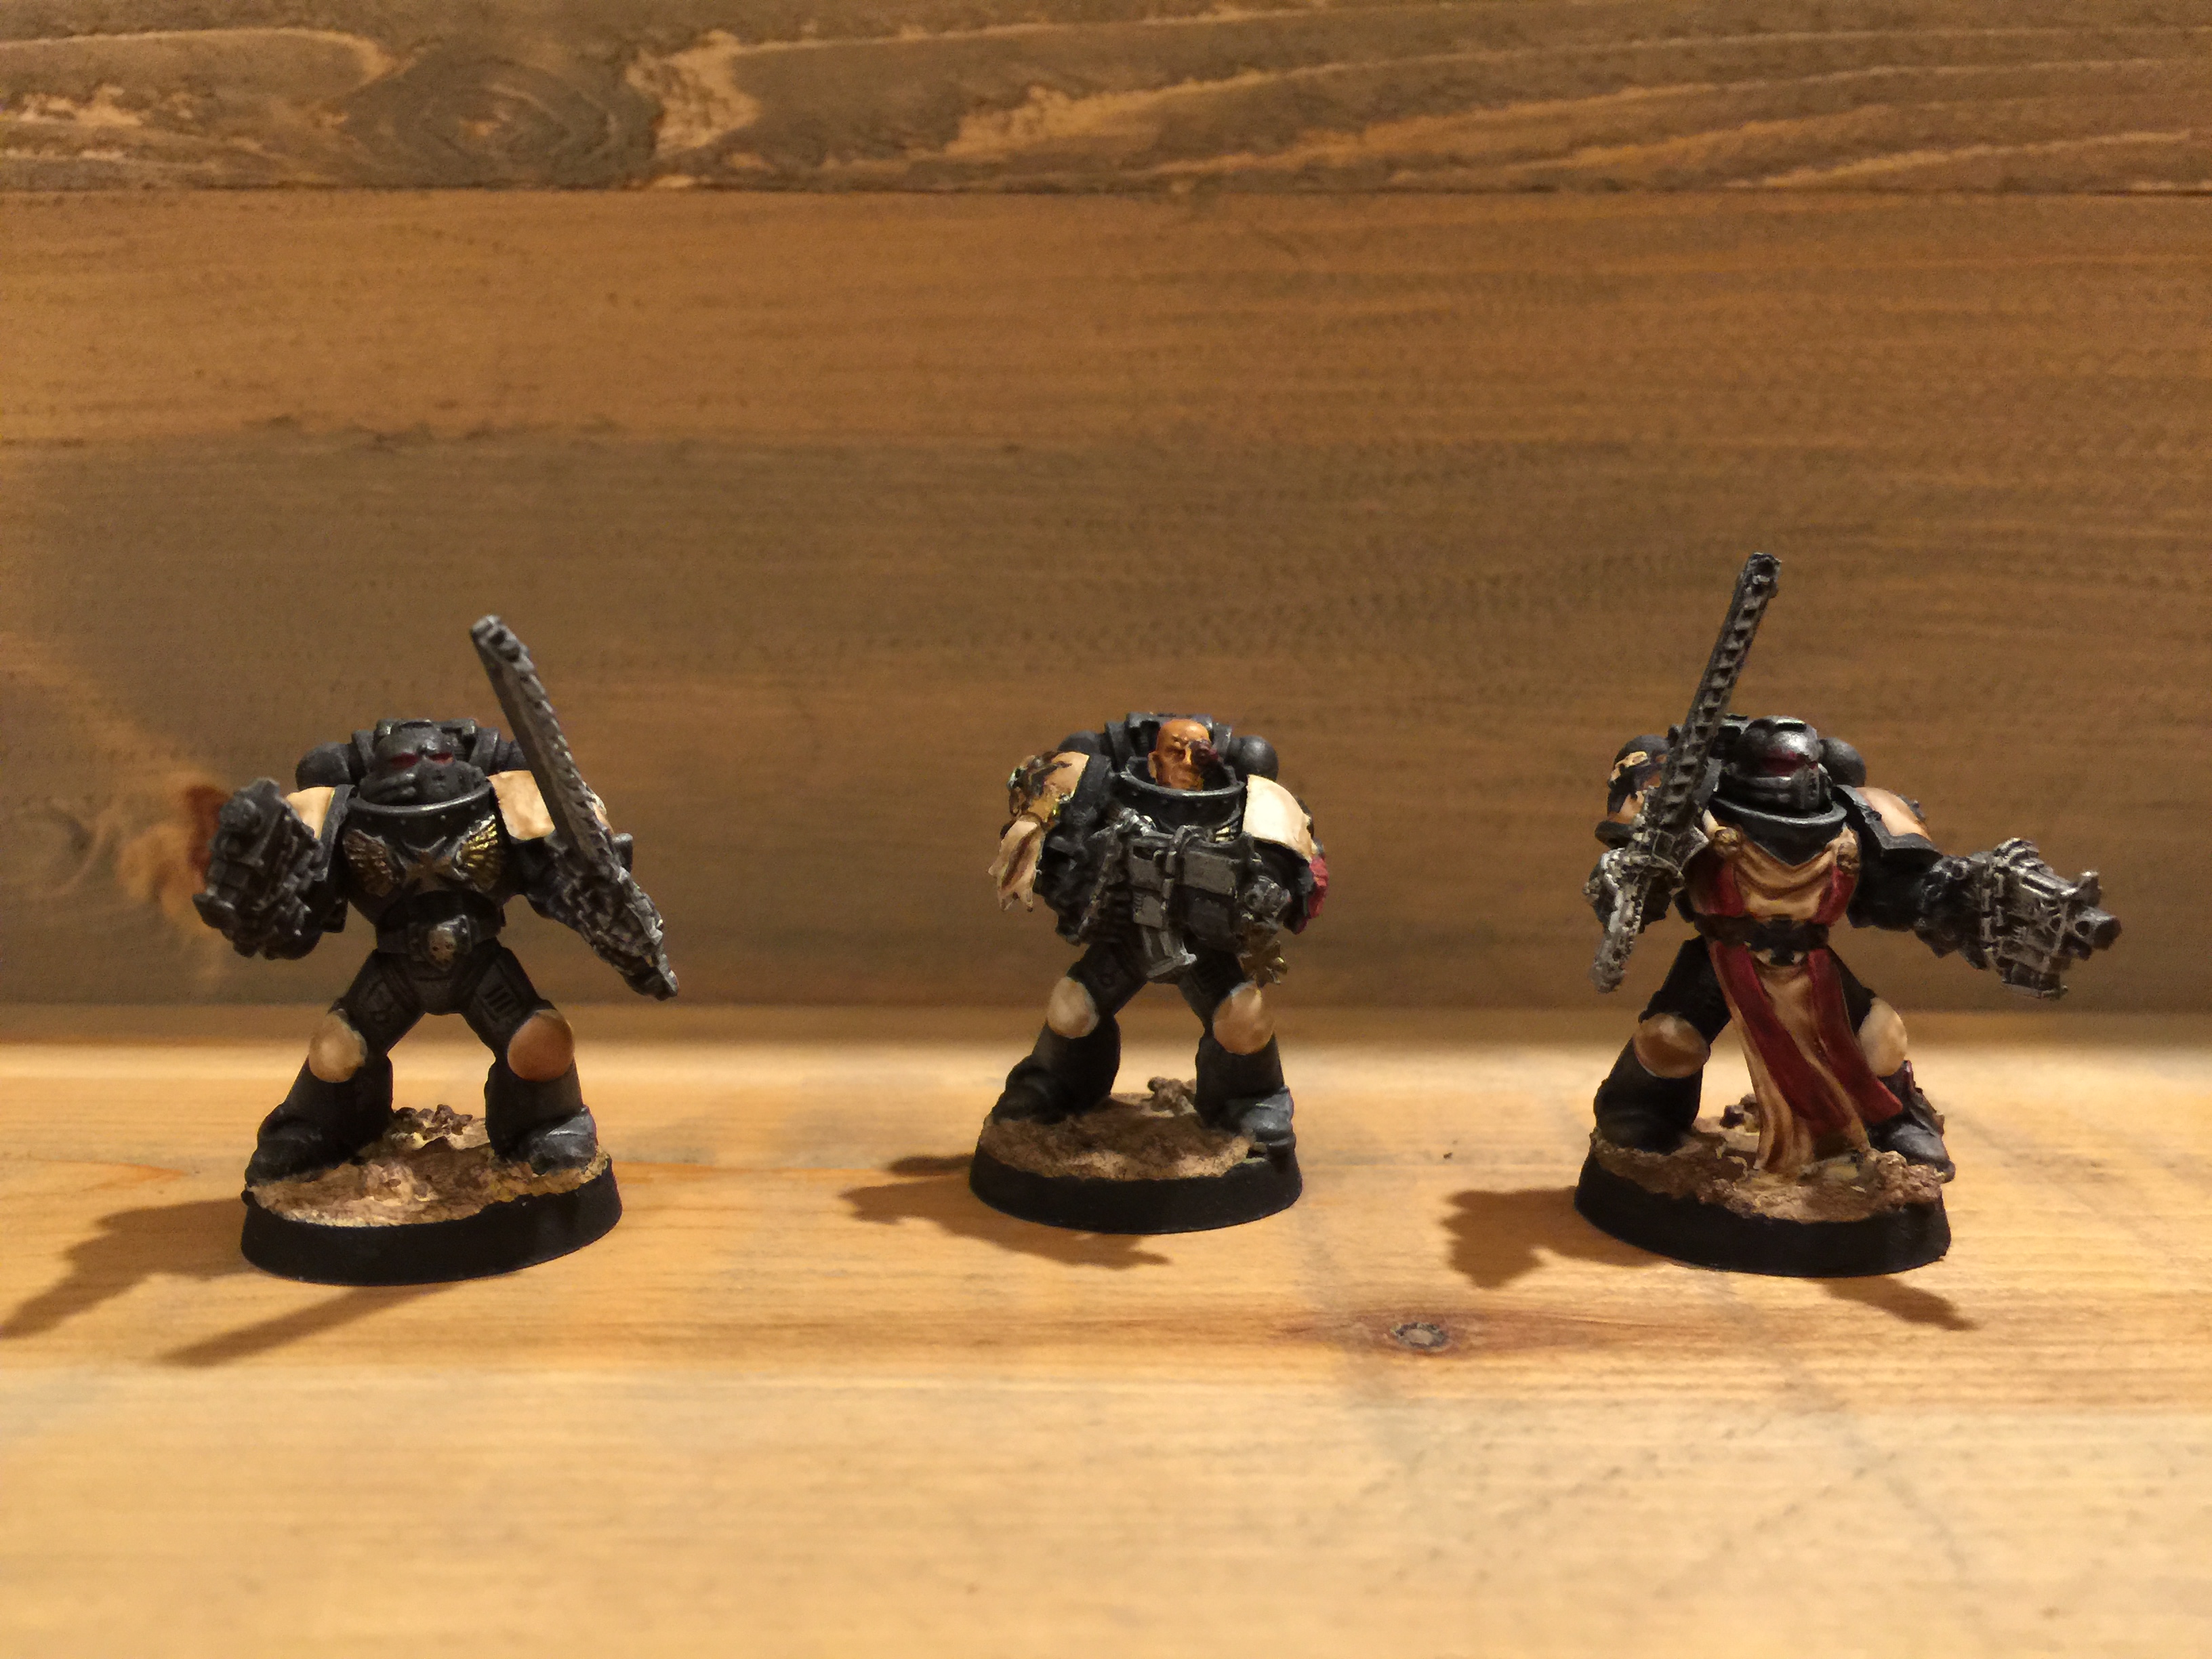
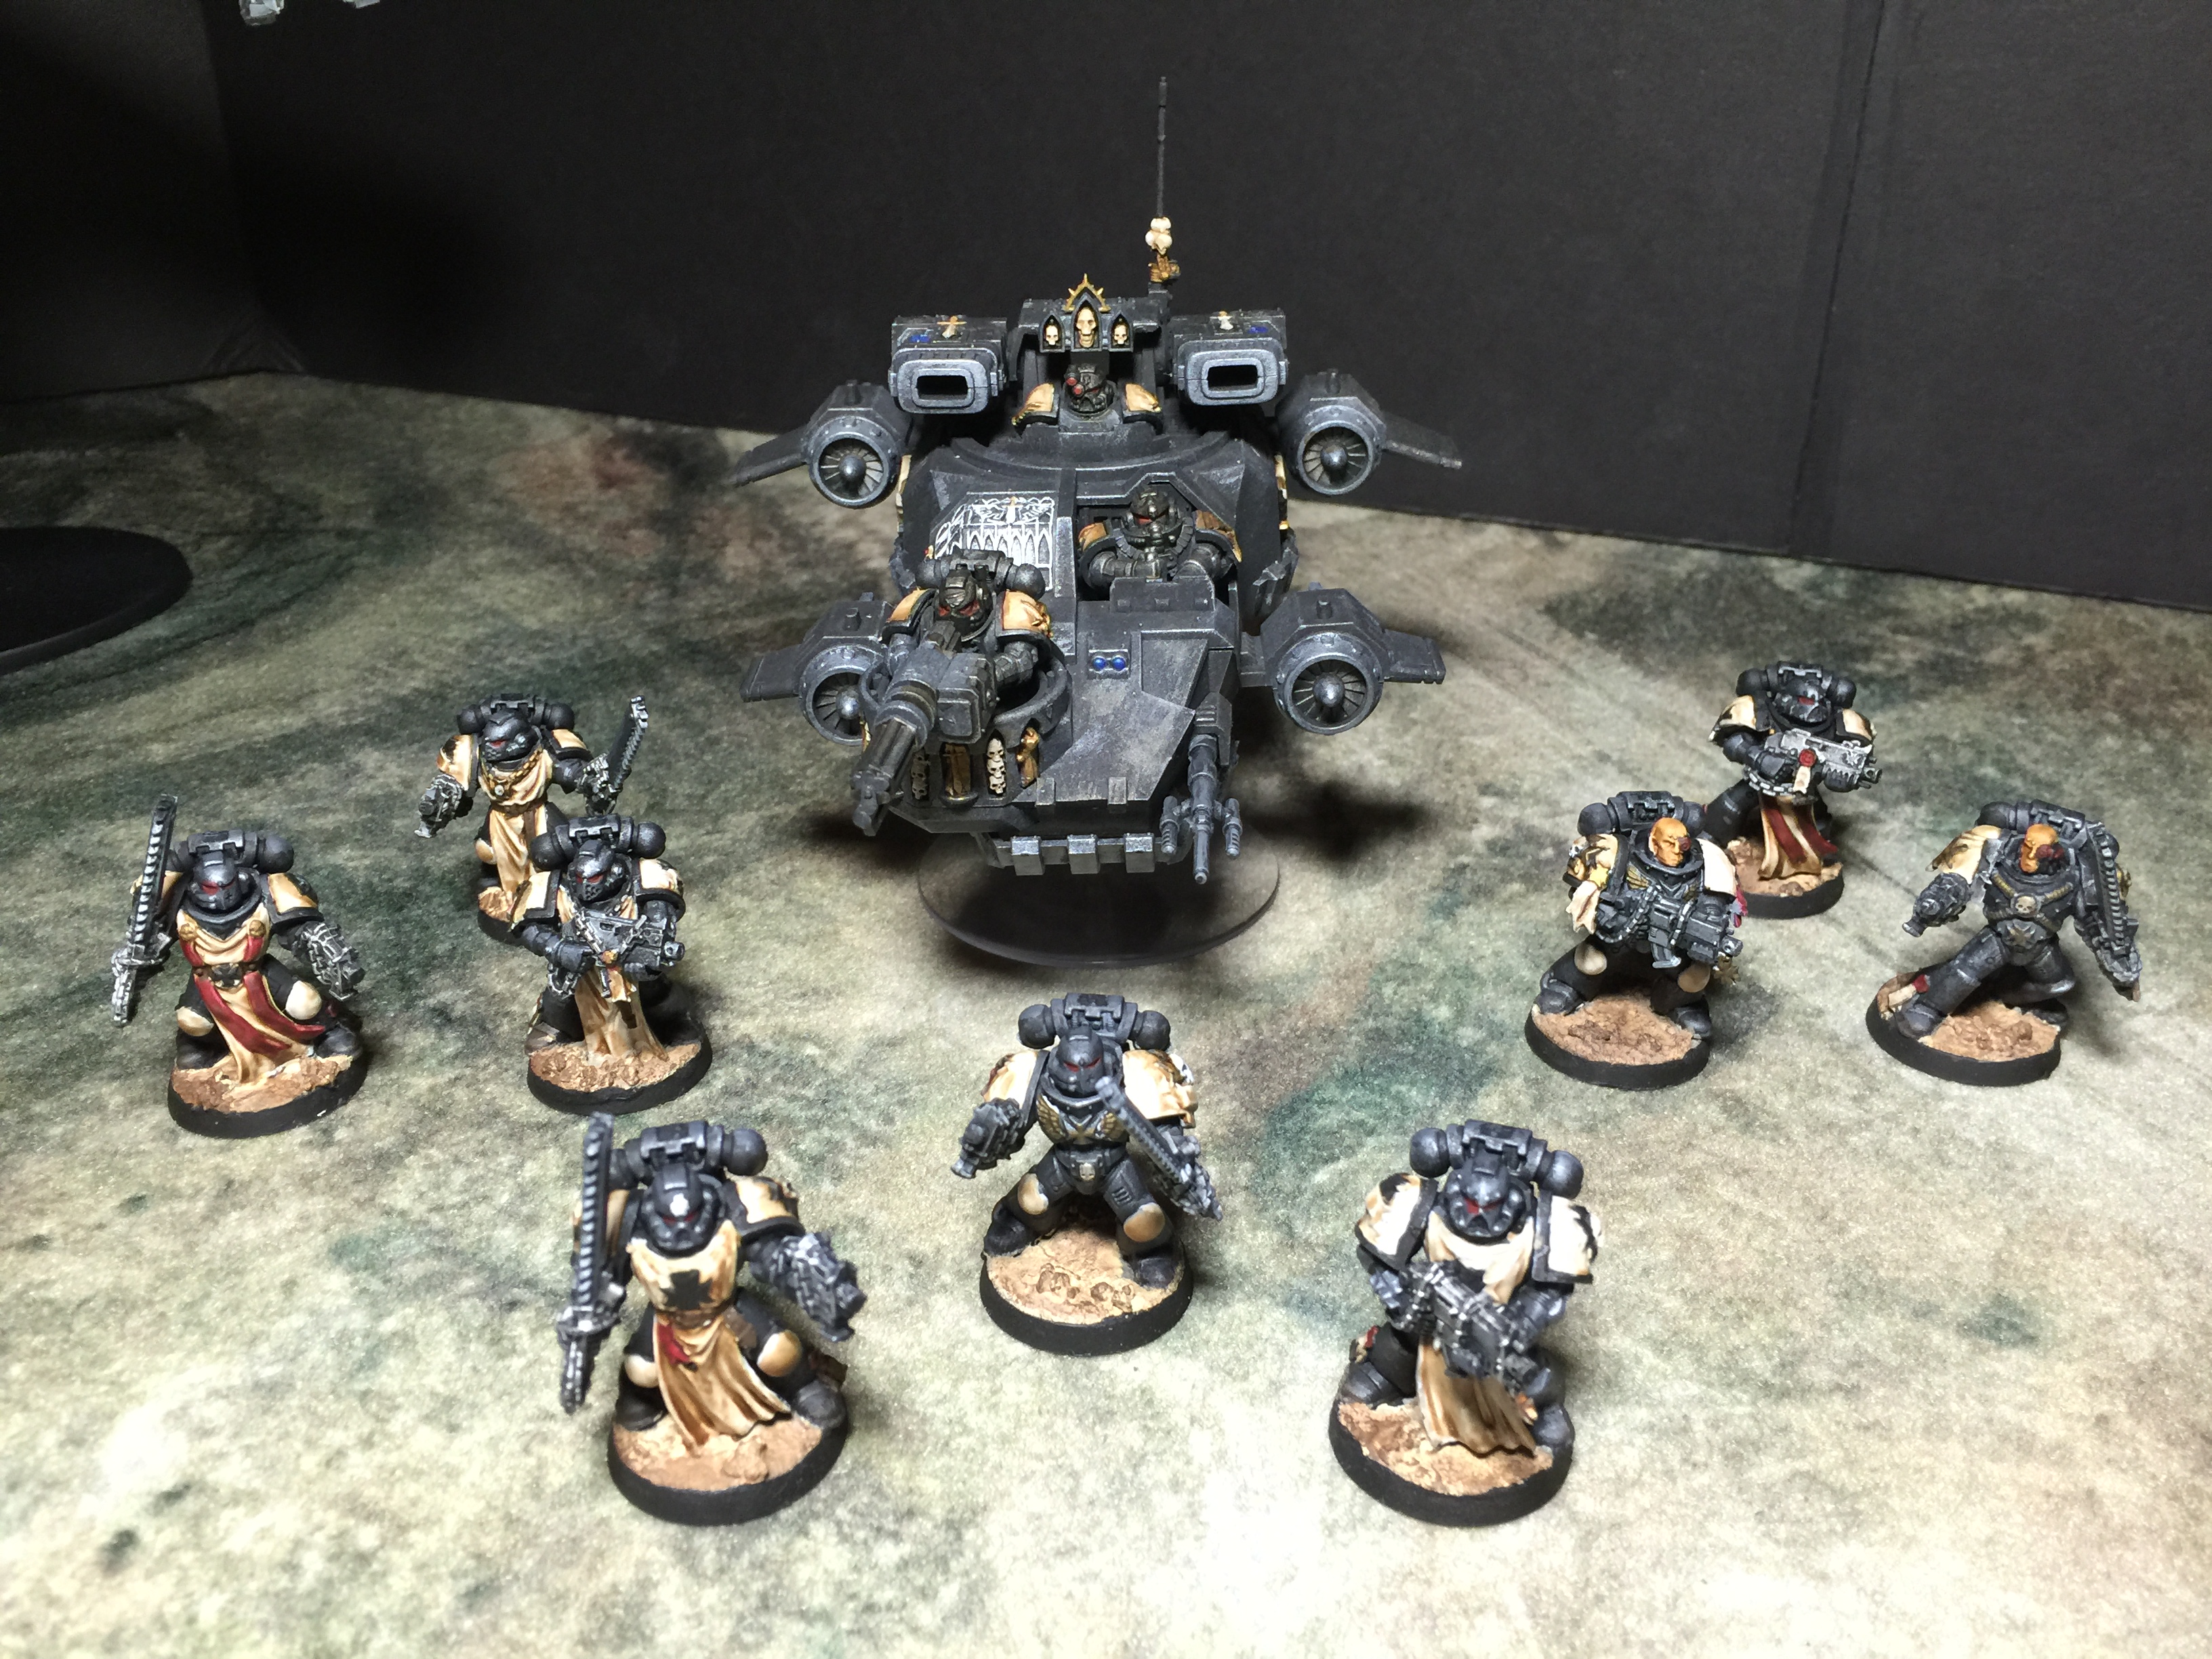
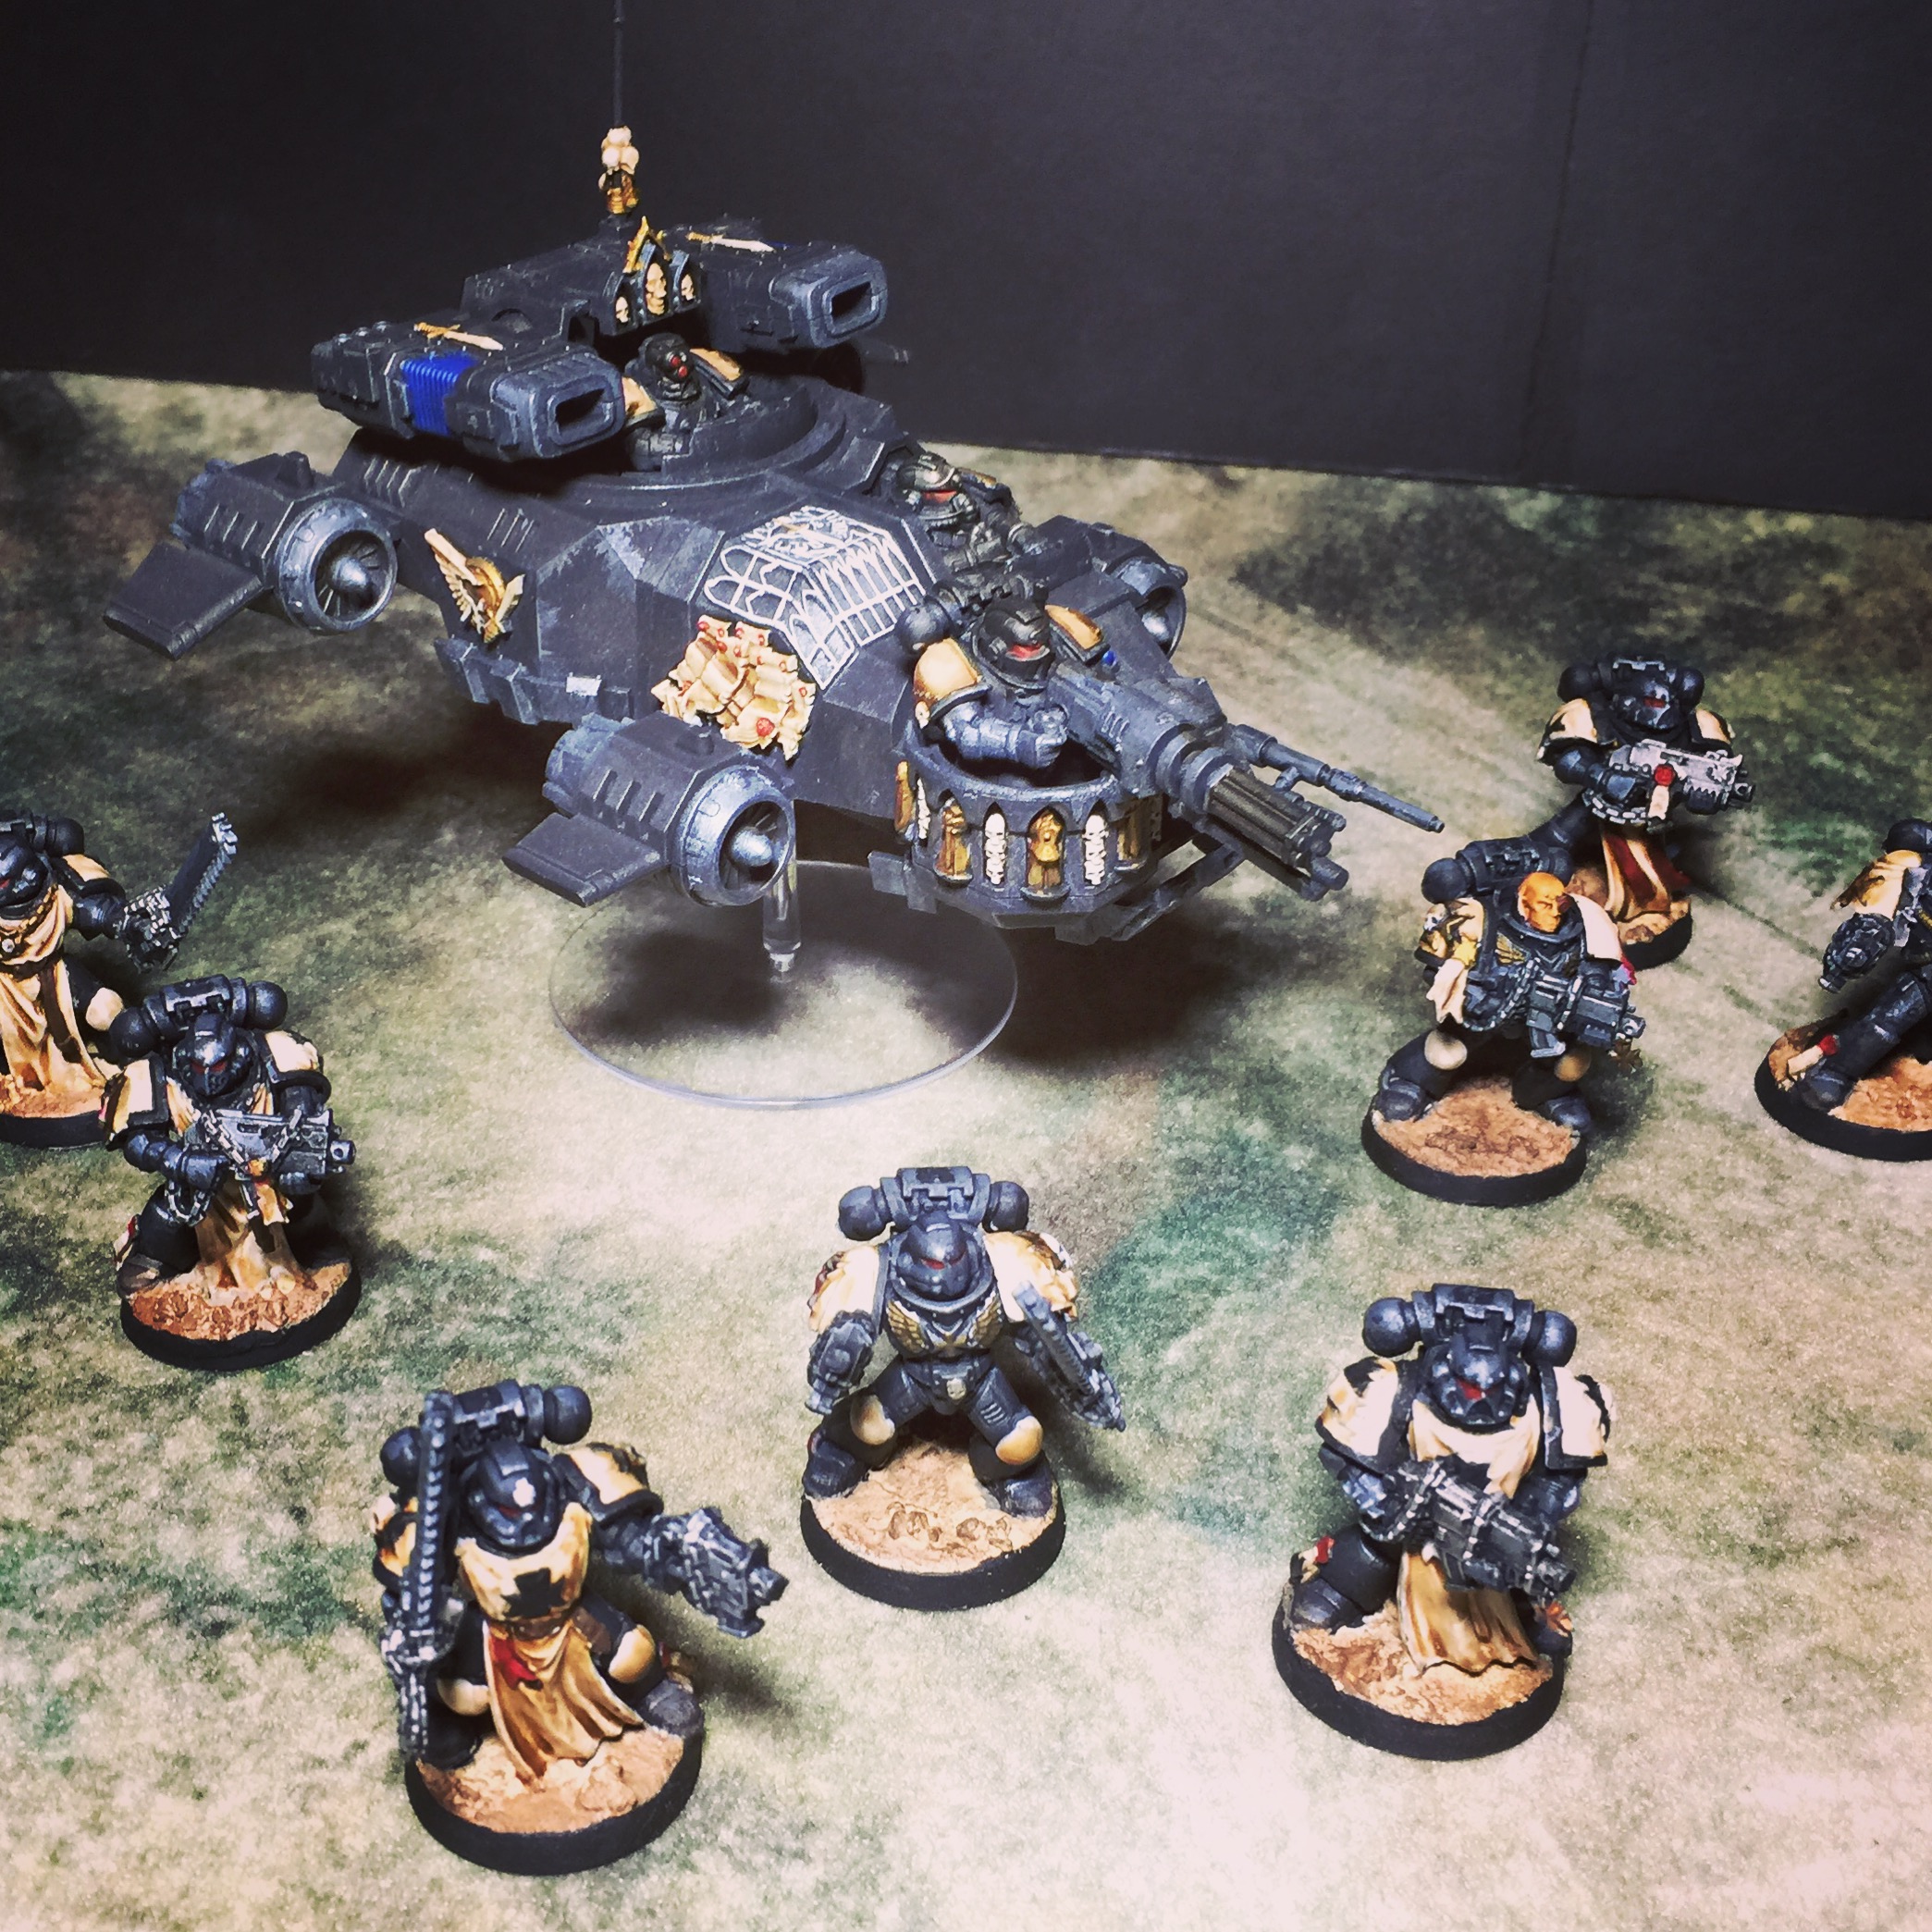
 Here are some test shots on the photo shelf.
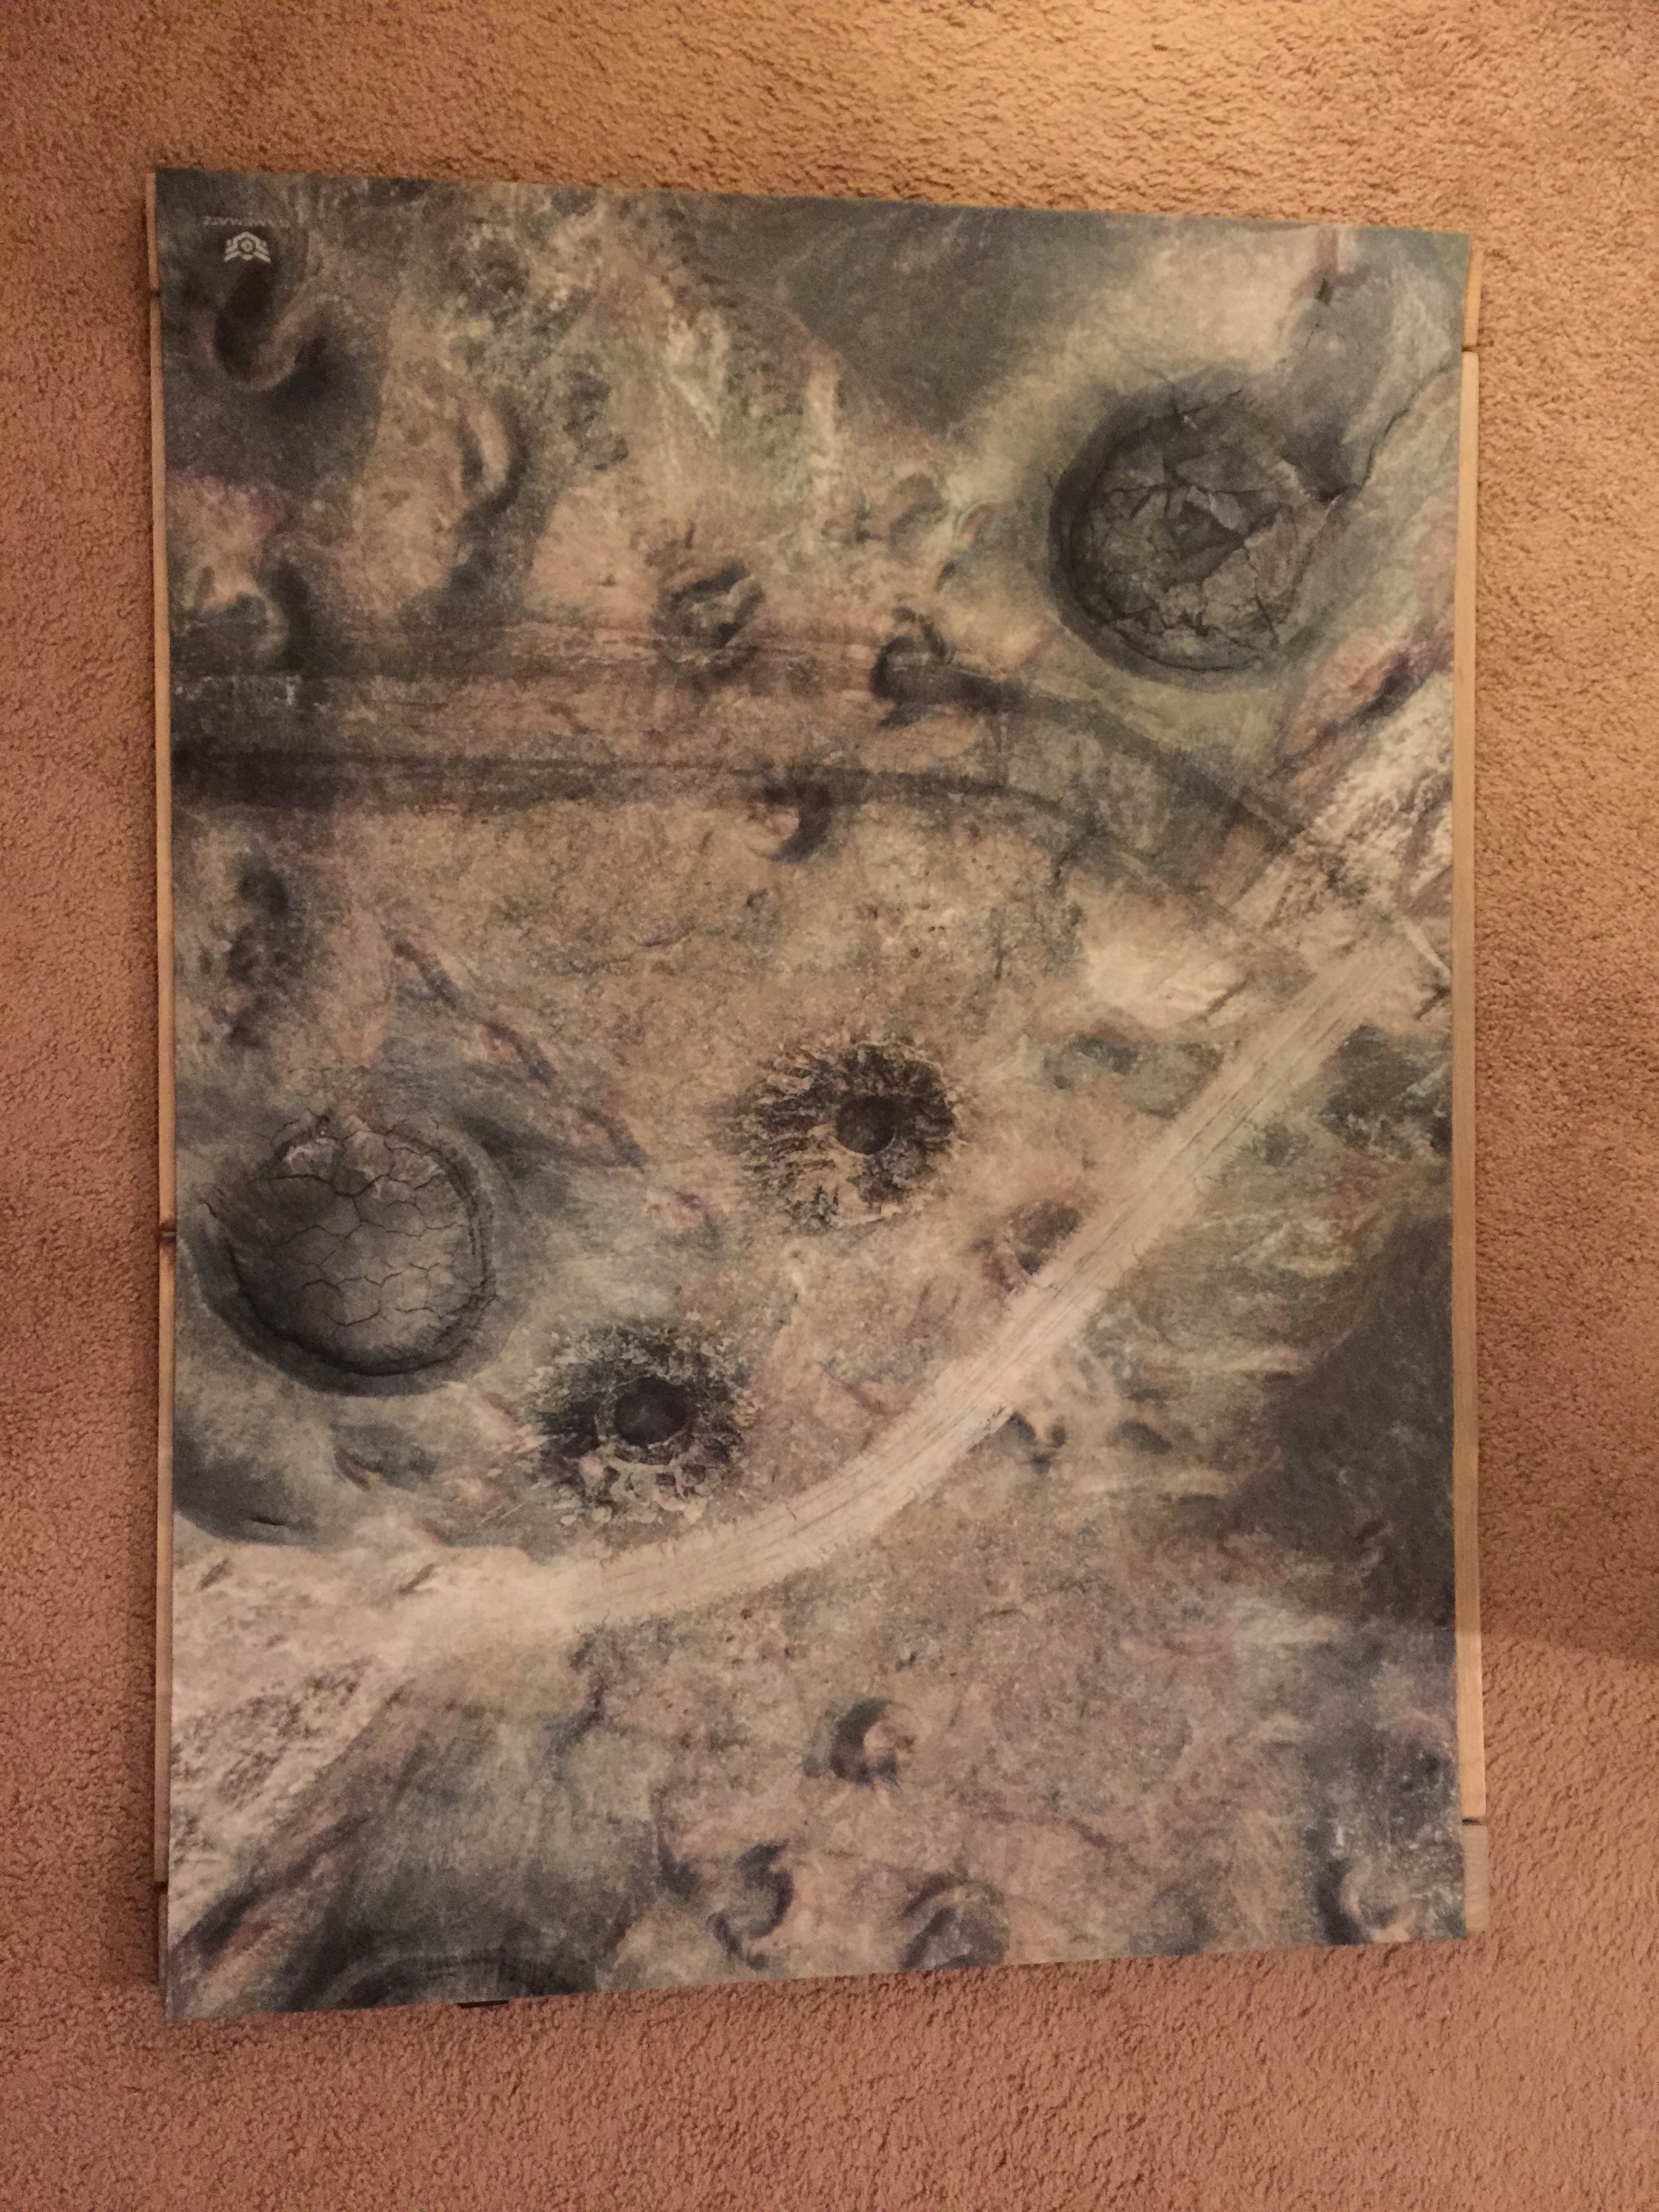
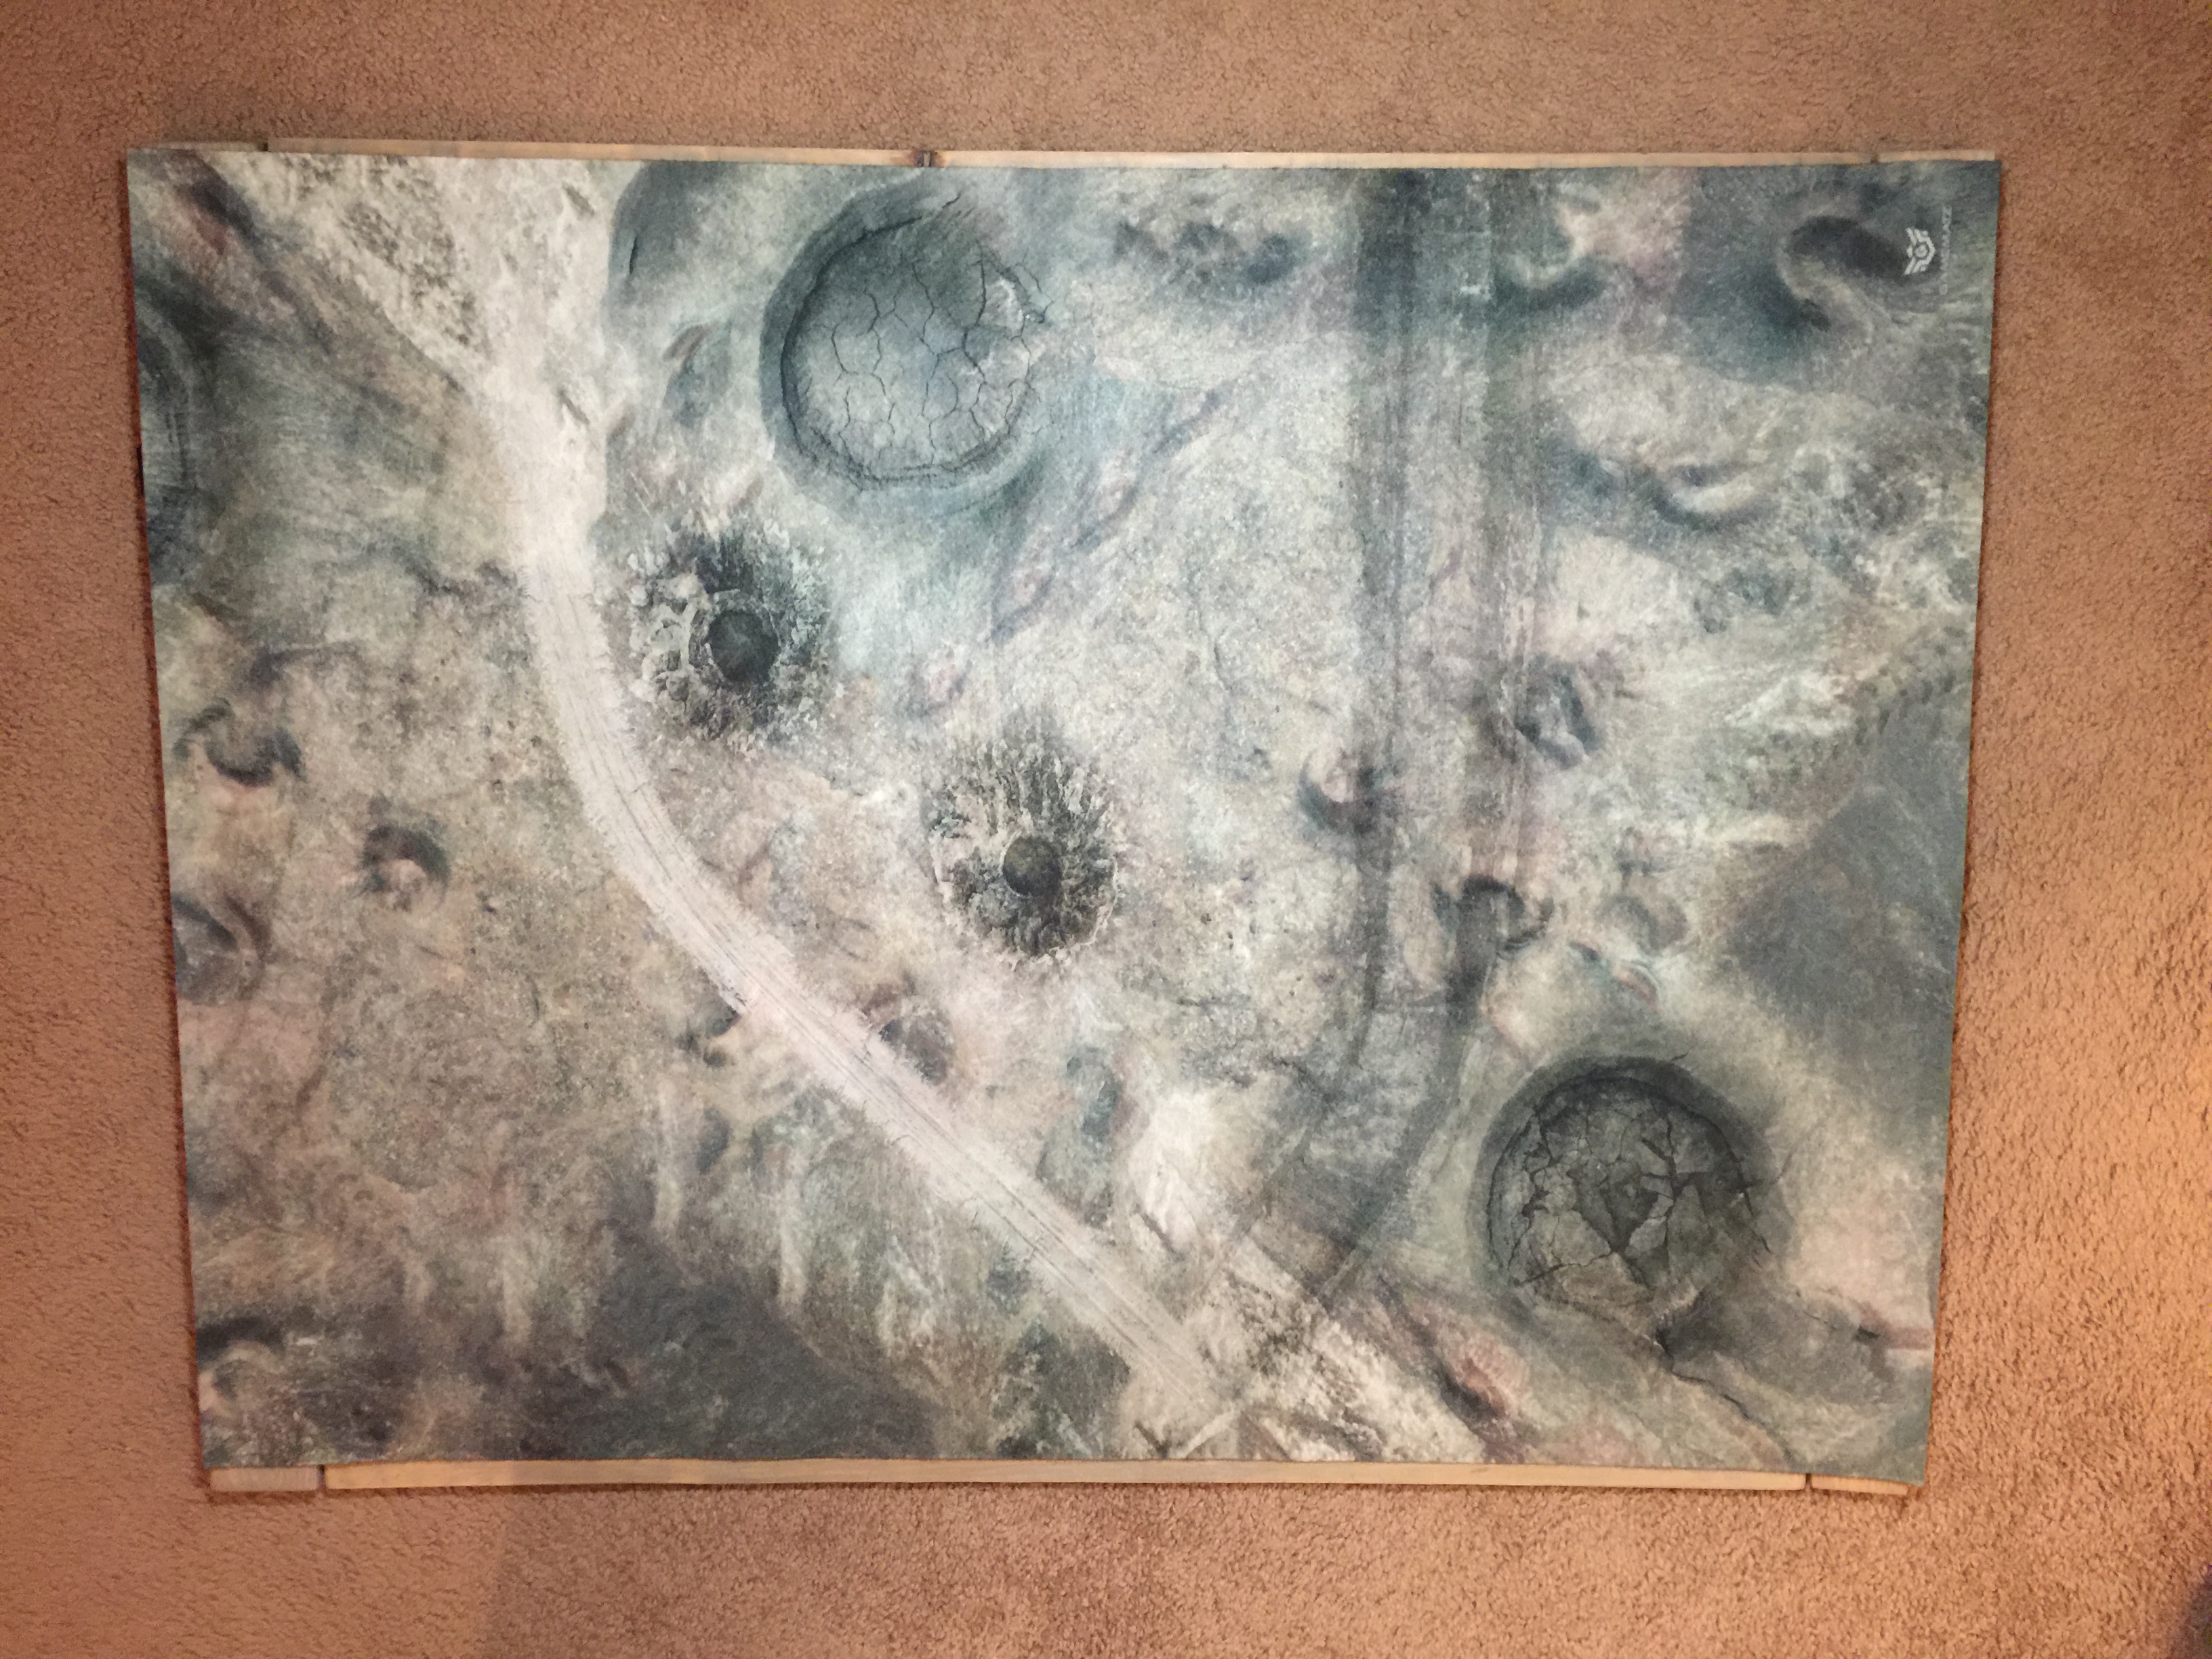
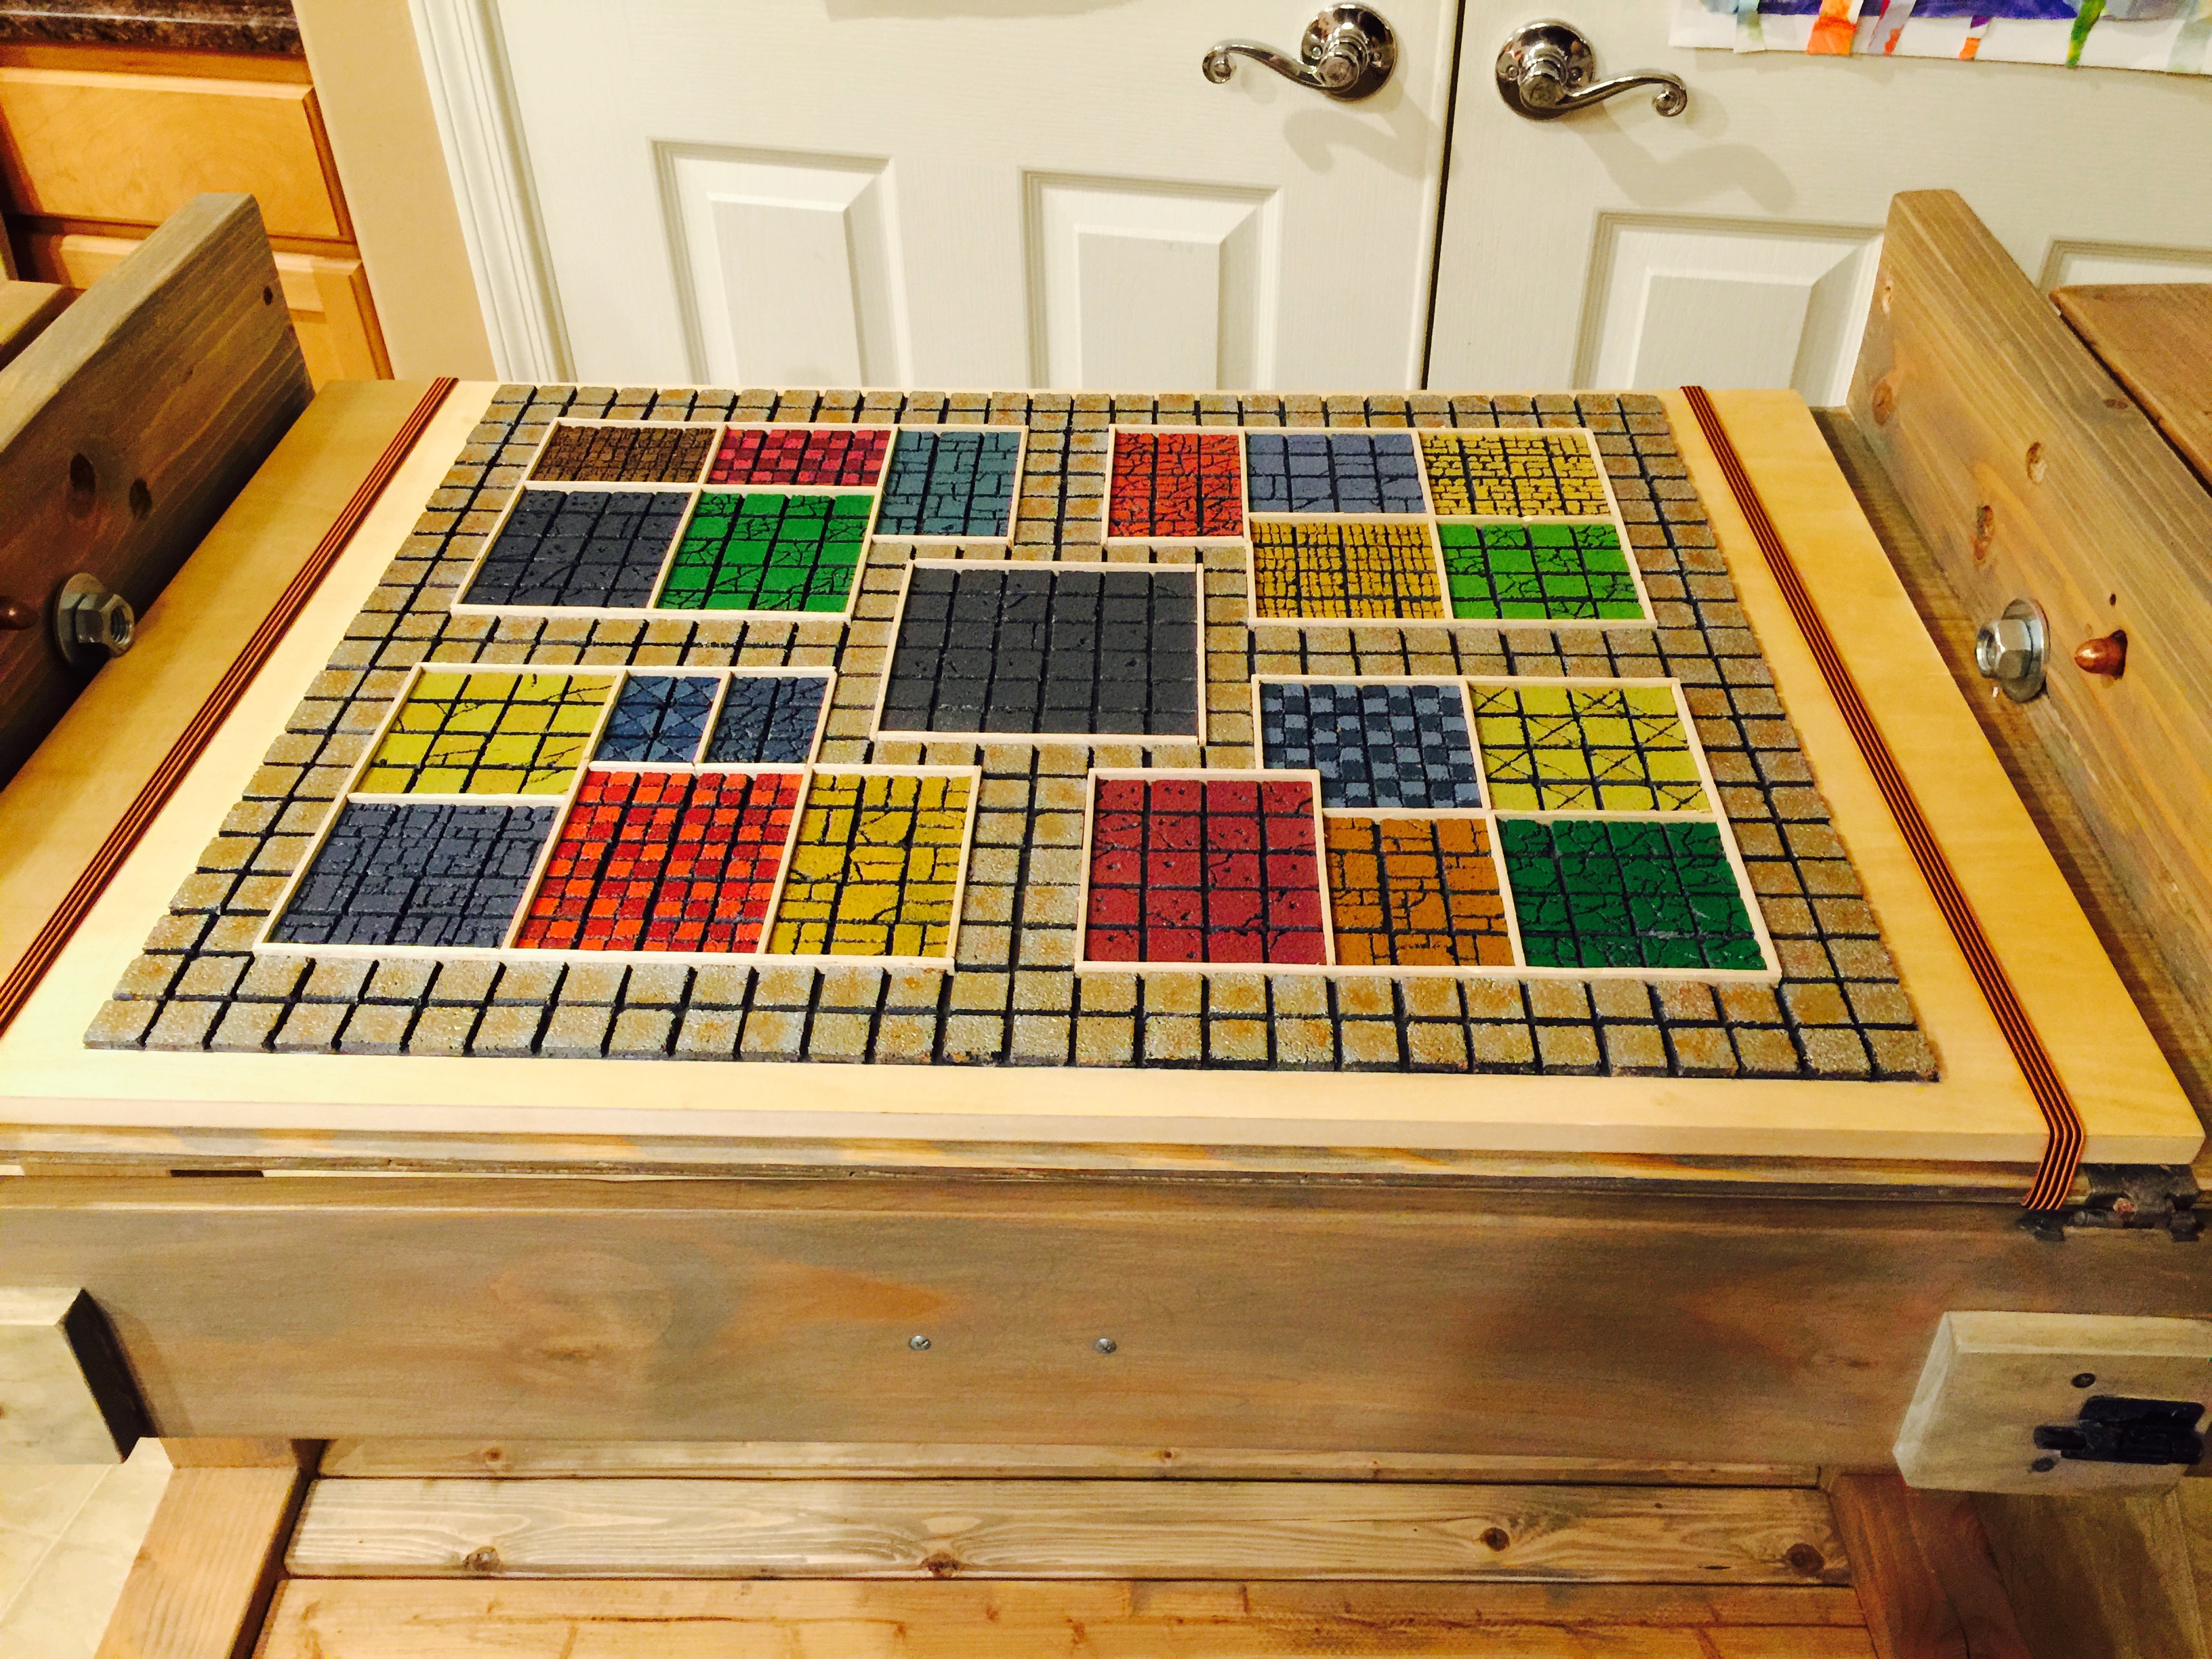
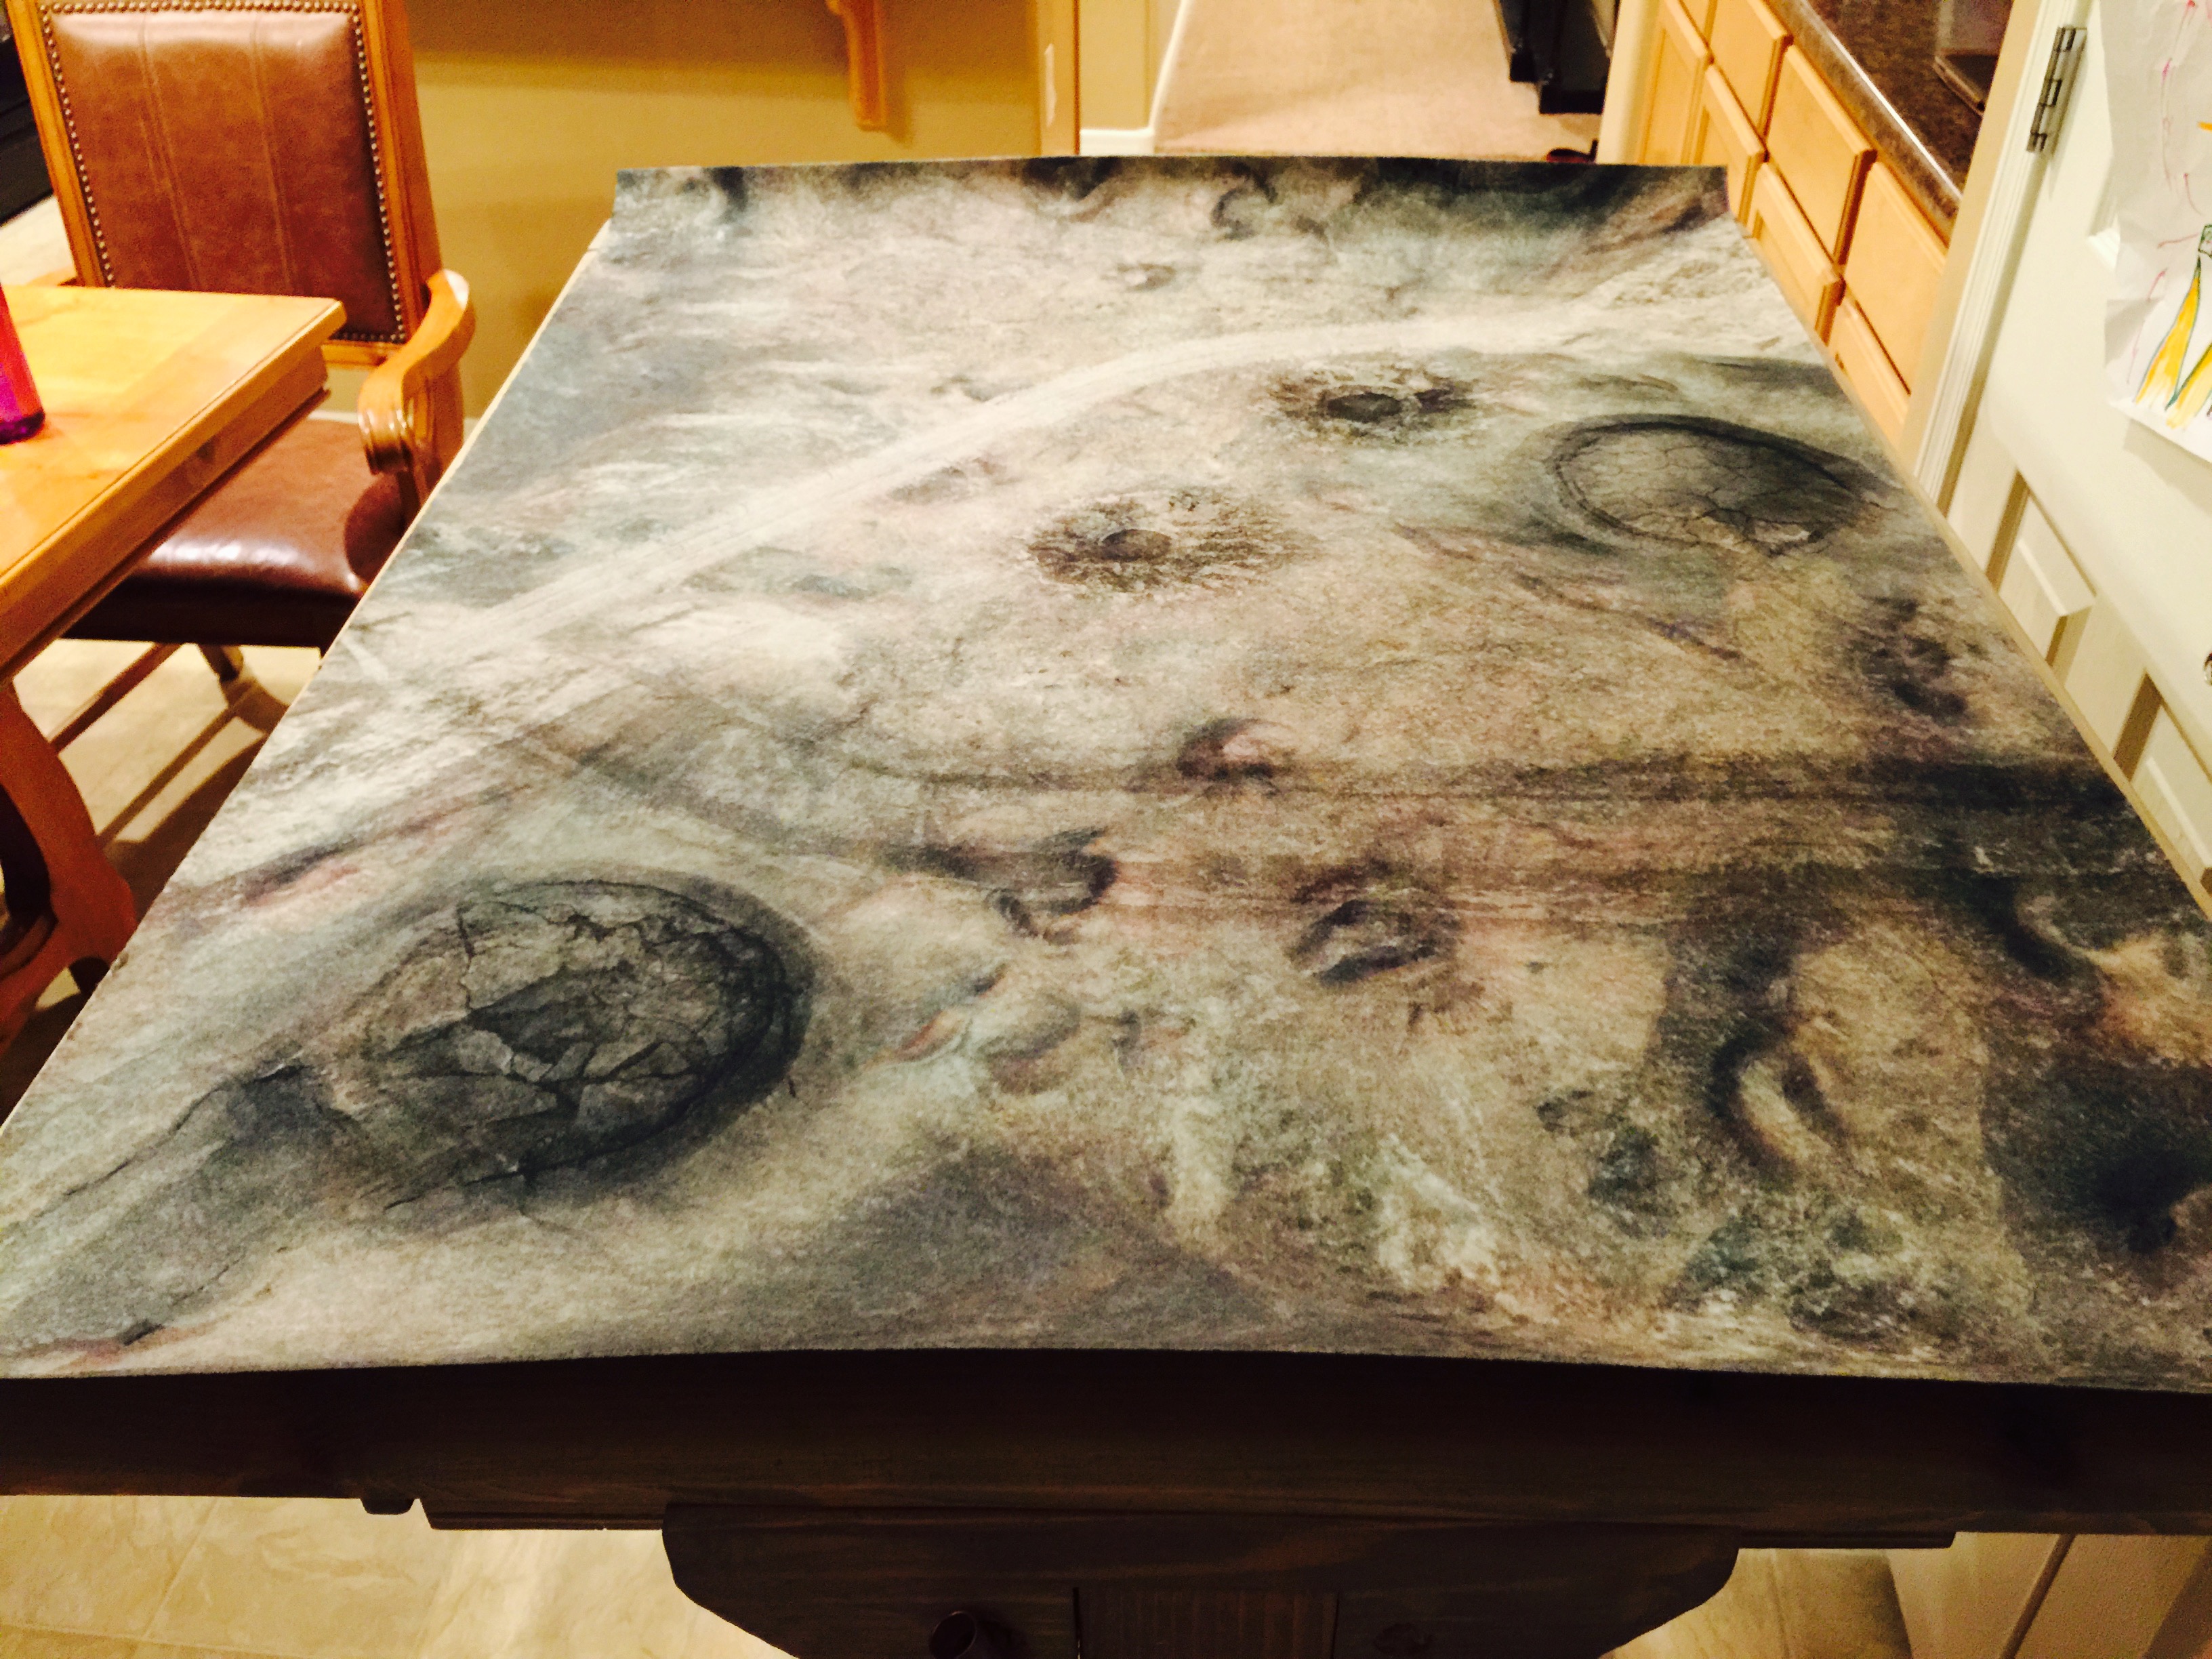
Here is the table after I maneuvered it into our guest bedroom and around furniture. You can also see how a 3’x4′ gaming mat fits on the table without the extender.
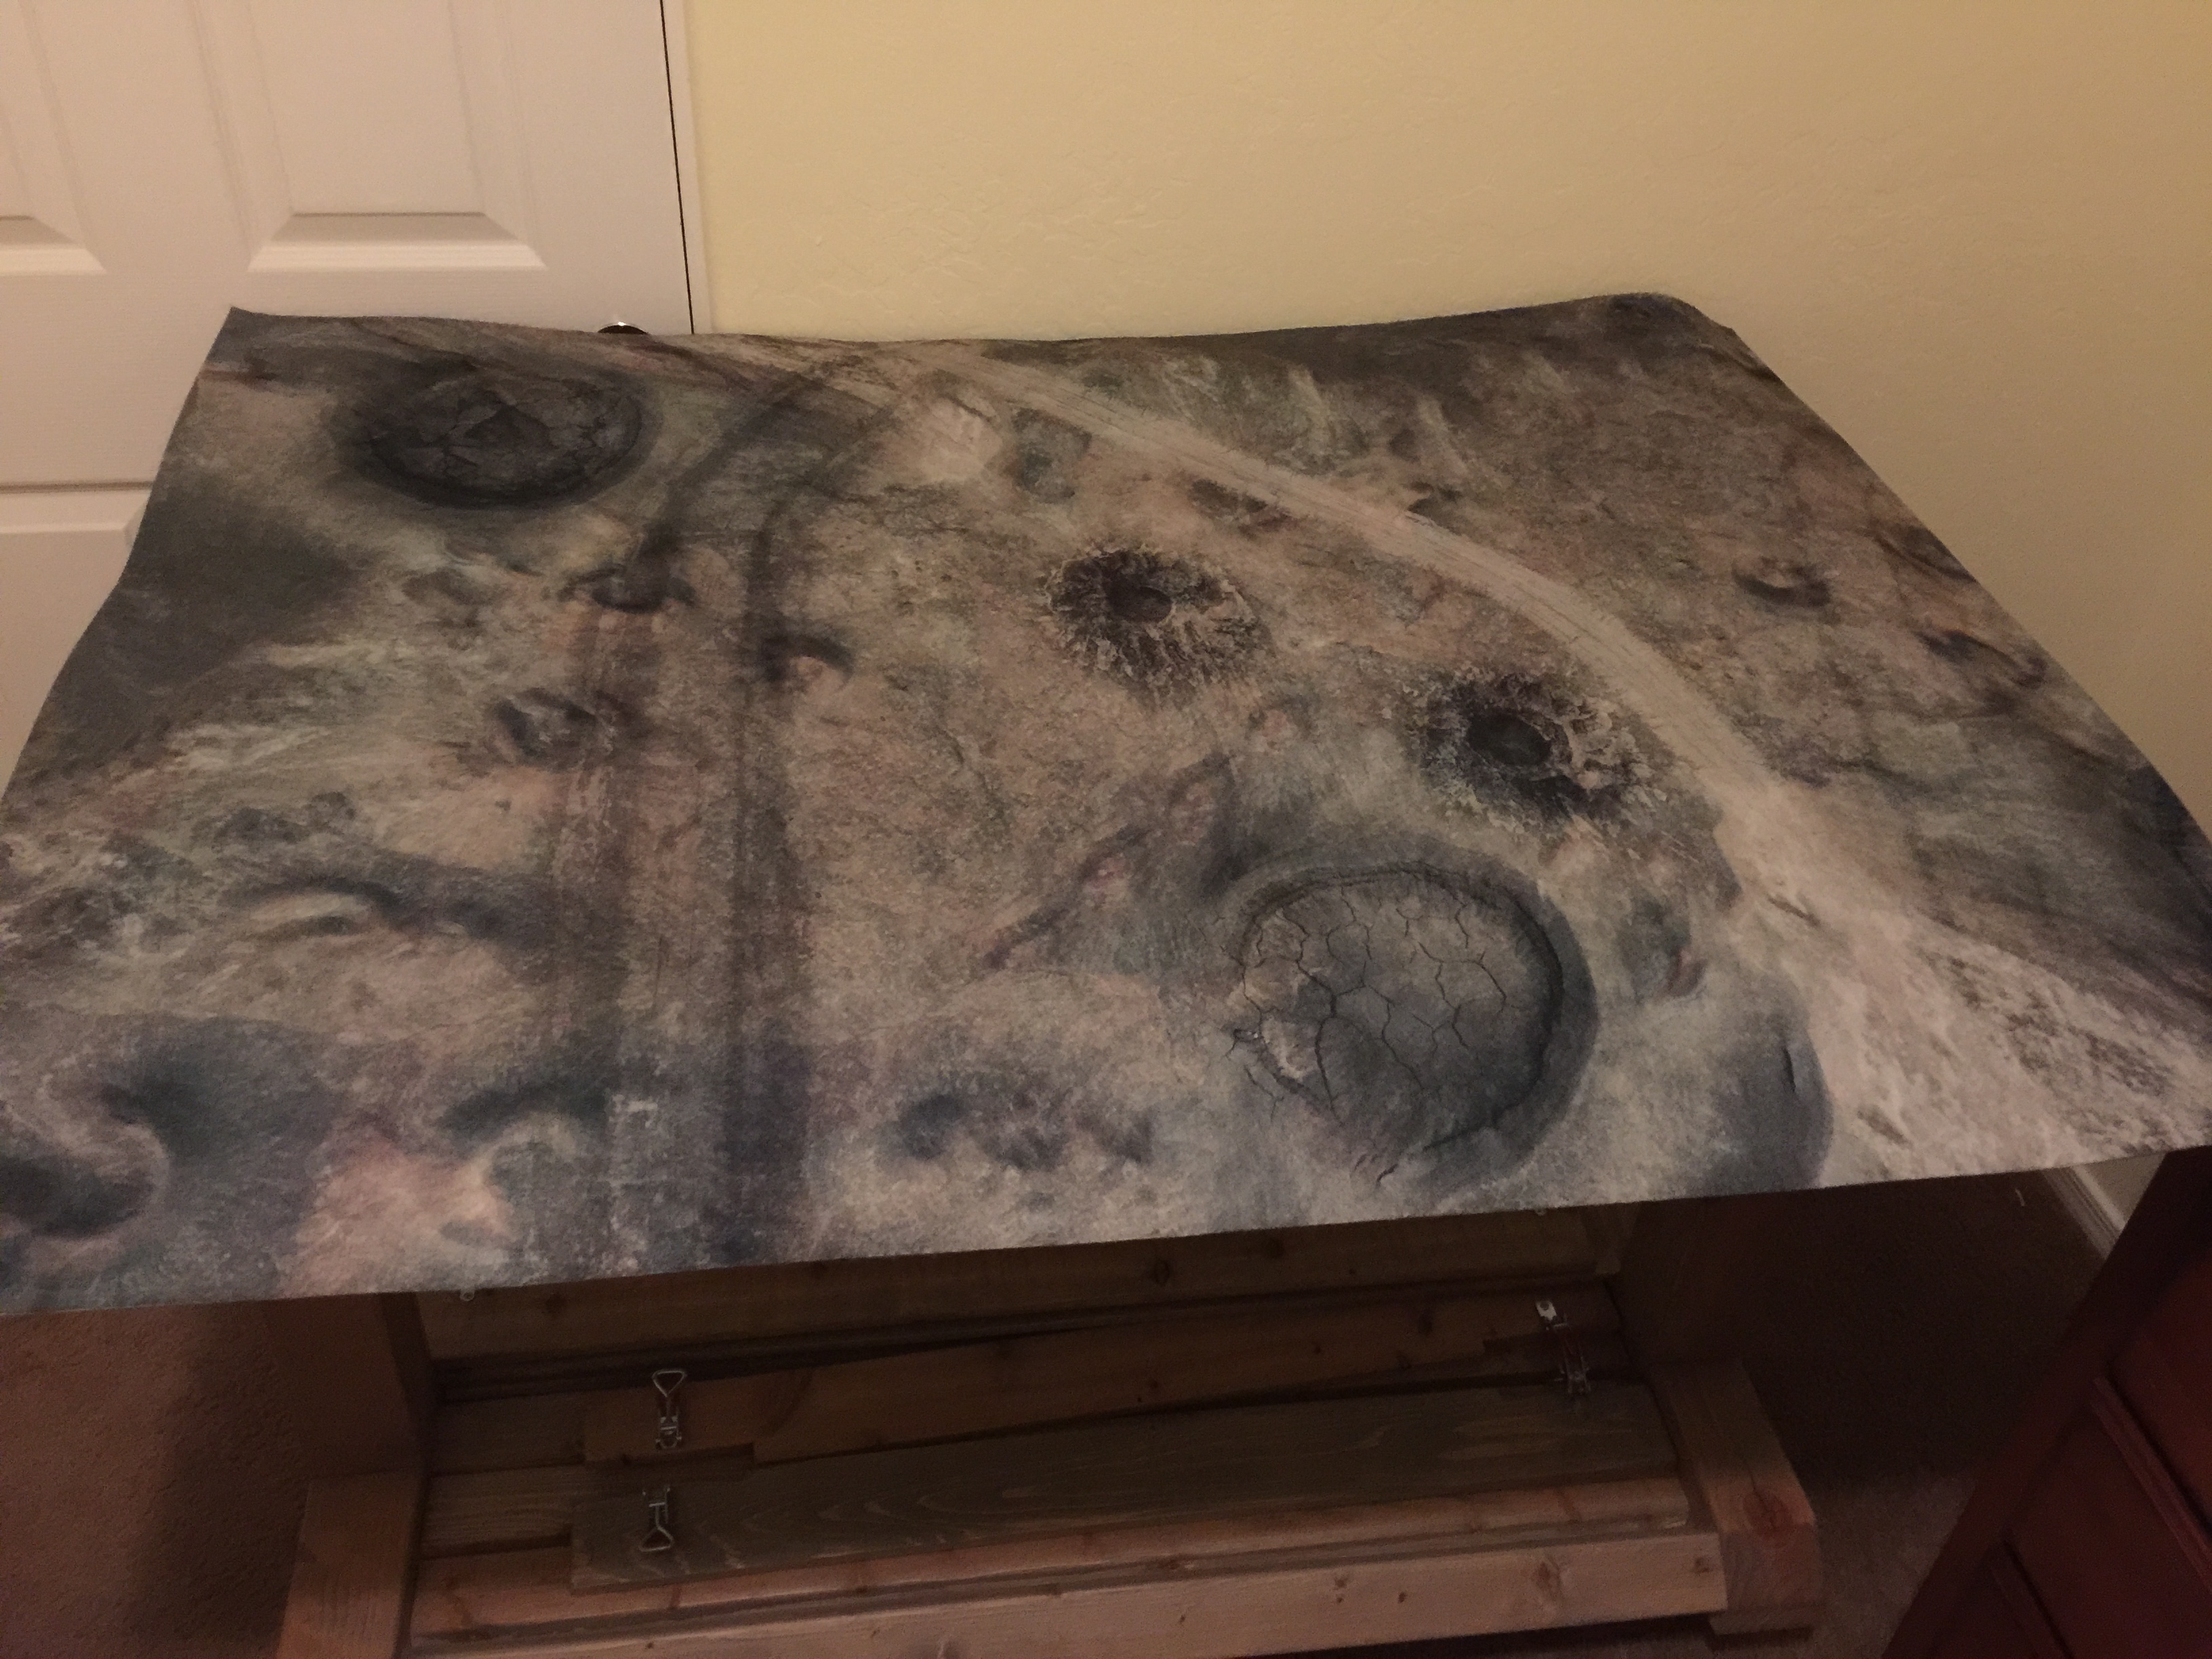
 Here is the full size table topper on the floor. I was testing to see if the game mat would fit. It fits perfectly.
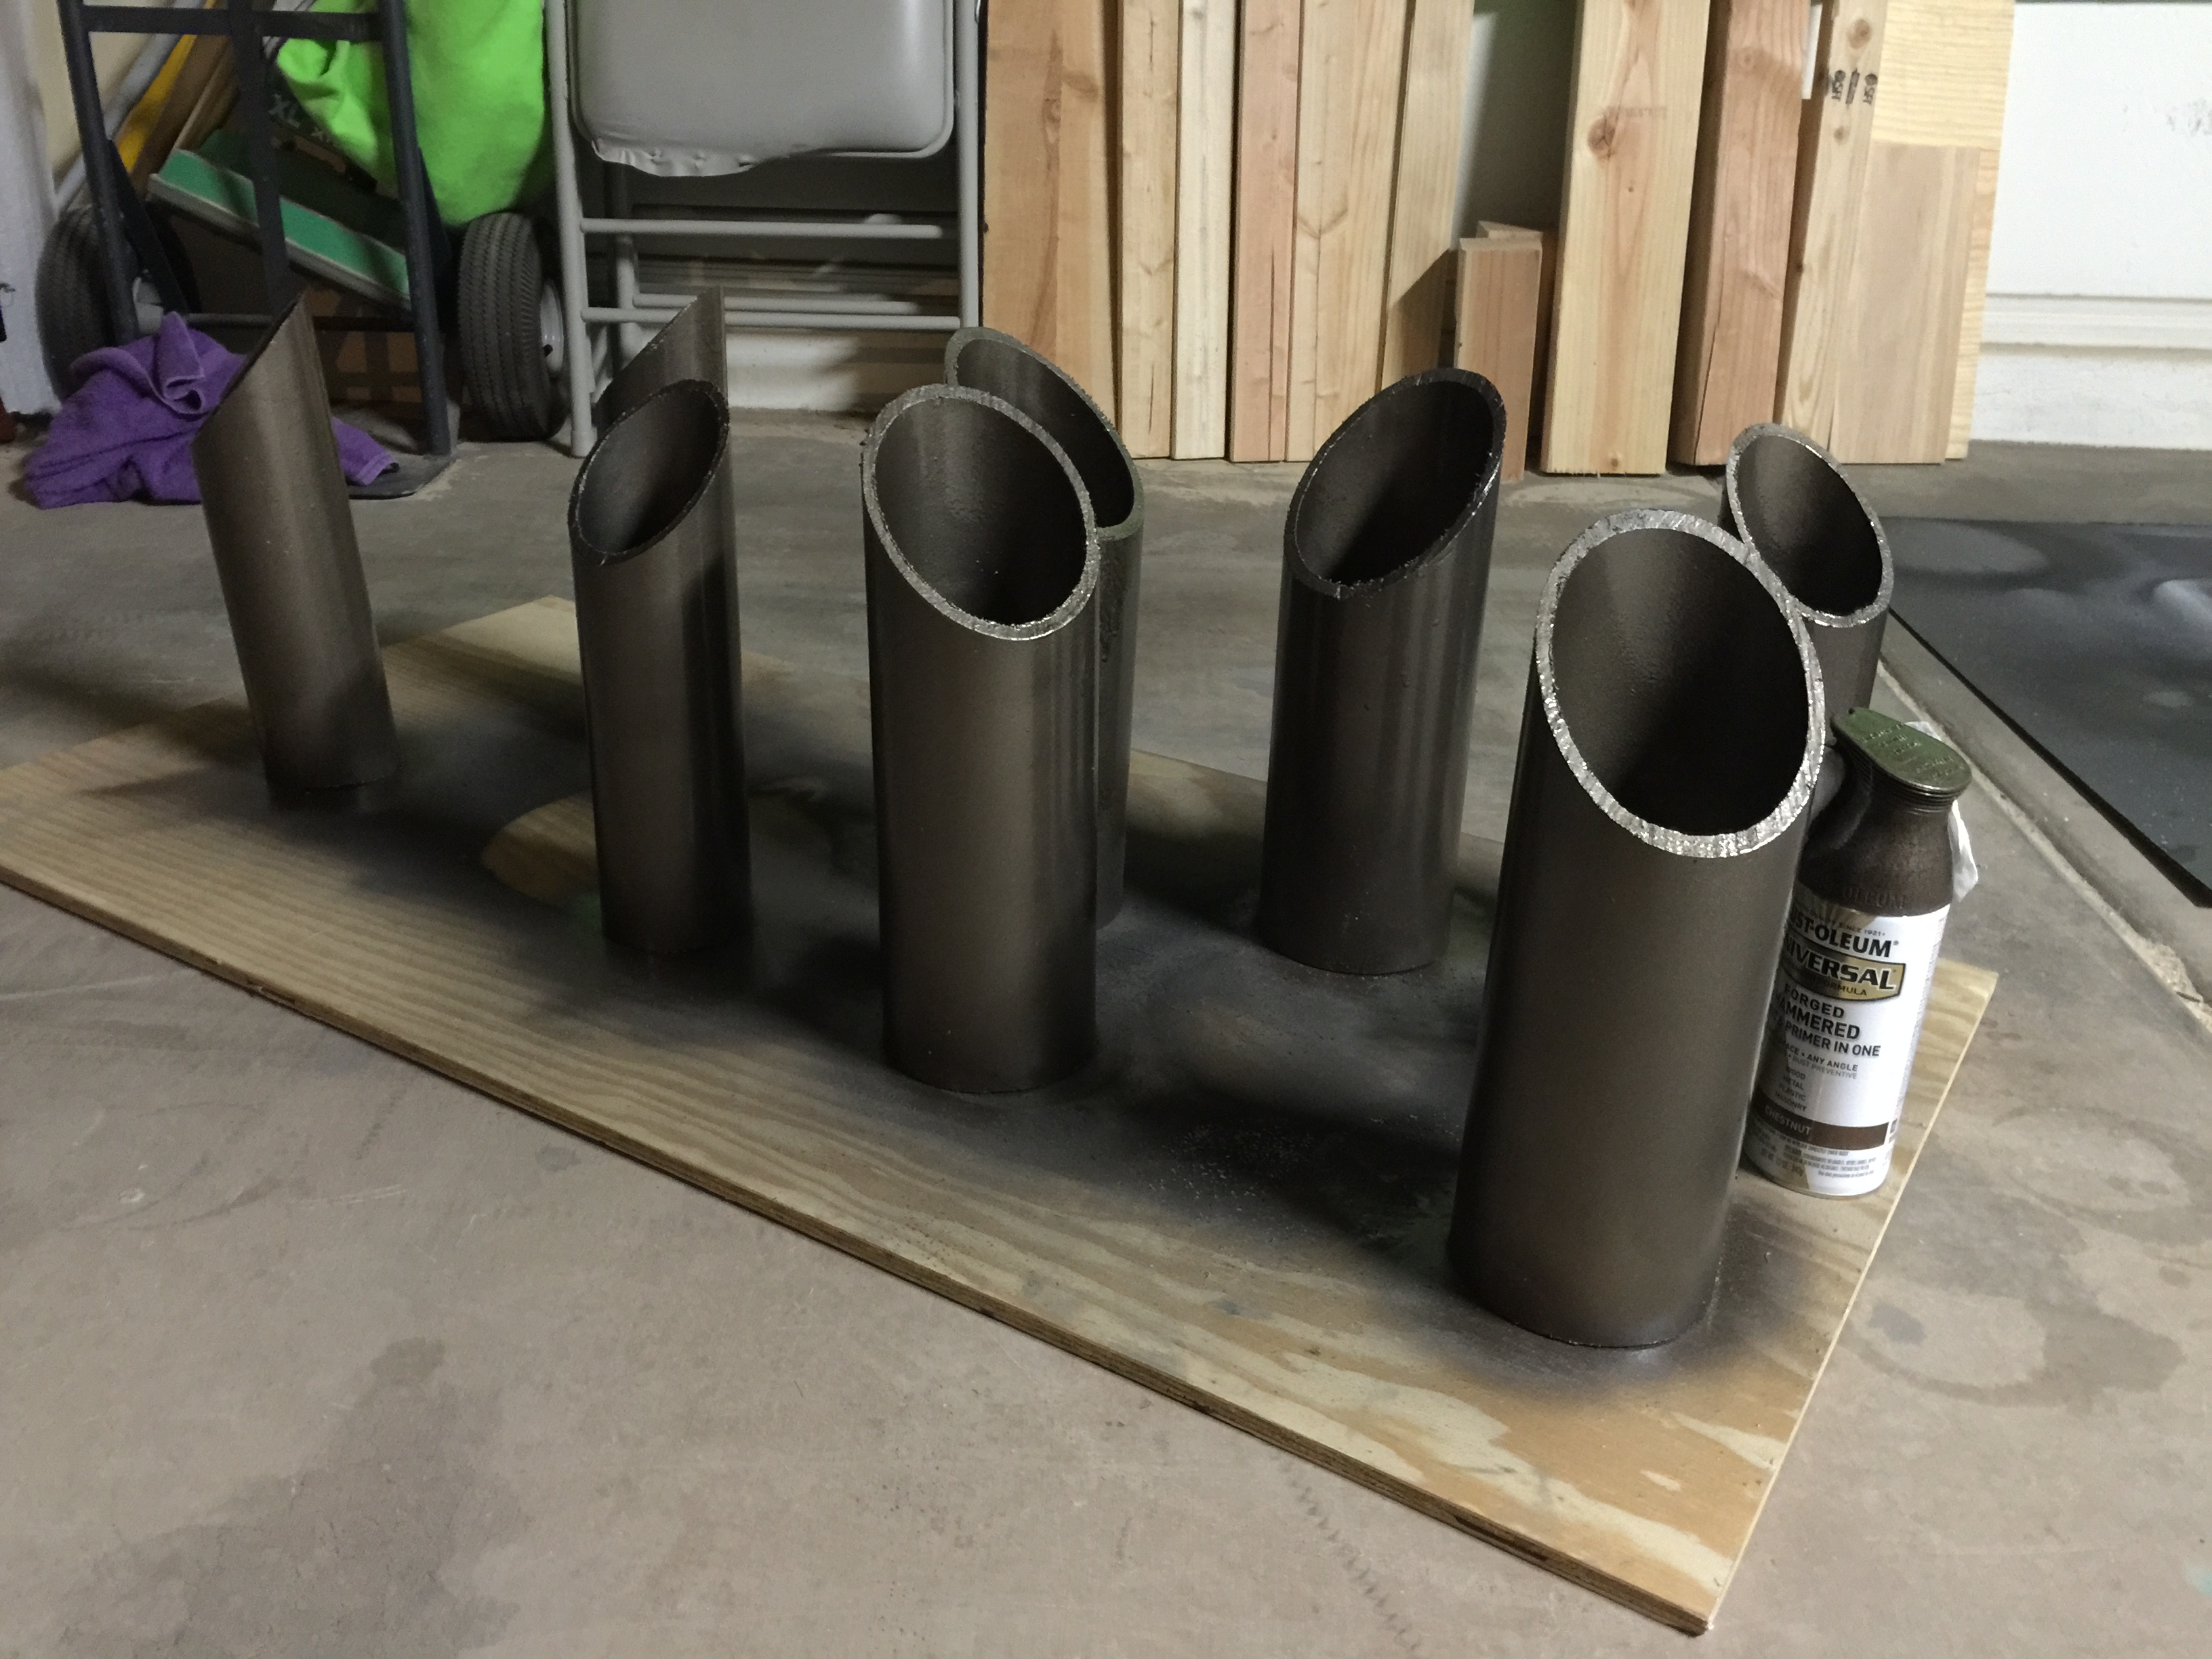
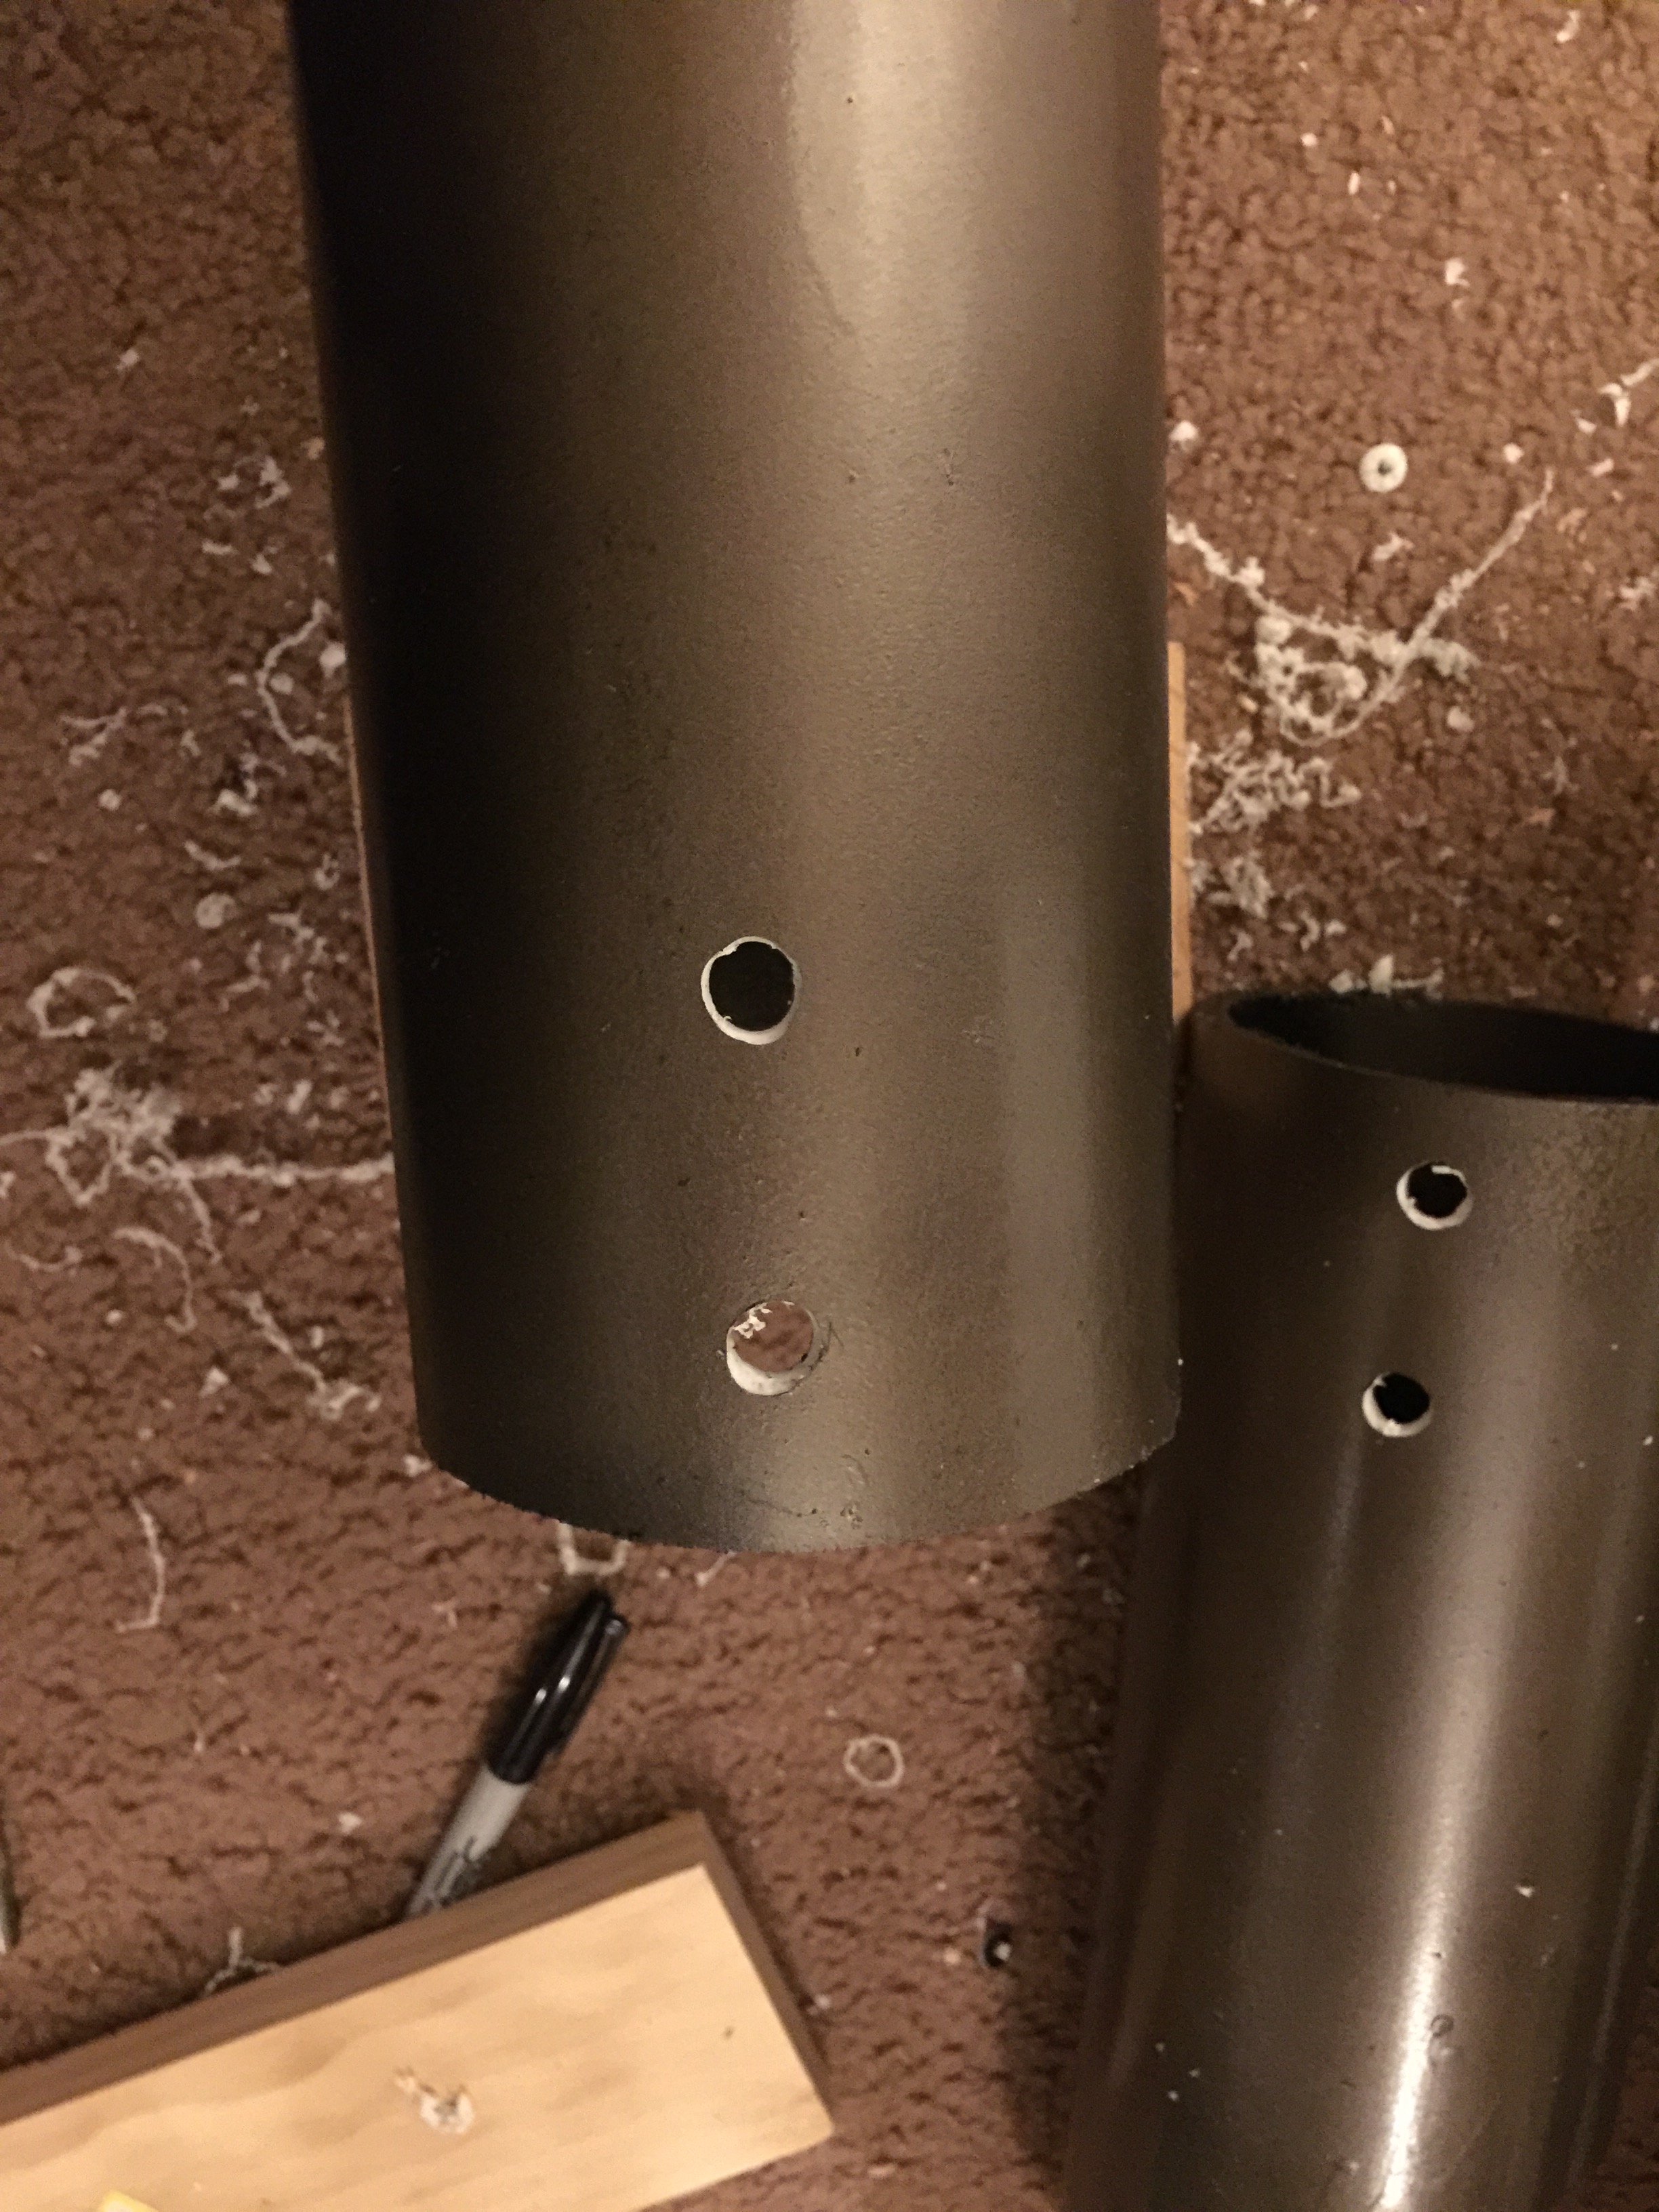
The table is now ready to add PVC piping for the custom mat storage system. I used 3″ and 5″ PVC pipes. I used iron furniture spray paint to make these pipes look like old sewer lines. Go ahead and add these to the table legs.

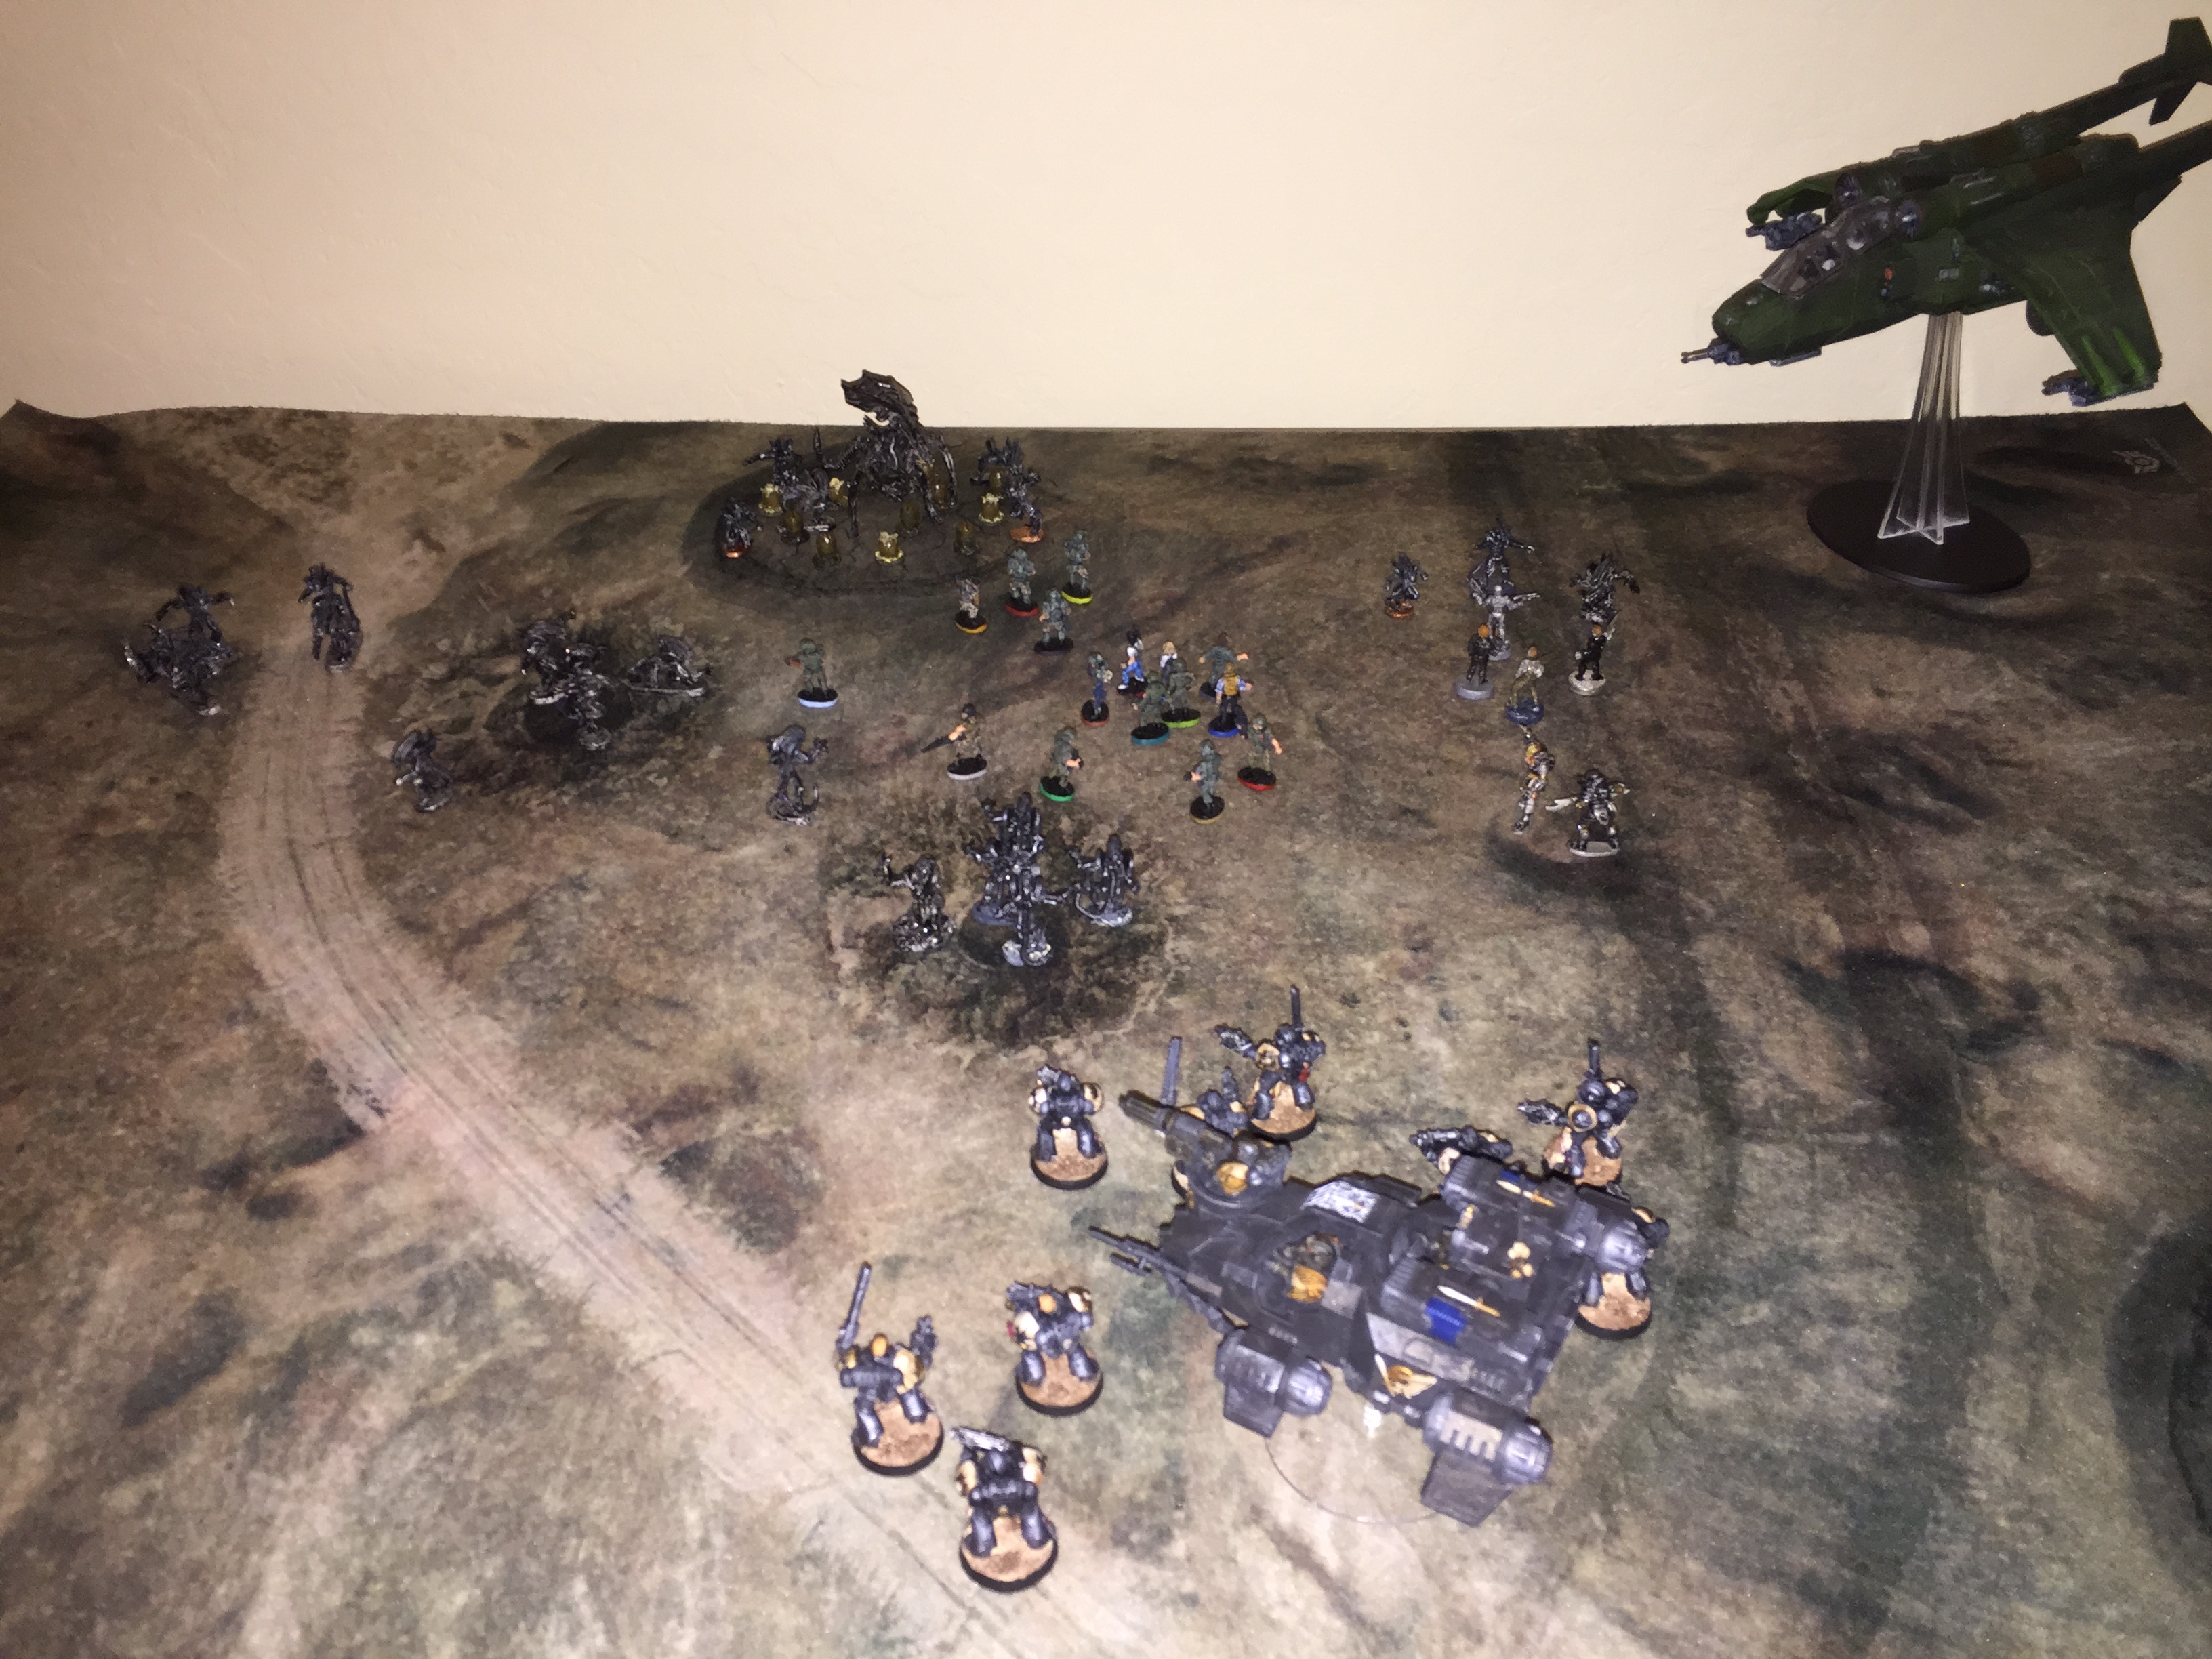
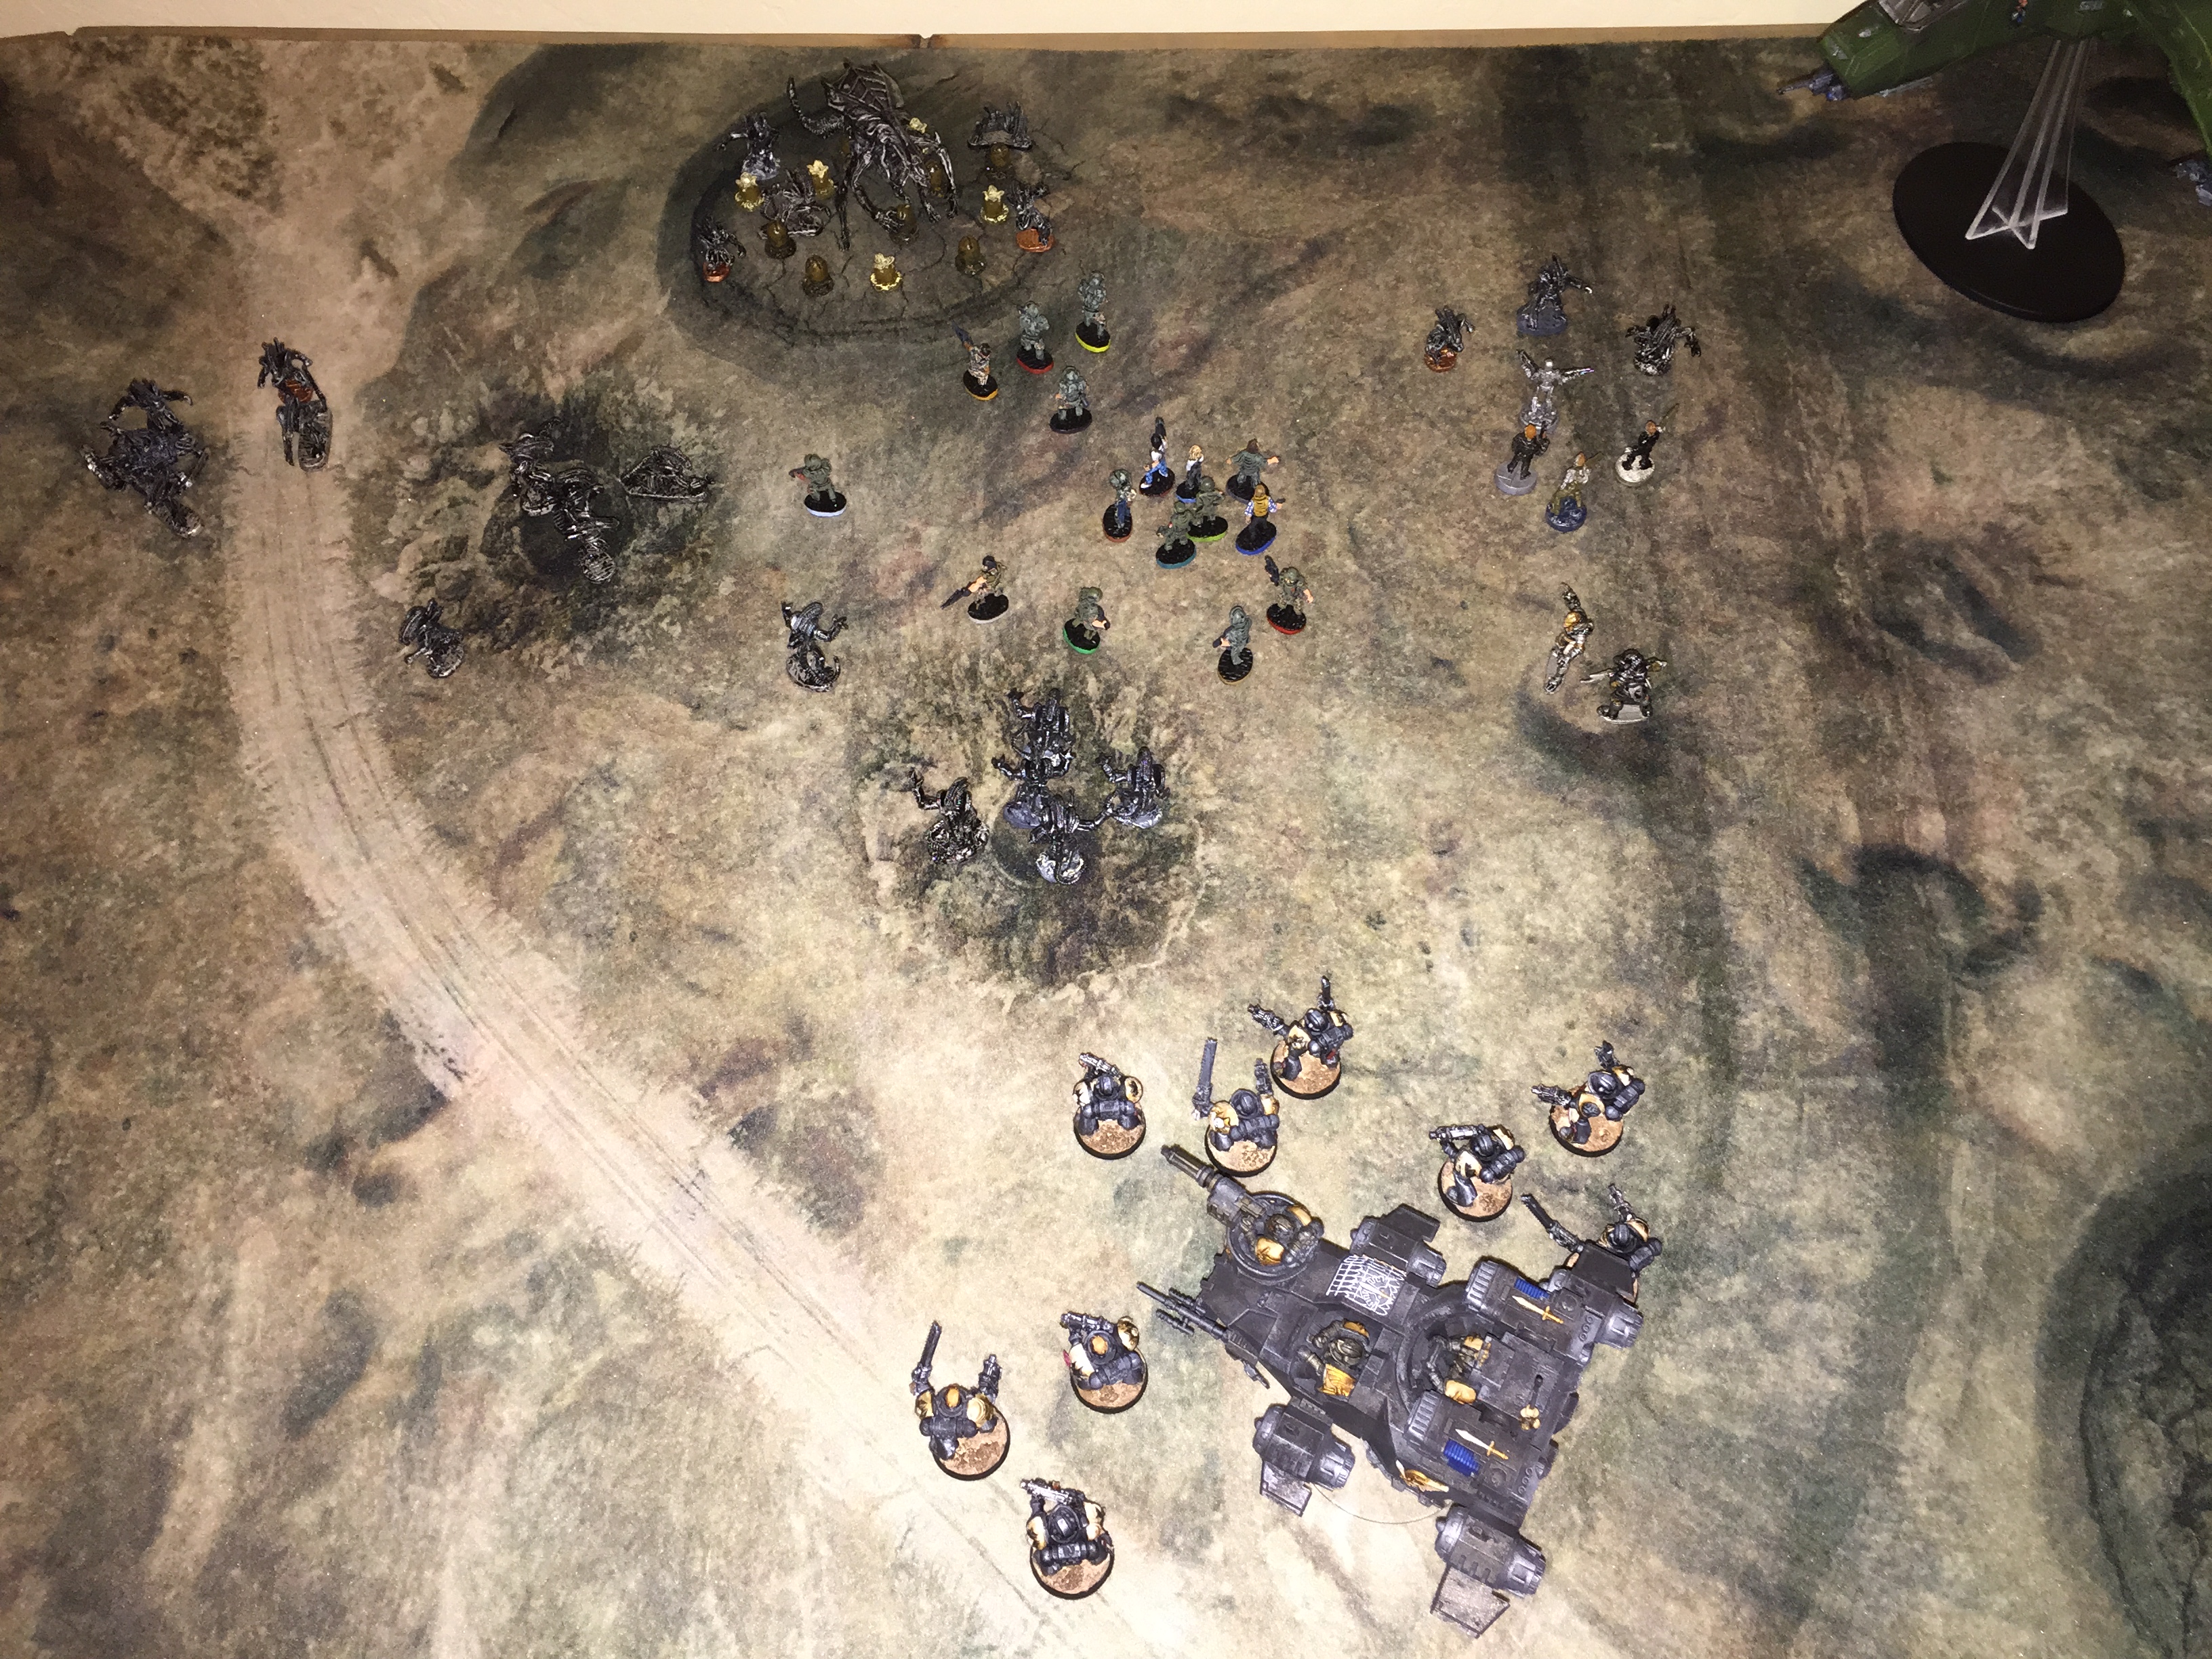
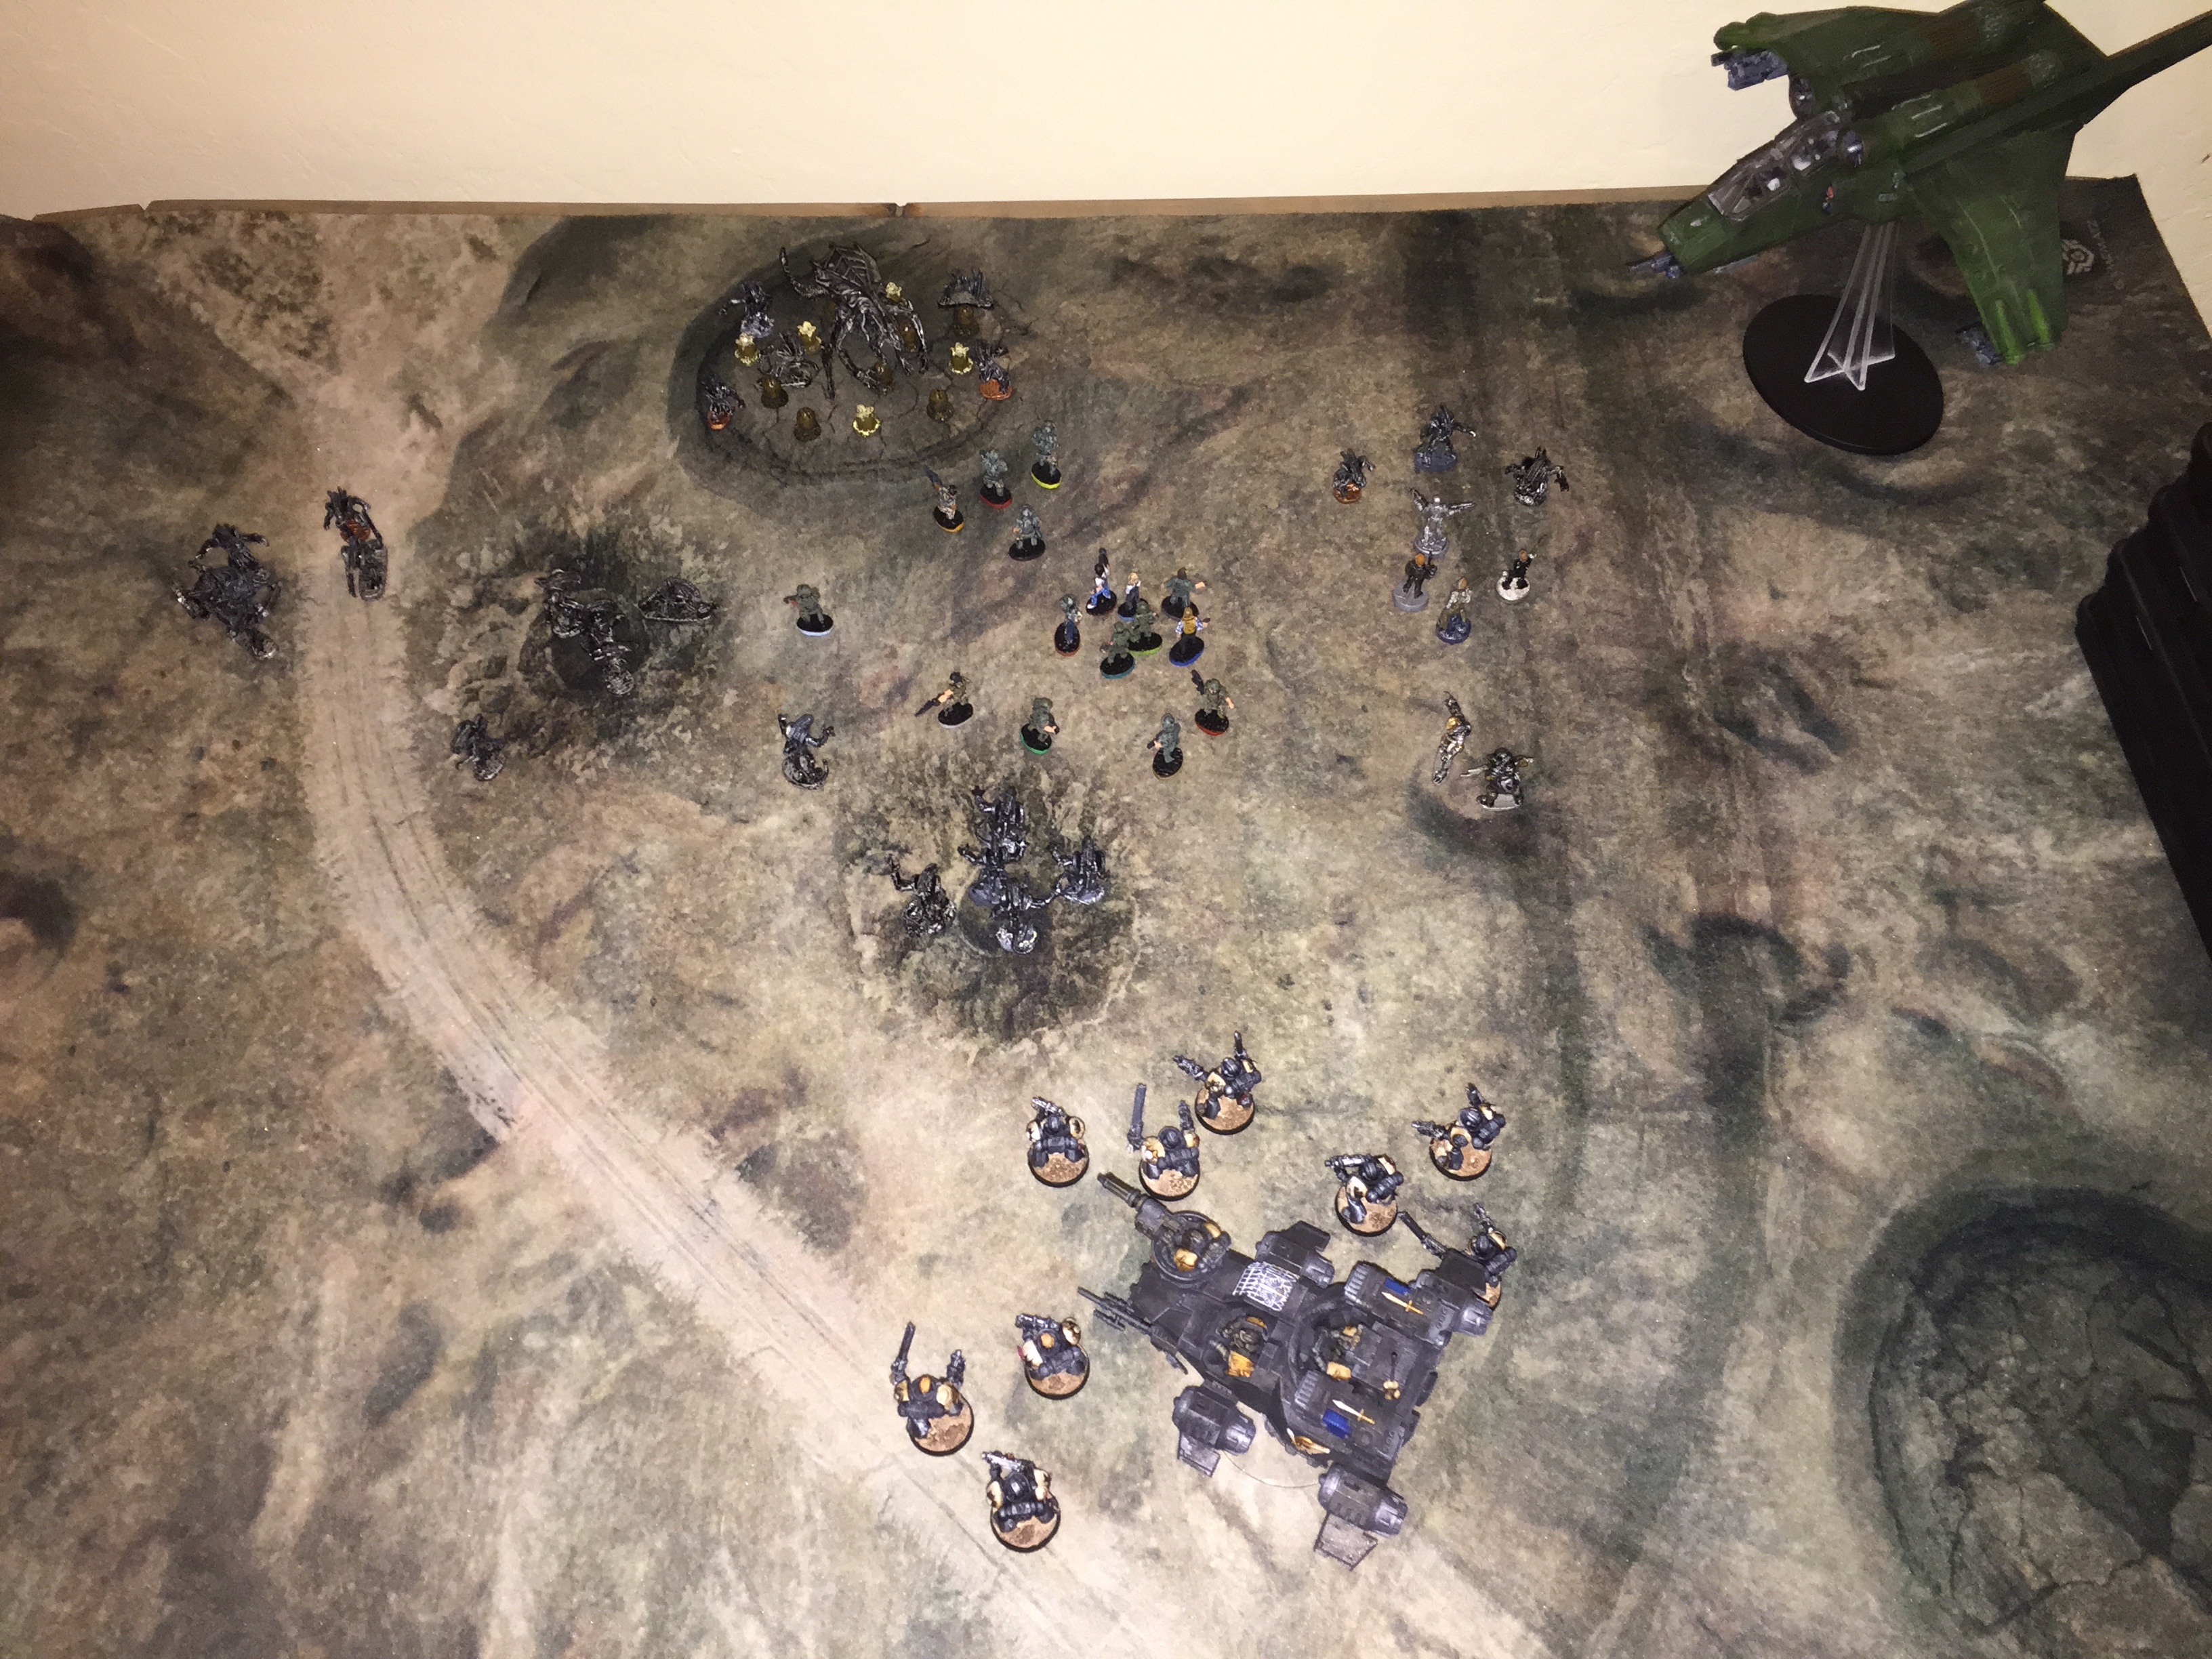
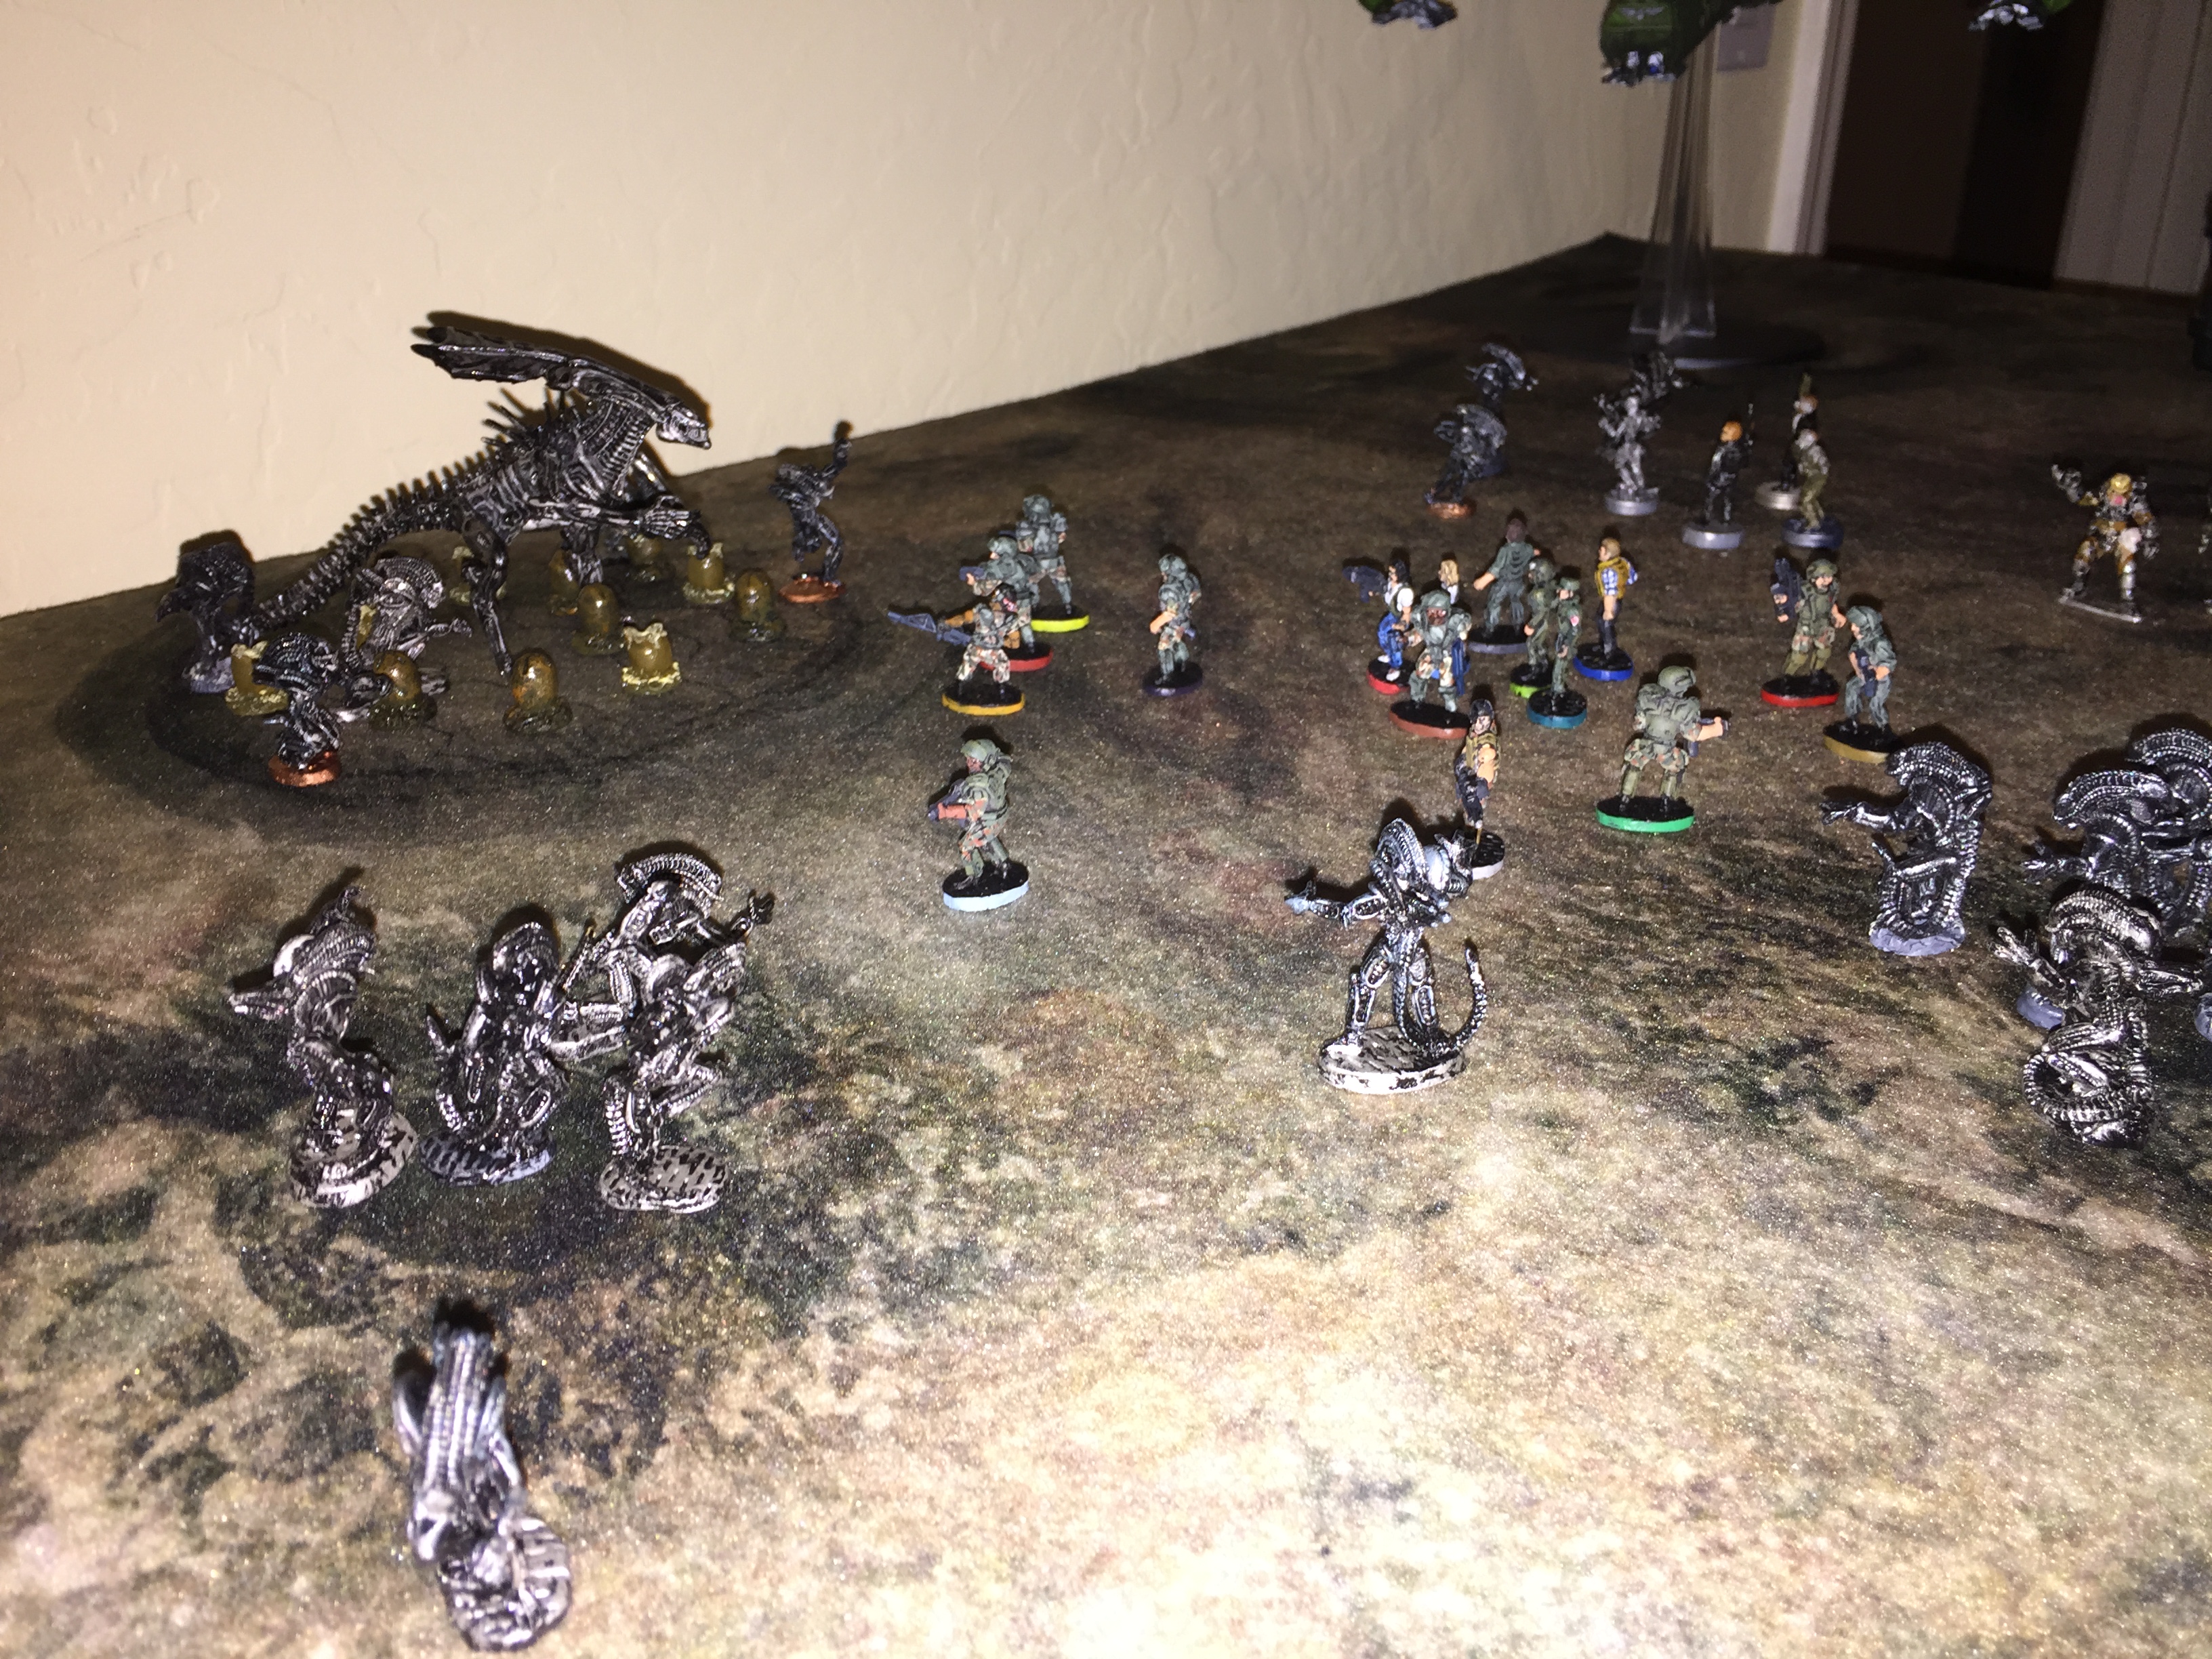
Here are some random photos of the table being used.

